Boat Lust

So, you may or may not know this about me, but even though I currently own a couple of small boats, I have MAD Boat Lust.  I am a member of the Center for Wooden Boats, I get Wooden Boat Magazine & Small Craft Adviser Magazine every month, go to the Lake Union, Seattle, Portland, and Port Townsend boat shows every year…  I follow four sets of Blue Water sailors on YouTube, am trying to con my wife into taking a sailing vacation (I am getting a hard NO! on that one currently), and almost bought a used 22′ lead keel sailboat last summer for “my son.”  I tried to sell it as his “learner Boat” and play up the father/son bonding time angle with it and my wife saw right through it.  To date, however, I have not come home to tell my with that “We” just purchased an Amel 55 blue water sailboat, a 47′ diesel powered Cabin Cruiser, a Chris-Craft in need of some “light repair”, or a Hans Christian 33 kept in Bristol Fashion that “I” am planning to live on since said purchase would leave me homeless, devoid of my puppies, and divorced.

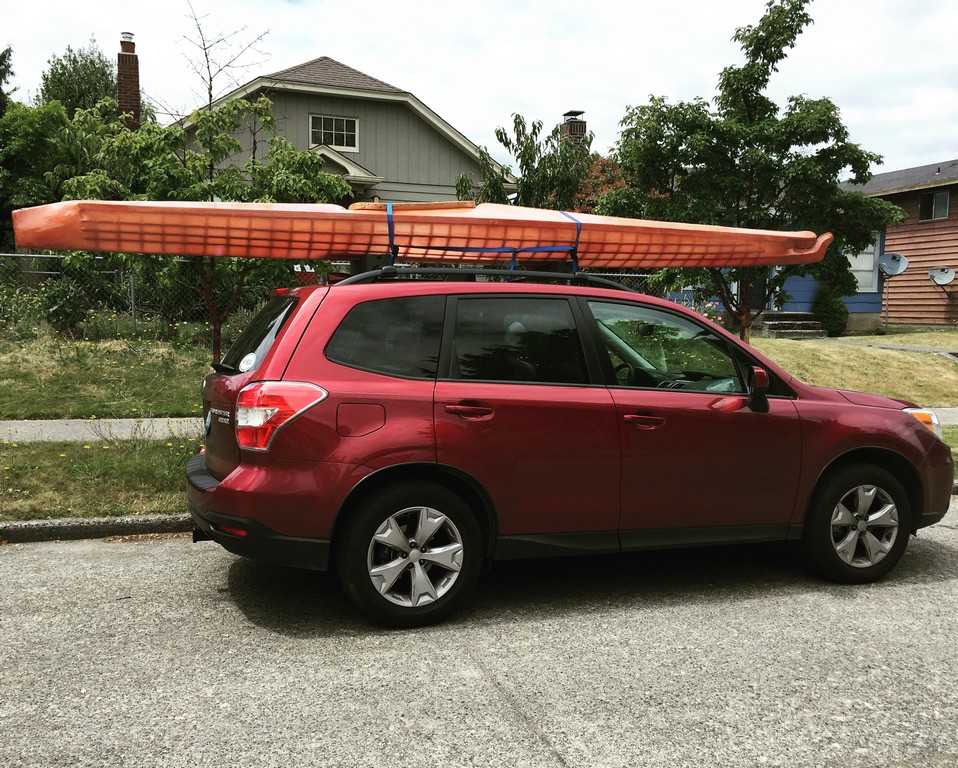
If my son, The Ruminator, lived in Seattle I wouldn’t mind a swing keel Columbia 22 or a Catalina 22 to gunk hole around the Sound in with him.  A Catalina 270 LE would make my heart go pitter-patter as well, but I am a realist (-ish) and very aware of my current budget and available storage space.   A sailboat that I would only use a few times a year and have to pay moorage on, would make me very unpopular at home.  But, if someone has a 19′ WW Potter taking up space in their life that needs a new home, I would be game…

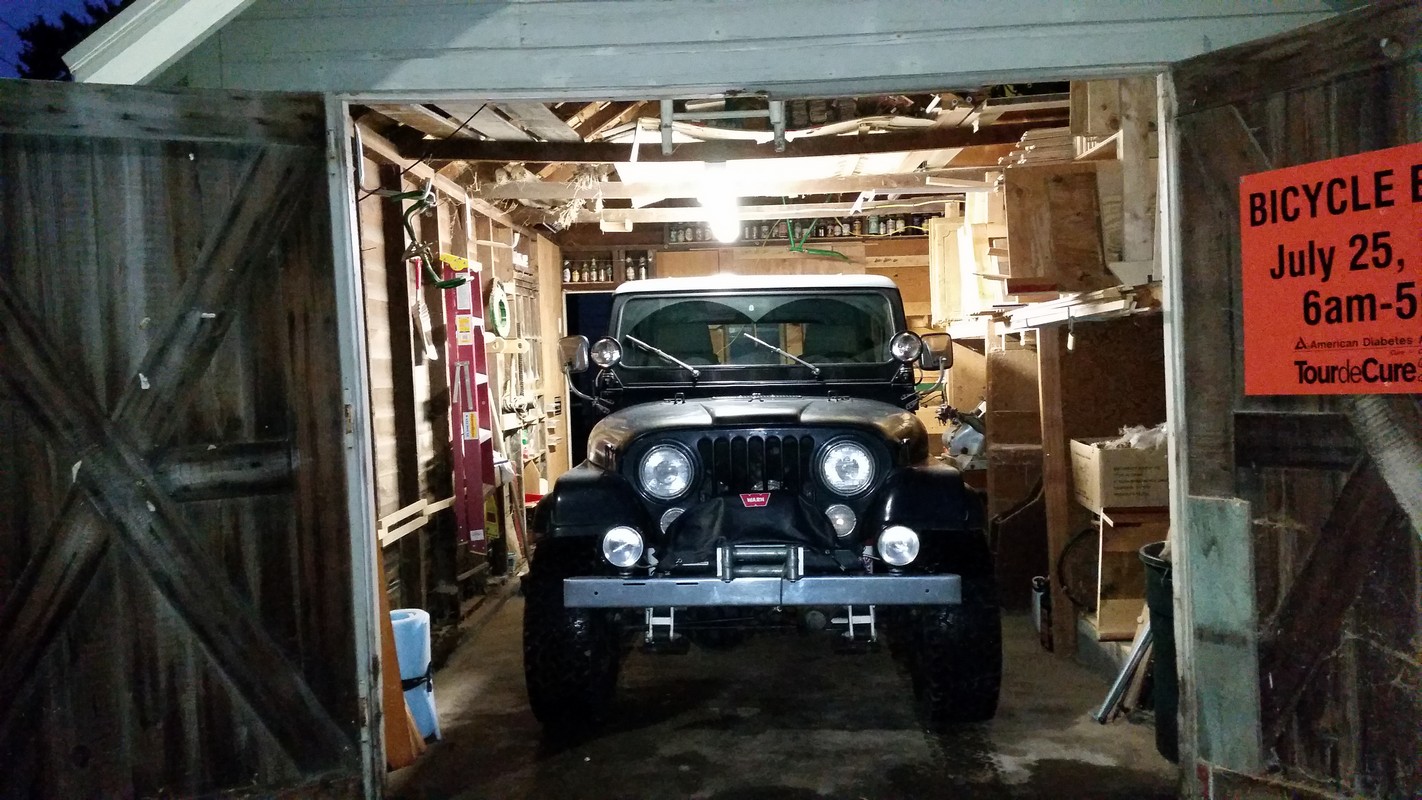
While what I WANT is a sweet little sailboat, what I NEED is a small outboard that that sits on a trailer in or beside the garage, that I can pop over to Blake or Vashion Island on, run up the Duwamish River a little piece, do a little salmon fishing on with my son or friends, haul a crab pot or three in season, find a secluded weekend beach for summer camping, etc…   It needs to have a cuddy cabin to get out of the shifty weather here in Puget Sound, some storage space to keep gear dry, needs to be light enough to be pulled behind the jeep when fully loaded, and fast enough to handle the tidal flow in the PNW.

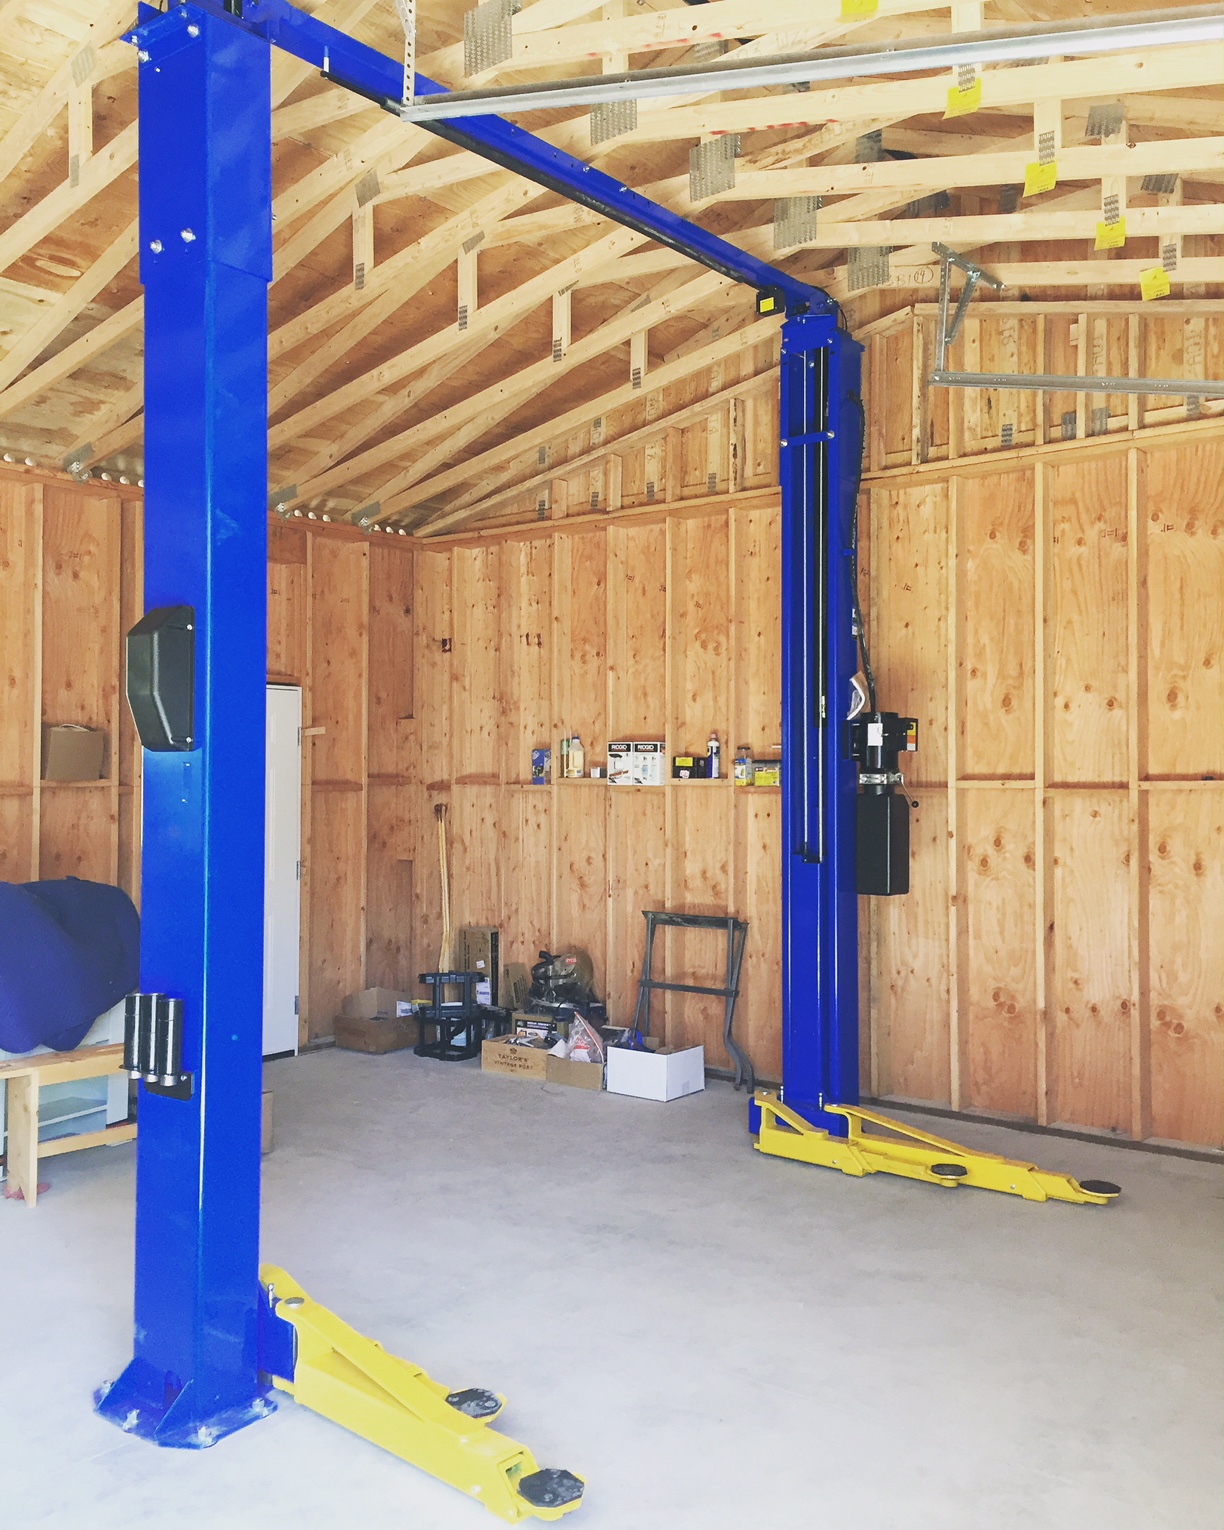
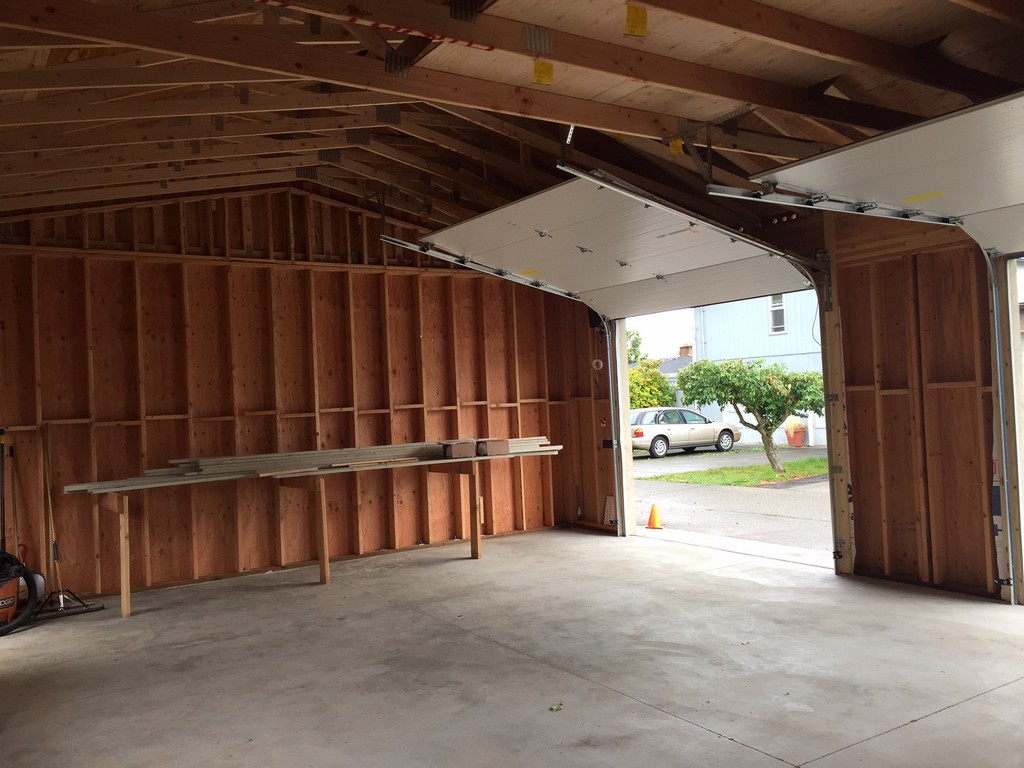
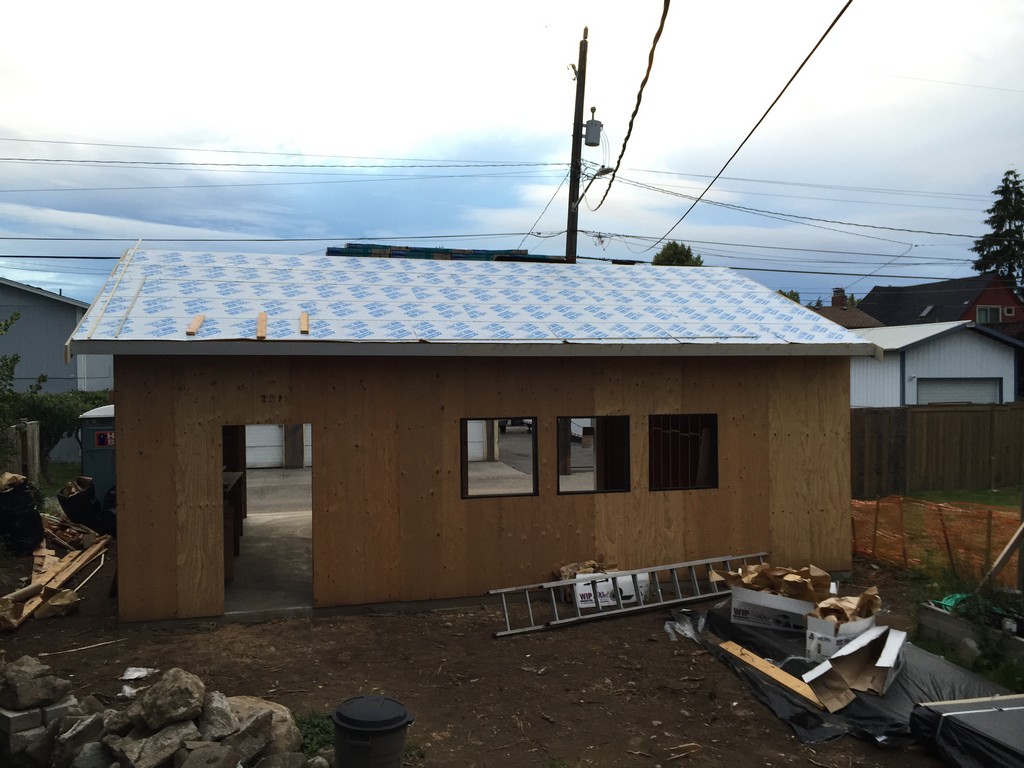
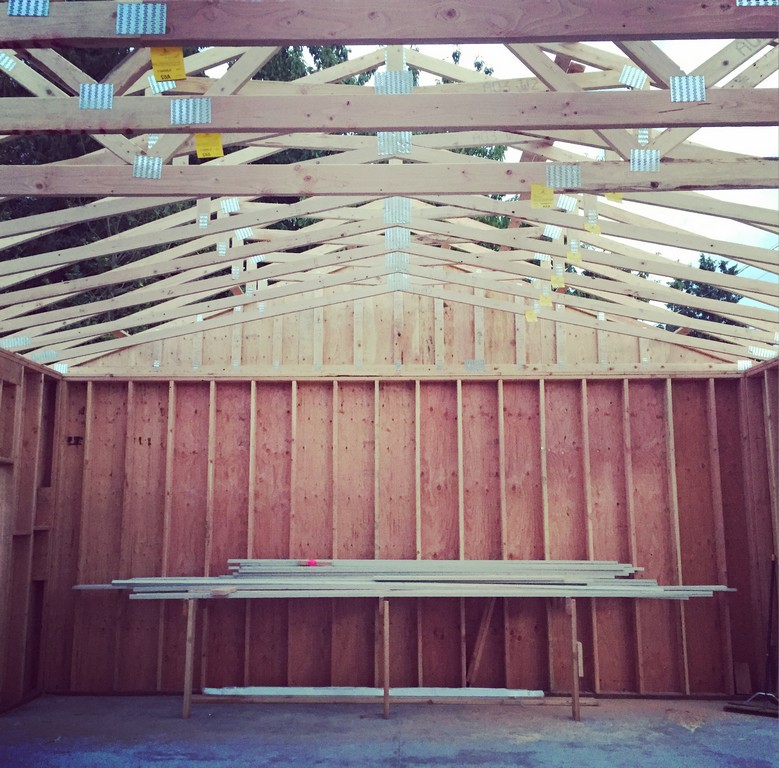
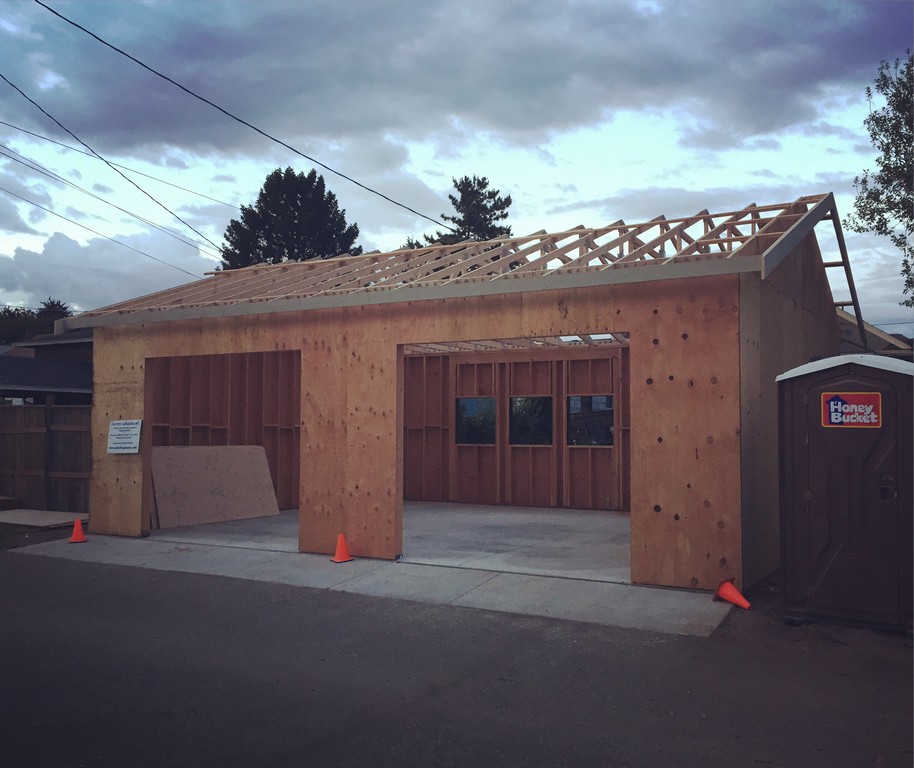
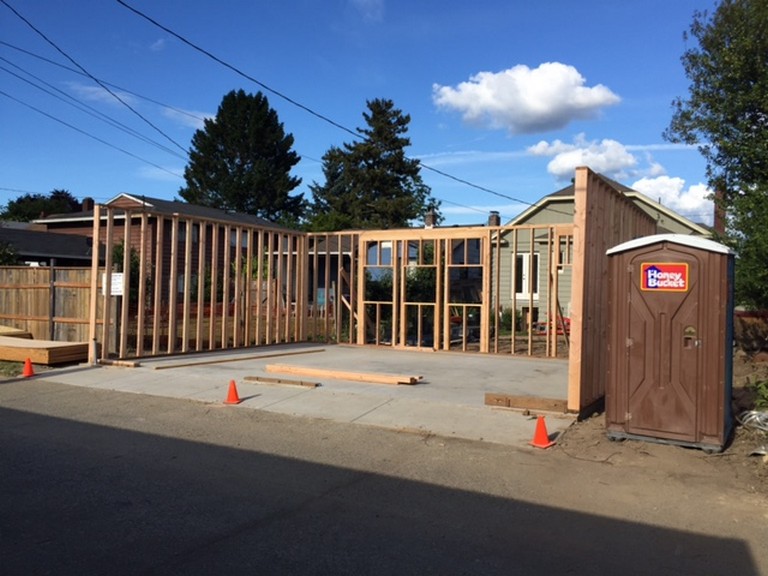
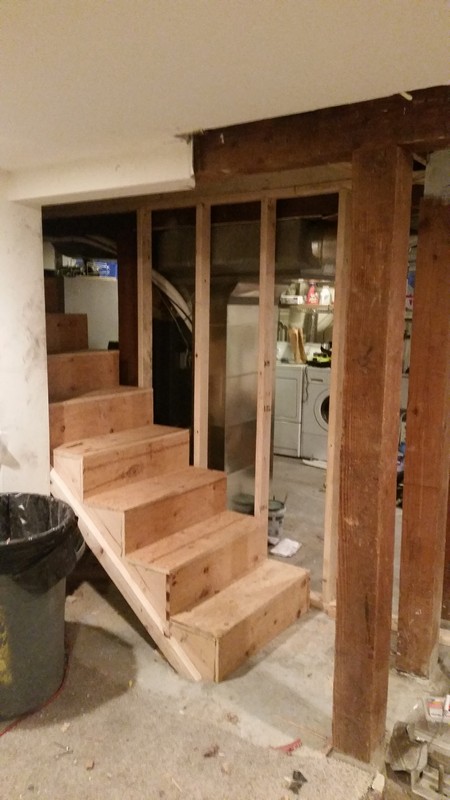
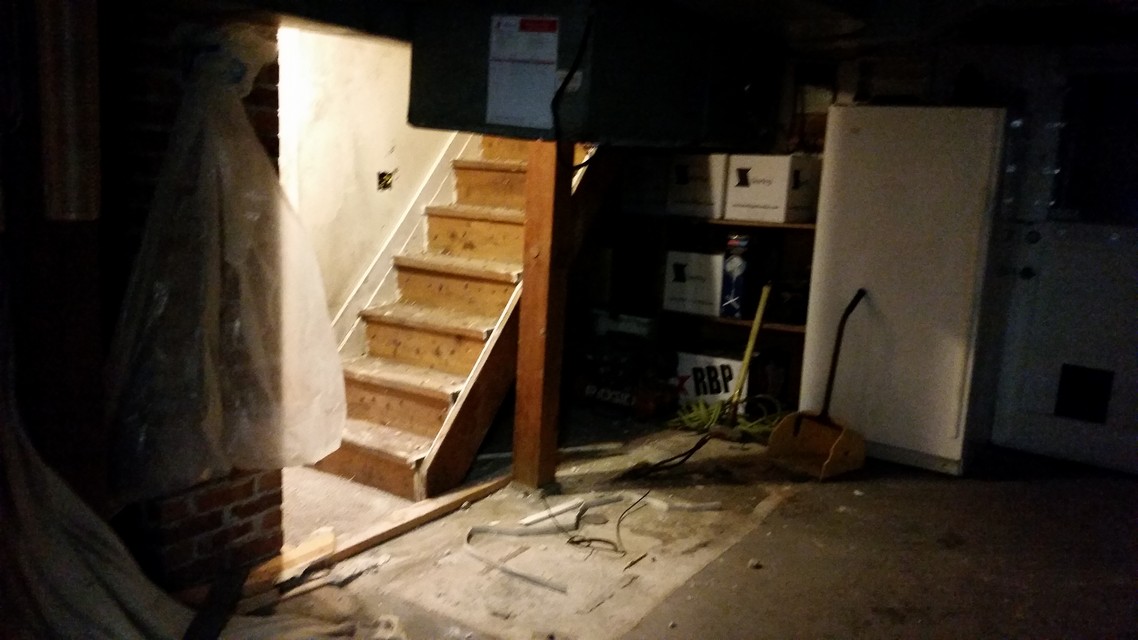
Buying a finished boat, even used, like a Ranger Tug 21, a C-Dory 19, or a Boston Whaler 21′ Cuddy are WAY out of my price range, I have been perusing Craigslist for a 16′ -21′ hardtops, but the ones I have found are either gold plated & upholstered in unicorn foreskin or needs to be sunk.  So, in due course, I have been thinking about building the boat of need mentioned above.  I know, I know… I have a shit ton of projects already with the shop and house, but I won’t start the boat until Stamps-With-Foot agrees that the house is good and all the little projects at home are squared away.  Happy wife, happy life.

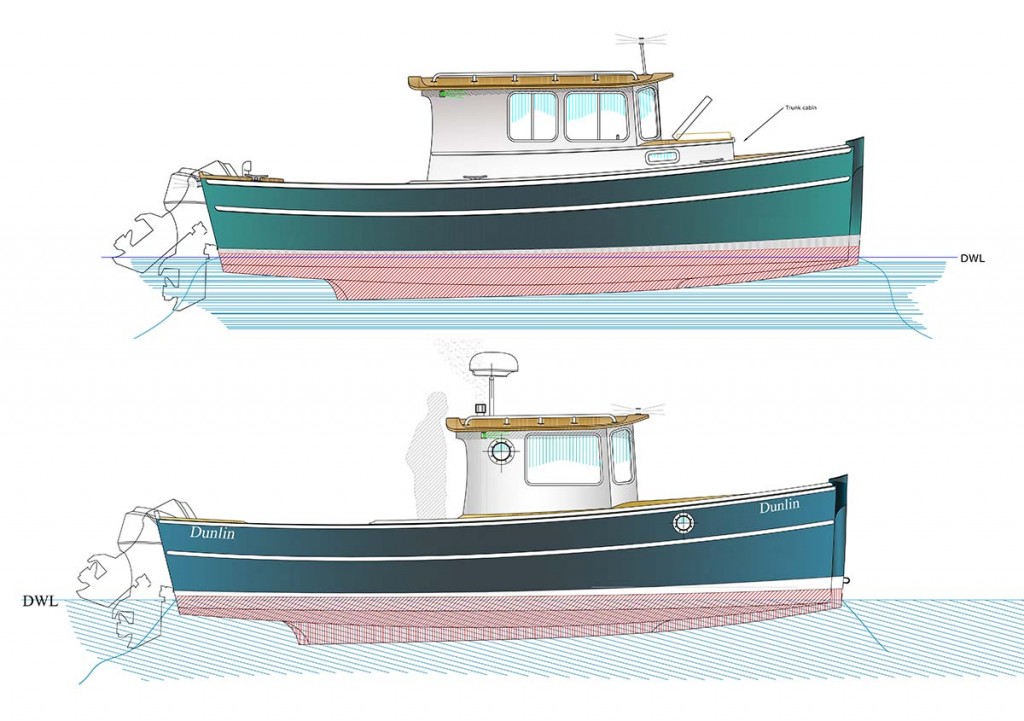
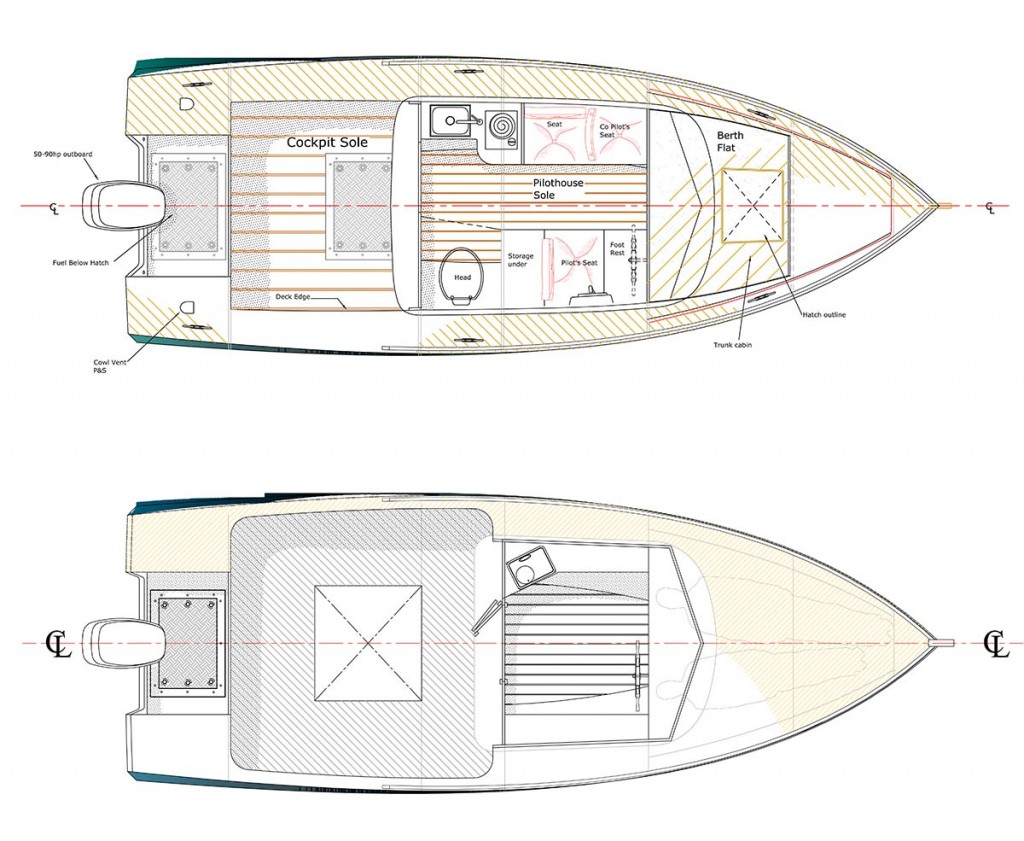
To digress a bit, my current home-built boat want is a Devlin Boats Dunlin 22 Cruiser with all the bells and whistles, but that too would be spendy, require me to quit my J-O-B to obsess over the details properly, I would have to rent out boathouse space for the duration of the build, have the time to build it, and would probably cause my sweet bride to up my life insurance just before “accidentally” pushing me into a wood chipper.

dunlin22side-1024x721 dunlin22top-1024x841


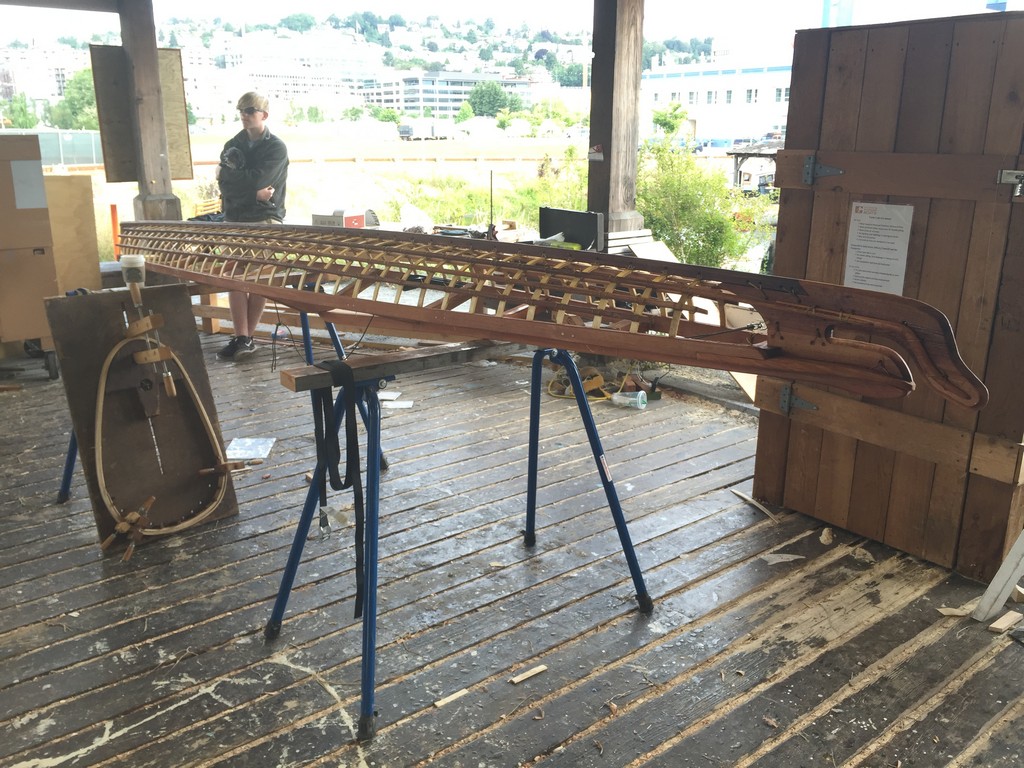
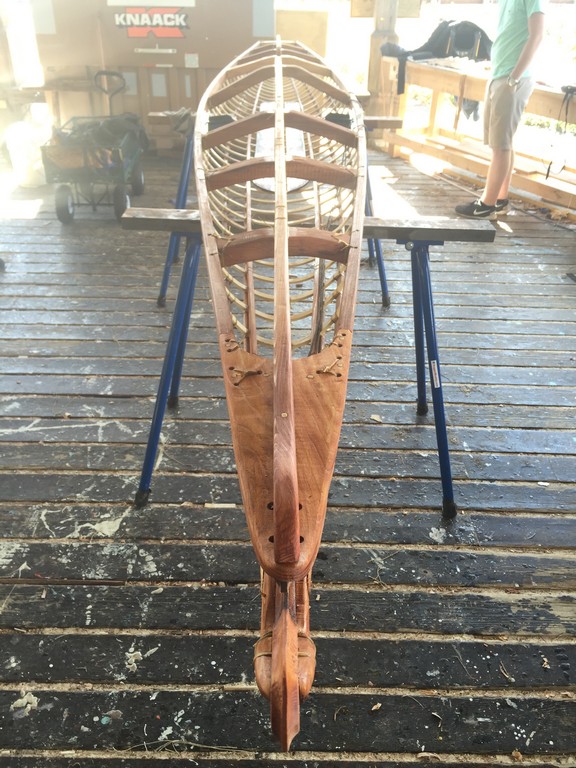
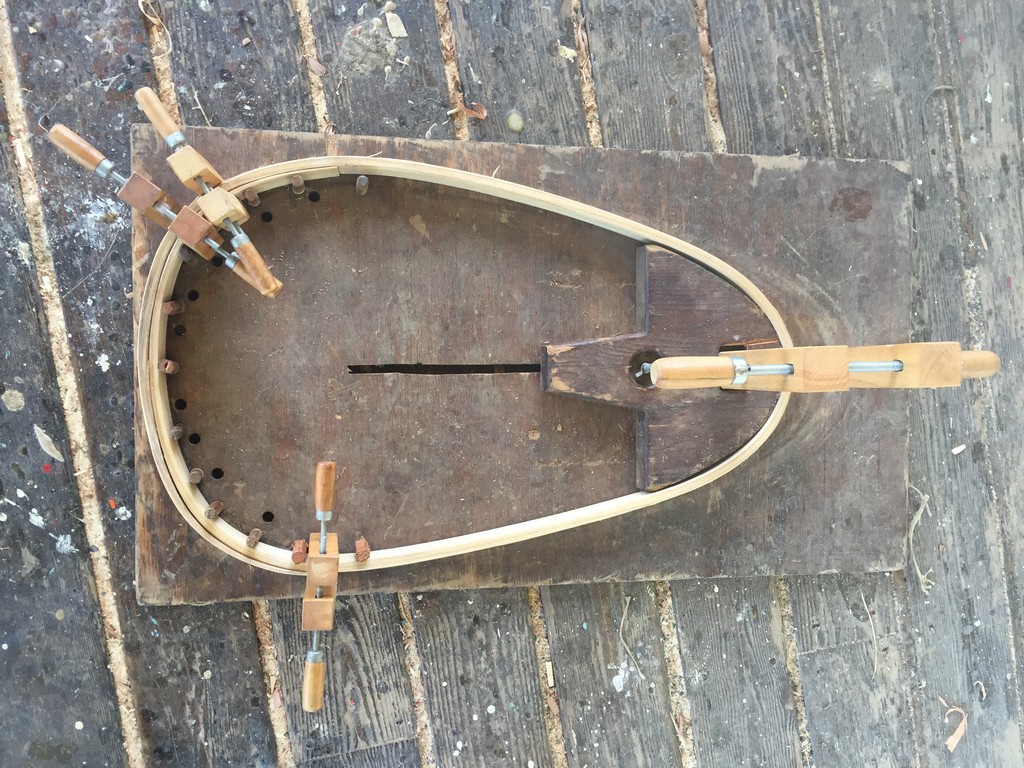
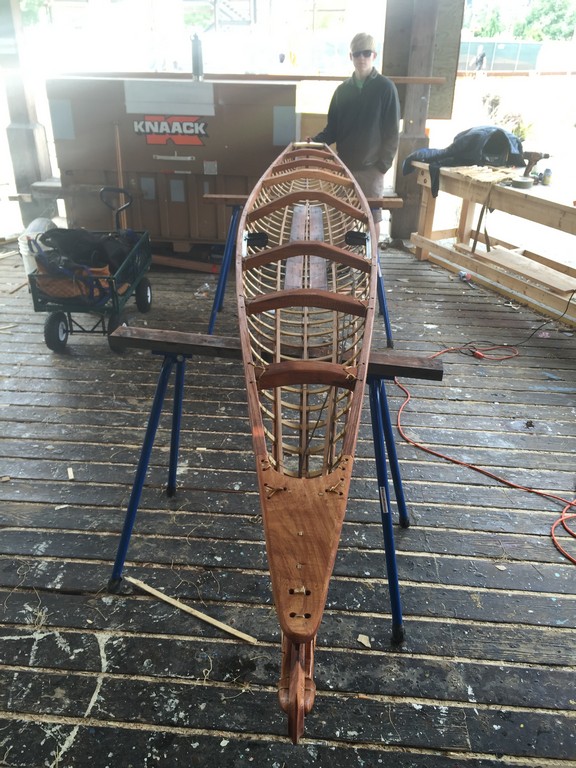
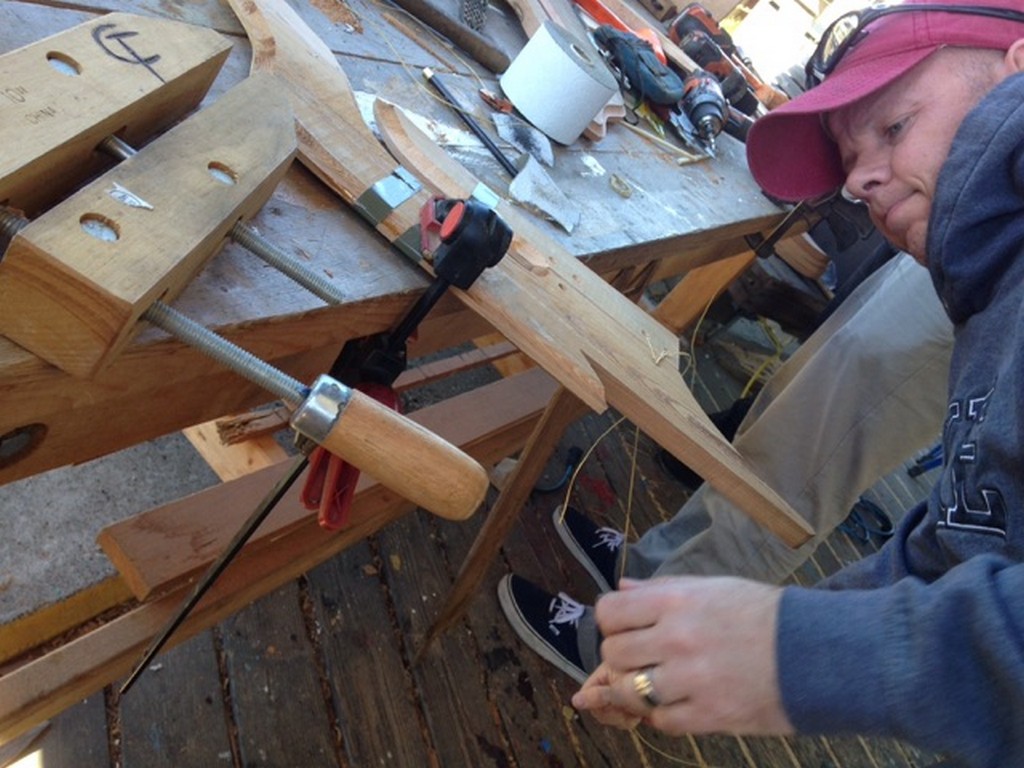
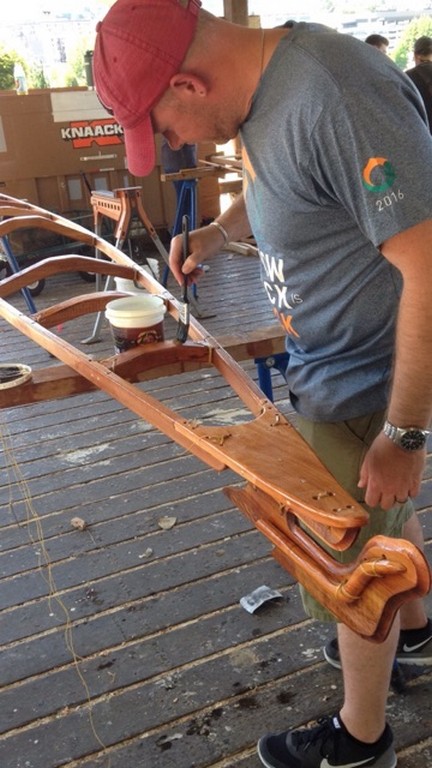
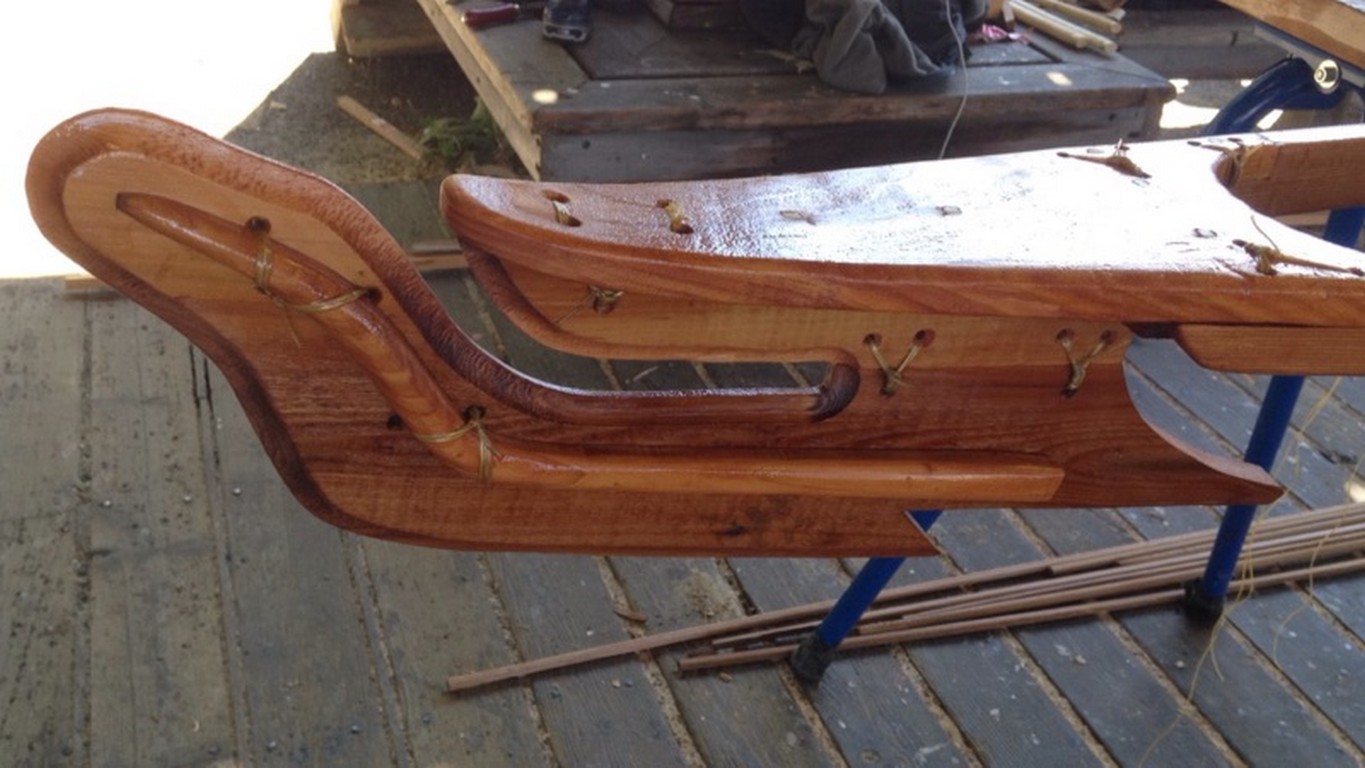
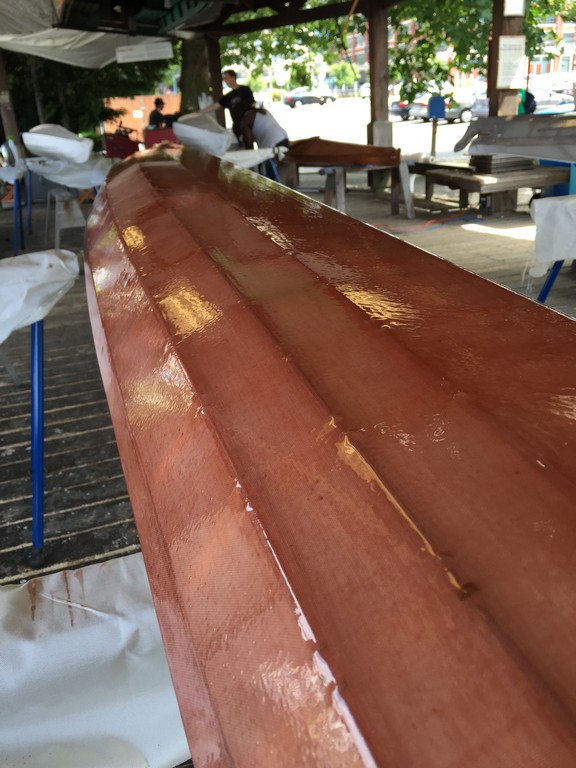
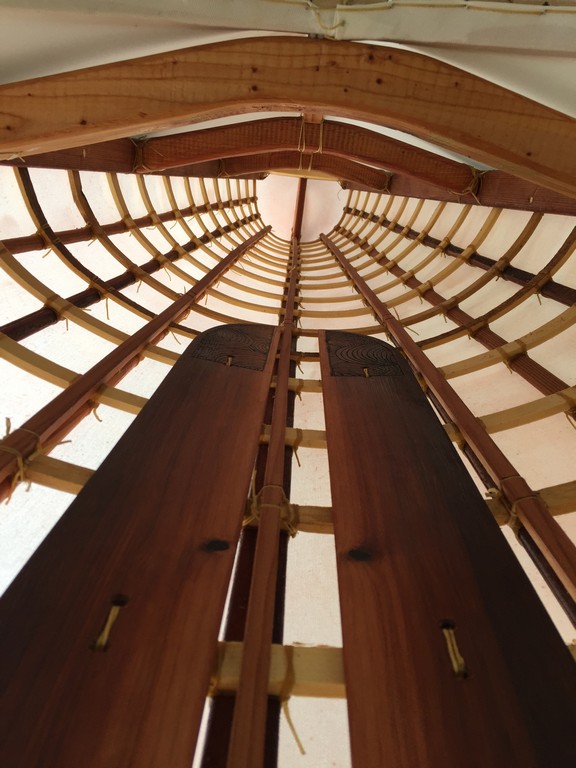
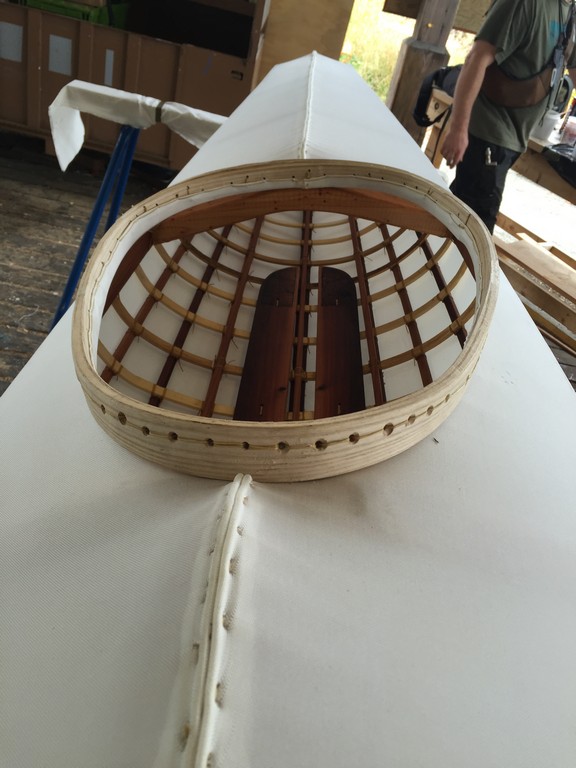
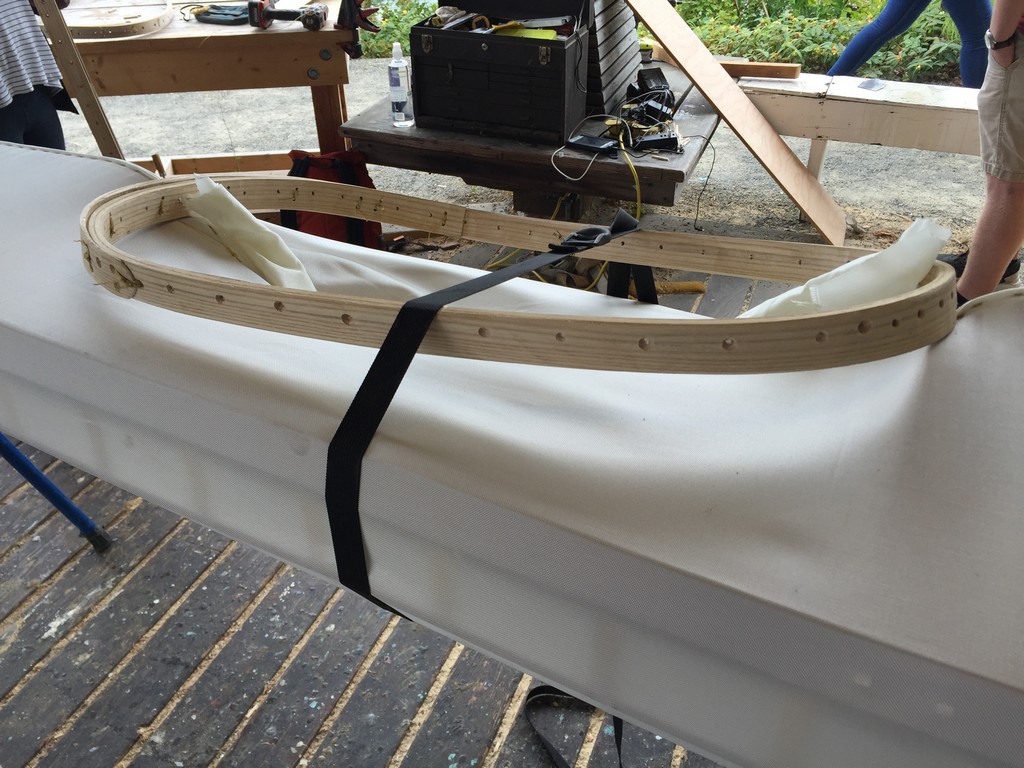
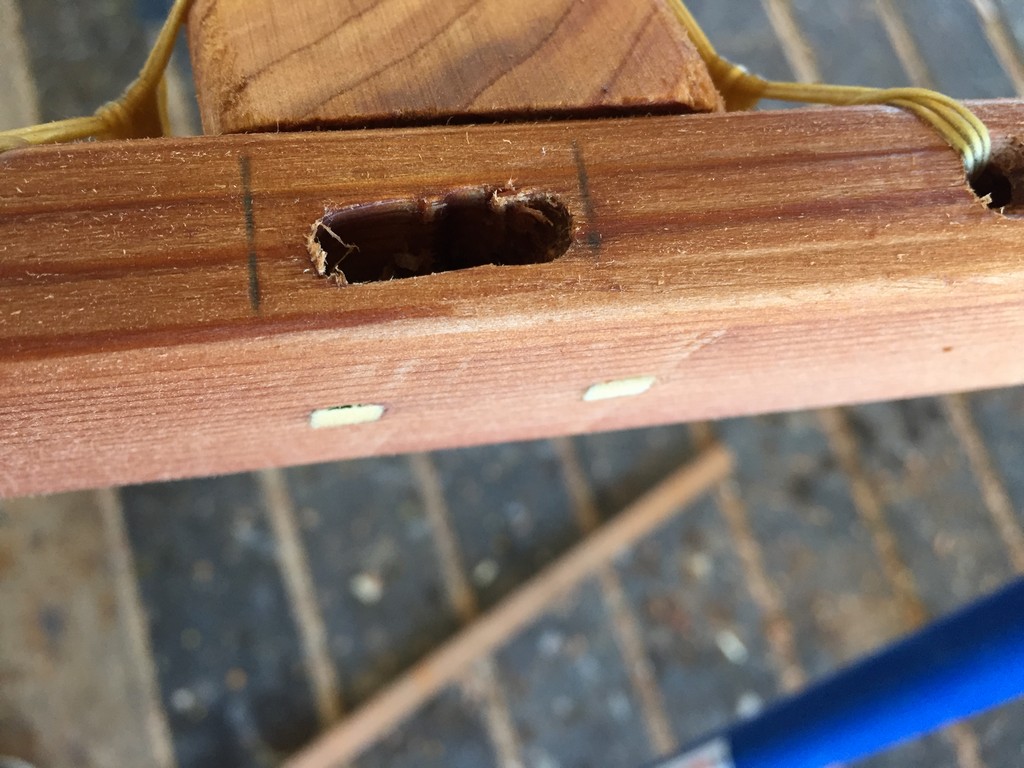
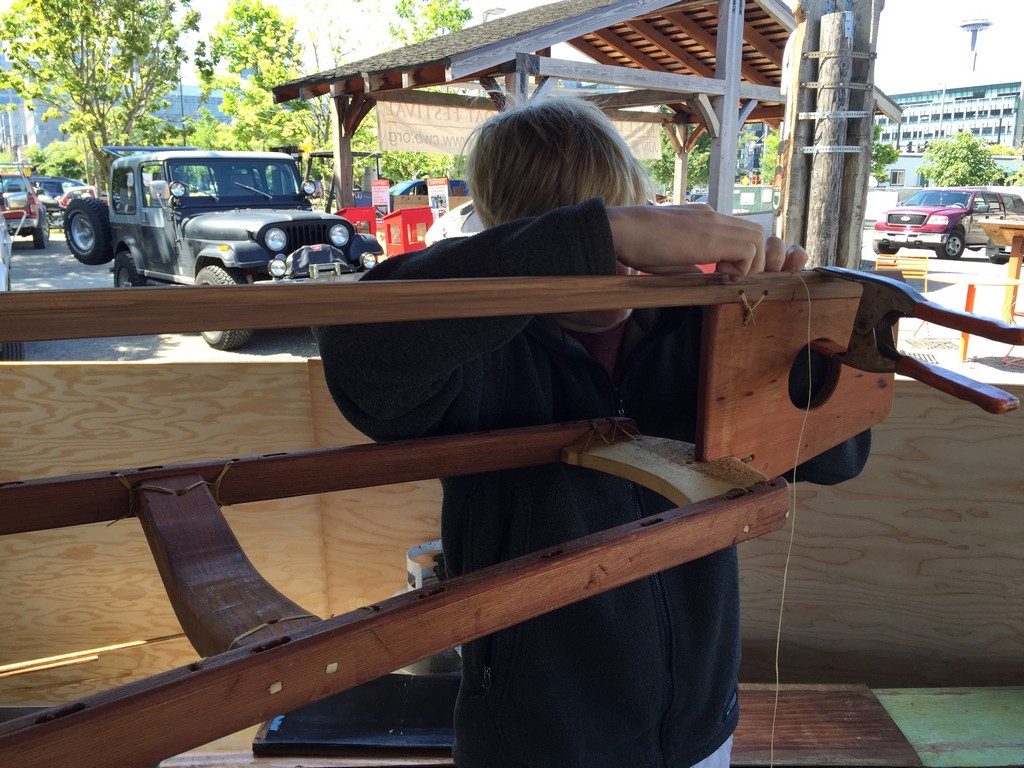
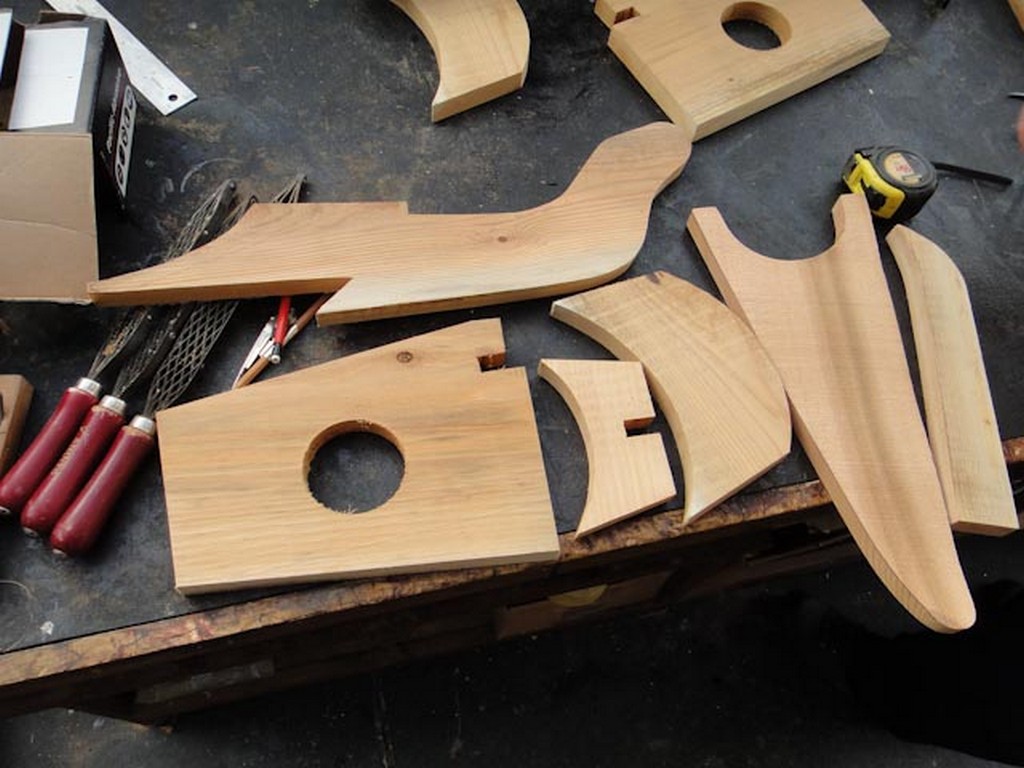
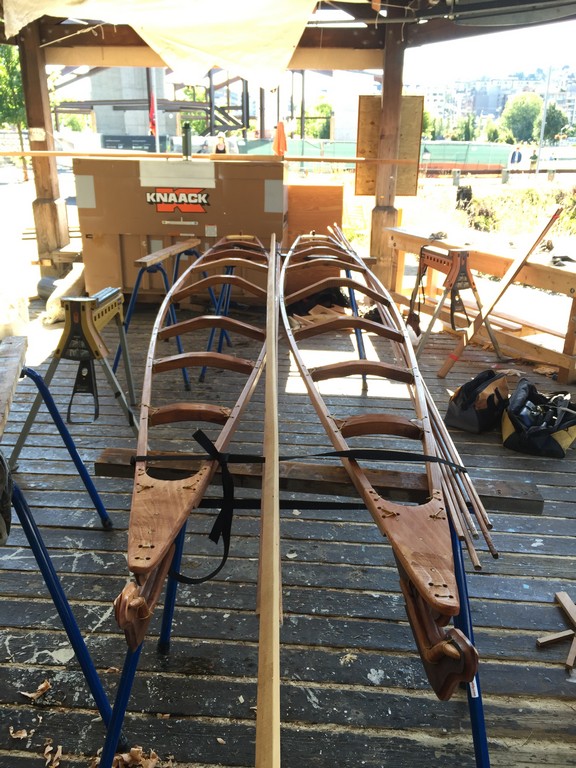
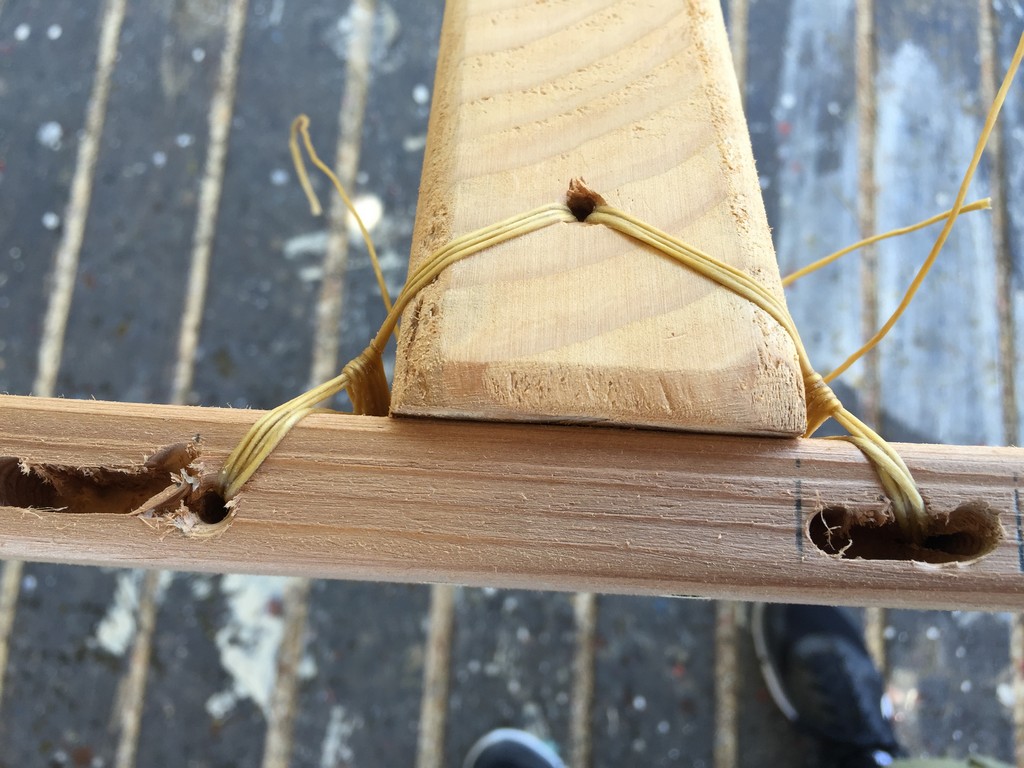
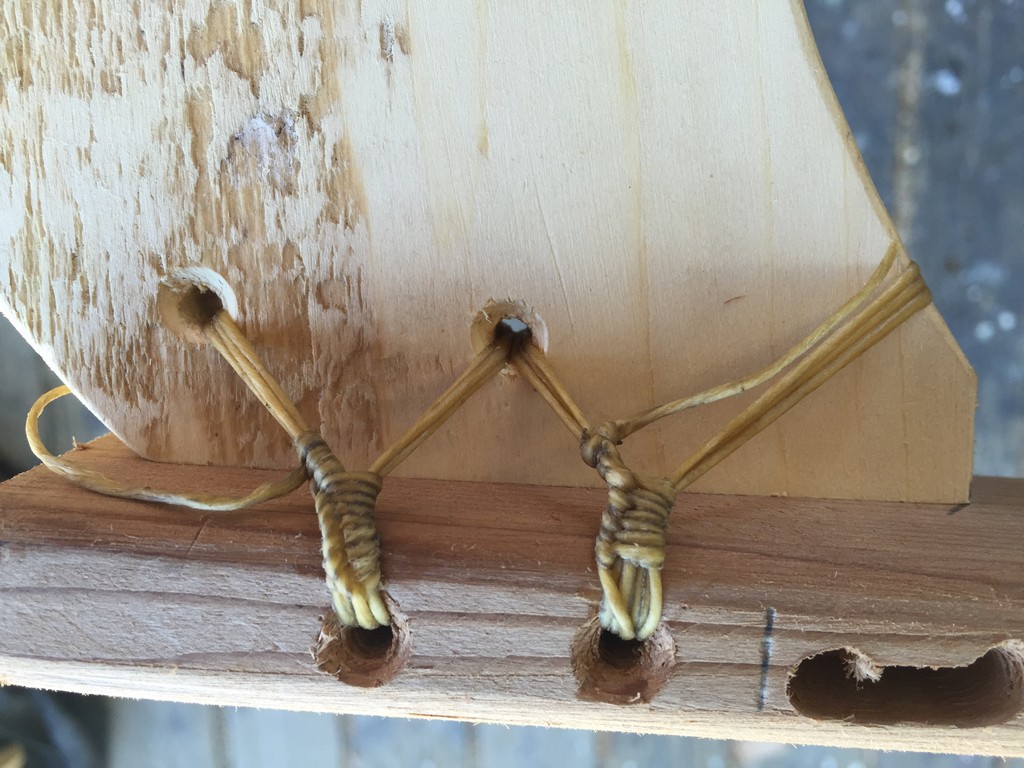
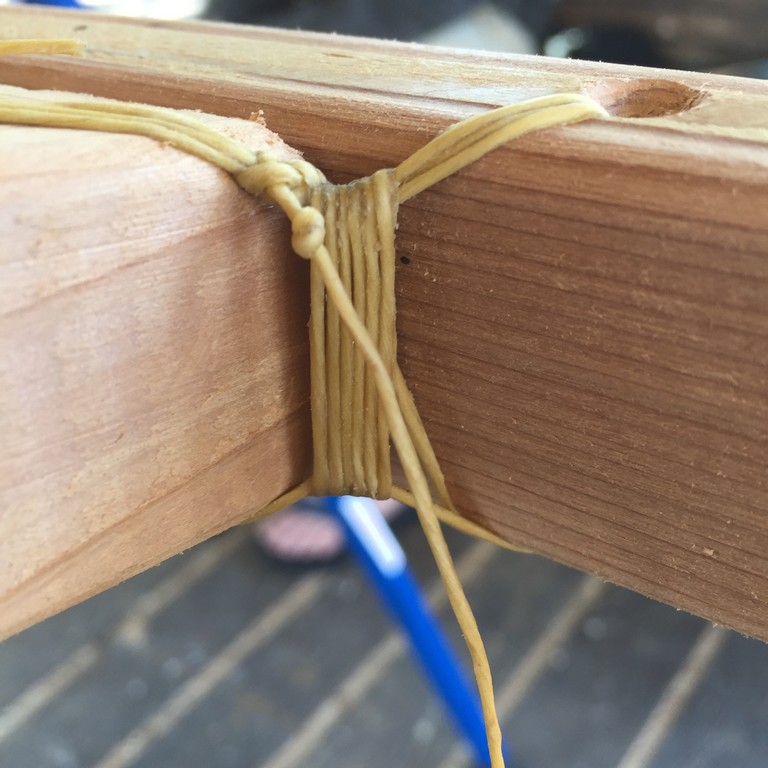
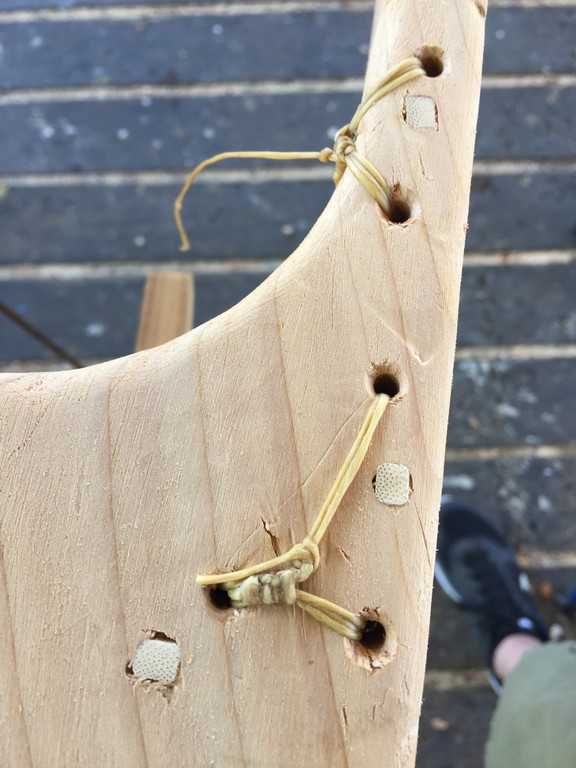
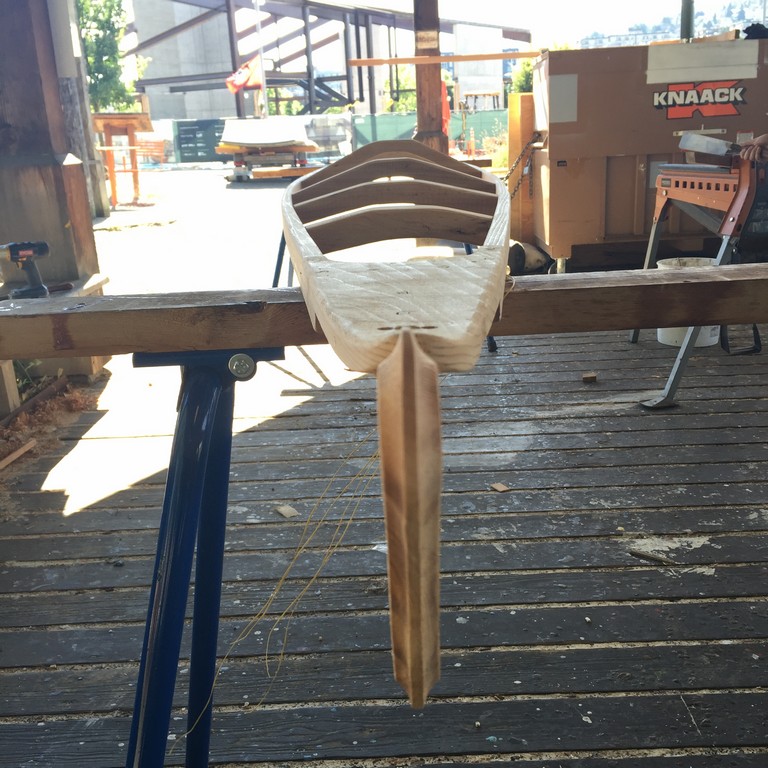
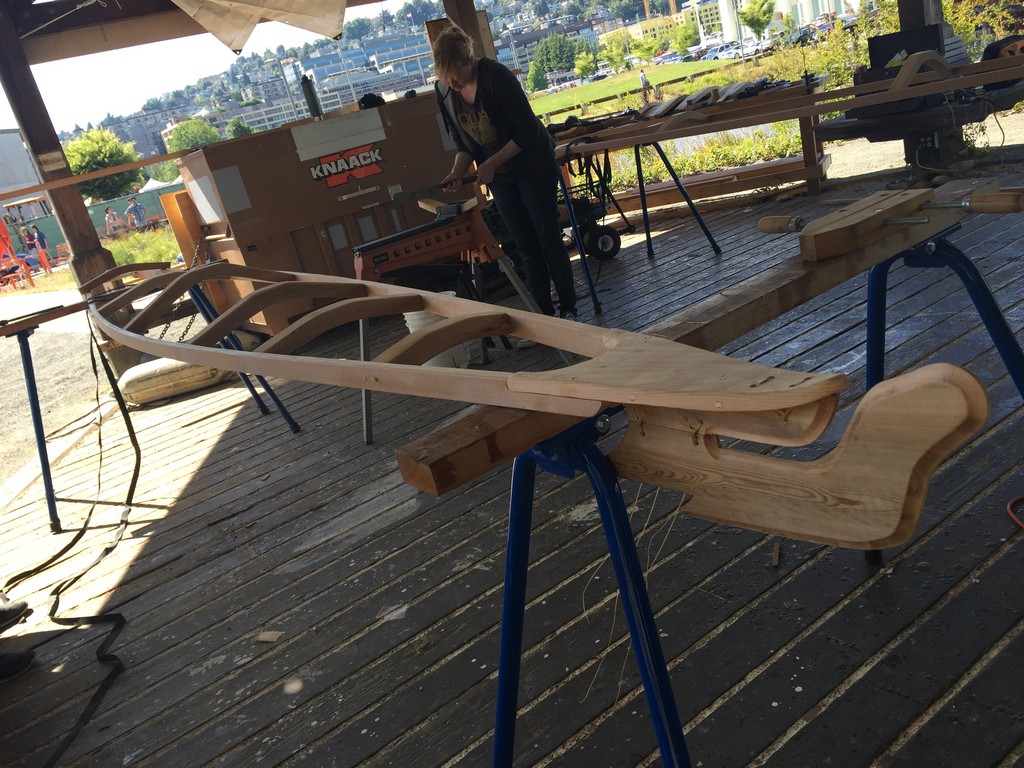
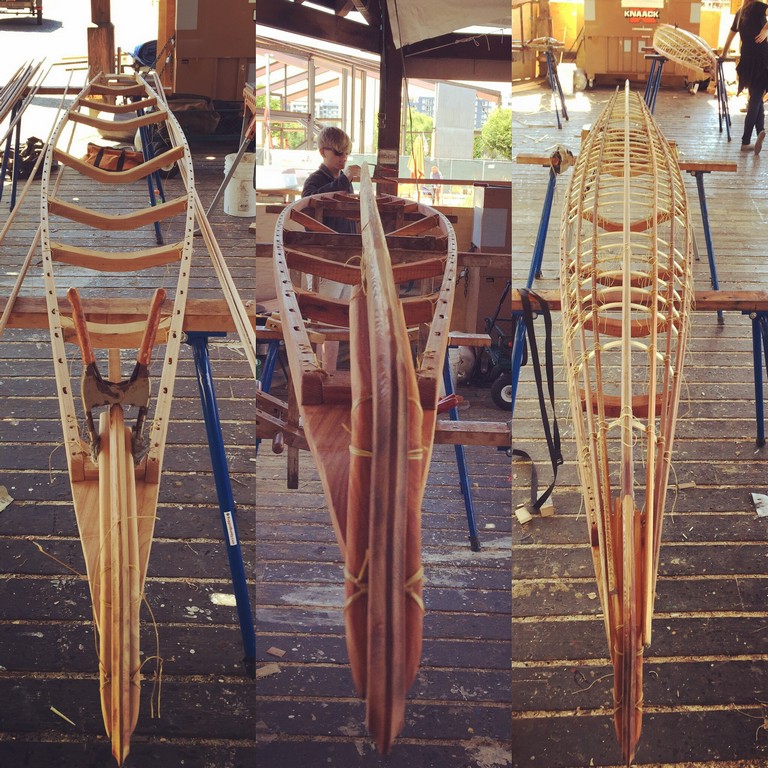
Back in reality, I am looking hard at building a couple of boats, including a Devlin Noddy 18.  It is something realistic to build over the fall and winter, in the space I have available in the F-Bomb Garage, and within my current budget.  Powered by a 4 stroke 50HP Honda or Yamaha, with homey little extras like: a sardine wood stove in the cabin, a crab pot winch arm on the stern, and lots of LED lights.  noddy16plan-devlin-boats_2017
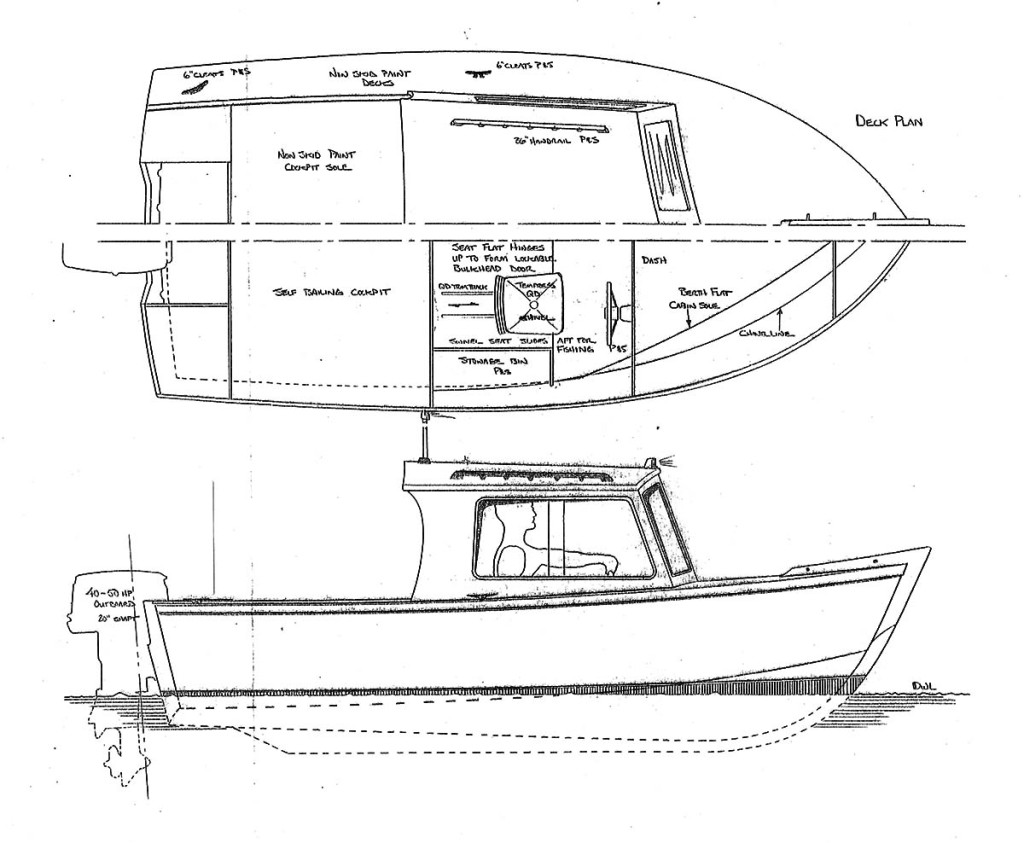
Devlin Boat Works in just south of us in Olympia and in addition to being a design house, they are a boat works and build all manner of craft there at any given time.  I sent a couple of e-mails and made some calls about the possibility of going down this summer if they have a Noddy or similar hull under construction.  We will see if it can be arranged.

I will have to wait just lust a little while longer to satiate my boat lust…

Update: May 2017

Nope.  Devlin is off the list.  I can’t find anyone on the boat forums that has built the Noddy AND I have not had a single phone call or e-mail replied to.  I don’t need to do business with someone who I have to beg to take my money.

The New Kitchen Floor is Now Installed

It has been a while since I laid a floor tile – like 18 years.  Things haven’t changed though and while time consuming and very detailed – lots of steps – I still remember how it is done.  There was no way that I was going to pay someone to do a job that I can/could do, so I took on the task of installing a new kitchen floor in our house.  the last of the major projects that I took on during our home remodel.

The job is now done and looks great.  Most importantly though, my wife is happy.  She has a new kitchen floor and it is exactly what she has wanted for years: a black and white checker board kitchen floor that is laid on the diagonal.  I am glad she is happy, because I REALLY don’t want to redo it for the next 90 years or so.

After ripping off 7 layers of old flooring, filling holes, patching a couple sections, removing 40+ screws and 100+ staples, and scrubbing the sub-floor clean, we were ready to start.  Starting about 9:00 one Saturday morning, I cut and laid ¼ inch water resistant underlayment – stapling in the field every 4” and along the seams every 2” with narrow gauge crown staples.  Starting about 10:00 the next morning, I vacuumed the whole space 3 times to clear any and all debris and locked the puppies out of the kitchen.

Because there is not ONE SINGLE square or plumb wall in my entire 90 year old house, I snapped a grid in the middle of the floor, squared from the doorway leading from the living-room, so that it would look square as viewed from the main room of the house.  I applied glue on ½ of the floor and started in the middle of the room and worked toward the south wall/breakfast nook.  Stamps-With-Foot cleaned tile as she pulled it from the cardboard boxes (success is in the details) and handed me them as I laid the field and she cut most of the edge pieces as I marked them.  Her help was GREATLY appreciated.  We laid the other half of the floor, starting about 6:00pm Sunday evening and finished the last piece about 11:30pm.  Not too shabby for one weekend’s worth of labor.

I let the glue cure for five days before sealing and then applying 5 coats of satin floor wax.  Pre-painted (by me) ¼ round trim was applied around the edges of the walls and cabinets before I very carefully brought the appliances back in and reinstalled.  The VC tile I used should outlast my grandchildren and just needs to be scrubbed every other week, then stripped and re-waxed once a year if so.

matt-talley-_-new-kitchen-floor-2017-6matt-talley-_-new-kitchen-floor-2017-7matt-talley-_-new-kitchen-floor-2017-3matt-talley-_-new-kitchen-floor-2017-2matt-talley-_-new-kitchen-floor-2017-4matt-talley-_-new-kitchen-floor-2017-8matt-talley-_-new-kitchen-floor-2017-9matt-talley-_-new-kitchen-floor-2017-1

Christmas Vacation 2016

Christmas vacation this year was pretty good. I got great stuff Christmas morning, my mom stayed over Christmas Eve, and Stamps-With-Foot made a yummy Honey-baked ham for dinner on Christmas Day. I took the week between Christmas and New Year’s off from my J-O-B. The time was spent just hanging out with The Ruminator, finding a little adventure in the mountains, and getting some stuff done around the house and garage. My vacation this year looked like this:

Up at 6:00 Christmas morning and made coffee.
I got an XBox One and Battlefield 1 for I could play with my 40-year old adolescent friends online.
Got lots of other great stuff!
Worked a little in the basement on Boxing Day (the 26th).
My son, The Ruminator, flew in the day after Christmas.
Second Christmas morning with son on the 27th.
I put him to work that afternoon moving stuff in the garage and basement.
Pulled 4 circuits worth of wire in the garage.
Hung 3/4 of crown molding in the dining room.
Hired a carpenter to help with the finish of the crown molding and window install in dining room.
Hung pocket door and built last wall for bathroom downstairs with carpenter.
Installed structure in attic for chandelier installation.
Went to see Rogue One.
Loved it.
Snowboarding trip to Crystal Mountain in the Jeep.
The Ruminator rode really well
I am a fat old guy, but can still ride.
Owners rented the cabin we had reserved to someone else – insert grumpy face
Drove home.
Snuggled with wife.
Up early and drove to Snoqualmie for 2nd day of riding.
Glorious day in the mountains!
Watch a movie all together for New Year’s Eve.
Had family over on the 1st for long lunch.
Tried to edit snowboarding trip film.
Failed.
GoPro Studio sucks balls!
Serious online gaming session.
Brunch at Easy Street.
Got The Ruminator’s cracked iPhone glass fixed.
Picked up new kitchen floor tiles at Lowe’s special order desk.
Dinner with Nana.
Dropped off Ruminator at Airport.
Teared up in Jeep on the way to work.
Worked late first full day back to work in 2017 – an inauspicious start.

matt-talley_snowboarding_christmas-2016-1

matt-talley_easystreetrecords_12-2016

matt-talley_christmas-morning-wife_-2016

matt-and-carlton-talley_christmas-2016

matt-talley_snowboarding_christmas-2016-3

matt-talley_snowboarding_christmas-2016-2

Not Looking for a New Job, But…

Port Townsend School of Woodworking is looking for a new Executive Director.  It is my dream job!  I read the job notice early one morning before Thanksgiving and it checked all my boxes.  I have the EXACT qualifications for this position and then some.  It was like the sky parted and a ray of warm sunshine fell upon me.  I needed, my soul need this job!  I had a momentary lapse into my new fantasy life:

Waking up on our 43′ sailboat moored near Ft. Walton Park.
Fresh cup of coffee in the galley.
Kiss my still blissfully sleeping, blanket covered, puppy snuggling wife as I head off the boat to start my day.

Stop in by my dock-side garage shop and feed the cat (
an imaginary cat as I do not have one currently, but would need one for my dockside garage shop in Port Townsend...)
Walk or cycle to work.
Spend my day smiling – the scent of fresh wood in the air around me and surrounded by people also doing what the love.
Stop by a cute local store on the way home for a couple of things and pick up flowers for my wife.
Write a few work e-mails and do a little work on some personal wood projects before dinner.
A fine meal of local veggies and fresh-caught fish with a glass or two of a 2009 Pomerol wine.
Read a little, write a letter or two, play a game of chess, and/or maybe some Netflix before going to bed in our cozy aft cabin.

job

As I day-dreamed about this new life, I got WAY ahead of myself thinking about how I was going to break the news that we were selling our house in Seattle to my wife. I was fully into the dream right up until I read the last little bit: “…Starting Salary: $45K to $55K”. Dammit!

I guess I will keep my day-job and just huff sawdust in my free time. I sent the notice to my boss without any explanation and I got back something to the effect of: ‘I was worried until I got to the end. I think we will be seeing you for a while longer…’


Working on my day off

The house remodel seems to never end…  I will be so glad to just be and live in our space at some point.  We are close, but there are still details left undone – enough that I am trying to concentrate on one room at a time.  My plan is to get each done in turn and then move on to the next.  I wasn’t as successful at that as I wanted to be this weekend as I bounced back and forth between the living room and our bedroom closet, but I did get a ton done.

I installed the upper shelves and corner shelf in the walk-in closet, laminating two layers of 3/4″ plywood for really strong support over a 54″ span and in the unsupported corner.  In addition to using copious amount of glue and screws, I attached the butted plywood edges together with wood biscuits – it is always a fine day when I get to crank up the biscuit joiner.

matt-talley_-notebook_11-2016-3 matt-talley_closet-build_11-2016-2 matt-talley_closet-build_11-2016-1 matt-talley_-notebook_11-2016-2


Almost a year ago, I sourced some corner shelves at one of the local architectural salvage places for less than $200 – far cheaper than what it would have taken me to build them.  They came out of a 1930-40’s house and were painted Christmas colors, but I knew that they would be perfect for our living room, which was stripped of its built-ins at some point in the last 88 years.  They have sat in storage and until this past week when I pulled them out and got some material together to permanently mount them.  Stamps-With-Foot helped me set them in place after I built sturdy bases.  Each of them cover a wall plug, so I am in the process of re-routing the receptacle using armored cable.  I also have to build in an air-return duct under one and that has taken some serious brain power to get right.  I will add trim this week and my wife and Mother-in-law will paint them cabinet white this weekend.

matt-talley_corner-builtin_11-2016-4 matt-talley_corner-builtin_11-2016-1 matt-talley_corner-builtin_11-2016-2 matt-talley_corner-builtin_11-2016-3 matt-talley_-notebook_11-2016-1


While I was at it, I punched out a rubber washer for a pot lid knob.  I made the knob a couple years ago out of some scrap cherry firewood after the original plastic one broke.  The original washer had corroded, so I made a new one and installed it.

matt-talley_new-washer-for-pan-lid

I also took a couple minutes to mount the red glass post topper on the back fence.  It was ordered (along with a spare) months ago and have meant to put it on every weekend since.  There is always an excuse for why I didn’t, so I marched right out first thing Saturday with a tube of clear silicone and finally just got it done.  It is the little victories that keep me going.

matt-talley_glass-post-top_11-16


A Walk-in Closet for My Wife

As part of the now 10 month rehab, remodel, rebuild of our house my wife wanted some space to hang her clothes and put her shoes and boots that was not an afterthought.  A place that, for once was not crammed or disorganized and was purpose built.  It was decided that we turn a small bedroom/office into a walk-in closet.

I sketched out a few ideas in my notebook and went over them with her.  She removed a large shoe rack and opted for more clothes bar space.  She also wanted a bunch of drawers to store smaller stuff in.  I initially drew everything with a built in dresser, but changed it a little and made room for a free-standing French dresser made in Revel in the 1930’s that we acquired while living in Toulouse. There is 27 feet of linear hanging space using iron pipe (no sag), 24+ shoe cubbies, shelves, drawers, storage, and two full length mirrors.

I spent most of this past weekend getting the flat panel section dividers up, installing the clothes bars and adding top shelves.  There are three areas that are made for off-season storage: coats in the summers/short sleeves in the winter.  For these spaces, I decided to line one wall each with cedar.  While some people might line the whole closet with cedar, I would advise against it unless you and your significant other wants to smell like a lumberjack constantly.  Too much and the smell, while pleasing for me, pervades everything.

I lined two of the three spaces this weekend and got to use my old-school hand miter saw. While manual, it is faster to use in the closet – no dragging in a stand and cords and creates a LOT less dust than my big power Bosch miter saw.

I still need to add shelving on one side, put up all of the upper and lower panel trim, fill my nail holes, sand, paint, and bring the dresser in, but the space is usable and has allowed us to unpack all the boxes that have sat in our bedroom full of clothes. I will take the clothes back out on the day that I sand and paint.

Here is the progress to this point:

Matt Talley_closet build_2016_01
Matt Talley_closet build_2016_05
Matt Talley_closet build_2016_04
Matt Talley_closet build_2016_02
Matt Talley_closet build_2016_03

Using My Dad’s Tools

In 1982 or 1983 my dad made me a ball, bat, and glove rack for Christmas. I was super into baseball and it was cool to have your gear up on the wall ready and waiting for you to be able to grab it all and run out the door to a game at a moments notice. Getting the pocket for the ball cut correctly and rounding over all the edges and corners took him forever. He decided that he HAD to have a router and for that same Christmas, my mom bought him a Craftsman 1-1/2 HP, Model #315.17492 Double Insulated router. He was as happy as a puppy with a new bone and looked for stuff to round over, “ease the edge…” everywhere in our lives for months. He was so proud of that router and for years a wood project around the house wasn’t complete until it had been kissed by a 1/4′ shank bit, whirling at 25,000 RPM.

When my dad passed, I got all his tools and the router was part of the deal. I have used it for years and while it is a little funky to adjust and has a base that isn’t perfectly round, it still does a fine job of “easing the edge” on shelves and cabinets. For the most part I use a 1/2 or 3/4 round-over bit in it and use my trim router for 1/4 and 1/8 round overs. Technology has much improved since the early ’80s and I have other routers to do fancy stuff these days but, Daddy’s still gets used a good bit.

I few years ago I had a garage break-in and a bunch of tools were stolen. I lost a lot of Daddy’s wrenches, power tools, my grandfather’s chisels, all sorts of stuff, but the big funky router happened to be in the basement where I had left it sitting for weeks on a long undone project. I am thankful it didn’t end up in a pawnshop somewhere and I am still able to use it to do a little work and connect with my dad, all these years later, just by using the router that he so badly wanted. I used Daddy’s router today, while building a walk-in closet for my wife. I thought about my dad, his smile, his quiet manner, and his patient love for his small son.

Matt Talley_Dads router_2016_1

New yellow Mustard-Monster Lathe up and running

When building The F-Bomb Garage, I bought some new tools in which to fill it.  One of those hunks of iron delight was a Powermatic PM3520b wood lathe with a bed extension and lots of accessories.  It was a replacement for the three lathes of varying sizes I had sold before the original garage was torn down. I didn’t have the room or desire to store equipment that I wanted to upgrade anyway.  The new lathe had been boxed up for 4 months waiting for me to clear some room, unpack boxes, and for the power to be hooked up.

I spent all of Saturday afternoon, the weekend after power was finally turned on,  putting together my sweet lathe. The thing is a beast, so I had to start out with the bed upside down and install the legs.  I carefully rolled it on its side after all the leg bolts were torqued down and girded up my loins for some heavy lifting.  Now, what I should of done was hook a block and tackle to the rafters and pulled it up right, but I am hard-headed, so I put on wrist straps and dead-lifted the bed onto a 2′ wood block.  Then, after psyching myself up a little, I lifted it the rest of the way vertical.  If my sweet wife would have caught me, she would have said dirty words and i would have been in serious – grounded form the shop – trouble.

Anyway, after the base was upright, the head-stock/motor, banjo (tool rest holder), and tail-stock went on.  I installed the 18″ bed extension while I was at it and made sure to check everything over one more time.

It is 710lbs of mustard-yellow sexy.

Matt Talley_PM3520b_lathe_2016 (3) Matt Talley_PM3520b_lathe_2016 (4) Matt Talley_PM3520b_lathe_2016 (5) Matt Talley_PM3520b_lathe_2016 (7) Matt Talley_PM3520b_lathe_2016 (8)Matt Talley_PM3520b_lathe_2016 (1)Matt Talley_PM3520b_lathe_2016 (2)

I did not buy a boat or tools at the 2016 Port Townsend Wooden Boat Festival

I went to the Port Townsend Wooden Boat Festival this past weekend (the 40th anniversary) and succeeded in staying married to my lovely wife by not buying a sailboat, not buying any crazy expensive (yet stunning!) tools at the Lee Valley Tools booth (the plane hammer and plane irons don’t count), and by not getting shanghaied into debauchery aboard a three-masted sailing ship headed out into the Pacific for points unknown.  Instead, I drove up, saw the sights, talked to a few folks, lusted after a few tools, fell in love with one particular little wooden single-mast pocket yacht, then drove home in time for date night.

Matt Talley_Port Townsend Wooden Boat Fest 2016 (4)

There were so many amazing boats there and I went up specifically to see a couple of the CLCPocketShips, a Scamp build, and to see if I could get on a 19’ West Wight Potter (while not a wooden boat, the Puget Sound Potters Group were in the vicinity…).

The Ruminator will be spending a good bit of his time next summer learning to sail and I may be in the market (grade and behavior dependent) for a little trailer sailor/pocket yacht for us to rebuild together.  The  idea of building or rebuilding a boat with one another interests me a great deal (sweat equity), but the Scamp is too small for us both (he is a big boy and I am tubby) and it is a 1000+ hour build.  The Pocket Ship would work and we could overnight in it like a 2-man tent, but it is a 2,000+ hour build.  The latter translates into 2 years of weekends and all my days off from work.  It would also tie up all of my new shop space for the duration of the build.  That is no está bien…  The “smart” thing is to pick up a Catalina or Columbia 22 and just sail, but the ones I have seen, been aboard, and sailed on have no soul.

I did get a very close look at Opus, a lovely little boat (named after my second favorite Bloom County character) that I have seen battened up at the Center for Wooden Boats a few times.  Her owners were there this weekend with her brass polished, decks scrubbed, and companion way open.  I am in love!  Opus has plenty of soul and personality just sitting dockside.  I got to talk to the owners a good bit about how she sails, her history, and explored her little cabin to my heart’s content.  I want her.  If I were to build a boat someday it would be just like Opus.  She is a Wee Seal MKII, designed by the noted Australian/Scotsman designer Iain Oughtred.

Matt Talley_Port Townsend Wooden Boat Fest 2016 (5) Matt Talley_Port Townsend Wooden Boat Fest 2016 (6) Wee-Seal-1 Wee-Seal-Mk-Ii-Sail-Data_-1


I also got to take a look at the Pygmy boats and kayaks (love their traditional kayak paddles) as well as the offerings from CLC.  Some of the wood, inlay, and detail work on these kayaks is amazing.  I don’t think I could put one in the water after I finished building it.  I would be way too guarded about where it went and where I put it.  CLC also has a little teardrop trailer that seemed to be one of the hits of the show/Festival.

Matt Talley_Port Townsend Wooden Boat Fest 2016 (8) Matt Talley_Port Townsend Wooden Boat Fest 2016 (10) Matt Talley_Port Townsend Wooden Boat Fest 2016 (12) Matt Talley_Port Townsend Wooden Boat Fest 2016 (13) Matt Talley_Port Townsend Wooden Boat Fest 2016 (14)


I finished my tour of the show back at the Lee Valley booth and then walked out onto a long pier to watch all the sail boats playing in the 10 knot winds for a long while, before heading back to Seattle in the Forester by way of Port Gamble.

Matt Talley_Port Townsend Wooden Boat Fest 2016 (3) Matt Talley_Port Townsend Wooden Boat Fest 2016 (7) Matt Talley_Port Townsend Wooden Boat Fest 2016 (11)

Hand Tool Tuesday – First Post

Last week, I was a little off for two days – a pissed off sort of sad. I thought I had left my hammer out while fence building and it had walked away with someone else. I found it Thursday evening in the garage and I almost did a little jig. This hammer is special to me: I bought it brand new and shinny when I was 12 because my dad said ‘Estwing was the best’ long before they were in Big Box stores and when you had to drive to a particular store in town to buy them. I think it was like $26 and I paid part of the total with rolls of dimes and nickels.

I used it to build my first wall, lay sub-floor, hang countless pictures, install everything from siding to cabinets to trim to roof trusses.  It has fed me and my children.  I have other hammers including a matching 16oz trim hammer and 4 blue elastomer handled Estwings, but this one has been my constant companion for 30 years and will out live me.  Maybe my children or grandchildren will use and appreciate it and think of me when I am gone.

Matt Talley Estwing HaMMER 2016

There was a book written in 1990 called “The Things They Carried” by Tim O’Brien.  It is fictionalized account of one man’s experience in during the war in Vietnam told in part as a discussion about what he and his companions carried with them.  I read it in college and it changed my perception and appreciation for the often mundane things we carry in our pockets, in our bags, and out tool belts.  Those simple objects often come to have powerful associations and meaning for us.  I have decided to start a new weekly post covering the tools and things that I share my day and life with.

House Remodel Status September 2, 2016 – 7.5 months in

Here is the house/garage re-build/build status for the 1st part of September.

  1. The F-Bomb Garage has been painted – at least the outside walls.  I need to paint the trim and doors next.
  2. Repaired some major issues with the trim and siding on garage – real unhappy with my garage builder!
  3. Front yard is still green, but need to clean and re-seed the back yard.
  4. There oar only 2 rooms in the house that are complete and need no work at this point.  Stamps-With-Foot could be happier with me right now…
  5. The mounting brackets for the granite in the basement are done and I will install them this weekend.
  6. Our washing machine went out…  fuck.  The bearings finally gave up the ghost.  need to haul it out and put another in.
  7. No garage power yet.  Huge load of confusion between the City of Seattle and my electrician.  Maybe worked out now, but we will see.
  8. The yard is completely fenced in and the rear gate is installed.  just a couple of tweaks and then power wash and polyurethane coat.
  9. The living room corner cabinets are in place, but not painted or installed.
  10. We have a small roof leak – motherfvcker!!!  it is around the kitchen vent and from where the moss removal team got too eager with the power washer.  I will go up there this weekend and seal it.
  11. Got a huge bill from our plumber for work that they didn’t do before abandoning the job.  wanted to scan my ass into the 3D printer and send them a copy.  Called a lawyer instead.  we have a plan forward.

Building fences and pouring concrete

I need to tie the wooden fence back into the new structure so the dogs can roam in the back yard again. While backing up to unload concrete and posts for the fence, I barely tapped the corner of the garage with my trailer. Not a single scratch or dent or ding, but it made me say DIRTY words. I put my thunkin’ cap on and decided that if I did it once, I would do it again, and someone else would definitely smack the corner. A Bollard was in order. I went by Pacific Metals and picked up a 6’X5″X5/16″ wall hunk of square tubing and 4 sections of 3/8X10′ rebar.

I rented an auger to dig the needed 7 post holes and dropped in 1 more for the bollard. The fence post holes are 18-14″ deep, but the bollard hole is 38″ deep and after chipping away at it with a post hole digger, maybe 14-16″ in diameter with a bell-shaped bottom. I cut 3 of the rebars to 7’ and bent the three pieces into a fishhook shape, wire tying the tops together in 3 places. I then took the off cuts and bent them into a “U.”

I put the rebar in the hole, sitting on plastic rebar chairs and placed the post over them. I splayed out the “hook” sections and wire-tied the U-shaped pieced around the rebar and around the bollard. I then added another hoop around the original section and the tied hoop. Concrete was poured in and vibrated to get all the air and voids out. I filled the bollard with concrete and used a scrap section of rebar to agitate and pack down the concrete in the bollard.

I left 4” of the top of the square tubing free of concrete and dropped in a 6” lag bolt with to 3” sticking out of the wet concrete, but still in the tube. After the concrete dried and while I was setting some fence posts, I went back and finished off the top of the bollard with a bit more concrete. I will paint it red when I paint the doors to the garage. The thing won’t stop a tank, but it might save the corner of my garage from a moment of inattention…
matt talley Bollard detailMatt Talley_Garage 2016_089 Matt Talley_Garage 2016_090Matt Talley_Garage 2016_082Matt Talley_Garage 2016_084Matt Talley_Garage 2016_081 Matt Talley_Garage 2016_083Matt Talley_Garage 2016_085 Matt Talley_Garage 2016_086

Not so short contractor rant

We are so close to being done with the garage and the house (yard is still a disaster, which will have to wait ‘til next year, but the stress of dealing with crappy, disorganized, and/or no show contractors throughout this process has been and is so frustrating.  This is not a post to rail on all contractors or even all of our contractors…

We had same great ones:

  1. Maranatha Hardwood Floors showed up on time for the quote. The owner was personable and the quote was reasonable.  They showed up on time, did a beautiful job, listened to a specific request from my wife, there were no extra charges, cleaned up after themselves, and our floor looks great.
  2. RCS Fire Place was A-1: On time, good pricing, no add-on charges, etc…
  3. After an initial sales rep flub, Greenwood Heating & Air did a nice job on our heat pump. Very professional installers.  No complaints.
  4. Vehicle Equipment Solutions was awesome on the lift order and install. I couldn’t be happier with their work.
  5. Our Drywall guys were top notch.  Very professional, great price, showed up when they were supposed to and finished right on time.
  6. The carpet guys that did our bedroom were fast, professional, and did a nice job.
  7. I had some custom wrought iron brackets made and the blacksmith listen to our wants and delivered a beautiful product.
  8. Pacific RIM equipment rental was great in supplying heavy equipment for the garage tear out and site prep. When there was a breakdown, they delivered a new machine and I wasn’t charged for any gas use for the entire weekend.
  9. Bryan at Squak Box was a rock star when it came time to haul out the debris from the old garage and all the old concrete. On time, no hidden costs, dropped the containers perfectly.  Couldn’t ask for more.

And the not so great:

My garage contractor has now quit.  There is little I can do at this point besides shake my head in wonder and disgust.  It has been a bumpy road from almost the start, but I figured that with a little bit of work it would all be OK.  A bit of work turned into a part time job and time spent on the garage was time not spent on the house and that made Stamps-With-Foot grumble.  In addition to the garage tear down and the site preparation that had to be done (40+ hours of my time and ~$3000.  I had to do 4-5 hours of slab/rebar prep when the contractor’s guy messed up, then had to ask for poly burlap to cure the slab, apparently not standard.  I ended up keeping the slab wet for the entire 10-day cure (to limit cracking and allow it to fully harden, then apply the concrete densifier after my normal workday and the end of the cure process.

Installation of fire blocking isn’t required per code in Seattle for a wall less than 10’, but it is the right thing to do.  It was out of scope for the contractor and an additional cost, so The Ruminator and I ended up doing it while he was here on summer vacation.  I had to install two forgotten kicker studs, tighten missed/forgotten anchor bolt nuts, added nails to the hurricane straps, and had to go over punch list items twice before they were addressed.

The windows and door trim were installed incorrectly – I could see daylight in the corners of the windows and I asked that they be re-installed.  When that was being done, my siding got cracked.  I also found that instead of every 16” per code, the siding was nailed every 4’ in some locations.  I called and the foreman came out.  He addressed some issues but caused others.  I then called the owner and he came out.  He agreed with every point I had.  They crew came back and while some items were fixed, others were not and new problems popped up.  I let the owner know and this was his response:

“Unfortunately we’ve succeeded in messing up again.  ____ had no excuse for why he didn’t read my email, about taking the siding out from the bottom of the windows, and what they were thinking with the screws into the bottom of the fascia’s.  If they’d pre-drilled the holes it would have worked and been clean.

I don’t have anyone else in my employee who I could send down to make any corrections, and I don’t think you would trust anyone I sent to do any more work.  What I’d like to offer is to forego our final payment and let  you clean up any items by your self.  I don’t like doing this, I really want to get the job done for  you but we’ve already had three try’s.  I know you might not be as happy as you should be but I want to at least make you satisfied with _____________.”

I am not happy and while I agree that I don’t trust his guys to come back a third time, the keeping of a few hundred bucks does not make it all better.  Now, I either have to find and pay someone else or do it myself.  Frustrating.

I have looked at this.  Am I just an asshole?  Am I too picky or do I expect too much?  I really have looked at this hard and yes, I can be an asshole,  but not in this and not with a single contractor or tradesman on my site.  We provided lunches, Gator-aid, and beer for all the guys working, I talked to every contractor that has been on our property like I would want to be spoken to, If I wanted something different or changed, I addressed it right then by ASKING and wasn’t the least bit of a shit about it.  I cleaned up the job site in the afternoons after I got off work to save them all time and effort.

Is needing someone to stick to a schedule, be on time, and not halfway do something too particular?  I don’t think so.  Is asking that a contractor meet minimum code requirements, pull permits, and do the job they agreed to for the agreed to price crazy?  apparently so.

Other issues:

In addition to the plumbing circus that we had in the spring, we had a carpentry crew that abandoned us for a job where the other customer was screaming louder.  They left tools, work unfinished, material, you name it.   My electrician has been a little flakey – uncashed checks, no shows, showing up unannounced and unscheduled, really hard to get a hold of, etc., but at least this one hasn’t broken into our house while we were gone…  I have had 3 contractors come out for quotes on our basement bathroom tile and never heard from two of them again.  The third guy finally called me back and said the job was just way too small and “not worth the time it would take to set up his wet-saw.”

I get it, all the contractors in Seattle are busier than a puppy with two peckers.  That means that 1. they can be super picky, 2. charge what they want, 3. if they fuck up, no worries, there are three other jobs waiting.


The F-Bomb Garage completion is getting closer!

I was out of town this past week on a work trip to merry ol’ England. I came home to a sweet surprise: I have a new 10,000lb two-post lift installed in the F-Bomb Garage. I got a decent deal on a . Went with the Rotary Revolution RPT10 because there is a local dealer, local support, I got a decent deal on the lift+install, and some experience that some friends and colleagues have had with this and other lifts.

We are getting closer to finally building some stuff inside/voiding warranties/modifying the jeep.  My contractor had a foreman out last week to deal with the framing punch-list items: a couple of anchor bolts, some trim, loose siding, a funky corner, and I had him re-install my three windows with the proper flashing tape – I could see light in all the corners.  A leaky window after I have stressed the importance of proper installation and showed them what I needed twice would throw me into fits.  He also swapped the door trim, but not everything on the list got done and now there is more stuff that needs attention.  I have the contractor stopping by to go over it all tonight.  Very frustrating to spend this sort of cash and to deal with all the little things over and over.

The electrician is 3 weeks out – everyone is building and remodeling in Seattle and contractors are super swamped, so I am going to concentrate on the outside in the mean time: Paint and gutters as soon as the siding issues are dealt with.

Matt Talley_Lift_2

Matt Talley_Garage_build_2016_78

Matt Talley_Garage_build_2016_77

Matt Talley_Garage_build_2016_75

Building a Skin-On-Frame Kayak

Matt Talley_baidarka_kayak_build_2016_03

On my very first trip to Seattle in 2003, I had a day off from work and happened to wonder into The Center for Wooden Boats in the South Lake Union area of the city. I loved it immediately and lingered around the boats and workshop for hours with a smile and a happy heart. At some point, a volunteer let me take out a kayak and paddle the lake. It was not like the plastic and fiberglass beasts that I had paddled or owned previously. It was light and flexible in the right spots, sleek, and fast. It was a skin-on-frame boat, called a Baidarka, that was based on a 4,000+ year old Aleut design. No nails, no glue, no screws. Just wood, nylon (modern replacement for walrus or seal skin…), and LOTS of knots.

I was smitten and just as happenstance, there was a baidarka building class going on that was finishing up under a pavilion on site. I talked to the instructor, Corey Friedman, asking all sorts of questions, until I think he wanted to drown me. Six years later as we were planning our move to the Emerald City, I vowed to take the kayak building class. Finances, life, and vacation available conspired against me until this year, thirteen years after seeing them for the first time (though I did read the Dyson book in college), the stars aligned and I was able to sign up for the class and take the time off. It also happened to coincide with my son’s summer visit, so I got to build an item on my bucket list AND spend serious quality time with my son.

Matt Talley_baidarka_kayak_build_2016_07

Matt Talley_baidarka_kayak_build_2016_20


We started on a cold Saturday morning with three ladies also building boats and 8.5 days later, I brought my hand built and custom sized boat home. The interim was spend learning a GREAT deal, tying 2000+ knots, bending frame ribs, listening to way too much zydeco music (instructor’s favorite), sewing, saying dirty words, removing stitches, resewing, loving the time spent with The Ruminator, and enjoying the ambiance of the Center for Wooden boats.

I have included a full photo documentation of my build as a pictures on my notes. I figure that the more people who document the process, the better chance this boat has of living on for future generations. Here is an additional documentation from another former student that was better at it than me.

Matt Talley_baidarka_kayak_build_2016_40

Matt Talley_baidarka_kayak_build_2016_64

Matt Talley_baidarka_kayak_build_2016_63

Matt Talley_baidarka_kayak_build_2016_62

Matt Talley_baidarka_kayak_build_2016_61

Matt Talley_baidarka_kayak_build_2016_60

Matt Talley_baidarka_kayak_build_2016_59

Matt Talley_baidarka_kayak_build_2016_58

Matt Talley_baidarka_kayak_build_2016_57

Matt Talley_baidarka_kayak_build_2016_56

Matt Talley_baidarka_kayak_build_2016_55

Matt Talley_baidarka_kayak_build_2016_54

Matt Talley_baidarka_kayak_build_2016_50

Matt Talley_baidarka_kayak_build_2016_49

Matt Talley_baidarka_kayak_build_2016_48

Matt Talley_baidarka_kayak_build_2016_47

Matt Talley_baidarka_kayak_build_2016_46

Matt Talley_baidarka_kayak_build_2016_45

Matt Talley_baidarka_kayak_build_2016_44

Matt Talley_baidarka_kayak_build_2016_43

Matt Talley_baidarka_kayak_build_2016_42

Matt Talley_baidarka_kayak_build_2016_41

Matt Talley_baidarka_kayak_build_2016_39

Matt Talley_baidarka_kayak_build_2016_38

Matt Talley_baidarka_kayak_build_2016_37

Matt Talley_baidarka_kayak_build_2016_36

Matt Talley_baidarka_kayak_build_2016_35

Matt Talley_baidarka_kayak_build_2016_34

Matt Talley_baidarka_kayak_build_2016_32

Matt Talley_baidarka_kayak_build_2016_31

Matt Talley_baidarka_kayak_build_2016_30

Matt Talley_baidarka_kayak_build_2016_28

Matt Talley_baidarka_kayak_build_2016_26

Matt Talley_baidarka_kayak_build_2016_24

Matt Talley_baidarka_kayak_build_2016_23

Matt Talley_baidarka_kayak_build_2016_22

Matt Talley_baidarka_kayak_build_2016_21

Matt Talley_baidarka_kayak_build_2016_19

Matt Talley_baidarka_kayak_build_2016_18

Matt Talley_baidarka_kayak_build_2016_17

Matt Talley_baidarka_kayak_build_2016_16

Matt Talley_baidarka_kayak_build_2016_15

Matt Talley_baidarka_kayak_build_2016_14

Matt Talley_baidarka_kayak_build_2016_13

Matt Talley_baidarka_kayak_build_2016_12

Matt Talley_baidarka_kayak_build_2016_11

Matt Talley_baidarka_kayak_build_2016_10

Matt Talley_baidarka_kayak_build_2016_09

Matt Talley_baidarka_kayak_build_2016_08

Matt Talley_baidarka_kayak_build_2016_07

Matt Talley_baidarka_kayak_build_2016_06

Matt Talley_baidarka_kayak_build_2016_05

Matt Talley_baidarka_kayak_build_2016_04

Matt Talley_baidarka_kayak_build_2016_01

Matt Talley_baidarka_kayak_build_2016_20

F-Bomb Garage Build Status – Late June

Well, we are a month+ behind schedule, but the our garage is coming along:

The roof trusses are up and on: Flat trusses on one side and scissors on the other side to accommodate the 2-post car lift. My contractor is not adding the fire block (insert grumpy face).  These both limit the upward spread of a possible fire and add structural rigidity to the wall.  Building code in our area is 10′ of wall height before block is “required” and my walls are 10’… I don’t care to build to the minimum of code, I want it done the right way and fire blocks, regardless of wall height, are the right way, so I cut them all to size myself and have employed child labor (The Ruminator) to install the blocks with a driver and some 3” framing screws. I then snapped a line at 5′ on the outside wall and gave him a hammer and a big box of 8d coated nails so he could attach the sheets to the blocks. Not too many shiners – he did a fine job.

The Tyvek vapor barrier wrap is just installed over the front wall so that the garage doors could be hung. Both are 8’X9′ R12 insulated fiberglass doors with no windows and follow the two different ceiling lines on the inside. I put jack-screw openers to the side of the doors so that the space over the doors would be clear. In the pictures below you can see the tiny attic as well – a pull down ladder goes in next week. Overkill, but I put ¾” T&G up there as floor decking and glued/screwed it in place – just ‘cause…

There is Carlisle WIP300 self-sealing roofing underlayment/membrane installed. #30 roof felt is $25 a roll and WIP is $90, but I only needed 5 rolls (4.2 actually). That $325 difference is serious insurance as the WIP can sit out without shingles on it, in case of wind damage an such, and not leak for 6 months. The roof (as well as wall) decking is all CDX (I HATE OSB) and for the small quantity bought for my garage, it is $4 a sheet in difference. $200ish total for sheathing and decking – well worth the price for peace of mind.  Roofing is 30 year algae-resistant (important in Seattle) 3 tab architectural shingles that are color matched to our house.

The rest of the wrap, windows, the man-door, and  6″ reveal Hardi lap siding goes on next week.

Matt Talley_F-Bomb_Garage_Framing_08

Matt Talley_F-Bomb_Garage_Framing_19

Matt Talley_F-Bomb_Garage_Framing_18

Matt Talley_F-Bomb_Garage_Framing_17

Matt Talley_F-Bomb_Garage_Framing_16

Matt Talley_F-Bomb_Garage_Framing_15

Matt Talley_F-Bomb_Garage_Framing_14

Matt Talley_F-Bomb_Garage_Framing_13

Matt Talley_F-Bomb_Garage_Framing_12

Matt Talley_F-Bomb_Garage_Framing_11

Matt Talley_F-Bomb_Garage_Framing_10

Matt Talley_F-Bomb_Garage_Framing_09

Matt Talley_F-Bomb_Garage_Framing_07

Matt Talley_F-Bomb_Garage_Framing_02

Matt Talley_F-Bomb_Garage_Framing_06

Matt Talley_F-Bomb_Garage_Framing_05

Matt Talley_F-Bomb_Garage_Framing_04

Garage and House Build/Remodel Update – 6/14/16

Garage:

  1. My slab is cured and the densifyer has been applied.  really happy with the results – a big thank you to Mr. Mark Flood!!
  2. The ground around my garage slab is all level.  I rented a Skid-Steer this past weekend and played in the dirt.  Hauled 2 yards of excess over to the neighbors yard to fill some voids and I used the skid-steer to pull out 7 small stumps for her.
  3. Got a call from the builder yesterday and the lumber will be onsite today, Framing starts Wednesday, and trusses are delivered on Friday.
  4. Was asked to move the Honey-bucket so that the lumber would have enough room.  Odd, request for my builder to make of the homeowner/customer, but I did it just so there would be no issues with the lumber delivery.
  5. If schedule holds, windows and siding start next Wednesday, and we will be fully in the dry by next Friday.
  6. It looks like I will be installing the windows as I am more particular than the builder about such things.
  7. My son, The Ruminator, will be here for a few weeks and I will get him help me run wire in the garage shell.
  8. My 2-post car lift will be installed by the end of the month

Matt Talley_Garagfe Slab prep_02

Matt Talley_Garagfe Slab prep_03

Matt Talley_Garagfe Slab prep_07


House:

  1. We are finishing up the paint on the main level.
  2. I need to start putting the 1/4 round trim back down.
  3. Bathroom: there is tile work to finish and a mirror to be hung.
  4. Basement remodel is stalled.  We had the head manager for the plumbing company out on Saturday after we found even more problems with the work that was done and we have told them: “…in light of the previous and continuing issues, incomplete work, existing damage caused by your subcontractors that we will have to have repaired, and that the basement portion of our remodel has been brought a complete stop,  my wife and I do not want a____________ employee, or anyone from a subsidiary company back in our home.  We do not wish to continue dealing with _______.”  We can’t really touch anything until they agree to this.  If they do not, then we can’t do anything as the matter will have to be settled via remediation.

Garage Build Update 5/10/16

My slab gets poured next Tuesday. All clear from the City for electric trench and slab forms. There were a few issues that I saw last week that needed to be adjusted: There was a rebar oops in the car lift footings that was a serious new-guy error, but instead of calling my contractor to bitch, if just fixed it. Sometimes you are only as good as your worst employee… I picked some rebar and a couple boxes of chairs, looped ties, and put a 12″OC grid down of 1/2′ rebar 3″ from the dirt in the footing hole on Friday evening after work.

I also lifted the existing rebar over the footing holes up with chairs so that it would all be the same level as the welded wire. Hanging it from the wire would force the wire down to the top of the visqueen, negating the use of the material in a large area. I took the extra chairs I had and added them to the welded wire field. I understand that it gets stomped down when they pour and walk the pour, but the trick for me is to limit the amount that stays down. It was $90.00 worth of material and a couple hours of my time and we can work it out as we move forward with the build. The minor details in the grand scheme.

Matt Talley_Garage Slab work_2016_2016_03 Matt Talley_Garage Slab work_2016_2016_02 Matt Talley_Garage Slab work_2016_2016_07 Matt Talley_Garage Slab work_2016_2016_06 Matt Talley_Garage Slab work_2016_2016_01

Story Time – A Small Remodeling Success

I am super proud of this door. It is original to our 1928 house and at some point in the last 88 years was removed from a closet or from somewhere in the basement and stuck in the rafters of the garage were it was covered in something near a ¼” layer of dust.

We built a stairwell to the attic and needed a door. I was all ready to source one at Second Use or Earth Wise, but at the last minute, I remembered this beauty and it was the perfect size (28″) I needed. For a jamb, I cut down one we had just pulled out of what is now the dining room. The door knob plate is a perfect match to the others in the house, which is awesome as it would have been impossible to find another one. I did source a vintage lock, brass strike plate, brass screws, and 1920’s glass knob at one of the local vintage building supply shops – both match what we already have all over the house perfectly.  The job to install the lock, attach the knob, and mortise in the strike plate took all of 30 minutes and in a year,  no one will ever know that the door hasn’t always been there or about its long dormant sleep in the top of the garage.

I am really happy to have this original piece of our home hanging there again. The trim went on to match the other doors and now just needs to be painted.  I will do so after painting the walls and with the rest of the trim in the room.

Matt Talley_house remodel_139Matt Talley_House Remodel_035Matt Talley_Door Reuse_2016

House Remodel Status – 4/12/16

Things are moving along with the house and garage, abet very slowly.

  1. I cut the dying vine maple out of the back yard.  Its loss made both my wife and I sad – we loved that tree.  Part of it I saved for fire wood and part I gave to a local bowl turned I know so he could make beautiful stuff out of the sections that were free of rot.
  2. The new 1″ water supply line is in.
  3. Our basement slab was cut for the new basement bathroom and drains
  4. Concrete floor re-poured.
  5. I have demo’ed part of the basement ceiling, the front bedroom closet and a huge spot in the dining room for the plumbing company to run PexA supply lines and vent pipe.
  6. Plumbing rough-in is going on today and we may have a functioning toilet and kitchen sink by 5:00pm tonight – maybe…
  7. We haven’t had water for a week and have been staying in an air B&B, which has gotten old and expensive.
  8. Basement bathroom framing is going in tomorrow.
  9. The new 1st floor bathroom vanity is done and in place, but the holes in the granite top for one of the facets are cut wrong – it has made me a little crazy…
  10. I have cleared all the stuff out of the way in the back yard and am ready for dumpster deliveries.  I am taking the old garage out this coming weekend.
  11. The attic is ready for new floor joists, but still waiting on the engineer’s report to decide what is going in and options for the space.  We had wanted a Master Suite up there, but are not sure if it can be done at this point.
  12. Our fireplace insert goes in tomorrow and the new fireplace tools are already there.
  13. The three windows for the garage and two for the house are on order and should be here next week.  I just have to find a place to store them.

Some pictures of the current status and the latest progress:

Matt Talley_house remodel_127Matt Talley_house remodel_126Matt Talley_house remodel_130Matt Talley_house remodel_125 Matt Talley_house remodel_128 Matt Talley_house remodel_129Matt Talley_house remodel_131 Matt Talley_house remodel_132


I haven’t had a day off in about three weeks – working my day job, making calls to contractors and supply companies at lunch and on the way to work/home, and working at the house at night and on weekends.  I have to work all this week getting ready for the garage demo and all weekend tearing it down.  It is all starting to take it toll on me.  I’ll get an evening off from remodel this week to attend my new advanced throwing (pottery) class, and will have a two evenings off next week while the drywall goes in, but will be back at it painting the entire weekend of the 23rd and every evening the rest of the week after.

My wife said a little something a few days ago that resonates: “Life is a journey an not the destination, but remodeling is all about the destination.  The journey sucks!” I swear if I had to make this decision again, I would have sold the house and bought a McMansion in Maple Valley or an updated mid-century rambler Bellevue and just moved right in in.  I have remodeled many homes in the past, but this one and the size/scope are both out of hand and way too ambitious for someone who has a day job.  When all is said and done, I do not want to touch a thing in or on the house for YEARS and would like to just enjoy home for a while, sit in the back yard and drink rosé in the summer sun with my wife.


House Remodel Update – Mid-March 2016

All of the demolition work is now done and the rebuild has started. Electrical is moving along, the City inspector signed off on the new HVAC (there is a permit inspection for the basement still to come), and all of the rough work on the main floor is complete. The once scary attic is now clean and waiting for a reinforced floor and new spray foam insulation.  Some of the trim in the dining room and kitchen is done, specifically the cove/crown on the cabinets.  All the doors are now hung, and the Wainscoting in the new dining room is 90% up. I need to finish up around the double door and fill and prime/paint.

Matt Talley_house Remodel_016

Matt Talley_house Remodel_017

Matt Talley_house Remodel_018

Matt Talley_house Remodel_020

Matt Talley_house Remodel_022

Matt Talley_House Remodel_030

Matt Talley_House Remodel_032

Matt Talley_House Remodel_033

Matt Talley_House Remodel_034

Matt Talley_House Remodel_035

Matt Talley_House Remodel_039

Matt Talley_Attic Remodel 2016_006


Next steps:
Plumbing
Basement bathroom
Finish electrical
Camera system
New window install
Coffered Ceiling in Dining Room
Hutch built in the dining room vestibule
New security system (Hate ADT)
New drywall main floor
New main bathroom vanity
New Kitchen floor (both decision and install)
Finish trim out
balcony install
Attic floor install – pending engineering review
Attic and wine cave insulation – yes, we are that bourgeoisie
New basement door and back door – both will be dutch doors
Main floor hardwood floor refinish
Basement drywall finish and paint – pending city inspection
New carpet in Basement
Garage build

House Remodel Update – February 2016

Making lemonade out of lemons…  I have mentioned an issue we found with our house and how we had to tear out walls to fix things.  Well, we took the opportunity to do some long wanted remodeling since the place was already torn apart.  We are insulating the exterior walls, re-plumbing the whole house, re-wiring to remove the old knob&tube still left in the attic, remaking the Stairs of Doom into something that people won’t fall down, tearing out the 30% efficient oil heater and adding a heat-pump, adding attic access, making a dining room, putting in arched doorways, bringing in more light, and adding lots of period-appropriate detail.  Below are some of our in-progress updates after three weeks of demo, with the “WAS” pictures first.

The stairwell and chimney tear out – before and during:

Matt Talley_Remodel_2016_001

Matt Talley_house remodel_2016 (11)

Matt Talley_house remodel_2016 (4)

Matt Talley_house remodel_2016 (6)

Matt Talley_house remodel_2016 (8)

Talley_house remodel_008Talley_house remodel_007Talley_house remodel_002

Talley_house remodel_003

Talley_house remodel_005


The 1942 oil heater removal – before and during:

Matt Talley_Remodel_2016_002

Matt Talley_house remodel_2016 (3)

Talley_house remodel_004


The back-bedroom transformation into the dining room – before and during:

Matt Talley_Remodel_2016_003

Matt Talley_ house remodel_2016_001

Matt Talley_ house remodel_2016_002

Matt Talley_house remodel_2016 (2)

Matt Talley_house remodel_2016 (12)


The Attic – Before and during:

Matt Talley_Remodel_2016_004

Matt Talley_house remodel_2016 (7)

Matt Talley_house remodel_2016 (9)

Matt Talley_house remodel_2016 (10)

Project built for my truck – the one I sold 2+ years ago…

So this post is a little bit delayed.  It has been sitting in my draft folder for almost three years.  It may be time to publish it…

My 2011 Nissan truck had a very cool really system for holding gear in the back of the truck: an extruded aluminum track along the side rails and two in the bottom of the bed.  They made sliding tie points for use on the rails that were great for some stuff, but I needed more to really strap a load down when hauling brush and debris to the dump.  I looked at buying more from Nissan, but they wanted >$200 for the set of 4.  No thank you!  I did what any engineer would do:  Designed my own and went into the machine shop and made a few prototypes out of aluminum scrap that was laying about.

I made one version with an offset bend for the side walls and the other with a 90 degree bend for use on the bed floor rails.  I might change the latter a little as I found that while a standard small ratchet strap or rope had no effect on it, if I used a large ratcheting load strap, I could bend it.

I also found that the rails were the exact same dimension as commercial uni-strut (standardized formed metal structural system used in electrical, plumbing and HVAC installations for structural support).  Parts are available at all the Big-Box home stores and I was able to pick up a bag of 10 threaded nut plates for ~$8.00 and 1/4″ hex-head bolts of various lengths for another $5.00.  The prototypes worked so well that I made more and with my hold down solution and the OEM tie points, I could haul anything I really wanted and make sure it was securely fastened:  Refrigerators, lumber, yard trimmings, fire wood, trash, you name it.

I added the side walls of a wooden shipping crate to my new truck bed system, bolted directly to the side rails using the uni-strut nut plates and then strapped over the whole load with 2″ straps.  I found the installation took me 15 minutes from start to finish and it made dump and material runs super simple.  It was even faster to remove and store in the garage so I didn’t drive around town like I worked for Sanford & Son.

Truck tie loops

Truck Tie Downs 2012-3 (2)

Truck Tie Downs 2012-3 (1)

Truck Tie Downs 2012-3 (3)

Truck Tie Downs 2012-3 (4)


I sold the truck in December of 2013, but I kept the OEM Nissan tie points as well as the ones I made.  I will use them on my next truck, or possibly my next trailer.  I will just install uni-strut on the sides and on the deck and I will make it that much more useful.

What I Want Thursday – Febuary 2016 Edition

Below are the things that I really want and that are present for me today:

More time with my children and family.
I want to stick to my diet and workout schedule and not fall off the wagon and back into the cookie/café Mocha/lethargic/big-belly/back-hurting abyss.
For the house remodel to be done
For my Garage build to be 100% and my new lift and tools installed and waiting for me.
Growler or two from West Seattle Brewing Co.
Letters – written on actual paper – from my kids.
A longboard skateboard
I could stand a new Kindle
A handsome tweed vest – or two
Brown Redwing Engineer’s boots
Huge antique pattern lathe found in a barn or a PM4224 with all the add-ons.
A pair of 1/2 round and a pair of Snipe Bill molding planes
A 1.75 – 3Hp SawStop Table Saw
One fine compound sliding miter saw
>8″ joiner/planer
A Grizzly G0752 Benchtop Lathe and G0801 Vertical Mill

If you want to hear God laugh, tell him what your plans are…

As mentioned a few weeks ago, we hit a snag on the garage build. Super frustrating. There is some stuff in the house that takes precident – they just have to happen and happen right now. Thankfully, we are in a place to take care of it, but my dream shop has been pushed a couple of months. That hasn’t stopped me from getting everything prepped though. I have completely cleared out my current GROP and moved all the innards into storage for the duration of our build/re-build. A few things like ladders and yard tools are left, but after giving away an entire trailer load of scrap lumber and plywood it is all open space. It hurts a little that the cleanest my garage shop has ever been is right before I tear it down to built a new one…

The other day, I had to do a little fiberglass repair on the Jeep top and swap out my floor-mounted headlight dimmer switch. Not super a fun/sexy mod, but taking the door off made it easy – ish. I will not be bright-lighting folks for my entire commute anymore. It was nice to have a dry spot to work during a Seattle winter. Also, this was the only time in 6+ years that a vehicle had been in it.

Matt Talley_ house remodel_2016_003

Matt Talley_ house remodel_2016_004


We had to start the house remodel before the garage and start in the rear bedroom (NW corner of the house). The interior walls had to come out to repair an issue(s). After we take care of the repairs, a new arch will lead into the kitchen, there will be a 4′ French door with a 12″ balcony looking out into the back yard, and we will have wainscoting up to 68″ and a coffered ceiling in what was the back bedroom and what will be the new dining room. Here are some shots before the full wall removal, some replacement studs and new headers.

Matt Talley_ house remodel_2016_001

Matt Talley_ house remodel_2016_002


The basement stairs are also in need of replacement and will be taken out and rebuilt next week. The new HVAC will go in the week after. It has been and will continue to be a test of our resolve and patience.

Another one has left the nest…

I sold my midi lathe last week. It was the last one of 3 and I am now lathe-less. It made me more than a little sad. We made such cool shiznit together, but I am making room for the new shop build where I will have a huge 3HP gap-bed pattern lathe with +26″ swing ad huge bed.  I won’t have a place to turn and have zero room left in storage.  It was time to let it go to a good home and get many more years of use.  That is a better life for a lathe then sitting is a dark storage room surrounded by boxes and plastic containers. It still makes me sad to both see it go and to not have another yet.

Matt Talley_Sold Lathe_01