A Seattle Bike builder:
The Builder – Max Kullaway from Loaded Pictures on Vimeo.
High speed, extreme magnification of metal being cut on a lathe:
A Seattle Bike builder:
The Builder – Max Kullaway from Loaded Pictures on Vimeo.
High speed, extreme magnification of metal being cut on a lathe:
The Wood Turner from Elliott Forge on Vimeo.
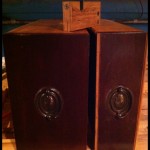
This weekend was busy with friends, a dinner out, St. Paddy’s Day activities, an outing to the Roller Derby (?!), and the 9th anniversary of the day that my sweet wife and I met was on Sunday. Even with all that, we still got bunches done around the house: Our under-bed dresser finished, bathroom table drawer installed (a little work on that left), wine crate storage boxes made, basement lighting installed, and the basement work bench is moving along.
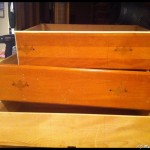
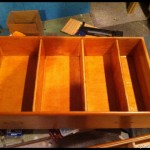
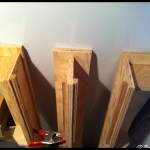
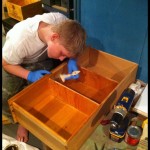
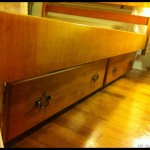
The drawers for the under-bed dresser and the one for the bathroom all came from a wooden donor-dresser that my father-in-law drug home from a garage sale last summer. He paid $4 for it and it was in pretty bad shape, but it was solid wood and had potential. It was mistakenly left in the weather (plastic cover leaked) for a month before I salvaged the drawers, cut out off the top and used the sides for kitchen cabinet door panels. I re-squared the drawers, added dividers in the fall, and over the Christmas break sealed the insides (The Ruminator helped). After lots of filling and sanding and more sanding, I stained the fronts to match our bedroom furniture, then built ¾” plywood beams to hang the drawers from bed frame and used some scrap oak flooring as drawer guides/runners. The final product really looks good and is super functional. While some husbands bug their wives by filling the house with brought-home junk – I give my wife more and more and more storage and organization space.
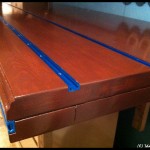
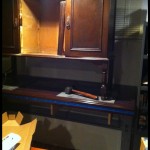
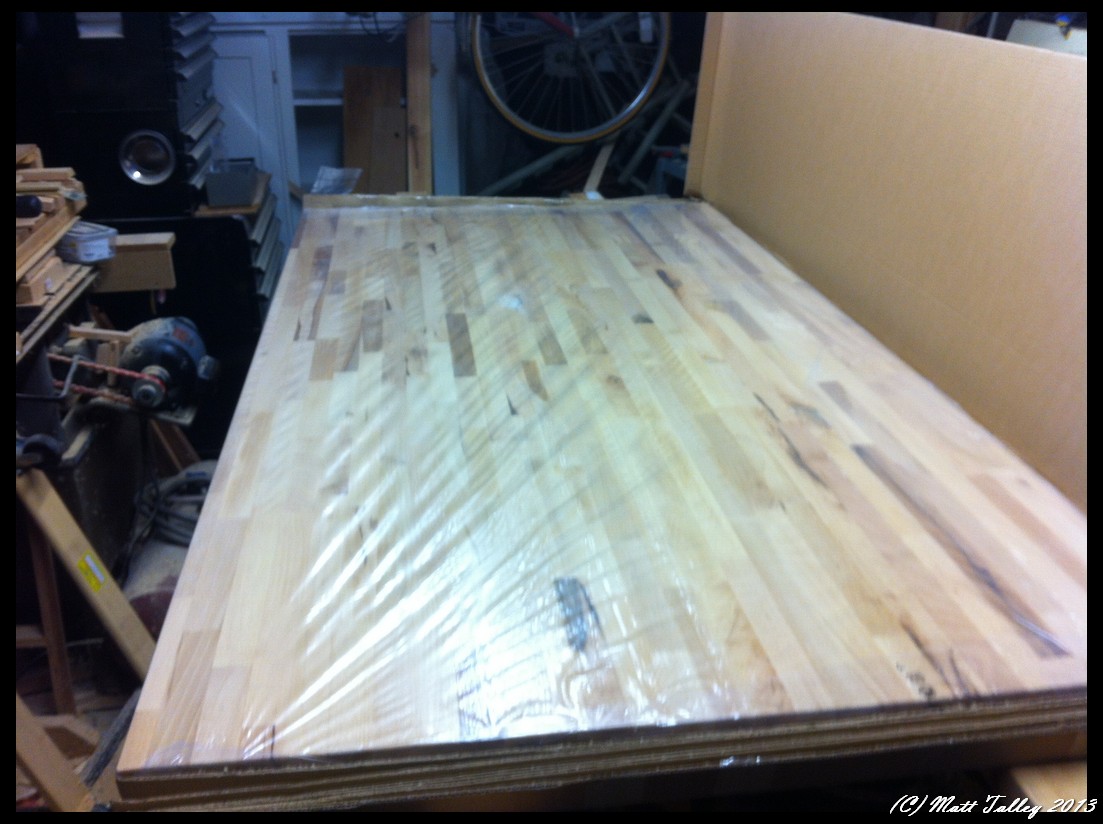
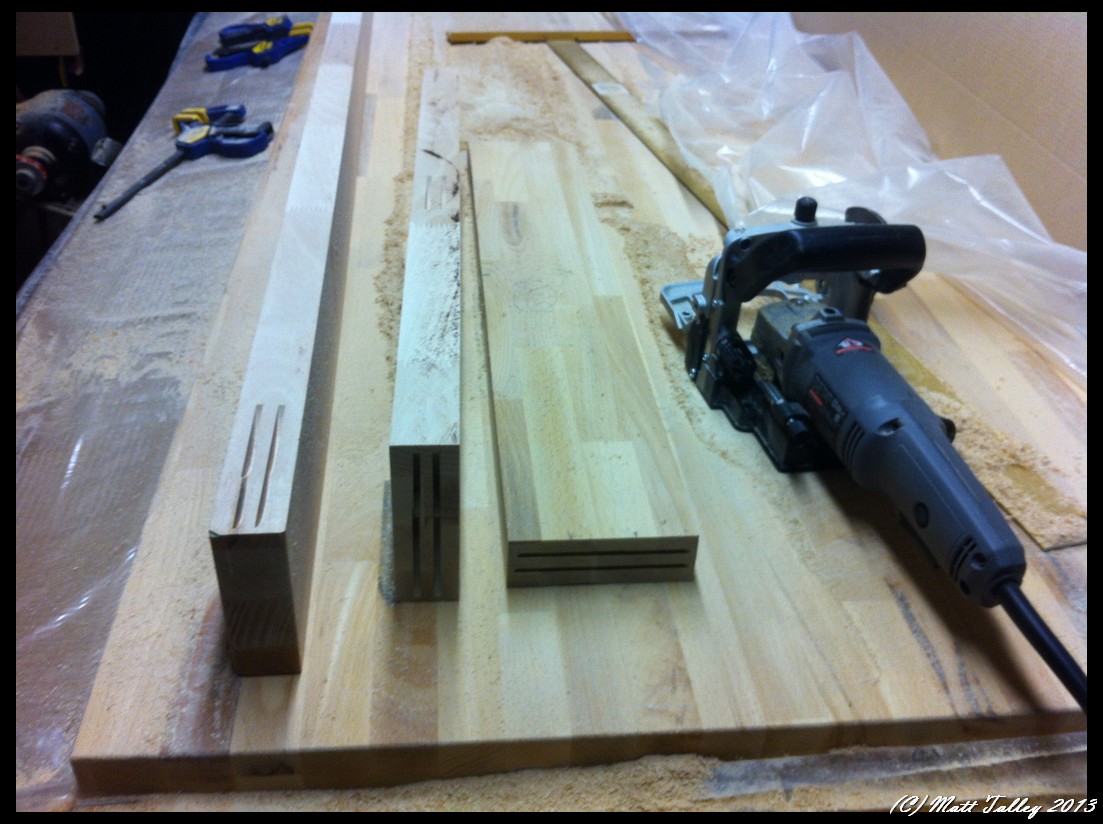
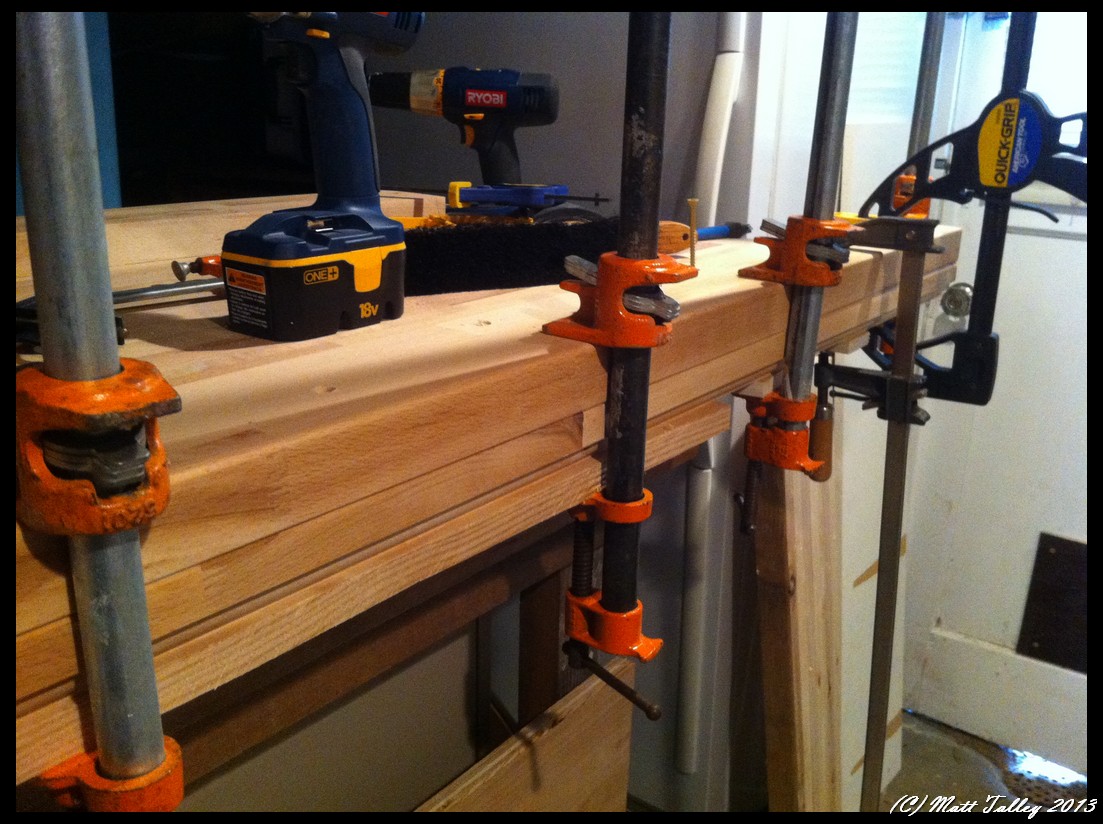
On Sunday, I put the final coat of finish on the basement workbench top, let it dry, and then installed the three runs of aluminum t-track. Stamps-With-Foot bucked up and helped me wrestle its 200 pound beech and maple mass onto the steel base. I secured it with screws and covered the top with carpet squares while I finish the upper shelf/cabinet. I installed a outlet power strip under the main body of the topper and removed the old drawer dividers. I will soon add a plywood back with a mirror, a light under, a dedicated air supply line, install the desk drawers under the bench and mount 4 reclaimed letterpress drawers directly under the top as well. Happy with the progress so far.

In 1969 or 1970, my father helped my grandfather build a rental house that my grandparents saw income from for the next 24 years. He came home at the end of the project with a truck bed full of spare/cut lumber and building supplies. Lumber was not wasted in our house. We didn’t go and buy a new 2X4 for a project… We rummaged through the cut-off bin or wood storage shelves for a piece that was the right size or that could be cut, planed, or trimmed to work – Wood was not wasted or thrown away in the Talley house! It is a lesson that I have taken to heart and most of the things I build for my own home are made, at least partially, out of used or recycled materials.
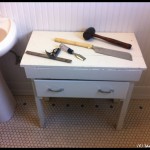
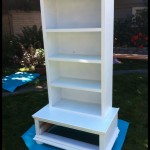
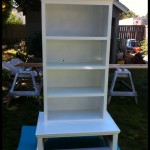
Anyway, Daddy took some of the lumber and built a set of bookshelves that in the next nine years held everything from encyclopedias to technical manuals. Four 12-inch shelves sat on a box base that my father stained and varnished with whatever color he had left over from the rental kitchen cabinet build. It sat in our living room and in the shop. In 1980 we moved back to Houston and somehow my aunt and uncle ended up with the shelves. They put them in their living room, knocked the bottom shelf back, drilled a hole for a cable and sat their 19″ TV on the base. It remained in their home until 2010, when my uncle passed away. My mother asked to have the shelf unit back and brought it to me when she moved to Seattle. It is the only object that I own that my father built with his own hands and I feel so very lucky and proud to have it.
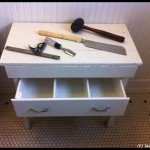
I decided immediately give it an update to make it an everyday part of our home: add a little something here and there to update it and make it that much more useful. Plans are one thing and actually doing the work is quite another – it sat relegated in my overcrowded shop for almost a year before I finally got a chance to work on it. I put the knocked out shelf back, glued all the joints, added reinforcement and screws to hold it all together, and built a base with turned wooden bun feet for it to stand on. The original base box was 12″ X 30″ and I wanted to both maximize the space and add my own signature to the piece. I carefully cut an 8″ X 24″ opening in the front and added rails for a drawer. It was amazing working on the piece. I found my father’s 42 year old pencil marks, a divot from a hammer, saw marks, and I found part of a fingerprint from when it was stained – just on the inside of the bottom. Finding and touching these this tangible proof of my late father brought me more joy than I have words to describe.
I also added a face frame, edge trip, and crown mounding. The piece was sanded down with 120 grit, then all the holes and gaps were filled, sanded with 120 again and then with 220 grip. I then primed with two coats and finished it with 3 coats of white Benjamin Moore ultra-tough cabinet paint.
I think it turned out really nice and I think my dad would be really proud of the work that I did to it. I am taking the original brass corner trim and a piece of original shelving and turning it into a picture frame to hold my favorite picture of my father. I think that he would approve of that as well…


I have found that my workshop productivity goes way down in the winter/the six months of Seattle rainy season. My garage shop is small and quickly fills with material, lumber, tools, and projects. To add to the handicap of the small size, the lack of heat means that I can’t do any finish-work because of wood humidity, shrinkage/swell, and moisture. I have made do in the unfinished side of our basement for the past three winters, but I am done my wife is done with the mess and clutter and my bitching about an inadequate work area when the weather turns crappy. I need a little bit of dedicated space that I can work on the small stuff year round that doesn’t require power tools and a little bit of assembly/finish space where I can glue and clamp some projects up, a solder station, a spot to reload ammo, work on my bikes, and a clean/dry/warm space to apply stain or a hand-laid finish coat. Add to this my current want of a small metal lathe and mill and I will have the makings of a nice little hobby shop from which to launch my plans for world domination …er, I mean a spot where I can make small parts, solder, or tinker.
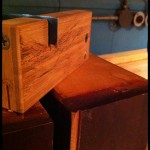
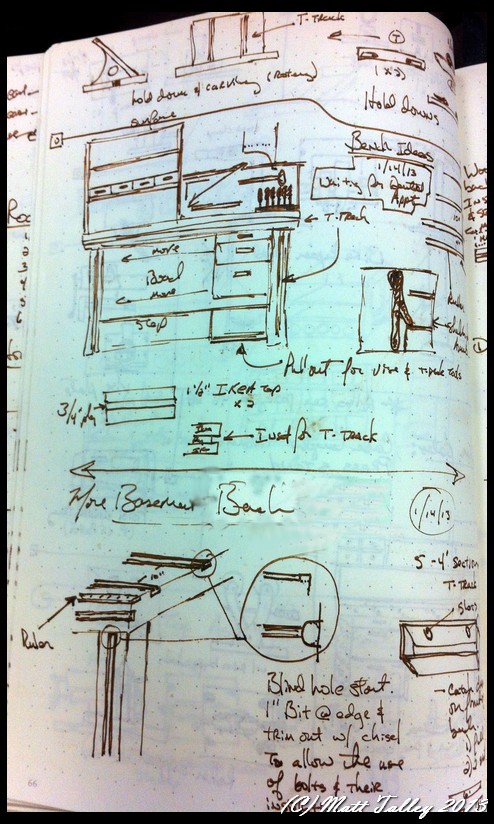
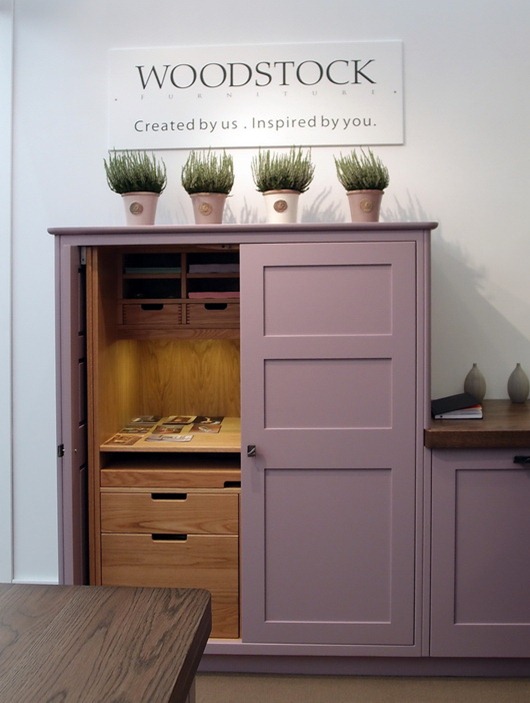
Anyway, instead of buying a crazy expensive cabinet bench or making do with a thin metal and partial board Home Depot bench, I have decided to build the sturdiest all-around hobby bench that I can with the funds and material I have available (~$130.00), add some really nice features (aluminum t-track, lots of drawers, removable vises, power, lights, etc…) and make it into a finished piece of furniture that I will be proud to sit at and show off to friends for the next 30+ years. To start the process off, I found a cheap older thick steel framed 6′ workbench at Second Use that I felt would make a bombproof, rock solid base. I sourced a used IKEA cutting-board counter top that I cut down to the appropriate size and then used the trimmed pieces to add thickness and rigidity (I am still going to add some angle iron). I thought about and sketched 3-9 different ways to add some shelving and some organization to the top and was still tossing around options in my head when a realized that an old buffet that my mom had just might work. I took some measurements and looked into reinforcing here and there and realized that not only would it work, but that its style would set the tone and color for the entire bench build.
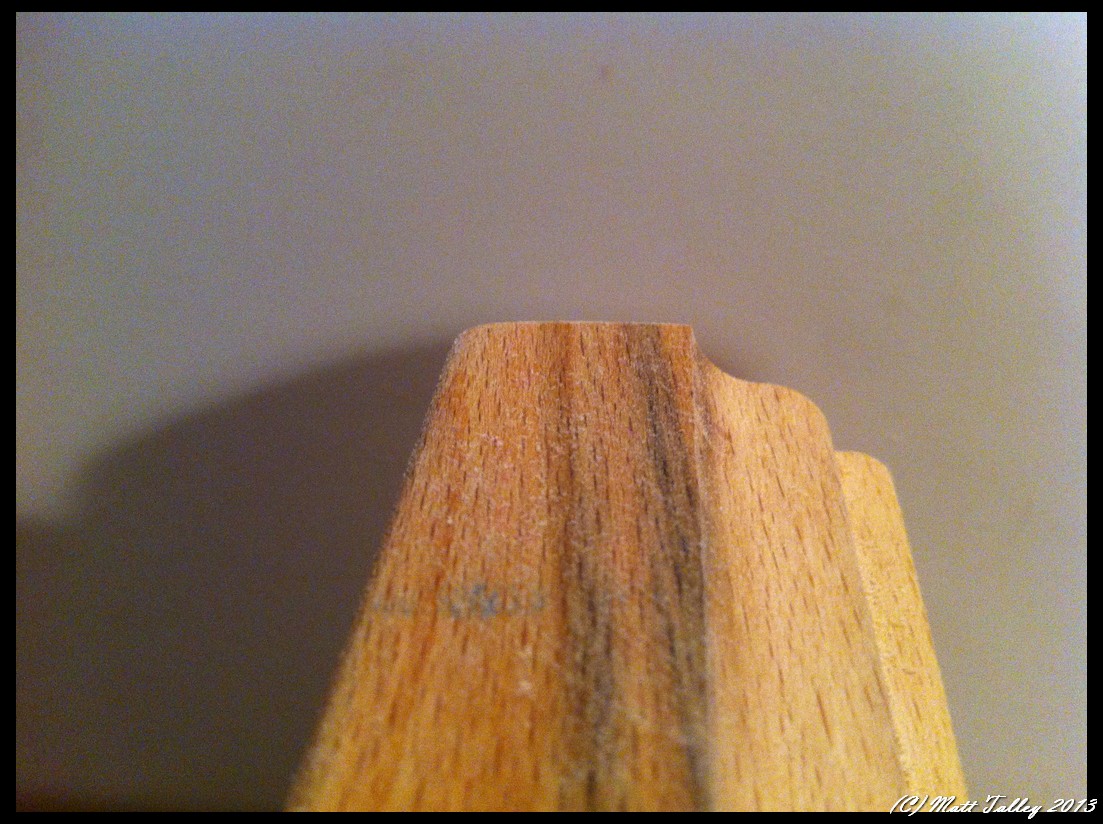
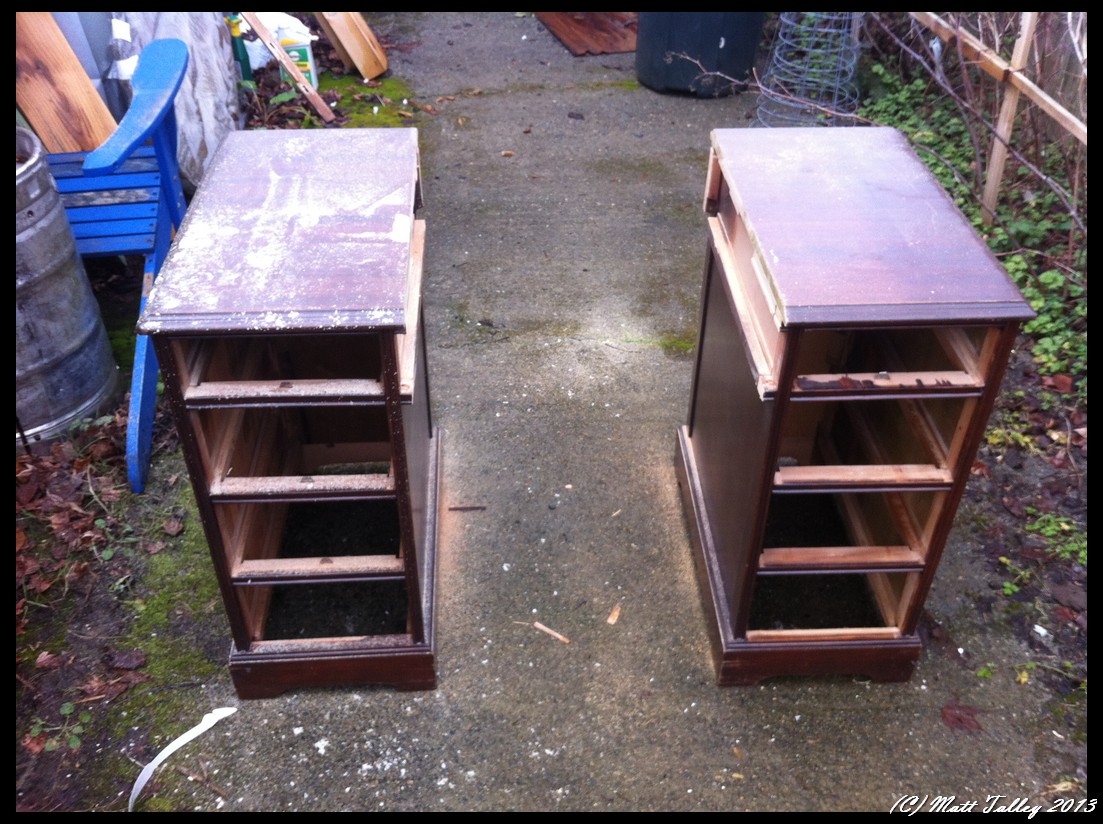
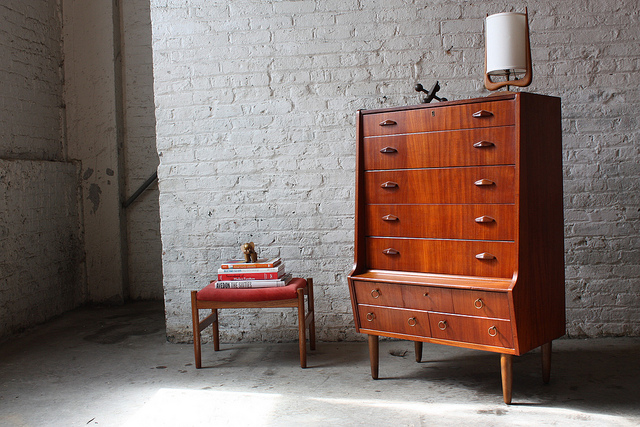
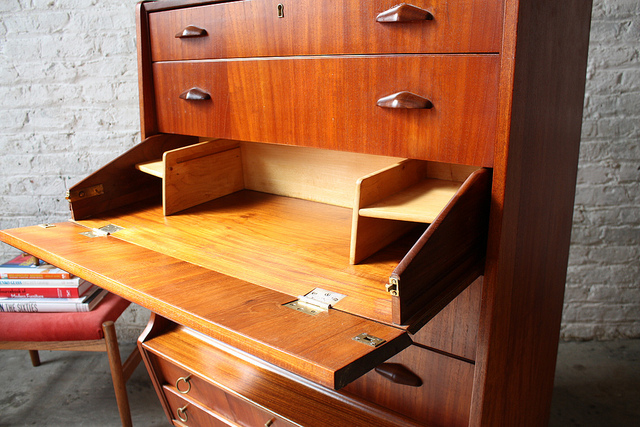
I decided that the drawers to be added under the bench top needed to be narrow and at least partially match the newly planned top section, so I looked for an older desk or vanity that I could cut apart. I struck out at Goodwill, the Salvation Army, and Craig’s List, but Second Use came through again and hooked me up with exactly what I needed at a decently fair price, well decent after I haggled a bit…
The current state of the build is that the bench top is 2/3 done, the desk is cut apart, the steel legs are up and in place and I am 1/4 of the way done with reinforcing the buffet/top shelving unit. I will update the build as it is completed and share some more pictures.


The video below is a profile of three craftsmen using their hands to make beautiful things. Enjoy.
Handmade from Ryan Buller on Vimeo.


My lathe and my personal skill set are not up to this task… I was duly impressed!!
Making of a Shade from Soren Berger on Vimeo.
My son was here for a week+ for the holidays and we did cool stuff as he is the Igor to my Dr. Frankinstein. He left on Friday morning and to keep myself occupied so I wouldn’t mope around all weekend thinking about how much I missed him, I busied myself with a few on-going projects:
Underbed dresser – 95% done
Letterpress drawers made into occasional tables – 50%
The never ending kitchen remodel – 85%
Sofa table rebuild – 20%
Bathroom drawer for wife – 50%
Candle box – 100%
Glass cabinet handle installation – 45%
Hall mirror – 22%
Helping a friend move – 50%
Etc…
While fitting the final pieces of the under bed dresser (built from an 1980s $4.00 garage sale upright five drawer) for our room and I transposed two numbers and cut something a touch too long. Grumble… Grumble… I went out to the shop, measured for screw clearance and put it on the table saw to rip down just a touch. I missed one screw, but my $56 carbide tipped cabinet blade didn’t. Sparks and bits of carbide flew. I said dirty words and came into the house to drown my sorrows in a Mexican coke, Jack with honey and an old Clint Eastwood western while propped up in bed with my grumpy face on.

Dirftwood. Boards washed up on the beach in a storm. Below is a film in which two guys take a section of lumber found on the Oregon coast and turn it all into functional one-of-a-kind surfboard. Building something both useful and beautiful from reclaimed wood is a thing to aspire to.
Experiment No. 3 – Scrap Surf from Shwood Eyewear on Vimeo.
Jack Daniel’s is the only distillery in the US that still makes its own wooden barrels. Although the process is automated, the production of the coopered tubs that make the aging and mellowing of this fine Tennessee Bourbon possible is mesmerizing to watch.
The Birth of a Barrel from Travis Robertson on Vimeo.
Watches… Every man wants a useful, tough, attractive watch. EVERY MAN. Even the guy that wears a Timex Ironman with a suit, or the men that buckle on a Seiko calculator knock-off every morning all want their watches to keep accurate time and need it to stand up to the rigors of their possible day. Some men want a diamond encrusted Rolex, others a multi-dial race inspired TAG, Japanese quartz Citizens are popular, some NEED a slim rose-gold Patek Philippe with a crocodile band, and then there are gents who want a $20 Timex that they will beat on and replace every year.
For me, part of my REM sleep is spent dreaming about a Swiss made, stainless steel, Omega Seamaster 007 strapped to my wrist as I progress from intrigue to adventure to interwoven & outlandish plot in the hours before I wake up to start my real day as a cube dweller. Ever have the dream about showing up naked to class or work? When it happens to me there is an Omega 007 on my wrist. Below is a short film that shows some of the detail of why a Swiss watch is special – enjoy.
I am not a big clog wearer… But I can appreciate the work that goes into crafting them. Althuough some of the work is done by machine, it is not like the shoes are being cut to the 1/1000th of an inch on a 21st Century HAAS CNC machine. The makers of this type of footwear are using old iron to rough the shoes out and then hand fitting and finishing them. These are built for wear and use and not for souvenirs to hang in an Amsterdam tourist shop. If you take a day trip out from Amsterdam/Rotterdam into the fields and villages, you will still see these on people’s feet. The same holds true with parts of Spain and France – especially with older rural residents.
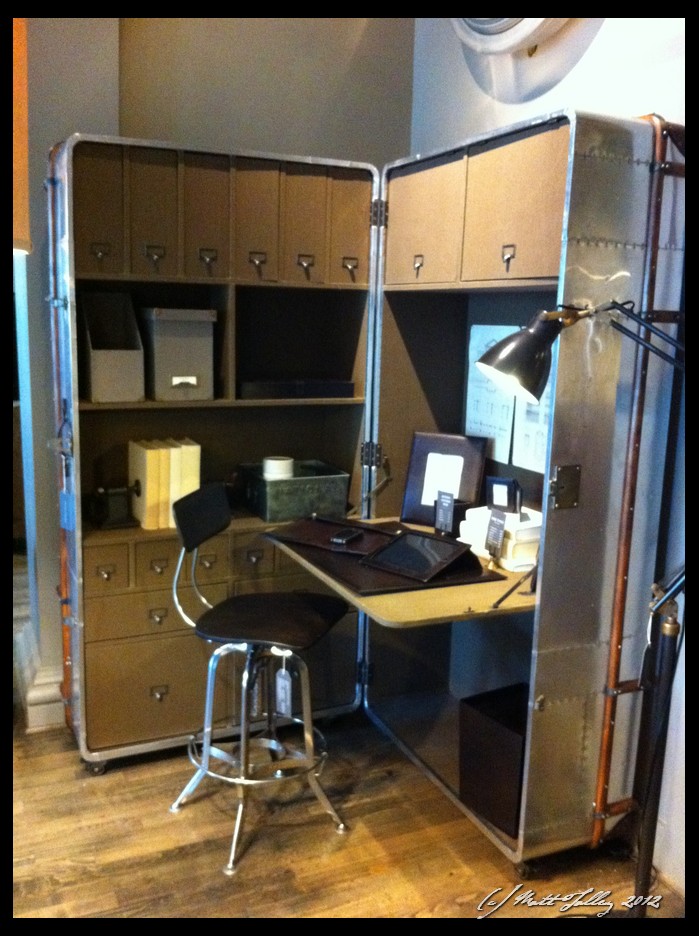
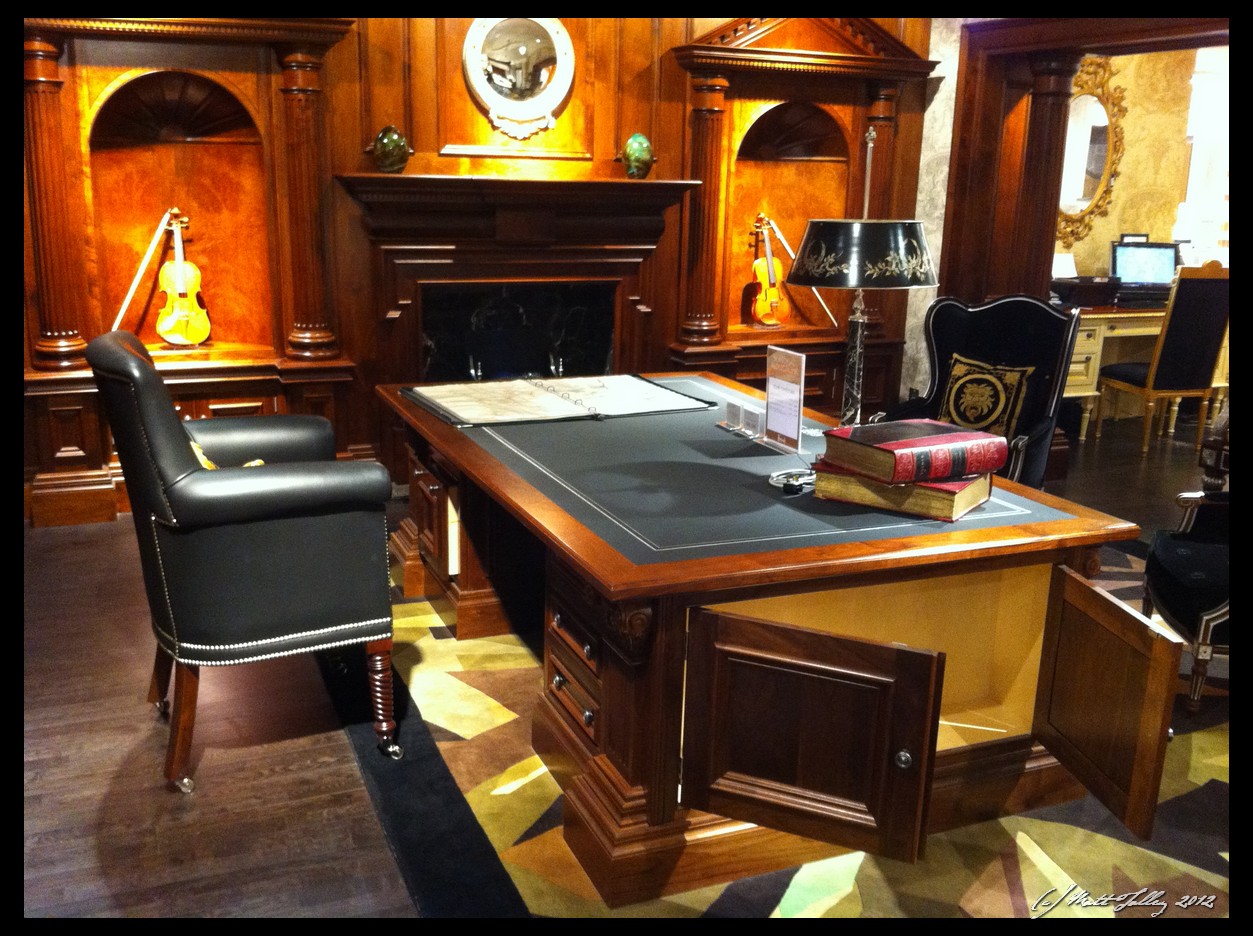
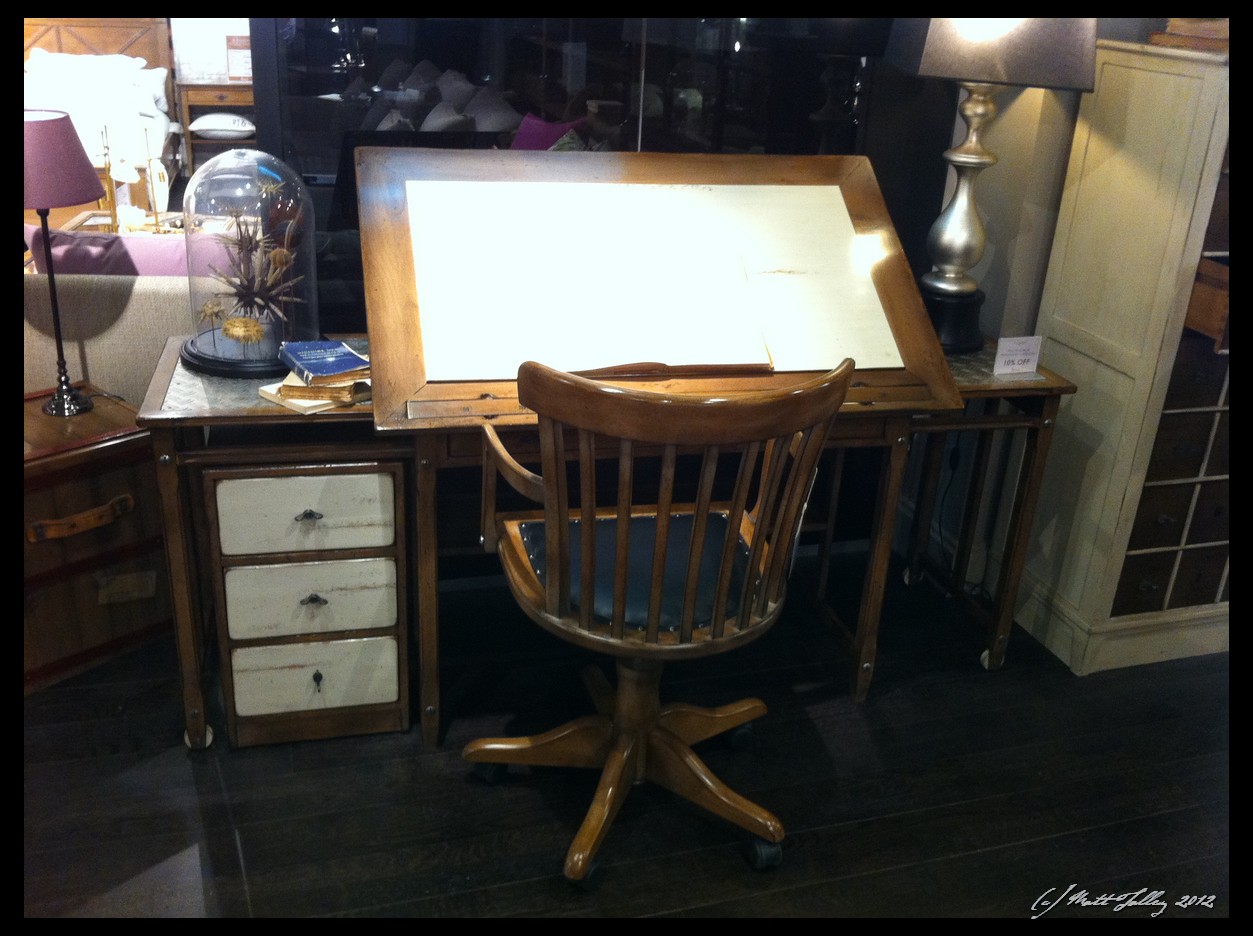
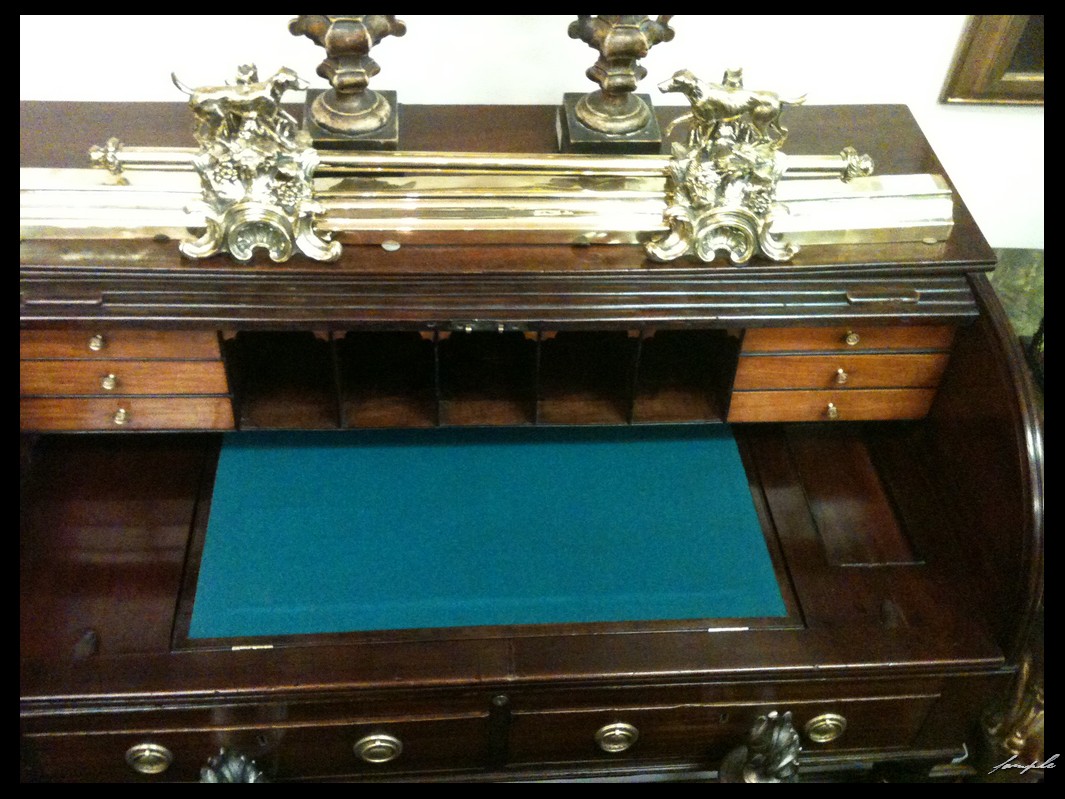
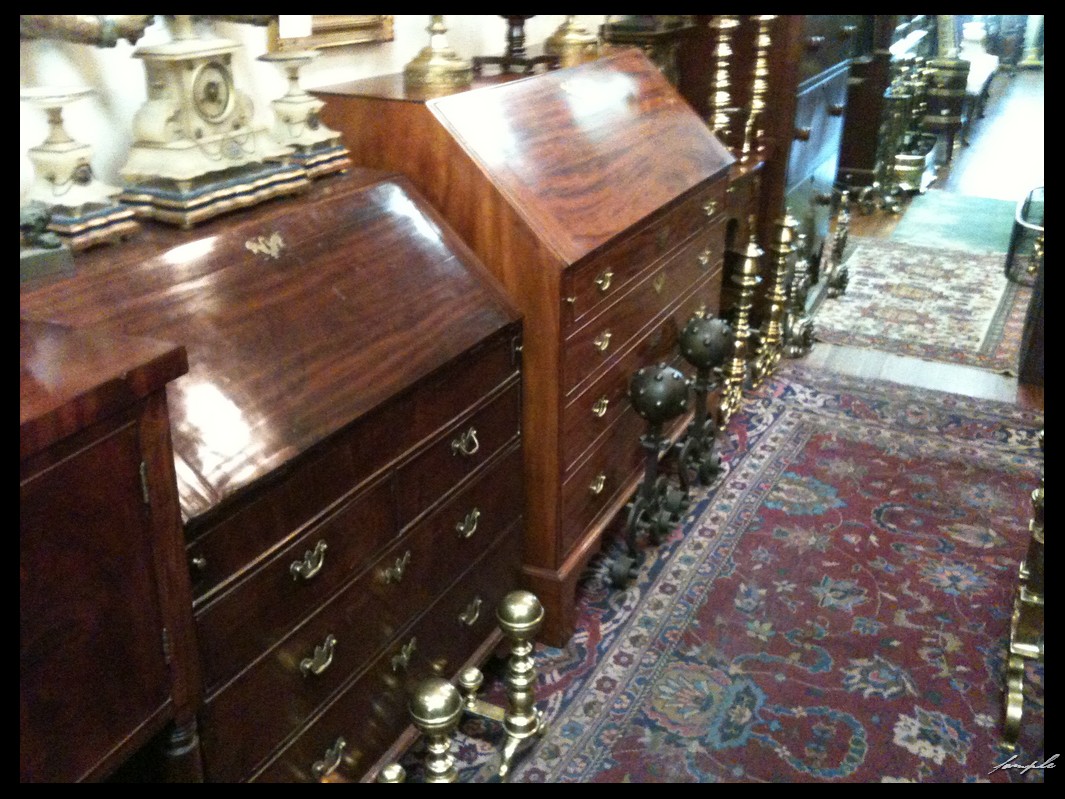
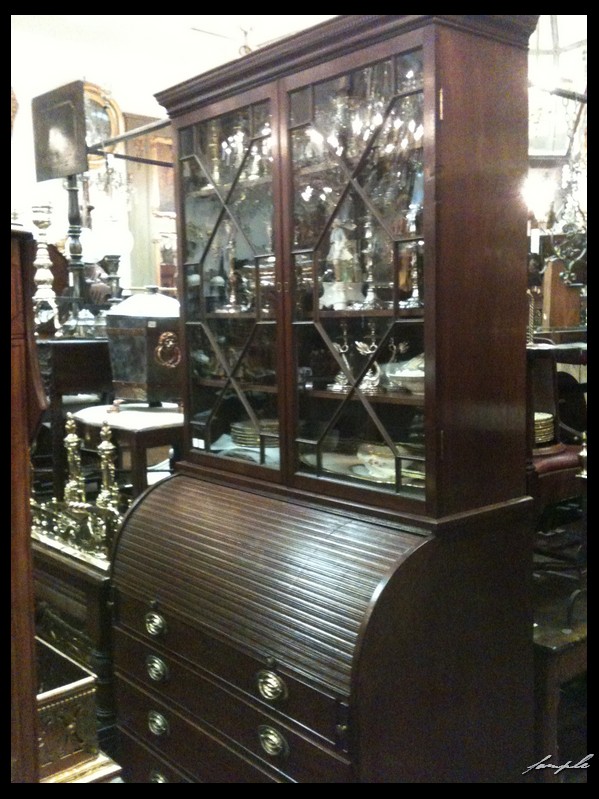
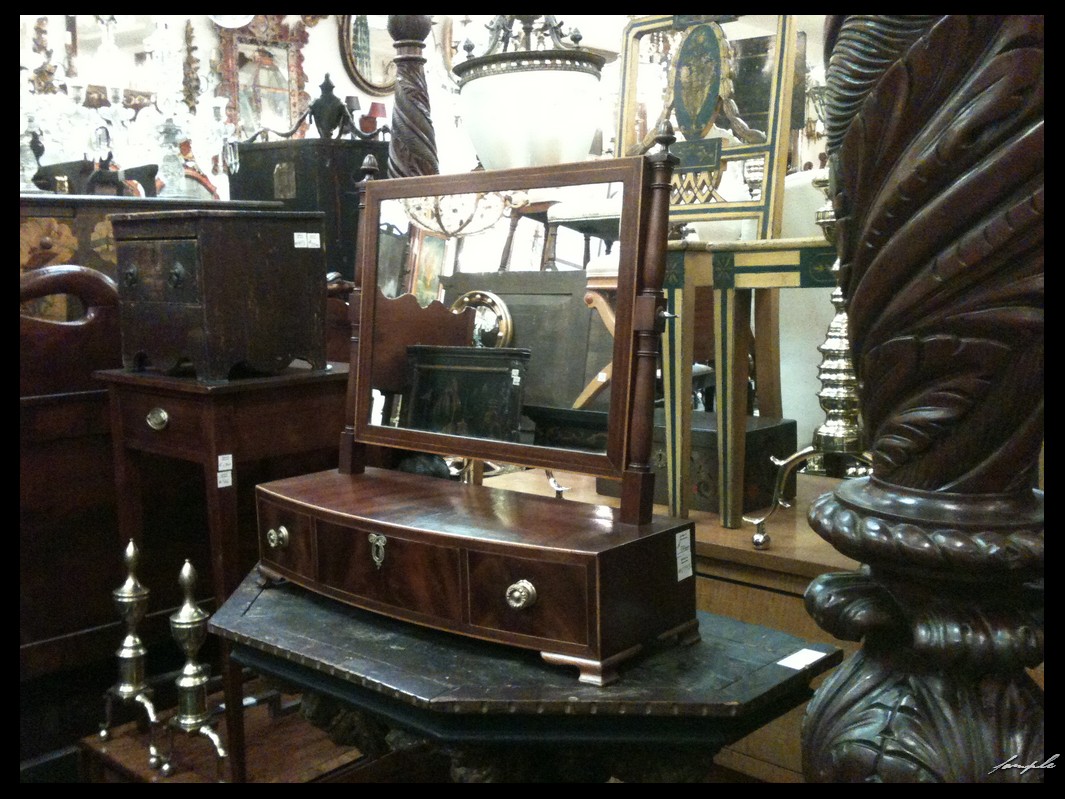
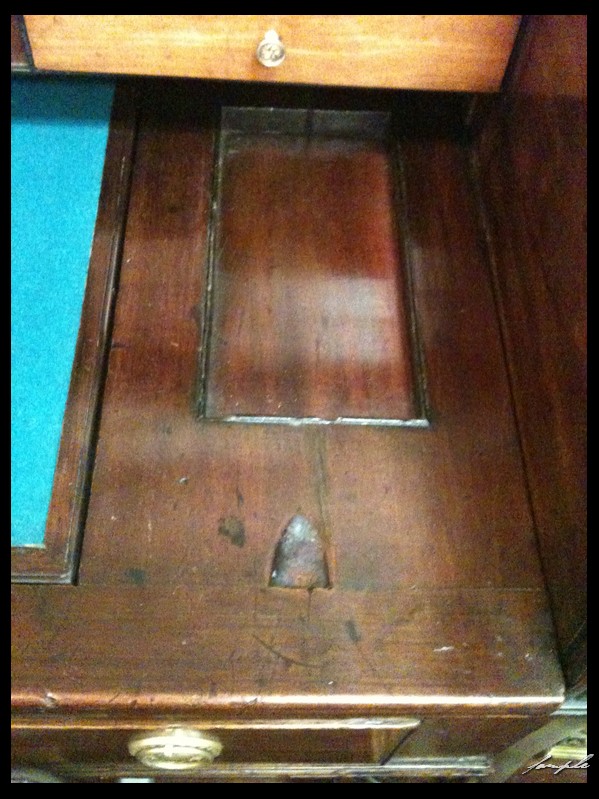
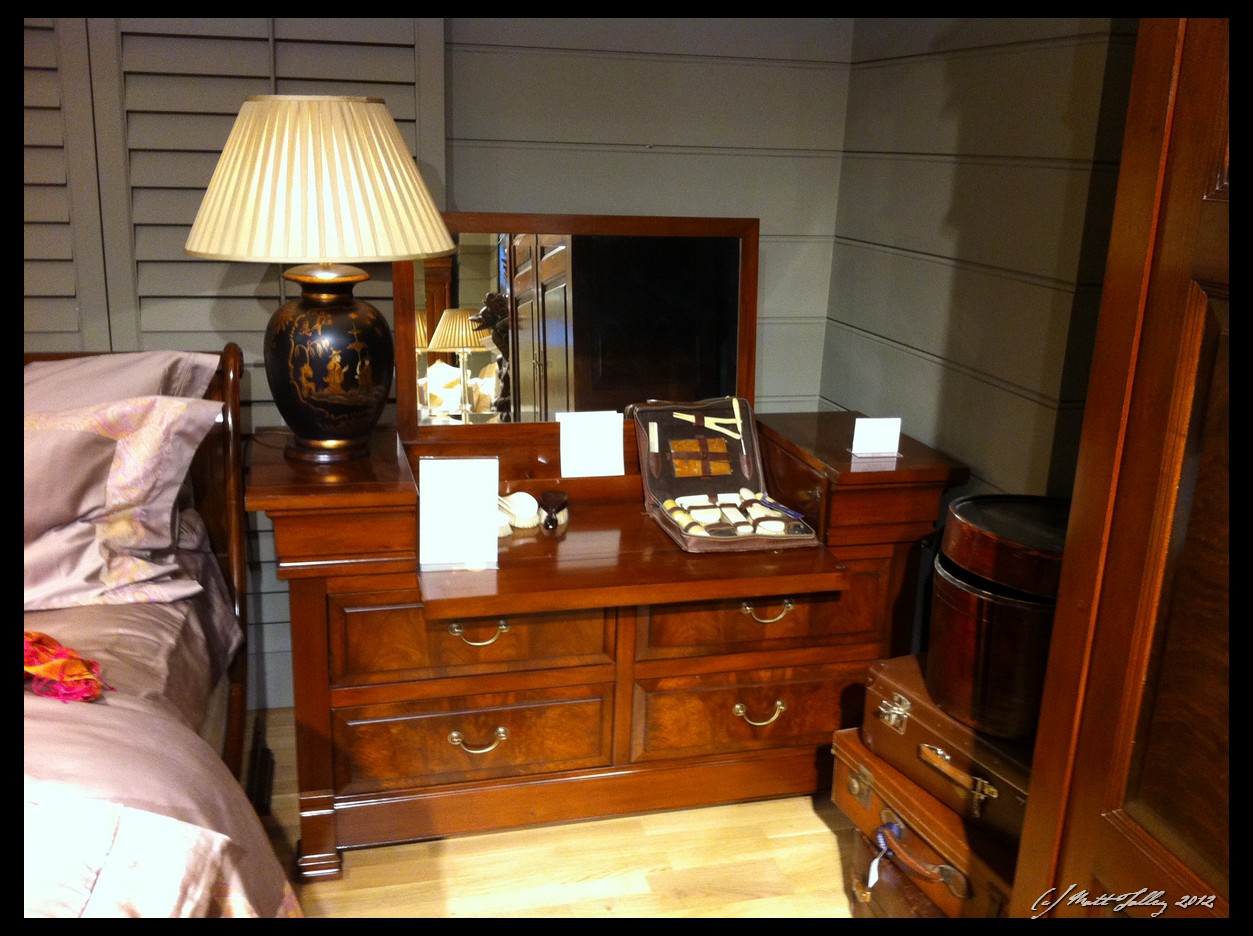
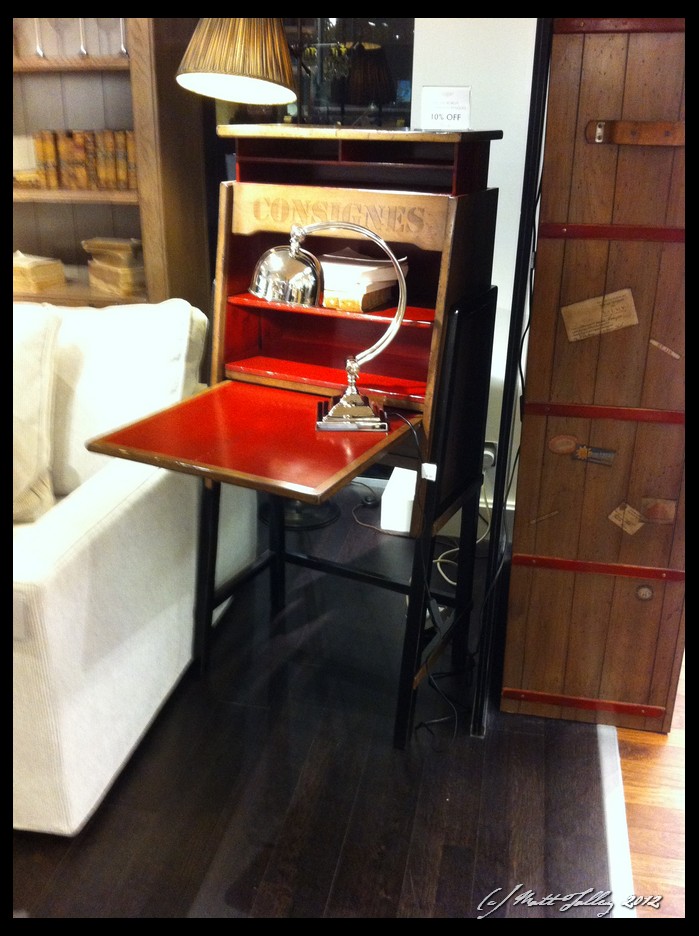
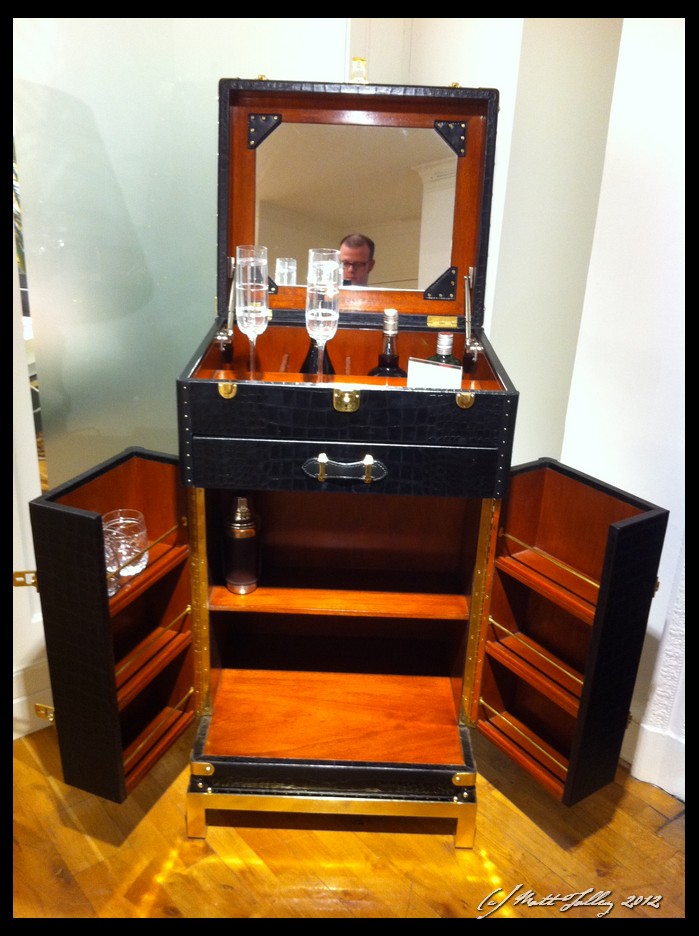
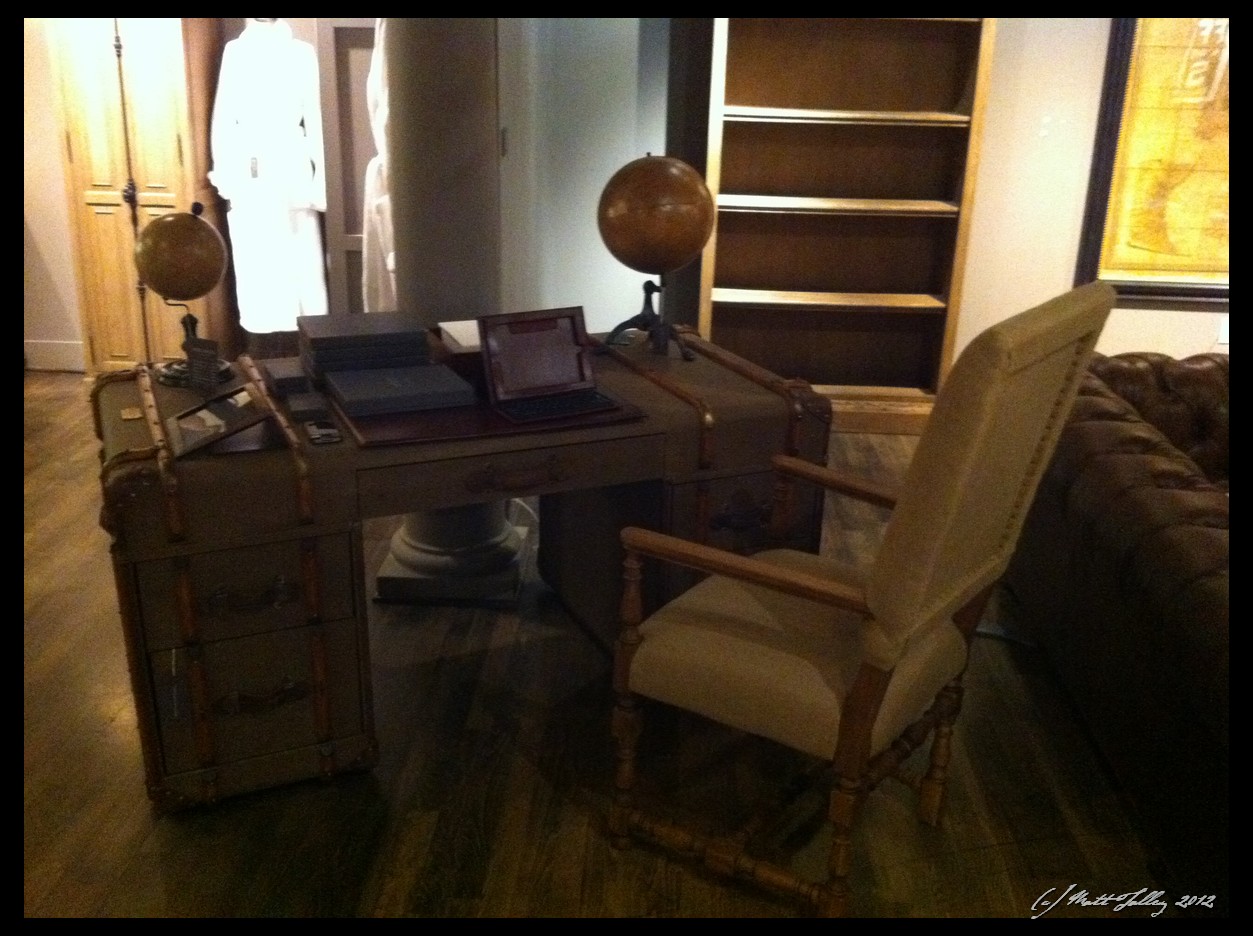
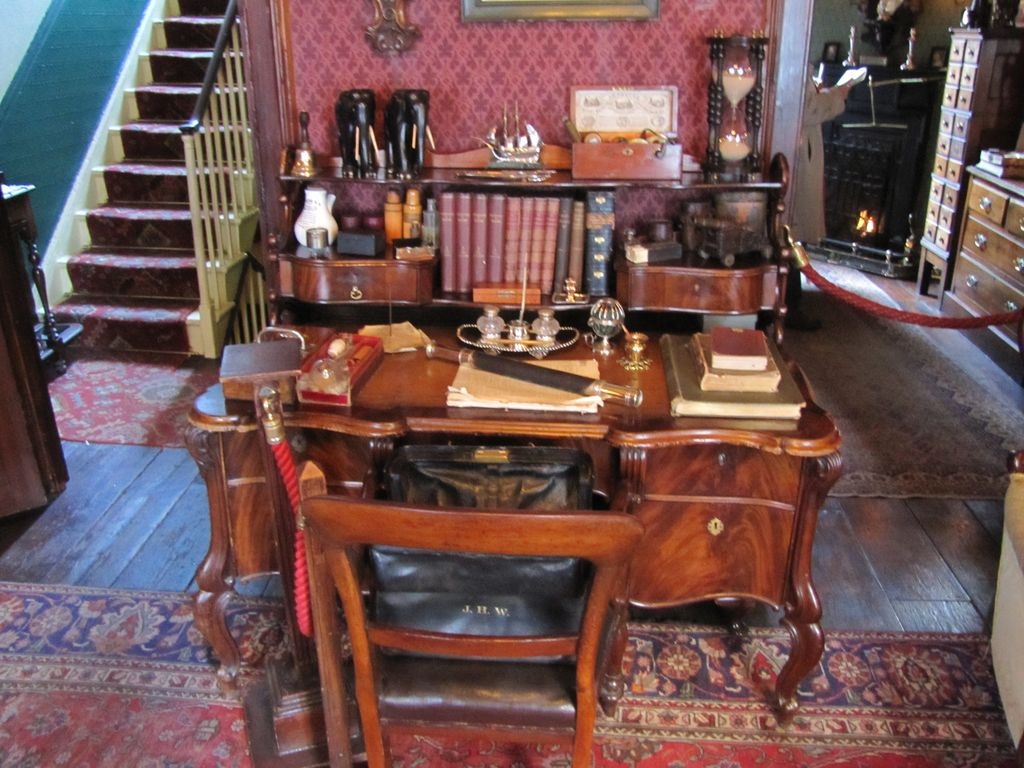
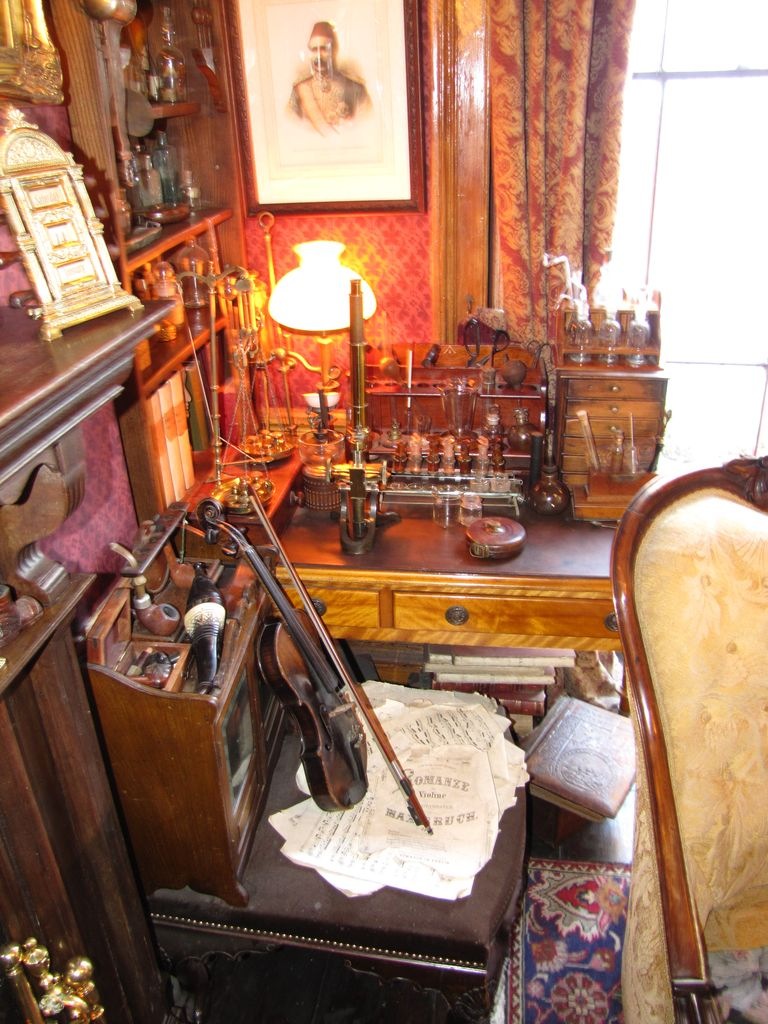
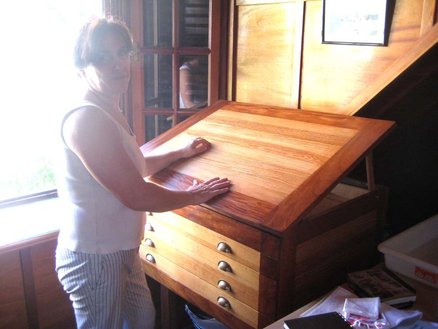
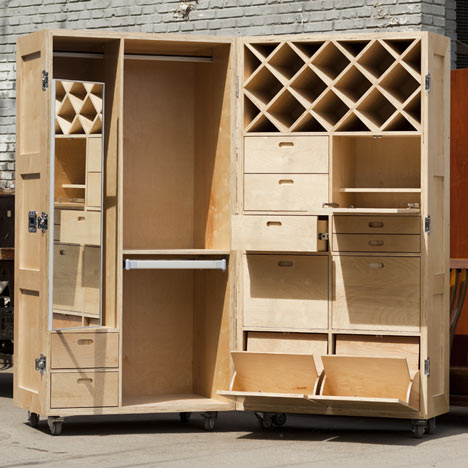
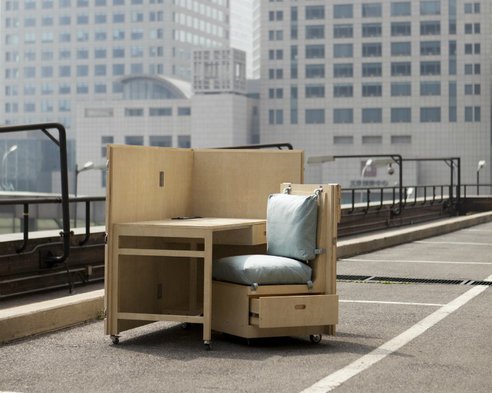
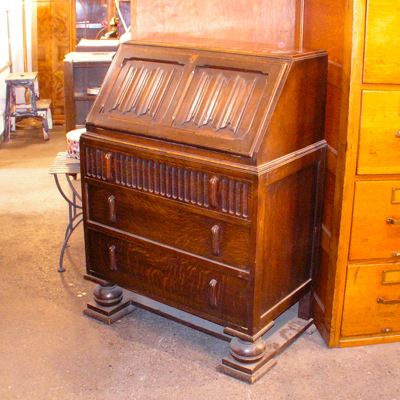
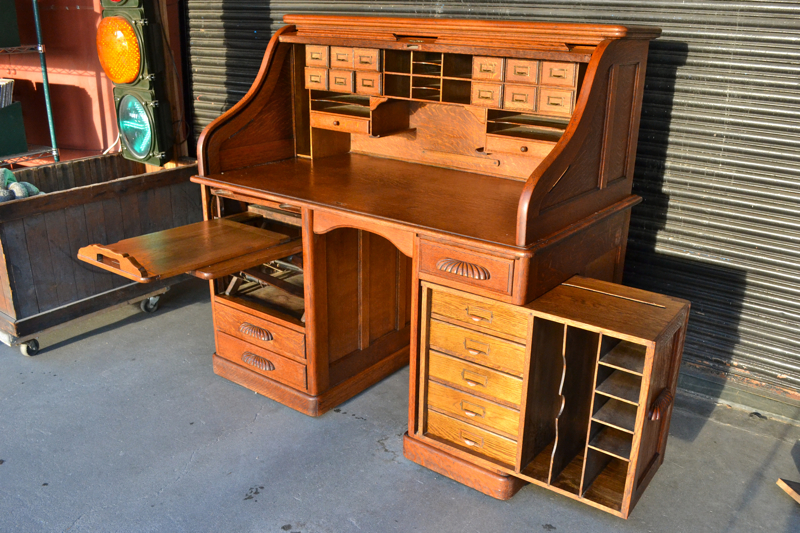
This is starting to get out of hand. We have six desks in our home and I need more. It may have now turned from fetish into a sickness. We are using them for all sorts of stuff: a work table, a liquor cabinet, a sewing/project center, paper repository, and for their intended purpose of writing and surfing the interwebs. Whenever I travel I have a wandering eye for bicycles and desk-like furniture – imagine Ron Jeremy leering at the contestants in a beauty pageant and you will have a good idea of what happens to me when I see a brazed bike frame or a Georgian secretary… I have seen a couple of pieces lately that I NEEDED! I needed them WAY down deep inside – like the Pope needs Jesus.
The one and only thing that keeps me from being more of a desk hoarder is my epic lack of proper funding. It makes me sad to leave them in the store all alone, where no one caresses their tops, opens the drawers slowly, tells them that they are pretty, and where they will end up with someone who will not treat them as nice as I would have.
Below is a selection from of desk-p0rn from the Sherlock Holmes Museum, the Charleston Antique district, Harrods in London, Restoration Hardware, misc. furniture shops, and my favorite Seattle antique store.


Watching this video took away every excuse I have ever had on why my projects don’t tun our like I want them: “My Lathe is old,” “My Chisels aren’t right,” “I need a new jig,” I don’t have quality oak/maple/mahogany/black palm/koa to work with,” “The tool rest I use is crap”… Nope, I now know that every one of those phrases was complete and utter ego-protecting crap. Watch what this Moroccan craftsman does with a medieval bow lathe, a skew chisel, cast off wood, and his toes(!!). I am humbled.
I have decided to add a weekly (or semi-monthly/quarterly/yearly…) post to my site showcasing both the hands and tools that bring functional art to life. I have a whole horde of videos and podcasts that make me want to put my tools away and take up needle point that I will share. Here you will find weavers, shoe makers, knife smiths, cabinet makers, tool builders, farmers, bike builders, glass blowers, tradesman, luthiers, book binders, leather craftsman, instrument makers, timber frame builders, carvers, shipwrights, potters, blacksmiths, cigar rollers, and others practicing old-world, hands-on, crafts. There will be videos of them at work, shop tours, profiles, interviews, and various bits of my own commentary. It is my hope that videos will increase awareness for the artistry of traditionally crafted tools, art, objects, machines, and transportation.
The inaugural post is from the Made by Hand website and is a profile of a knife smith that makes custom kitchen knives for the chefs of New York City.
Made by Hand / No 2 The Knife Maker from Made by Hand on Vimeo.