Bench for the front entry – Project #4 in France

We are a “no shoes in the house” family. It is dry and dusty where we live in the summer and the trails near by that I run and that Stamps-With-Foot and Brodie walk on are shared with horses. We don’t want to track dirt and poo into the house. There is a great spot right by the front door to take your shoes off, but no place to sit down to do it. I decided a rustic little 5-board bench was in order. I spent five hours from the initial sketch design to putting on the final coat of polyurethane over a week’s time. No nails or screws were used, just through-mortises, wedges and dowels. We now have a small piece of furniture outside the front door that is functional and matches the house and the style of our other furniture – you never know it might someday find its way inside.

Tools I brought with me from the old country…

When planning our move to Toulouse, I came to the realization that I would not be able to take my entire shop with me. I didn’t relish the idea of replacing all my power tools and saws with 220vt/60Hz versions, only to have to sell them in a couple of years when we move back to Seattle. I decided that I would bring mostly my hand tools and and spend some quality time working small projects, cutting dovetails, tuning my planes, etc… There were three 24″X24″ boxes and one wooden chest full of edge moulding planes, Stanley Bench Planes, 4 rolls of chisels, mallets, Japanese saws, hand drills, dovetail tools, axes, draw knives, my half set (#2 – #18 even) of 1850ish Gleave hollows and rounds, squares, jigs, rasps, and assorted joinery paraphernalia.

My plan is to use the time here to do the detail work that I am usually in too much of a rush to even contemplate: carved scroll-work, mortised frames, insets, layered stain finishes, edging with the moulding planes, some light carving, maybe even cutting a few linen-fold panels. I have done a couple of little things already, but my first big task is to build a HEAVY work bench so that I will have a proper work space: I am going with a split top Neo-Roubo without a leg vise. I will be installing a cast iron Front Vise and a Screw Vise on the tail of the bench instead. No cabinets underneath so that I can store a shooting board and a Moxon vise. It WILL BE coming home to Seattle with us.

In the interest of full disclosure: I am not a neo-Luddite – I did buy an orbital sander right after we got here and I shipped my Ryobi 18vt tool set (circle saw, 2 drills, reciprocating saw, flashlight, & jig saw). The same sets are sold here and I got a 220vt charger that works with my existing batteries and picked up a couple of fresh new lithium-ion batteries in the process. Aside from the battery tools, I ordered a large wood lathe so that I can make furniture legs, tool handles, bowls, jar lids, platters, etc. I brought all my lathe chisels and chucks with me and I got a model that uses a DC motor that I can change over to one that runs on US current when we move back. It is much larger than my lathe in Seattle and will be a valuable addition to the shop there when we return.

From Trash to Basement Built-in

I was at one of the architectural salvage places in the SODO area of Seattle one fine summer day 3 years ago and as I was leaving with whatever small treasure I had found (picture Sméagol with his Precious…), I spied a bit of white cabinetry and what looked like a paneled cabinet door in their free/meant-for-the-dumpster pile so I went over and looked to see if I could salvage a bit of whatever it was.  The hope was for a door that I could re-purpose or some cool hardware left intact, but I struck gold!  Some idiot used a pry-bar and a Sawzall to rip a built-in painted hutch out of a house’s wall during a remodel.  It was taken to the salvage shop without a back, one side missing, no top, zero trim left, and with rough recent tool/pry marks all over it.  All the shelves were there and the door that I had seen was one of four heavily painted paneled oak doors.  I saw some promise and had an exact spot for it, so I piled the wreckage in the back of my truck, roped it down, and sped away before someone could tell me no.

It languished in the basement for part of a year before I tightened the joints, squared it all up, made a back from pine bead-board, built a matching side panel, reinforced the structure and installed it on one of our basement den walls.  What used to be the open counter-top space between the original built-in base and top, became storage for boots or snowboards or books (which is what is there now).

I wanted to include Stamp-With-Foot in the project, so I took her with me to pick out some trim.  She found a section of fancy scalloped-cut chair rail/case molding that she REALLY liked and I went home and used it in a custom buildup: adding a section of ripped down base molding and a length of popular wood that I ran over with two different router bits to make the top trim.

After getting the piece installed, I realized that I would have a 5″ gap of dead space between the inside top of the cabinet and the finished top, so I rabbited in two shelf lips and built matching hatch covers to provide storage for long or seldom used items in the top of the cabinet.  The hatches were finished with brass ring pulls from a local boat supply hardware shop.  After some light sanding, Stamps-With-Foot and I put two coats of white cabinet paint on it and I had The Ruminator help me install antiques glass pulls and keyed latches while he was visiting for Christmas.   The piece looks like it was built with the house, the top is already filled with mountaineering books, and is a fantastic addition to our basement and home.

Kitchen Cabinet Work Update

There was a flurry of activity to get our kitchen done before our move to France.  I got it 99% of the way – with serious help from Mr. Flood and my sweet wife.  It just needs a little paint on the overhead fridge pullouts, slight pull-out slide adjustment and the installation of the custom milled and matched cove molding.  That will all keep until we get back to Seattle though.  My mom will be able to cook in there just fine as-is.

I feel that the upper cookbook shelf ties the old and new sides together and adds that part of the overall kitchen that was missing.  The shelf also seems to lighten up the space a little as well.  The wine rack was put in specifically for my wife.  It started as a discussion in the breakfast nook one mid-morning, transitioned to a napkin sketch, and four hours later, the carcass was built, bottom brackets cut, and block top was in the clamps with the glue drying.  After the paint was on and top installed, my wife swooned.  It made me smile from ear to ear!

The paper towel holder was a bit of a conundrum.  With low upper cabinets, there was just no good spot either on the counter or under the cabinet.  I toyed around with a couple of ideas before I decided to mount the paper towels on the old ironing board (now spice cabinet) lower door.  I used some scrap popular and turned a section of oak down on the lathe for the rod.  It is inserted all the way through the shelf and both wedged and glued in place.  My grand kids will still be able to use that towel holder when they are my age.  yes, I over built something again…  On the brighter side, the paper town holder bracket, the small round shelf brackets, the cookbook shelf brackets, and the wine rack brackets all match, again marrying all the different kitchen elements together.

Almost as important to her as the wine rack was the trash and recycling can drawer.  After it was in and painted I caught her pulling it open and closing it over and over with a giggly smile.  The curves on the side match all the shelf brackets – I couldn’t help myself.

“New” Midcentury Modern bookcase in the bedroom – left undone

We are a house of books. Every room of our home – including the kitchen and bathroom – has books living there; on the shelf, tucked into a nook, behind a cabinet door… It feels like there will be a raid from Ray Bradbury’s Firemen at any time. Years ago we shared a home where a huge pile sat at the end of the bed, there were mounds in the living room, and stacks on the kitchen table. It drove my wife insane. Taking a lesson from that, I have tried very hard in the ensuing years to not do that again by building of buying bookcases and shelves aplenty – happy wife, happy life.

To that end, we have a bookshelf that has now lived three distinct lives: it started its existence as a staircase bookcase in our first rental house in Washington State. It was the very first thing I built when we moved back to the US and my wife was amazed at my woodworking ability – she had never seen me really do anything beyond fix a chair or hang a picture. She was super impressed with the recessed dados and the router work. I removed it from our rental and cut it down in size when we bought our house in Seattle, putting it in my wife’s basement sewing room for pattern and costume book storage. I just couldn’t stand to see the work put into it go to waste. It now lives on our bedroom wall, after being cut down once again. It has been painted to match our bedroom furniture and I sheathed the outside in 3/4″ birch recycled from existing shelves with edge banding.  Both will eventually be stained and finished to match our headboard – giving it a mid-century modern look. Reusing original pieces and re-purposing the parts of existing furniture makes my heart happy. It offers about 14 feet of shelf space and keeps Stamps-With-Foot’s Harry Potter and Twilight out of the living-room – sure make fun…. He who is without literary sin cast the first stone…

It was one of the MANY projects that I just did not get finished before our move to France.  The bookshelf is completely usable and when Last I saw it, my mother had filled it with James A. Mitchener, Deddie McComber, and biographies galore.  It will keep until we get back to Seattle in a few years.

A Few Turns of the Lathe

After our house was packed up and loaded on a container-ship bound for the Panama Canal and on to the Port of Marseilles, the only tool I had were my lathe chisels, so I made use of the time and spun out a few odds and ends: a few cord pull handles for the florescent lights in the basement. two jar lids for Stamps-With -Foot, a wooden pestle (2 actually) for kitchen herb grinding and a short honey dipper for her as well.

From the same section of wood as the pestles, I turned some small bun feet for Brodie’s new  food & water bowl stand.  I re-turned my ash carving mallet to change the handle profile and add some ring details.  As I was in the mallet mood, I made general use wood working mallet for my brother-in-law out of a Baseball Bat and reused the bat’s pommel and turned it into a foot massage nubbin for my wife.  I got points in the ledger for to wife-specific items.  Always a good thing.

Bespoke Shoes and Boots

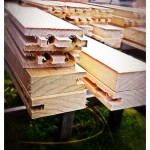
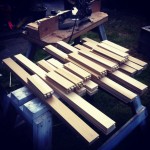
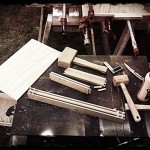
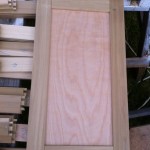
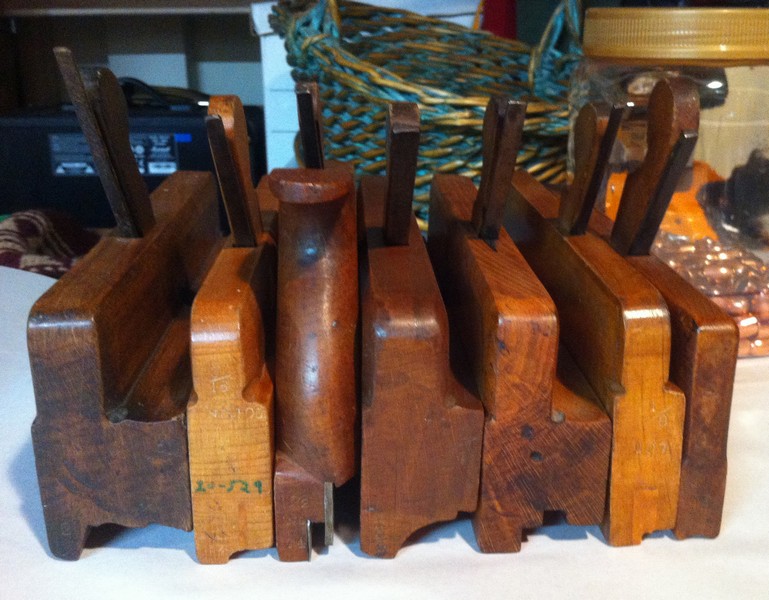
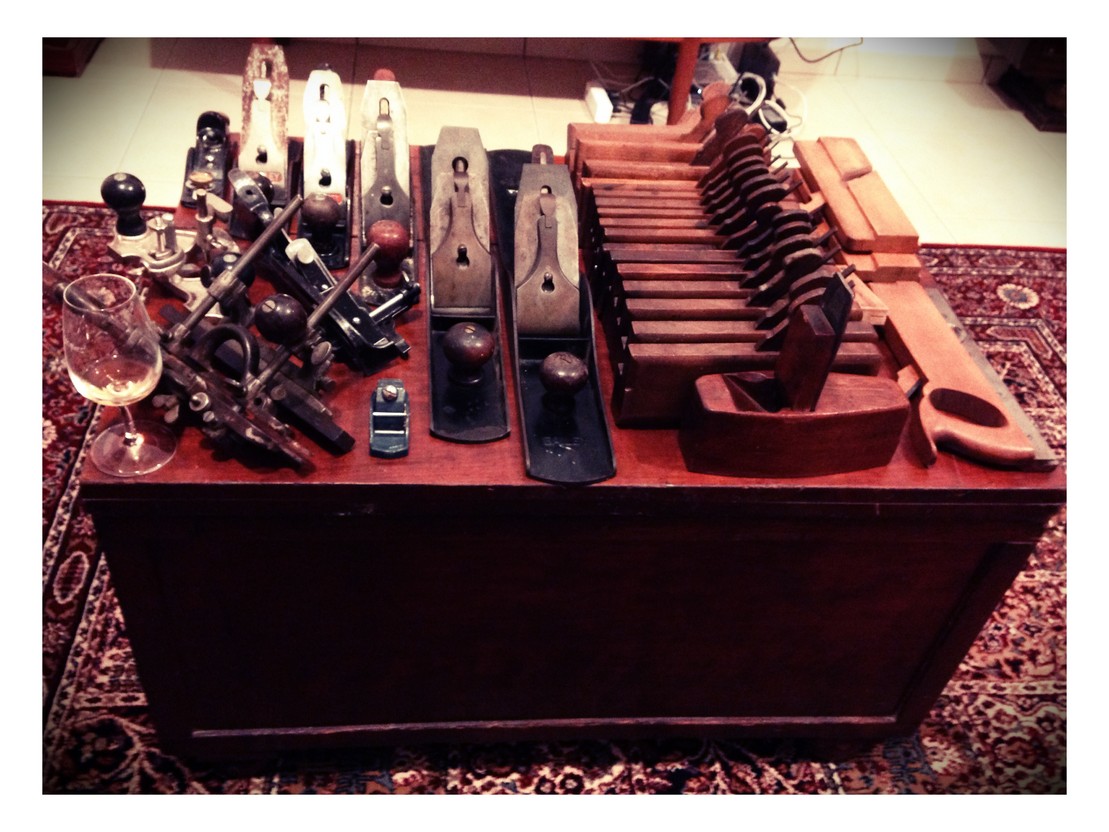
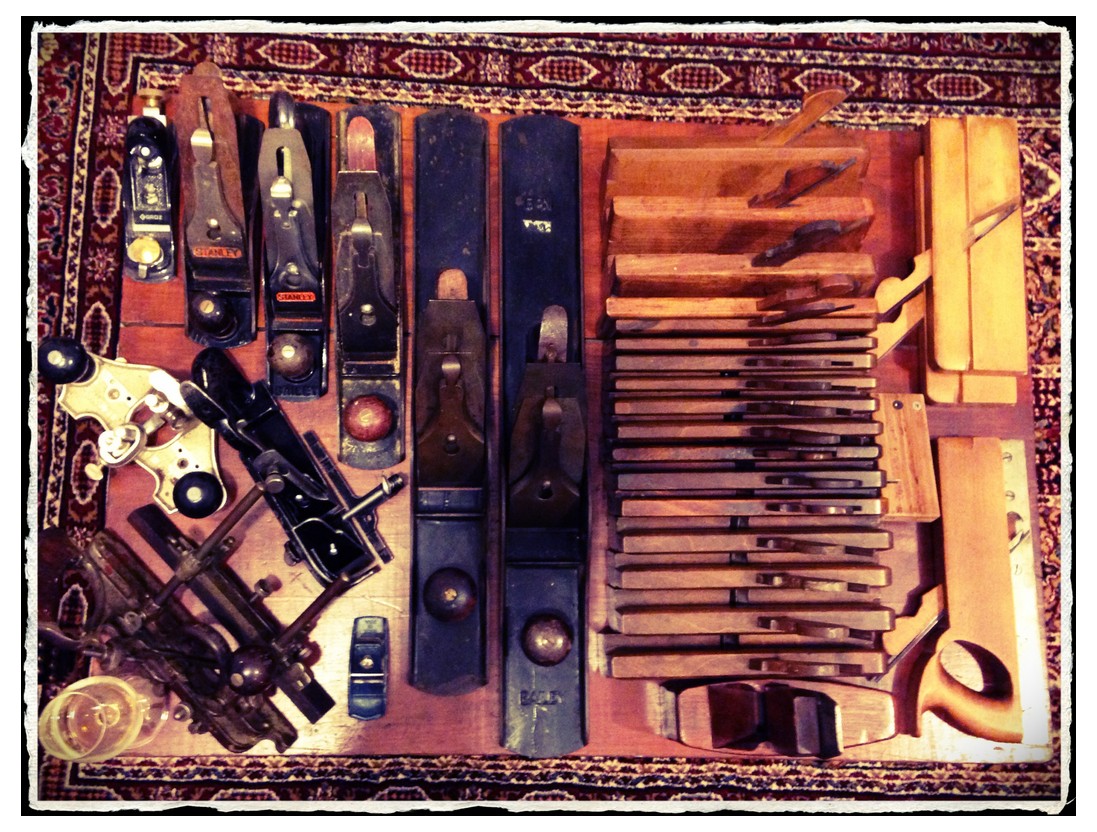
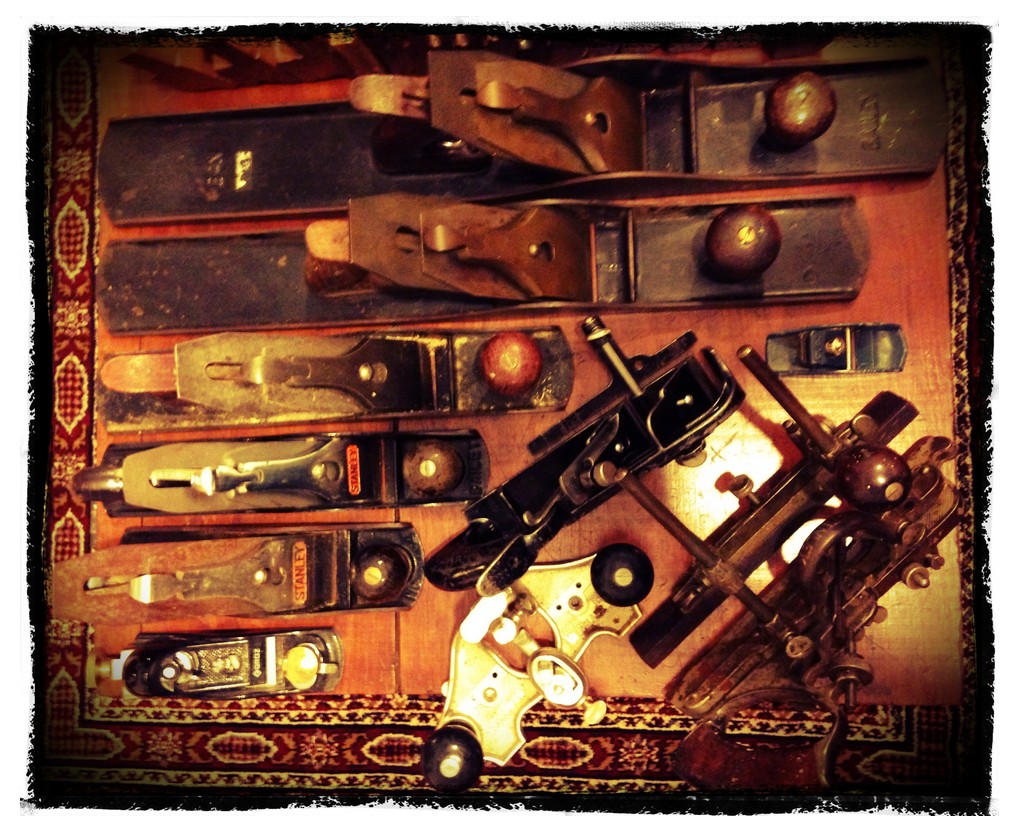
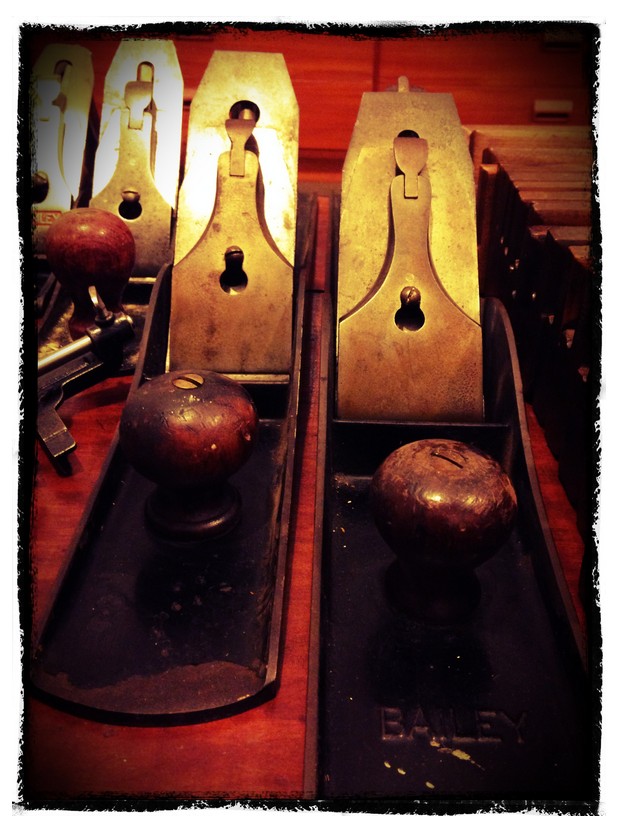
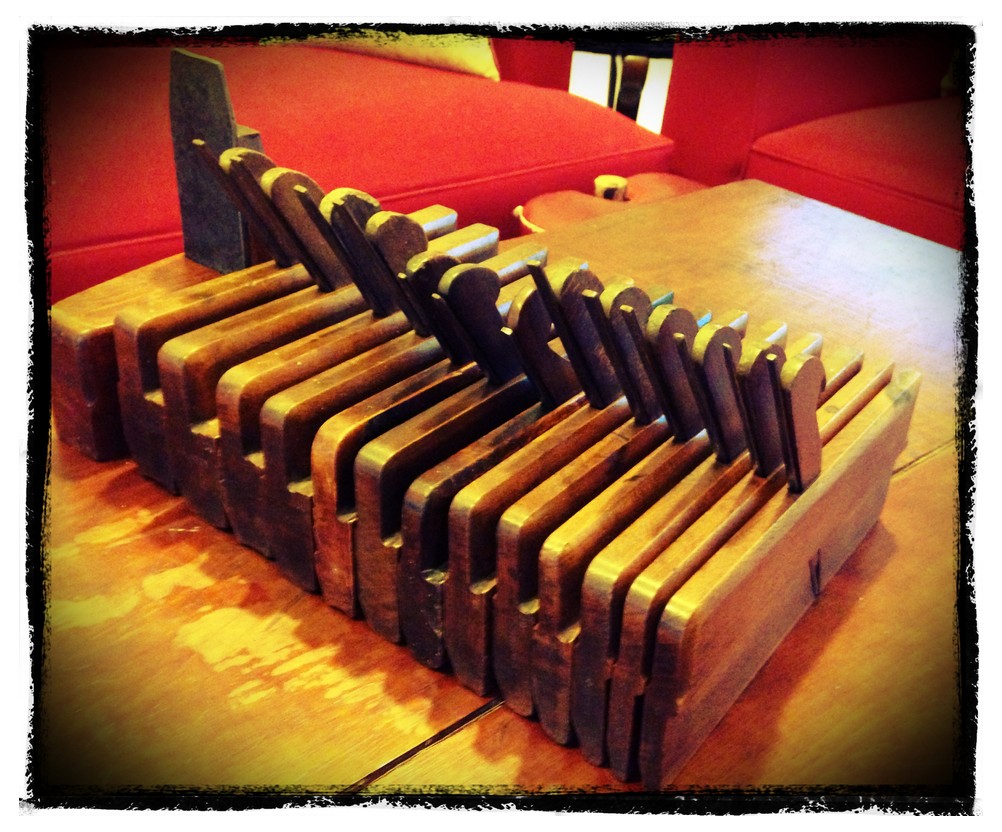
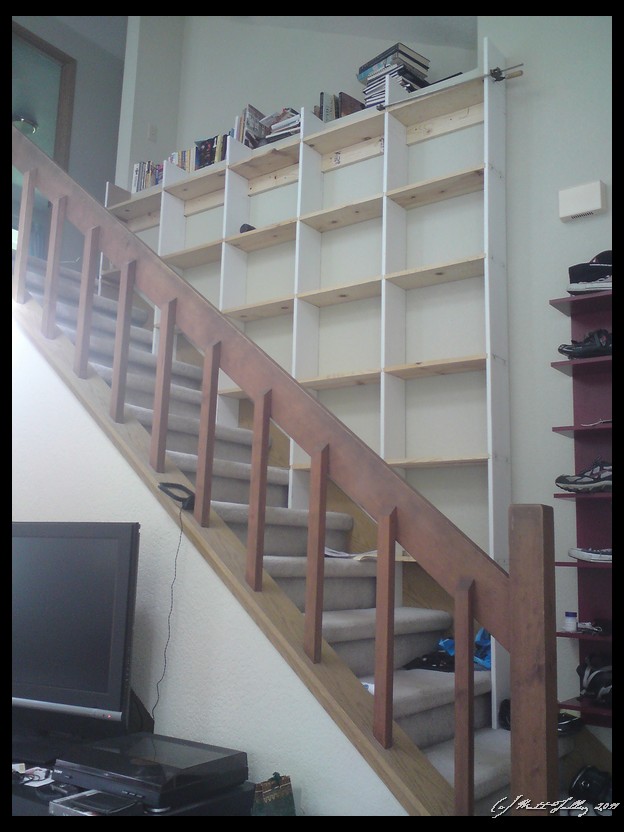
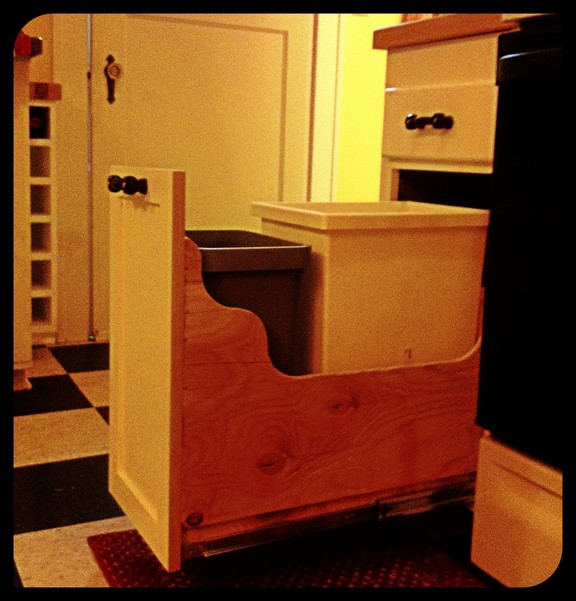
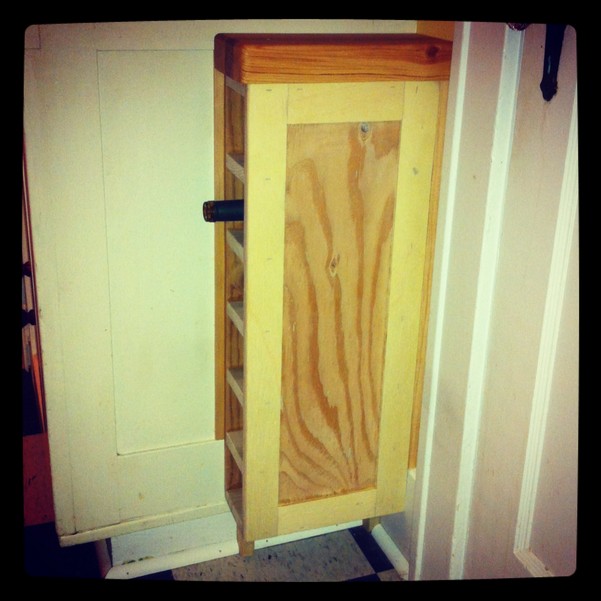
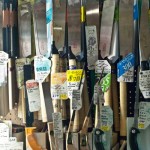
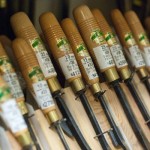
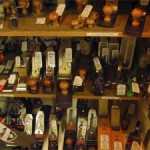
I appreciate quality handcraft. Not the funny pottery you find at Saturday markets, no I am talking about the fruit of a master craftsman’s hands: A perfectly out of proportion tatsu chest, a bespoke suit jacket, an art nouveau mirror, stained glass, brazed bicycle lugs, quality tanned and stitched leather, a hand-bound book, a teak and brass campaign desk, laminated steel knives, a sharp chisel, a fine motorcycle, beech moulding planes, Victorian ironwork, etc…

I have drug my wife into more stores and museums than I could ever count, just to look at a piece or snap a few pictures of an obscure detail. She puts up with it because she both loves me and has a tiny bit of the same fever as I do: she inspects seams and refuses to buy “cheap” cloths if they are not made well. Every now and then I get to sample the wears, caress a bit of dovetailed wood perfection or buy a little piece of hand-made love. The experience usually is the highlight of my trip.

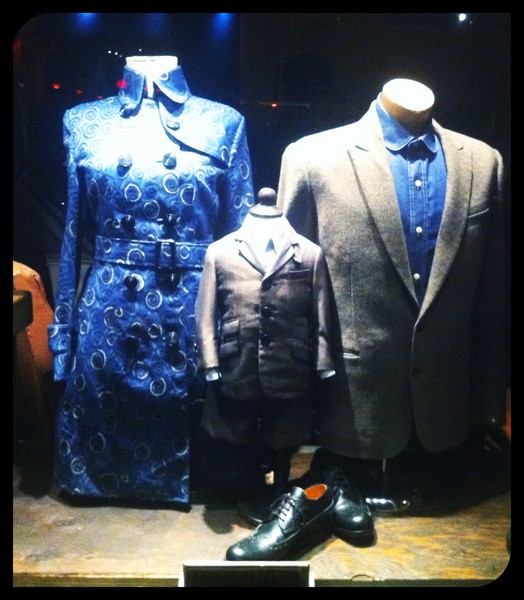
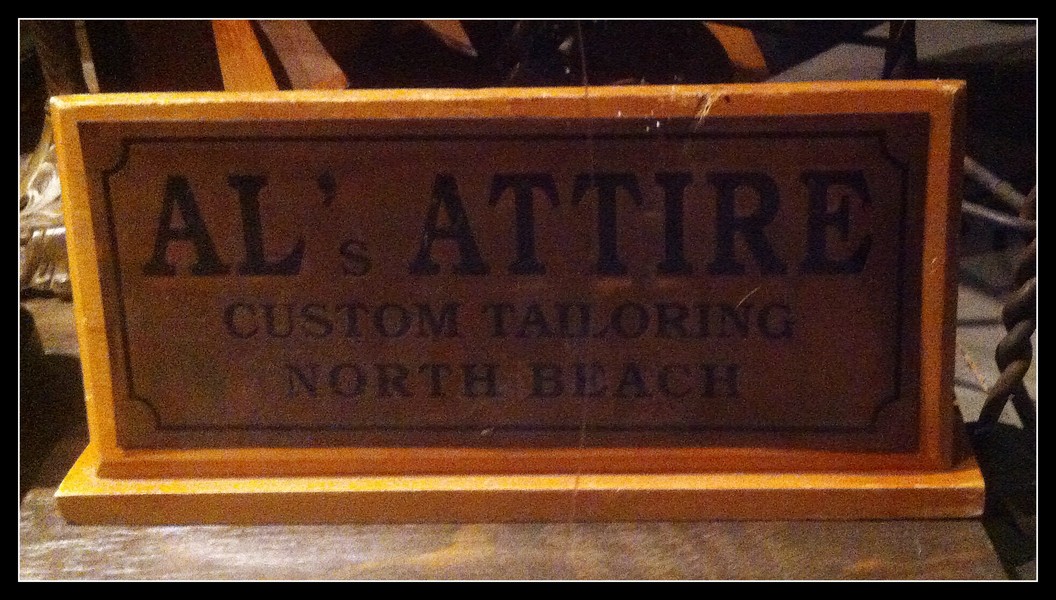
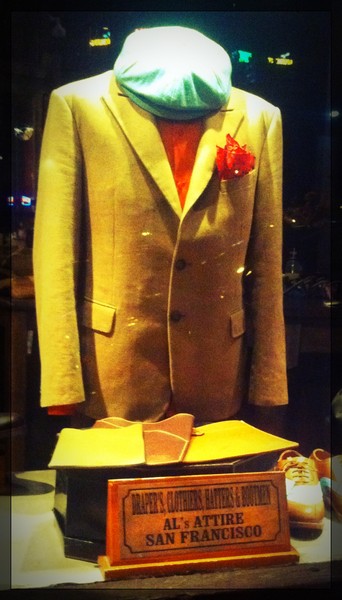
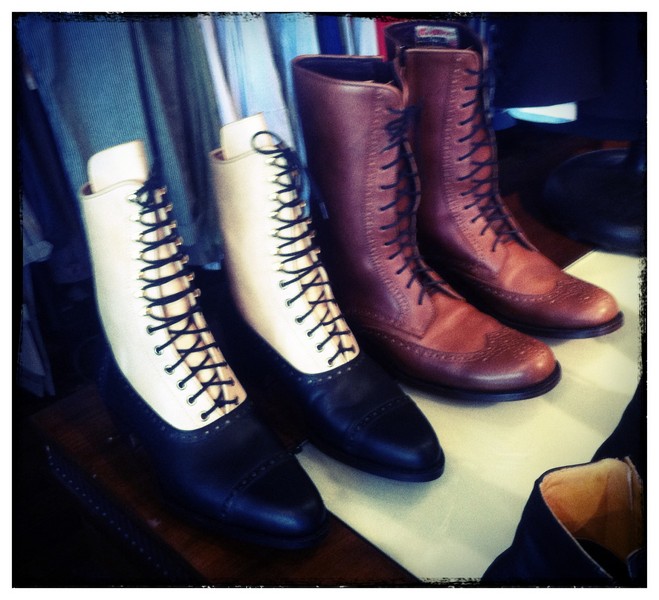
We were in San Francisco a month or so ago, getting our visa’s for France, and after dinner one night we just happened upon a store window filled with treasure!  There were tailored jackets, tiny toddler-sized suits, amazing hand made leather boots, hats, and vests. There were shoe-making foot forms in the window corners and a small wooden sign stating without ego or fanfare, “Al’s Attire. Custom Tailoring. North Beach.” I was in lust and took pictures of all the windows, of the sign, the address, and the cross street. We had an appointment the next day, but we were going back when the shop was opened. Stamps-With-Foot mentioned seeing the shop to a friend who lives in that Bay Area later that evening and her nonplused response was, “Yeah, there are pretty famous, you should stop in.”

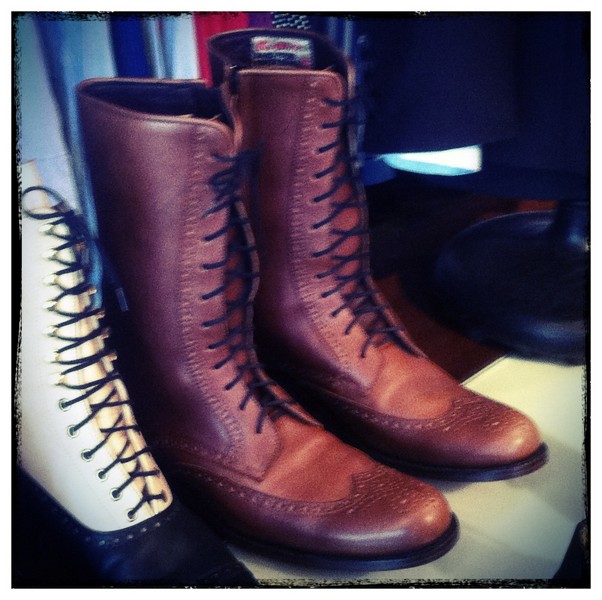
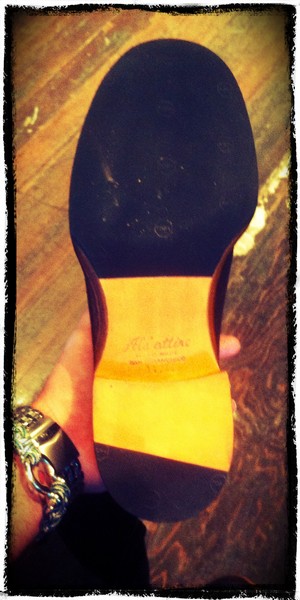
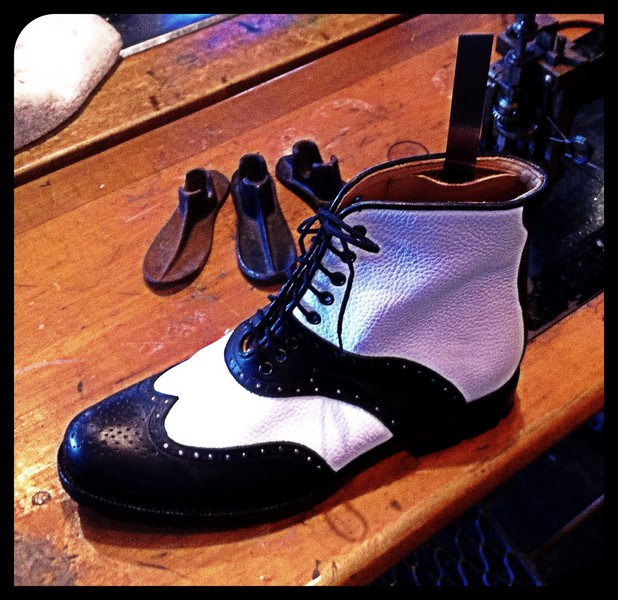
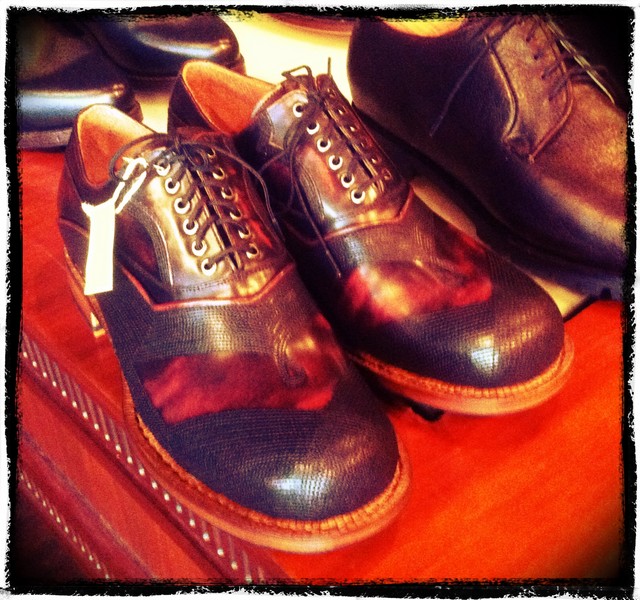
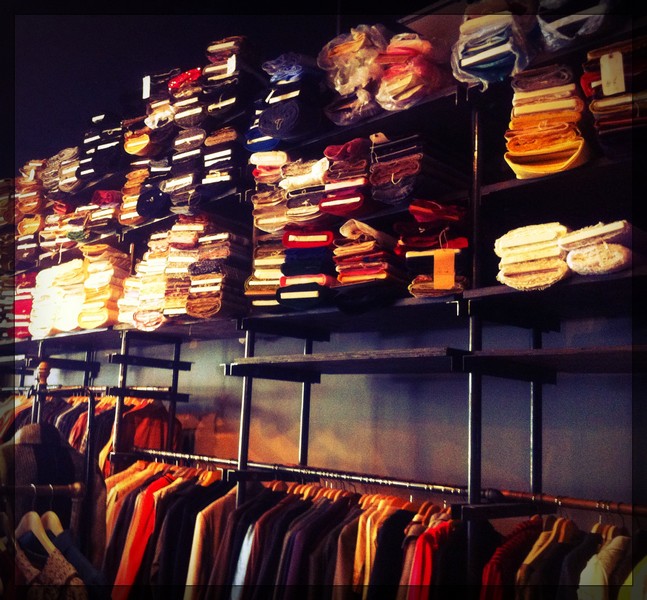
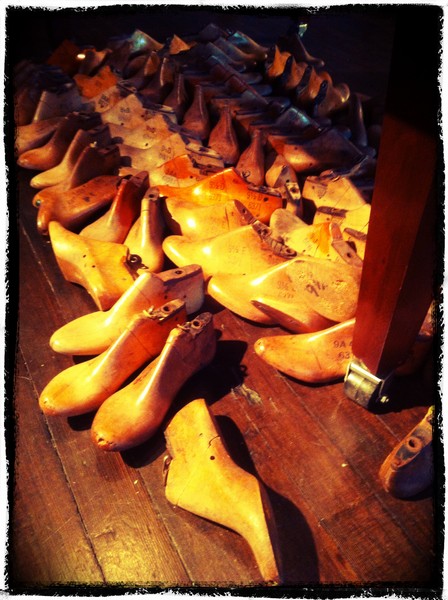
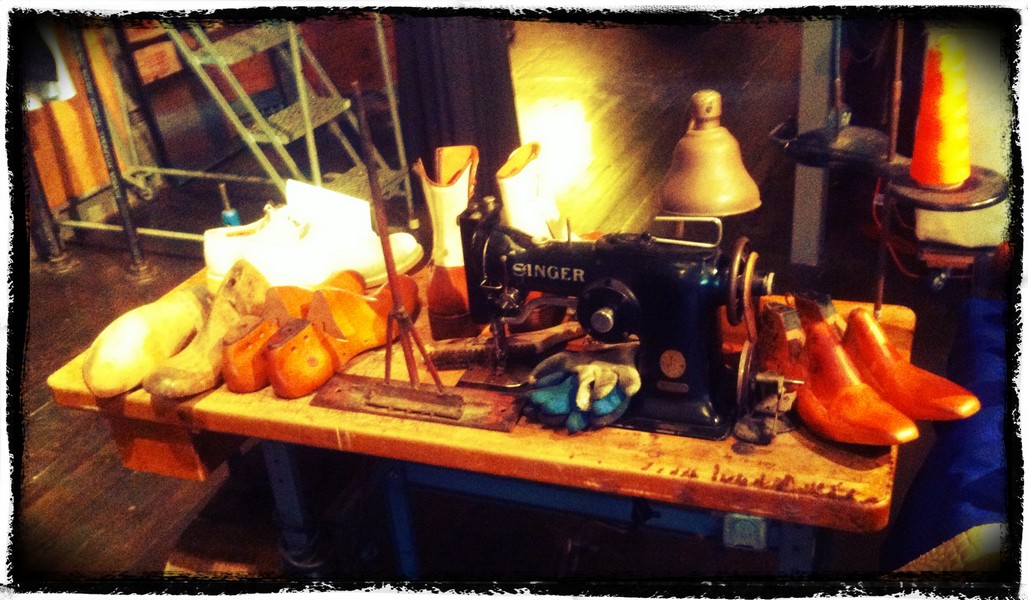
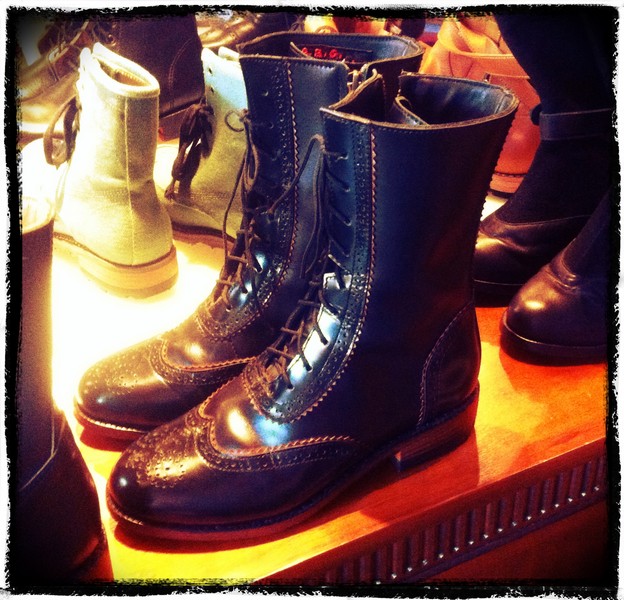
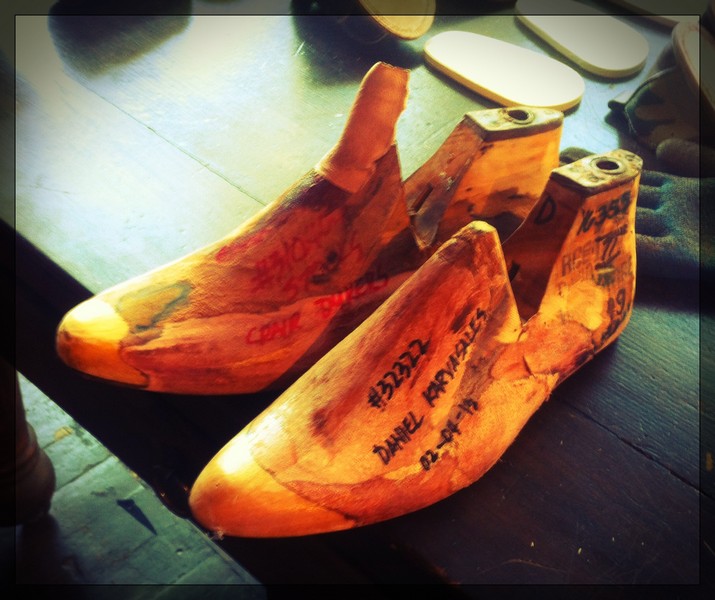
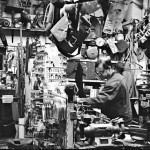
Because of a scheduling win, we were there when they opened the next morning. It was a dark, shop that smelled of leather and wool, with dark corners, exposed brick, 100 year old working sewing machines, sunshine beaming through the windows, a resident puggle, and the most amazing wares. I showed up just wanting to buy a hat maybe and take some pictures… Then I saw the place, smelled it, felt the wooden shoe forms, and I turned into the adolescent who saw boobies for the first time. The shoes and boots were all individually and as a group calling to me. I took picture after picture and then we meet Sarah… She is part of the sales & design team at Al’s and with one look and a sweet manner, up sold me from a flat driving cap to a pair of bespoke buffalo hide wingtip dress boots. I regret nothing!

“Have a seat, we’ll measure you. “It only takes a little while.” “Yes, those ARE beautiful boots.” “Of course we can do a triple layer sole…”

Dreams of My Own Little Shop of Curiosities..

I have a dream: I want to open a small to medium sized antique shop and have a place for my wife to work where she can take the babies and puppies. A place where I could indulge in my love of furniture/design/history and still keep my day job and health insurance. This is not a pipe dream, I have a written draft business plan, have worked out a logo and ethos (solid wood only) and have a special savings account for the start-up costs. In addition to classic and choice mid-century pieces, I would sprinkle in a few of my own newly constructed items and the occasional consignment.

I found the perfect place a couple of years ago: an existing antique shop where the owners were thinking of retiring and had good open space with FANTASTIC ambiance. I found out recently that the shop had closed forever and that the space was being converted to some other purpose. I snuck over and took pictures of the interior before it was sold or leased and some idiot rips it apart, installs IKEA cabinets, and opens an ironic hipster shop…

It hurts my heart a little to see someone else get the spot that I have long coveted, but I will find or make just as good of a space when the time comes.

Kitchen Update – September 2013

We are in the home stretch in getting the kitchen done! Holy crap, it has been a long road. I am so close that I can FEEL the end coming. My hope is that I do not get penalty points from the wife for finishing it just before we move away for a couple of years…

The recycling/trash pullout is 95% done – it just needs paint. The two above-fridge pullouts are in work and should be ready to go in by next Monday-ish – I just need the good weather to hold a little longer. There are 2 toe-kick drawers to paint and install. The new cookbook shelf and the little 6-bottle wine rack (Made block top) that I popped together are complete (wife loves!) and the shelf really marries the two halves of the kitchen together. We have spent 4 years moving a cheap paper towel holder around the kitchen and it is constantly in the way. I decided to build a new one and mount it to the lower spice cabinet door and spent an hour with the lathe, jigsaw, and router to make a holder that matched the rest of the kitchen. Stamps-With-Foot will prime and paint it tomorrow.

I will install the majority of cabinet pulls tomorrow night, but we need 12 more red glass handles for the remaining cabinets so that they match. There is still painter’s caulk and 1/4 round to go on in one spot and I have finally sourced 40 feet of matching cove molding for the tops of the new cabinets – by sourced, I mean I am making it on the table saw. So close….

Candle Box build

As part of my on-going campaign furniture project I decided that I needed a small box to hold beeswax candles and a few candle stick holders. I contemplated spending way too many hours crafting a small box with dovetails or finger joints, but good sense and my travel schedule won out and I happened on a wooden 2-bottle wine presentation box at Goodwill while I was there perusing for candle holders and baseball bats (for my lathe). I found four nice small Indian-made brass holders that fit in half the box with just the right amount of patina and beausage. I glued in a plywood separator in the middle of the box and cut down a piece of 1/4″ plywood scrap to cradle the holders. I glued that into one of the halves. A coat of red mahogany stain was rubbed on the outside and the box was finished off with two coats of polyurethane. An appropriately dinged-up brass handle was a sourced for $0.50 at a local reclaimed hardware shop and the box is now ready for a safari, Glamping, or romantic dinners in the back yard, etc..

Campaign Furniture Love and Build

I am a sucker for campaign furniture – the real stuff not the 1970’s MDF, lime green crap with cheapo plated straps and corners applied. Nope, I am talking about furniture that could have been broken down and loaded in a wagon, put on a mule, or strapped to a camel and toted around the world to reside in an officer’s tent in the high mountains of the Hindu Kush, the plains of the Ganges, or on the savannas of the Rift Valley. There is a single modern volume – now out of print – that I have checked out of the local library (through inter-library loan) 4 times and have scanned it in it’s entirety. I also have a 19th century catalog that is printed on pulp paper and completely falling apart that I peruse a good bit. I have even planned a couple of days off while traveling around seeing particular pieces and collections: there is a small shop in the Charleston, SC antique district that I spent hours in and while in London last year I found a shop that I wanted to move into. To tempt me even more, I have read rumors that Chris Schwartz, author of The Anarchist’s Tool Chest, is working on a new book and I am vibrating with anticipation.

There is a bit of both romance and leisurely comfort when one spends time afield surrounded by real furniture. I have a couple of original pieces, but they were dear enough that they cannot leave the house and won’t be spending any time glamping with us in the summer or in a high-country elk camp. Instead, I have been working on some modern versions that can be thrown in the back of a truck, hauled at high speed down goat trails, and opened up like Optimus Prime to reveal stout, useful, pleasing furniture. I have a source for solid wood shipping crates of different sizes that I have cut, stained, altered, and added to for this purpose. The limiting factor in all of this, is that every single piece has to break down, or fold up so that everything together fits in the bed of a small truck: 4’X6′

Right now, I have the cast iron cookware box, a candle box, 2 small tables, and a field desk done. I am 90% done with the wet bar (you NEED booze while glamping…) and an oil lamp/lantern box. The camp kitchen is in work, but will not be near complete or usable by the time we move. I have also designed a linen trunk, small chest of drawers, and a full-sized bed, but these haven’t even been started. The Campaign Furniture build is an on-going task and I hope to finish it all while we are in France. We are actually contemplating using it to furnish our guest room there.

Kitchen Cabinet Doors

I am super trying to finish up the kitchen cabinet doors and get them painted and hung. I was putting the last coat of paint on them this weekend and the cat decided to help… I said dirty words – loudly. The cat didn’t care and looked away like I was insane for questioning her right to sit in fresh white paint. Had to let the door dry and sand cat hair off and repaint. I said more dirty words. The cat didn’t care and laid on her side in the grass, I am sure thinking: ‘Ima gonna do it again, jus ’cause. Dirty pink bald monkey…’

Fvcking cat.

I went to Seattle Hand-tool Heaven today.

Somehow, I have lived in Seattle for nearly 5 years and yesterday was my first visit to Hardwick’s Hardware in the U-District (just up the hill from another favorite shop – Recycled Cycles). I made a quick stop looking for a used posthole digger while my son and puppy waited out front in the truck. I stumbled into old-school hardware heaven: Narrow rows stacked floor to high ceiling with new and used (in wonderful shape) planes, chisels, axes, drawknives, Knowledgeable – not too crusty – staff, and tools the one Yelp reviewer has said are “mighty enough to build Viking warships with…”

I may be in love… I lingered for as long as possible (10 minutes) and while I left without a posthole digger, a Stanley Sweet Heart #45 plow plane jumped out of its locked case and came home with me. I will be returning when I have a little cash and a couple of hours to peruse alone and without my sweet wife there to narrow her eyes and tell me “no” when I lust after the broad axe or fondle a fish-tail gouge.

The place has been in business since 1932 and proof that there is room left in the world of Home Depots and Lowes for the neighborhood hardware store where Norman Rockwell would feel at home. Hardwick’s is a bit of a drive for me, but it is officially my new go to stop for hand tools and hardware.

Hammer in my hand…

This is a plane hammer that I made from brass bar stock and a game-day bat from my youth. The hammer head was made on an old-school machinist lathe and I used a rasp and Japanese pullsaw to form the handle. A light tap is all it takes.


Building Custom Cabinet Doors

1. Buy dimensional 3/4″ poplar boards.
2. Plane to uniform thickness.
3. Rip 2″ and 3″ strips on the table saw.
4. Two dado cuts on table saw for 1/4″X 3/8″ panel groove.
5. Run each section on router because table saw is a POS and there is depth variation in all the grooves…
6. Threaten table saw with large iron maul – mean it.
7. Grumble a little.
8. Cut door stiles (sides) to length – Measure opening for stiles, subtract 4″ for stile width and add 3/4″ for double 3/8″ panel slot.
9. Write all measurements down on a non-descript sheet of paper.
10. Put measurements somewhere safe.
11. Take a 2 week to 4 month break because life gets busy.
12. Lose paper with measurements.
13. Tear house and shop apart looking.
14. Give up and re-measure.
15. Cut rails.
16. Lay all parts out and label, check sizing, trim two pieces, and pray a little.
17. Set up horizontal drill press to drill for dowel joints.
18. Screw up at least 4 initial holes.
19. Hit head in shop at least 3 times.
20. Build sweet dowel trimming jig for table saw – let head swell a little.
21. Cut 3/8″ off each dowel (8 per door).
22. Drill 16 holes per door.
23. Sand the cut-off end of dowel.
24. Dry fit first door.
25. Success!
26. Get out every bar clamp, hand clamp, and Quick-clamp that you own and set up clamping station.
27. Find original measurements for doors in the “safe place.”
28. Say dirty words very loudly. Repeat.
29. Add glue to dowels and joints and assemble door.
30. Apply judicious blows from wooden mallet to seat parts.
31. Get glue on hands and in hair.
32. Clamp up.
33. Wipe extra glue on door off with wet rag.
34. Repeat last 6 steps 8 more times.
35. Scrape clue, plane joints, and sand doors with 3 different paper grits.
36. Check and adjust door fit to openings and prime after more planning.
37. Re-prime and paint with two coats of white cabinet paint.
38. Mark, mortise, and install hinges on door.
39. Install red glass pulls.
40. Mark and mortise hinge/door onto cabinet.
41. Check fit and adjust 2 to 9 times.
42. Repeat steps 28 thru 41 eight more times
43. Drink three beers and swear to never build your own kitchen cabinets from scratch ever again!

Hanging out in our ‘hood this weekend

We had a quiet West Seattle weekend: Friends over on Friday and we all drank no small amount of great Italian wine and ate the last of our French Comte cheese. I worked around the house and in the shop (me and the lathe are friends) Saturday morning while Stamps-With-Foot nursed a touch of a hangover and snuggled with the Brodie – He didn’t complain. Sunday was lazy with Brunch at Meander’s in White Center (Go For the Chicken and Waffles!) and afternoon coffee at C&P. After coffee and reading, there was a trip to Trader Joe’s, home for left-overs, some quality hottub time, and then we finished the evening with glasses of port, sitting in front of a fire.

Cutting trees down and making stuff

Shortly after we moved into La Maison du Talley, we cut 21 trees out of the backyard. There was only one serious tree – a 40′ cedar – and the rest were smaller Bay Laurels and Vine Maples that were blocking any possibility of sunlight reaching the ground. I kept some of the larger, straighter sections of the small trees and put them in the loft of the garage to dry and season, hoping that I would eventually make stuff out of them. That was three and a half years ago and while spring cleaning in the garage/shop this weekend I decided to take a little break and mess stuff up again 🙂 I pulled a couple of sections down and cut them to manageable size with the chop saw. I knew exactly what to do with pieces.

We have a neighbor who is crazy helpful and has a passion for dahlias. He grows and shares them with the whole street and has helped Stamps-With-Foot litter the edges of the yard and flower beds with them. She loaned him the bulb planter early this spring and he loved it. He had somehow gone through life as a gardener and just never tried one. I decided to make him his own with graduated depth gauge marks and a matching mallet to drive it into the odd patch of hard ground. The planter is made from a section of the vine maple and the mallet is turned from a hickory Little League baseball bat that I bought for $2.00 at Goodwill. The maple was super-dense and I counted 21 very tight growth rings on it. It grew in the shade under larger trees for all that time and that made it an especially hard and nice piece of wood to turn with sharp chisels – the wood shavings and tailings came off in long, thin, lace-like strips. An absolute pleasure to work with.

Since I was making sawdust already, I decided to keep going: The wife and I are planning to make some/most of our Christmas gifts this year. I have already started and added a few mallets for the woodworkers in my life (I am not spoiling the surprise – none of them read this blog…). I also turned a garden mallet for Stamp-With-Foot from a section of Laurel tree (her name-sake). I added the burned striped bands at her request after she saw her’s beside the others and got mallet-envy.

Just before my wife stomped out to the shop and MADE me come in for the night, I took a hunk of red oak that I have had for 10+ years and turned a couple of fancy door-stops. Since we live in a house built in 1928, the doors have a mind of their own and a well placed wedge keeps a person from walking into the edge of a door in the middle of the night. I will add some tung oil and a few coats of satin poly this week to finish them up.

Roller Derby, St. Paddy, Dresser Building and an Anniversary Weekend

This weekend was busy with friends, a dinner out, St. Paddy’s Day activities, an outing to the Roller Derby (?!), and the 9th anniversary of the day that my sweet wife and I met was on Sunday. Even with all that, we still got bunches done around the house: Our under-bed dresser finished, bathroom table drawer installed (a little work on that left), wine crate storage boxes made, basement lighting installed, and the basement work bench is moving along.

The drawers for the under-bed dresser and the one for the bathroom all came from a wooden donor-dresser that my father-in-law drug home from a garage sale last summer. He paid $4 for it and it was in pretty bad shape, but it was solid wood and had potential. It was mistakenly left in the weather (plastic cover leaked) for a month before I salvaged the drawers, cut out off the top and used the sides for kitchen cabinet door panels. I re-squared the drawers, added dividers in the fall, and over the Christmas break sealed the insides (The Ruminator helped). After lots of filling and sanding and more sanding, I stained the fronts to match our bedroom furniture, then built ¾” plywood beams to hang the drawers from bed frame and used some scrap oak flooring as drawer guides/runners. The final product really looks good and is super functional. While some husbands bug their wives by filling the house with brought-home junk – I give my wife more and more and more storage and organization space.

On Sunday, I put the final coat of finish on the basement workbench top, let it dry, and then installed the three runs of aluminum t-track. Stamps-With-Foot bucked up and helped me wrestle its 200 pound beech and maple mass onto the steel base. I secured it with screws and covered the top with carpet squares while I finish the upper shelf/cabinet. I installed a outlet power strip under the main body of the topper and removed the old drawer dividers. I will soon add a plywood back with a mirror, a light under, a dedicated air supply line, install the desk drawers under the bench and mount 4 reclaimed letterpress drawers directly under the top as well. Happy with the progress so far.