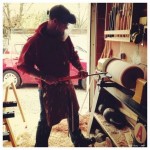
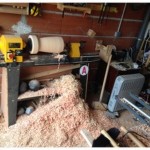
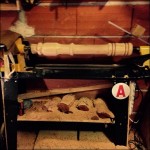
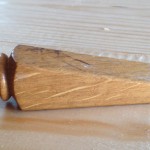
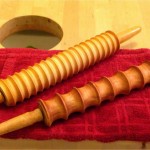
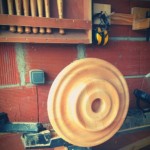
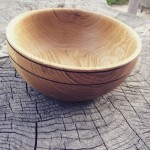
If you want to hear God laugh, tell him what your plans are…

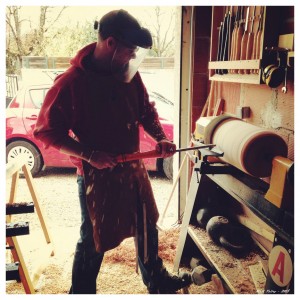
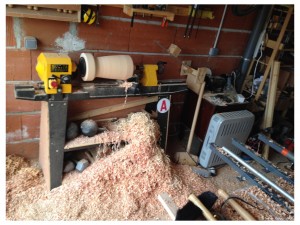
As mentioned a few weeks ago, we hit a snag on the garage build. Super frustrating. There is some stuff in the house that takes precident – they just have to happen and happen right now. Thankfully, we are in a place to take care of it, but my dream shop has been pushed a couple of months. That hasn’t stopped me from getting everything prepped though. I have completely cleared out my current GROP and moved all the innards into storage for the duration of our build/re-build. A few things like ladders and yard tools are left, but after giving away an entire trailer load of scrap lumber and plywood it is all open space. It hurts a little that the cleanest my garage shop has ever been is right before I tear it down to built a new one…

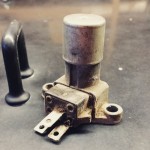
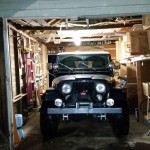
The other day, I had to do a little fiberglass repair on the Jeep top and swap out my floor-mounted headlight dimmer switch. Not super a fun/sexy mod, but taking the door off made it easy – ish. I will not be bright-lighting folks for my entire commute anymore. It was nice to have a dry spot to work during a Seattle winter. Also, this was the only time in 6+ years that a vehicle had been in it.

Matt Talley_ house remodel_2016_003

Matt Talley_ house remodel_2016_004


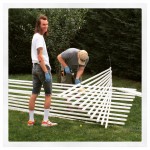
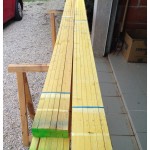
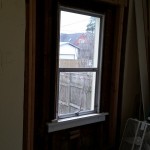
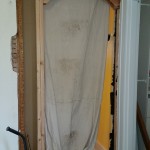
We had to start the house remodel before the garage and start in the rear bedroom (NW corner of the house). The interior walls had to come out to repair an issue(s). After we take care of the repairs, a new arch will lead into the kitchen, there will be a 4′ French door with a 12″ balcony looking out into the back yard, and we will have wainscoting up to 68″ and a coffered ceiling in what was the back bedroom and what will be the new dining room. Here are some shots before the full wall removal, some replacement studs and new headers.

Matt Talley_ house remodel_2016_001

Matt Talley_ house remodel_2016_002


The basement stairs are also in need of replacement and will be taken out and rebuilt next week. The new HVAC will go in the week after. It has been and will continue to be a test of our resolve and patience.

Getting a new garage in 2016!!!

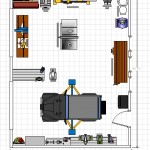
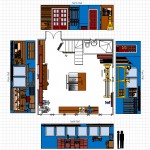
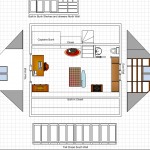
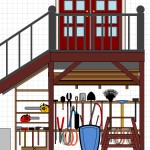
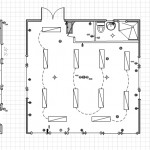
Woohoo!!  It looks like we are a go for a new garage and some needed updates to our heat, plumbing, and wiring at the house.  I am meeting our builder this weekend and passing him a check (two checks actually, one is for the City of Seattle permit office…) and I will have a real garage and wood-shop by spring.  I will have room for a big lathe, cabinet saws, wood storage , my joiners workbench, room to assemble projects/furniture, a real dust collection system, and all my planes/saws/chisels/hand tools on one side.  On the other side of the shop will be a mini-machine/fabrication shop with a two post lift, lathe, end mill, welder, mobile paint booth, and work table…

I cannot tell you how stoked I am!  Seriously, I am all giddy about it.  I plan to make cool stuff, descend into super-nerdy, and will be voiding the shit out of warranties!

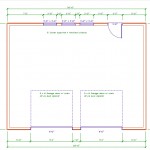
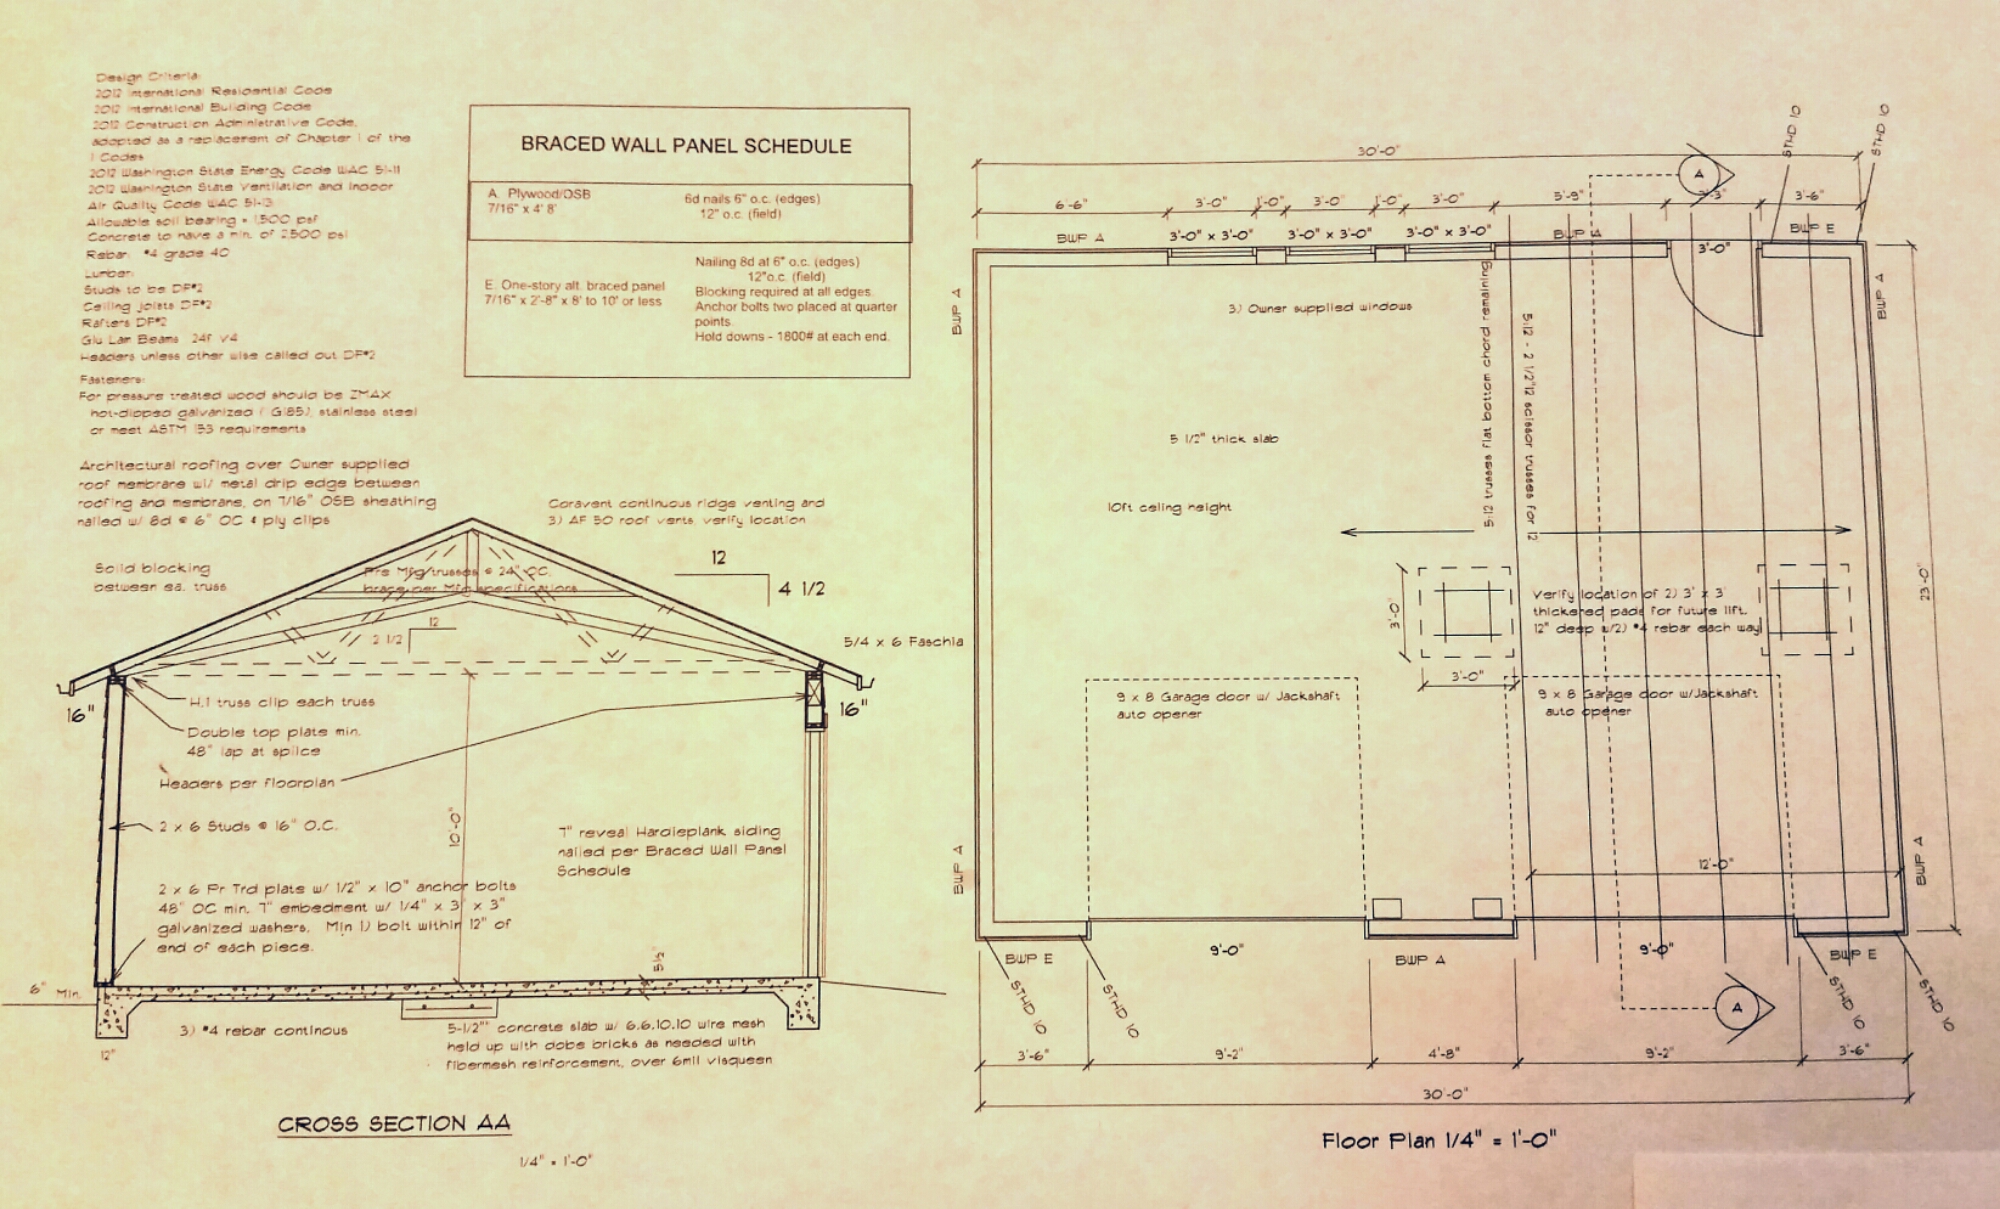
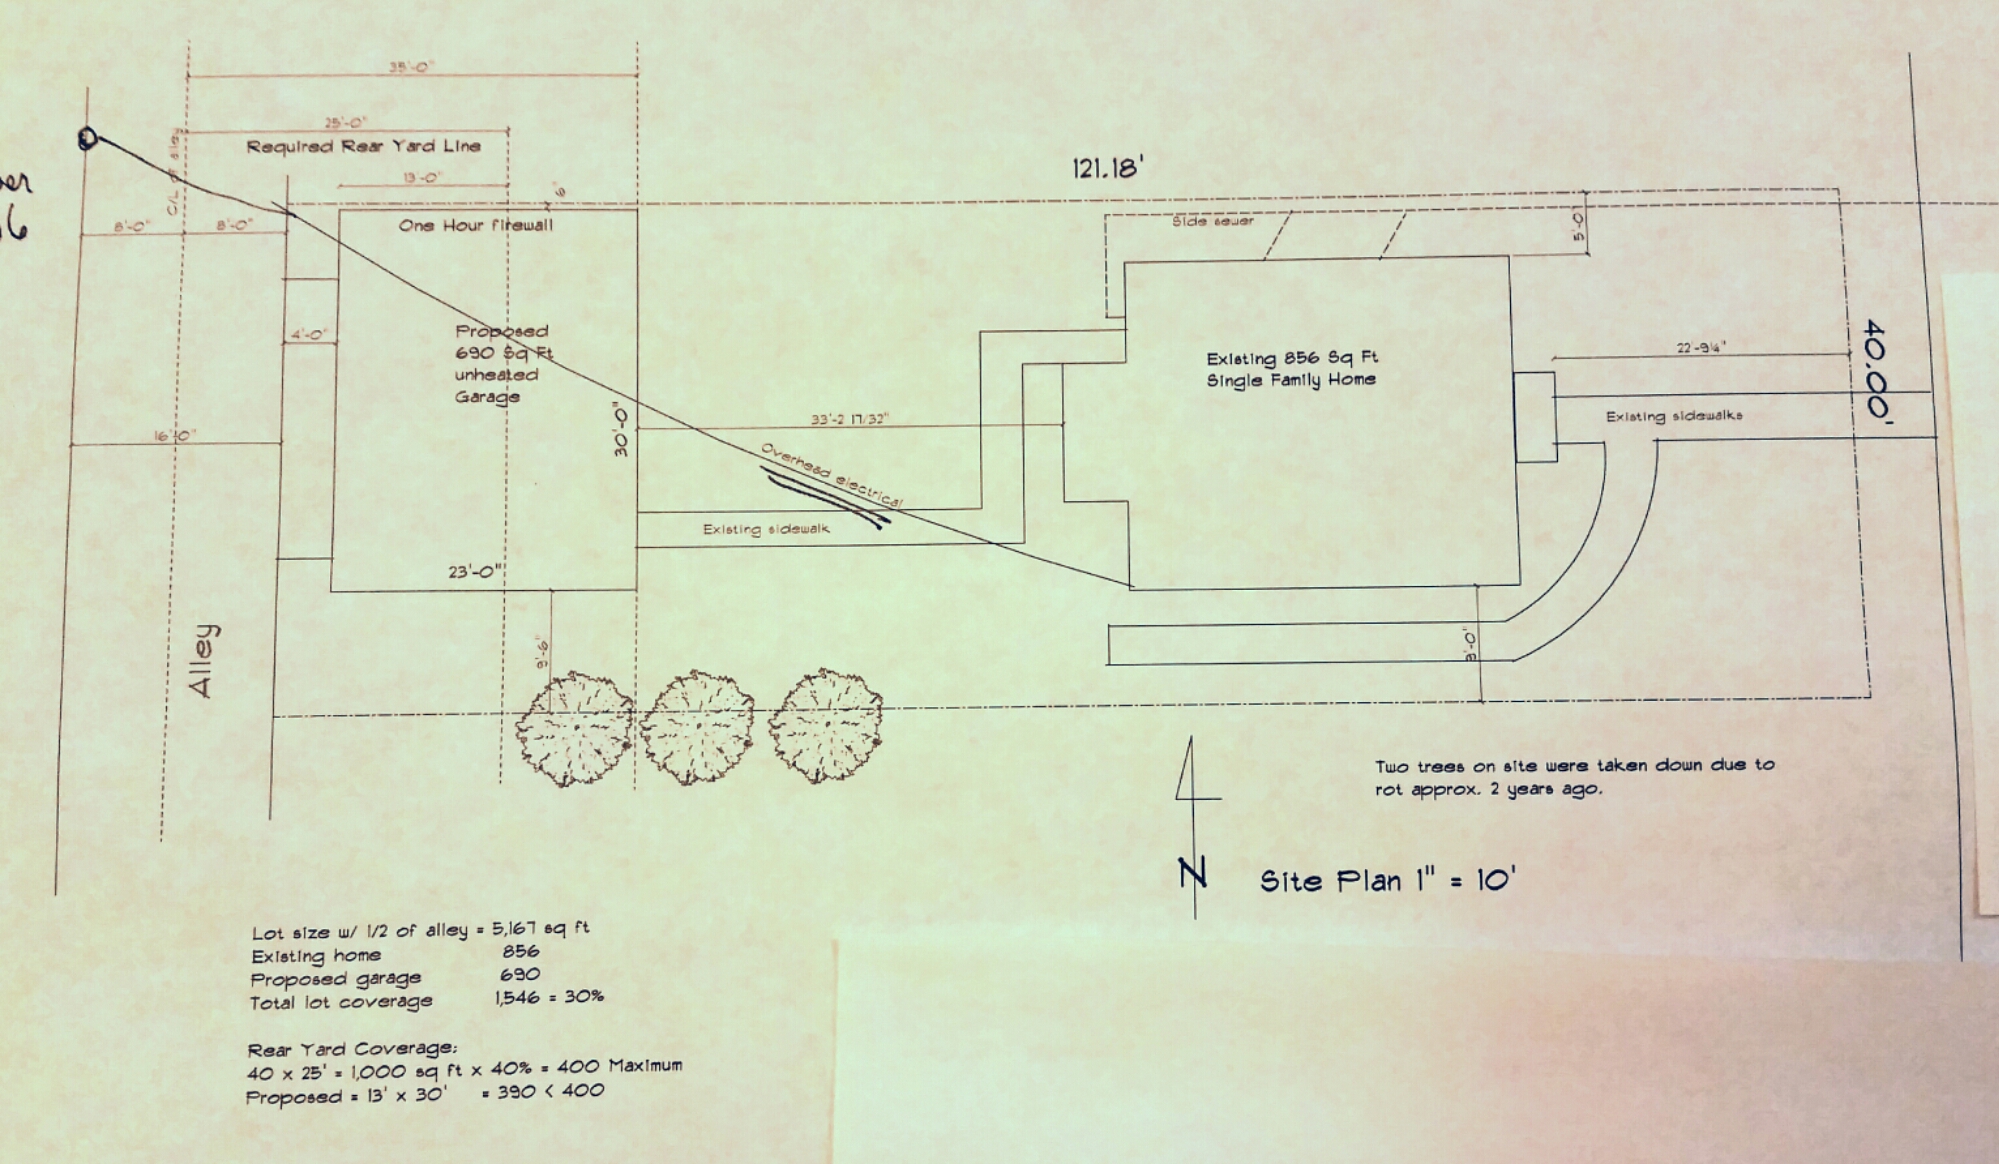
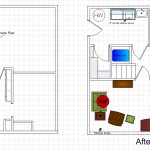
Here are the prelim drawings that are being submitted and a lay out of the shop floor.

Garage floor 3 Garage Floor 1 copy Garage floor 2 copy

Update:

Drawings sent to the city. Cross your fingers and pray with me that Planning is having a good day/week/month and these babies get a stamp.

image

image

Wood Lathe for sale in Cornebarrieu – SOLD

The move is ON!  we have two weeks until the packers and movers get here and Stamps-With-Foot and I spent the morning and part of the afternoon going through stuff and listing stuff for sale  the largest of which is my lathe.  It hurts me a little to see it go, but I know that a huge old gap-bed lathe waits patiently for me in Seattle.

Below is the add that my wife is posting on the local English-speaking forums here in the Toulouse area:

FAR TOOL TBF 1000 Wood Lathe for sale in Cornebarrieu: 

FAR Lathe_Main

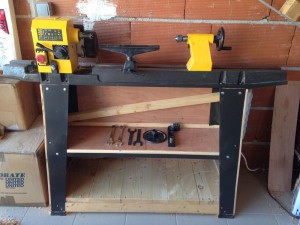
I bought this lathe brand new from a local shop 18 months ago.   Since it came unassembled, I reinforced the standard steel base with additional shelving, cross-braces to remove any possible flex.  I then sheathed three sides for extra rigidity and added a strong bottom platform for ballast.  I have turned everything from honey dippers, to bowls (large, small, & huge), stools from tree trunks, stair balusters, platters, furniture feet, tiny wooden and acrylic ornaments, lids, etc.  It has been a great lathe and has NO PROBLEMS or “small issues.”  The bearing are true and tight and there is ZERO rust on the ways/bed.  This lathe is in perfect shape and the only reason I am parting with it is because we are moving back to the US and the power there will not work with the lathe’s 240/50Hz motor. 

 Here are the details and specs as well as a couple of links to shops that sell it:

  • Cast iron variable speed lathe features a 360 degree swivel headstock.
  • Solid cast iron headstock and lathe bed construction.
  • Extra bed extension for outboard turning.
  • Speed is fully variable between 450 – 2100 rpm.
  • Weighs ~120 kilos
  • 300mm width capacity over bed and 900mm between centers.
  • Have turned 600mm platters with headstock swiveled 90 degrees
  • 550W enclosed fan-cooled motor
  • hollow self-ejecting tailstock with #2MT
  • Cast iron offset tool rest and extension arm
  • Head Stock has MT2 Taper and 25.4mm (1:8TPI threading – industry standard for lathes this size – easy to find chucks and accessories
  • Includes reinforced/enclosed steel base, added powerstrip for lights and hand sanders, a 4-prong drive centre, bowl/platter faceplate, live tail center, 4 wrenches, knockout-bar, shop-made stead rest.

It will be perfect for your garage or shop or for your partner’s Christmas present since it is ready to work and you just have to plug it is.  I paid 520 Euros for this lathe 18 months ago and it currently lists for 550 – 745 Euro depending on the shop. I am asking 375 Euro.  Please give me a call if you have any questions and the lathe is available for demo if you would like.

FAR Lathe_04

FAR Lathe_05

FAR Lathe_3

FAR Lathe_02

FAR Lathe_12

FAR Lathe_11

FAR Lathe_06

FAR Lathe_08

FAR Lathe_09


UPDATE:

I sold the lathe to a nice English gent, who got a smoking deal. I helped him take it all apart and put it in his car. The rear springs were seriously loaded, but he looked happy as he pulled out of our drive.

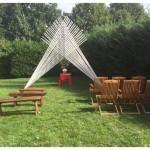
A Modern Wedding Arch Build

My Brother-in-law and his then fiancé decided early this year that they would visit us in France and while here have a little wedding… Stamps-With-Foot freaked out and turned on the ‘Big-Sister Action Mode’ setting on her internal processor. She quickly organized the shipping logistics, helped with transportation, found lodging for all, located a restaurant for the reception, sourced champagne and wine, etc… I had two jobs. 1. Make sure the yard was a perfect/green as possible. 2. The wedding arch. It was implied that fvcking up either would have dire consequences.

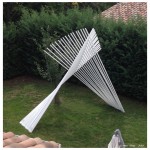
I sketched a bunch of ideas up in my notebook and talked to the bride a little about her ideas and wants over Skype and e-mail. I had planned on doing a big natural arch with the pruned limbs of 70-100 apple and plum trees, but my source burned the branches before I could get to them. I went with Plan B and drew up a modern interpretation of a classic white wedding arch. The bride said ‘go’ and it was on.

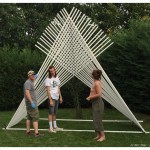
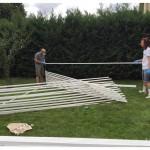
The arch is made from 4 meter (13.14’) X 1.25”X1.25” pine sticks that I sourced at the local lumber yard. They are sold for fencing trim and to cut foundation stakes from. I painted each with two coats of white paint and the bottom is held together with 10mm all-thread. The top is screwed one stick to another – everything is pre-drilled.

All was finished one day before the ceremony with the bride’s brother, cousin and sister helped out with the final painting (taking turns with the one roller) and installation. I really couldn’t finished in time without their help and support.

The bride and groom seemed very happy with the work and allowed me to even officiate their wedding. Honored does not even begin to describe my feelings about being included in this way. It was my first time getting to use my Ordained Minister credentials and I am SO adding wedding officiate to my resume! I will add some pictures and wedding details later – after the bride has had a chance to flood her social media accounts with pictures to her little heart’s content. Out-doing of being faster than the bride to share “her day” with the world would be bad juju…

As you can see from the pictures – I succeeded in Job 1 as well: Greenest yard in Toulouse:-)

IMG_6211

IMG_6262

IMG_6241

IMG_6196

IMG_6177

IMG_6172

IMG_6173

Wedding Arch September 2015


Updated Materials list and build instructions:

Material:
2 – 3/8”X3’ sections of “all-thread” (Home Depot or Lowes)
4 – 3/8” nuts
4 – 3/8” washers
40-45 – 1”X1”X12’ garden stakes/lathe
These can be substituted by ripping down 2X6 or 2×8 boards on a table saw. The finished stakes will be 1.5”X1”
100ish 1.5” deck screws
White paint with primer

Tools:
Two saw horses or cinder blocks
Paint brush
Hand saw or circle saw
4 – hand clamps
hammer
Two battery drills
Socket set
Combination wrench set
½” drill bit
1/8” Drill bit for pilot holes
Two helpers that have not started drinking or toking

Directions:
1. Check with the bride and get her sign off before any purchase of build is started.
2. After acquiring your stakes or making them, leave them bundled or tie them with packing string. If you removed them from the bundle before assemble, they are likely to warp.
3. Paint all available sides with thick coat of white paint
4. Put on second thick coat
a. You can let you helpers do this and it does not have to be a sober day project. It is better if they are altered. They will paint each other. It will happen.
5. Let paint dry overnight and out of the weather
6. Cut the bundle, retie the stakes with packing string with the unpainted side out.
7. Drill ½” hole in the bottoms of all the stakes about 1/2” from the bottom and on the centerline.
8. Measure up from the top of that hole ½ to 1” and cut what are now your spacer blocks off.
9. Drill ½” hole in the new bottoms of all the stakes about 1/2” from the bottom and on the centerline. Or you can drill both holes in all your stakes at the same time and cut between them.
10. Figure out the spacing of the “floor” of you arch by standing bride, groom and officiate up and seeing what that width is.
11. Add 18”-24” on each side. 10’ is great normally, but you decide.
12. Move all material and tools to the spot where the arch will be erected.
13. Mark out you width on a spate stake and place it in your desired location.
14. Double check with the bride if this is what she wants.
15. Cut your now fully painted bundles
16. Lay you first two sections and have them cross with 6-10” left at the top.
17. Clamp the bottoms to the stake, leaving the ½” hole uncovered.
18. Check the top again and if correct, drill a pilot hole in the top over-lapping stake.
a. This is super important! ALL screw holes must be pre drilled or you will split the wood.
b. This will piss the bride off and you will have a bad day.
19. Insert the all-tread into the bottom hole and put the washer on from the front (under), followed by the nut. Just tighten till the threads are covered on the end.
a. Have one of you sober helpers hold this all-thread until the 5th or 6th course of stakes are laid. If not, then you will split the stakes at the bottom and the bride will find out. You will get into trouble.
20. Slide a spacer block on after each stake is put on.
21. With your sober helpers holding the All-thread, lower another stake into place.
22. You will want to lower both ends at the same time or something will crack.
23. Move to the peak and space the second set.
a. I used a scrap bit of stake so that I would have 1” stakes and 1” spacing between, but if I had to do it again, I would use a 1+1/2” block (skinny part of a 2X4) as the spacer. It makes for a more dramatic fan when done.
24. Drill pilot hold and repeat step 17 – 22 until you have about ½” left on the end of the all thread.
25. Assembly is easier from inside the arch.
26. At some point your sober helpers will start looking for a cooler or a lighter. Do not let them wander off. Trust me.
27. Put on your next par of washers and nuts and hand tighten.
28. Use second set of hand clamps to put another stake across the bottom of the back of the arch. This and the one on front will be removed after you stand it up, but they will help keep everything ridged until it is up.
29. Cut four 18-24” sections of a spare stake and either have a still sober helper sharpen the end (the proper instruction is “like a Vampire stake…”) or you can cut it at an angle with a hand saw
30. Now with all available help stand the arch up, gently.
31. Have the bride sign off on the build and location. Not the bride’s mother. The lady in white herself. Seriously.
32. After you have the OK, then carefully insert a “vampire stake” between two stakes and hammer it into the ground until there is 2” sticking up above the side of the arch.
a. Don’t screw this up and hit the arch with the hammer. You might break something and then you will have to go into witness protection or move to Bulgaria.
33. Predrill a hole in the stake and arch and attach the two.
34. Do this on all four corners.
35. Remove the clamped on temporary bottom sections.
36. You may now release the helpers to become a chemically altered as they so desire.
37. Touch up any or the missing paint from the cords or the assembly.
38. Bask in glory of your accomplishment with a cold malted beverage.
Puttering around in the shop

I had a super shitty trip home from Morocco and was stressed out & pissed off when I got up Saturday morning.

First Coffee.

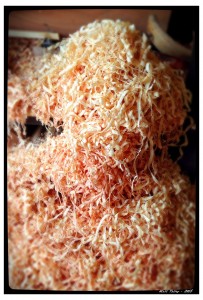
I then decided that and working on some current projects, a couple of little things on the lathe, and making lots of sawdust and wood shavings would make it all better.

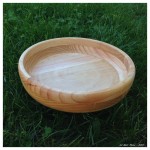
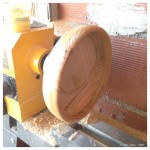
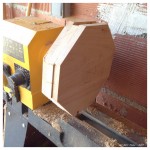
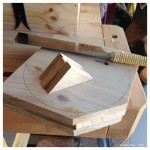
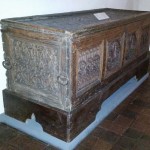
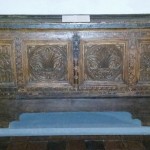
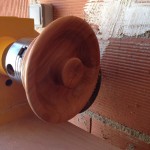
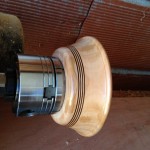
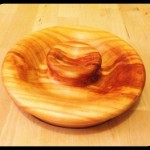
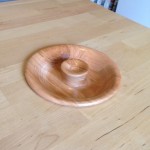
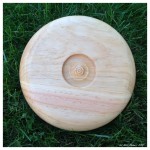
I am in the process of building an old-school 6-board chest (now 8-board as I added a skirt to front and rear…)  and had some white pine scrap sections left from the two sides and the bottom.  I glued them up before I left for Casablanca and when I got home I decided to turn a quick fruit dish for the kitchen/my wife.  It took all of about 20 minutes and is 10.5″ in diameter and 2″ tall.  I am pretty happy with the results.

Scrap Bowl Aug 2015 (1)

Scrap Bowl Aug 2015 (3)

Scrap Bowl Aug 2015 (4)

Scrap Bowl Aug 2015 (5)

Scrap Bowl Aug 2015 (6)

Obsessing Over a Possible House Remodel & Letting My OCD Shine Bright

We are currently going through a make/buy decision concerning our house in Seattle.  Meaning, do we spend $200-$250K plus, months of time, and lots of sweat equity on updating our house, adding a garage/shop and dining room, and refitting the basement into an apartment for my mom.  Or, do we spend $5K getting the house ready to sell and find another house that has what  we want already done and complete.  Do we keep the house as a rental and build an entirely new one…?  We have met with our estate agent, a builder, a draftsman, an architect, a landscape company, a second builder, and now a third builder in our quest, but really are not any closer to making a decision.  As said before, Stamps-With-Foot and I are going over it all and trying to decide what is best for our finances, future possible family expansion, and quality of life.

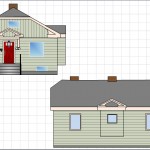
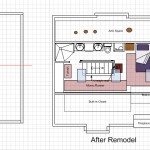
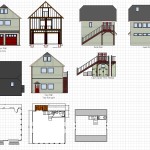
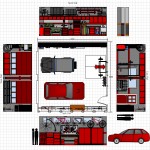
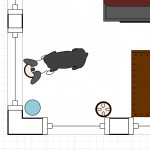
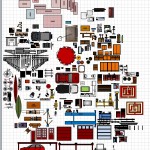
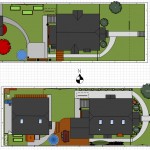
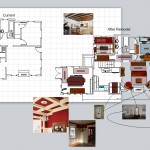
I drew our lot and house just after we moved in and have spent more than a few hours modeling all our crap – to scale – and seeing how it would all fit in the possible expansion of our existing house with the new garage build.  Part of this on-going decision process is looking at all the possibilities and modifying the existing drawings into a “someday-maybe state”.  I have a touch of OCD…  If I am working on something or especially in the planning stages, I will drill WAY DOWN into the project.  Evidenced by the below images and the included timeline.

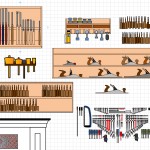
I have modeled sewing machines, yard tools, bikes, my 1986 Jeep, my wife’s Subaru WRX, hand tools, bikes, , machine tools, trees, bushes, furniture, lathes, saws, wiring diagrams, rugs, even our puppies… all to scale…  I may have a problem.

Overview copy

House elev copy

Main Floor copy

Basement ADU copy

Attic Master Suite copy

Garage Over View copy

Garage Interior Detail copy

Shop Interior copy

Attic Interior copy

Garage Garden Shed copy

Wiring detail copy

Time Line copy

Tooling Detail copy

Brodie Detail copy

Sand Box copy

Blanket Chest Rebuild

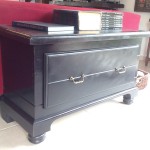
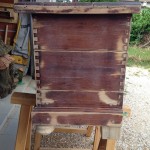
Early last year, Stamps-With-Foot and I bought a few pieces of furniture from an English couple moving out of France.  One of the pieces was a pine drawer-front blanket chest that someone in the UK had built in their garage out of decking material.  It was constructed with dovetails, screws, and lots of glue, so it was a stout little piece and for $50, I couldn’t pass it up.  The finish was originally 1980’s fabulous stain and it was semi-sloppily finished with a brushed on polyurethane topcoat, but all and all not so bad as to ruin the chest.  Just right for a little refinishing.

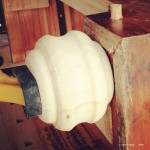
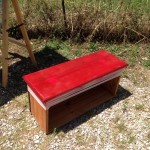
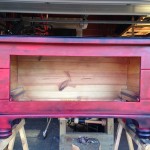
It sat in the house for a year or so, covered with a runner, before I dragged it into the GROP and tore into it.  I cut the funky curved feature off the base, added some corner reinforcement, re-worked the drawer slides, removed the fat awkward drawer knobs, turned and added bun feet to the front, and installed square feet on the rear (going for the 17th century Furniture of Necessity look).  I sanded the whole thing down to remove some of the gloppy poly and painted it with an undercoat of red and an overcoat of flat black – also period appropriate.  When the top coat gets a ding, the red shows through.  I have a number of chairs and other chests done in the same manner.  I added brushed antiqued solid brass handles and called it done.

The chest now sits behind the couch, near the door for the back garden and holds a couple blankets for TV watching comfort and two cotton hammocks for lounging the yard.

Drawer Chest Rebuild 2015_2

Drawer Chest Rebuild 2015_7

Drawer Chest Rebuild 2015_1

Drawer Chest Rebuild 2015_5

Drawer Chest Rebuild 2015_4

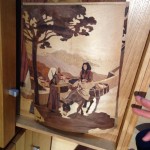
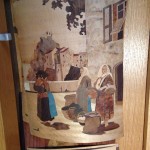
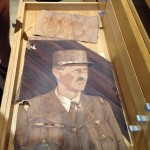
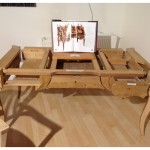
Musée du bois et de la Marqueterie in Revel, France

Last summer My Father-in-law, my son, and I made a road trip to the Musée du bois et de la Marqueterie (Museum of Wood and Marquetry) in Revel, France (about an hour from our house if you don’t get lost or almost run out of gas…).  The town is one of the noted centers of high quality furniture production and has historically specialized in wood marquetry.  It goes back to 1888, when Alexandre Monoury – a master cabinetmaker – left the workshops of Versailles and settled in Revel.  Under his influence, several workshops were set up there and many of those origional shops are still going strong today.  

The museum highlights the work of the area, new and old, and we spent a couple of hours marveling at the tools, example pieces and shear artistry of furniture, sculptures and marquetry examples on the second floor of the facility.  

As a note – this part of France is stunning with sunflower and wheat fields(the Tour du France rides through or by every year) and the town has an stunning 13th century market square and a beautiful central market hall with a quadrangle of historic buildings around it that are home to restaurants, a fabulous bakery/pastry shop and antique shops.

Matt Talley _ Musée du bois et de la Marqueterie - 2014 (11) Matt Talley _ Musée du bois et de la Marqueterie - 2014 (1) Matt Talley _ Musée du bois et de la Marqueterie - 2014 (2) IMG_2374 Matt Talley _ Musée du bois et de la Marqueterie - 2014 (3) Matt Talley _ Musée du bois et de la Marqueterie - 2014 (4) Matt Talley _ Musée du bois et de la Marqueterie - 2014 (5) Matt Talley _ Musée du bois et de la Marqueterie - 2014 (6) Matt Talley _ Musée du bois et de la Marqueterie - 2014 (7) Matt Talley _ Musée du bois et de la Marqueterie - 2014 (8) Matt Talley _ Musée du bois et de la Marqueterie - 2014 (9) Matt Talley _ Musée du bois et de la Marqueterie - 2014 (10)

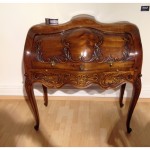
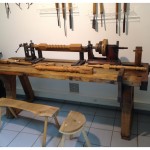
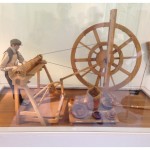
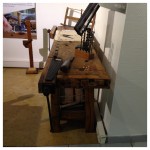
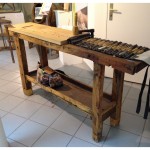
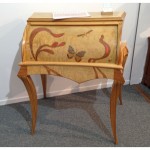
Desks France Revel 2014 (4) Desks France Revel 2014 (5) French Lathe 2014 (7) French Lathe 2014 (1) Work Bench france 2014 French Work Benches 2014 (4) Desks France Revel 2014 (9)

IMG_2455

Film Friday – Shoe Repair Shops: Part 1

I am a sucker for a fine pair of shoes or boots. I love to go into a shoe shop to watch the cobblers work and smell the leather & dye. I have a pair of Justin Roppers ™ that have been with me since I was 17. I have had them half soled more than 5 times and full soled twice. I have had cuts stiched up and new heels nailed on. They fit my feet like a pair of bespoke calf-skin gloves. I wish all my shoes fit and felt like they do. I have Al’s Attire in San Francisco building my dress shoes and boots now and I hope to have that sort of relationship with their products as well someday.

First Rate Shoe and boot repair in the Great State of Texas:

Austin Shoe Hospital:Craftsmanship from Mosaic Media Films on Vimeo.

A part-time cobbler making shoes in his garage:

The Shoemaker from Pete Stone on Vimeo.

Western boot builder:

Lisa Sorrell from Tiana Jade on Vimeo.

Historic Furnishings from the Bavarian National Museum in Munich

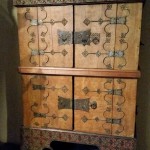
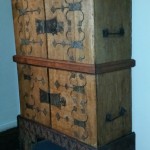
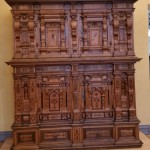
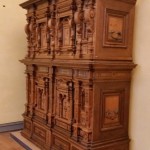
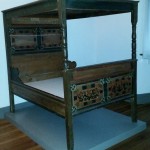
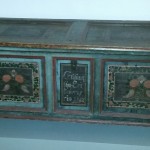
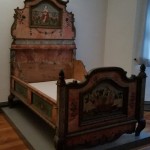
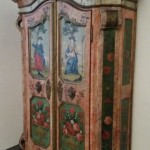
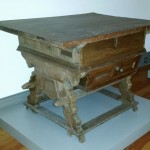
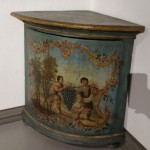
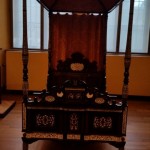
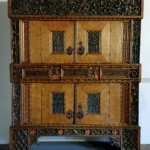
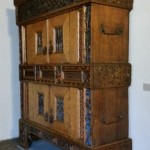
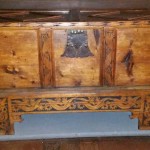
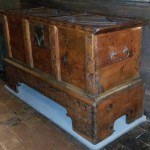
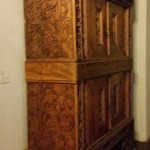
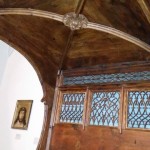
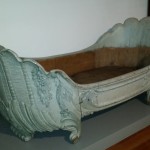
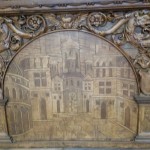
Stamps-With-Foot and I had a long weekend in Munich last month and we spent the better part of a day in the Bavarian National Museum (Bayerisches Nationalmuseum) looking at cool old stuff. Their furnishings collection is impressive, with rebuilds of entire rooms from castles, hunting lodges and ale houses from 1400-1800. My wife gave me free reign to snap pictures to my little heart’s content so what follows is a collection of chests, cabinets, beds, and other furniture from their collection. I also love wood carvings and bronze, so expect a sampling of those as well. There were a lot of images to load and I put up smallish images for the sake of speed, so if you see one that you REALLY like and want more detail, let me know and I will send you a full sized image and all of the notes that were attached to the piece.

Matt Talley Munich National Museum 2015 (4)

Matt Talley Munich National Museum 2015 (73)

Matt Talley Munich National Museum 2015 (3)

Matt Talley Munich National Museum 2015 (2)

Matt Talley Munich National Museum 2015 (32)

Matt Talley Munich National Museum 2015 (33)

Matt Talley Munich National Museum 2015 (5)

Matt Talley Munich National Museum 2015 (19)

Matt Talley Munich National Museum 2015 (20)

Matt Talley Munich National Museum 2015 (21)

Matt Talley Munich National Museum 2015 (7)

Matt Talley Munich National Museum 2015 (18)

Matt Talley Munich National Museum 2015 (8)

Matt Talley Munich National Museum 2015 (22)

Matt Talley Munich National Museum 2015 (23)

Matt Talley Munich National Museum 2015 (24)

Matt Talley Munich National Museum 2015 (30)

Matt Talley Munich National Museum 2015 (31)

Matt Talley Munich National Museum 2015 (27)

Matt Talley Munich National Museum 2015 (34)

Matt Talley Munich National Museum 2015 (35)

Matt Talley Munich National Museum 2015 (58)

Matt Talley Munich National Museum 2015 (59)

Matt Talley Munich National Museum 2015 (60)

Matt Talley Munich National Museum 2015 (62)

Matt Talley Munich National Museum 2015 (61)

Matt Talley Munich National Museum 2015 (64)

Matt Talley Munich National Museum 2015 (63)

Matt Talley Munich National Museum 2015 (66)

Matt Talley Munich National Museum 2015 (71)

Matt Talley Munich National Museum 2015 (1)

Matt Talley Munich National Museum 2015 (74)

Matt Talley Munich National Museum 2015 (70)

Matt Talley Munich National Museum 2015 (53)

Matt Talley Munich National Museum 2015 (50)

Matt Talley Munich National Museum 2015 (54)

Matt Talley Munich National Museum 2015 (55)

Matt Talley Munich National Museum 2015 (56)

Matt Talley Munich National Museum 2015 (65)

Matt Talley Munich National Museum 2015 (67)

Matt Talley Munich National Museum 2015 (15)

Matt Talley Munich National Museum 2015 (16)

Matt Talley Munich National Museum 2015 (68)

Matt Talley Munich National Museum 2015 (69)

Matt Talley Munich National Museum 2015 (17)

Matt Talley Munich National Museum 2015 (36)

Matt Talley Munich National Museum 2015 (38)

Matt Talley Munich National Museum 2015 (39)

Matt Talley Munich National Museum 2015 (29)

Matt Talley Munich National Museum 2015 (28)

Matt Talley Munich National Museum 2015 (42)

Matt Talley Munich National Museum 2015 (40)

Matt Talley Munich National Museum 2015 (44)

Matt Talley Munich National Museum 2015 (45)

Matt Talley Munich National Museum 2015 (46)

Matt Talley Munich National Museum 2015 (47)

Matt Talley Munich National Museum 2015 (48)

Matt Talley Munich National Museum 2015 (49)

Matt Talley Munich National Museum 2015 (51)

Matt Talley Munich National Museum 2015 (52)

Matt Talley Munich National Museum 2015 (11)

Matt Talley Munich National Museum 2015 (9)

Matt Talley Munich National Museum 2015 (12)

Matt Talley Munich National Museum 2015 (13)

Matt Talley Munich National Museum 2015 (14)

SUPER DEAL on the interwebs!

in December of 2013 Stamps-With-Foot and I were in San Francisco and visited an awesome shop called Windtip, which is in the shadow of the Trans-America Building.   They are in a former Art Nouveau bank building (Originally the Bank of Italy) that the store has preserved – including the vault.  As you might imagine, they have lots of fancy men’s shoes that made me tingle, But are more than a shoe store: “… a “one-stop shop” for the modern gentleman…  the store features a custom clothing department, professional & casual clothing, cufflinks, pens, leather goods, barware, cigar accessories, a barbershop, and shoe shine stand. And that’s just the store. A private club for our best customers houses a bar & lounge, private parlor rooms, a boardroom, golf simulator, and a wine cave.”  In short, a VERY cool place that any gent or his loving wife SHOULD check out if in the city.

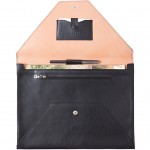
Anyway,  while there I fell for a black leather Moore & Giles document portfolio that I considered, if only for a flash of an instant, plopping down some hard earned cash for.  Although perfect for my work life as a European-dwelling engi-nerd that prefers to more fast and light through airports, I came to my senses and walked away.  I have longed for it ever since and have asked for one as a gift for every anniversary, Christmas, birthday, and a few random Tuesdays and Thursdays since that first meeting.

I checked the other day on it, more to torture myself than anything else, and the manufacturer has discontinued the product.  Wingtip had bumped the price up and had it marked at $450!  Crap…  I started sketching it up so that I could get my cobbler (that sounds SO much more pretentious than it is…) to see about making it.  I needed a detail and did a image web search this afternoon 15 minutes before I had a super important call for my J-O-B and BAM!  There it was at Sierra Trading Post for CRAZY CHEAP!  I have bought hiking clothes from them for years at deep discounts, but had no idea that they would have something like this.  I double checked the item, looked if they had the black one in-stock, and called their customer service right then.

Yes they have it in black, yes they accepted my 4 year old 30% off coupon and just like that I got a $450 portfolio for $110.40 delivered free to my house in Seattle.  Done and done.  I was so excited that it made the work call after a pleasure and I have been dreading it for two days.

AM SO STOKED!!

Matt Talley _ Mand G_ SCORE 2015

MandG Port Matt Talley -2015 Origional Price copy

Matt Talley _ mandg_new price 2015 copy

Lectern rebuild and re-thinking the plan

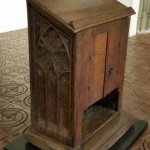
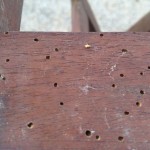
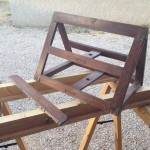
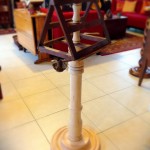
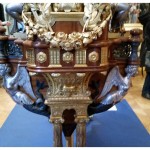
Early last year, I picked up an antique copyist’s lectern (the top part only) that originated in a French Abby.  The lectern was riddled with worm holes, a couple pieces were missing, and there was some damage to repair, but the first thing was to make it bug free so not to infect all our other furniture with wood worm.  The thing spent a couple of months in a plastic bag full of insecticide and chemicals that makes for square babies. According to the interwebs two months bathing in said concoction would make the piece safe to bring out see the light of day again, so after fumigation, it sat in our living-room as decoration for 12 months before I started the rebuild in earnest.

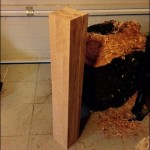
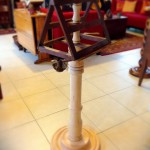
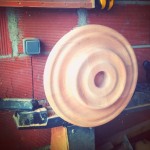
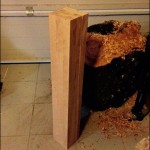
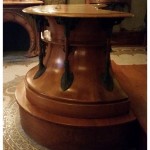
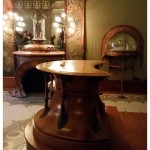
Initially, I sketched up a few column profiles in my ubiquitous little black notebook and settled on a somewhat simple design that matched the overall style and period of the piece.  Next, I spent a little time one Sunday turning a new pedestal out of beech scraps from my workbench build. I glued them all up into a single 5″ X 5″ x 32″ hunk of wood. I then measured and turned matching intermediate supports from a scrap oak rolling pin with curves to match the column.   A couple of weeks later, I used the last of the beech scrap and turned the pedestal base, which ended up 16″ in diameter and 3″ tall.

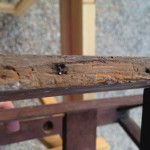
After gluing it all together, applying matching stain, and putting 4 coats of polyurethane on the base, it was time to start on the lectern top.  All was going to plan right up to the moment that I removed a damaged shelf and saw what looked to be fresh wood damage… In one of the joints there was a small white bug larvae…  Son of a bitch…  I immediately put plastic on my bench top and took apart another joint.  I found more LIVING wood worm. I started picking at the capped holes here and there and more worm…  Shit!!!  I wrapped it up in a trash bag and out to the street it went.  It would seem that my lethal chemical treatment wasn’t that lethal.  Just REALLY, REALLY happy that the hatch hadn’t started and that my house was no full of bugs that would lay word worm eggs all over our other furniture. I took pictures and measurements and I am now planning on building a copy of the top over the next month or so and I will post the finished product here when I am done and it is installed in the living room.

Matt Talley - Projects 2015_06

Matt Talley - Projects 2015_07

Matt Talley - Projects 2015_16

Matt Talley - Projects 2015_15

Matt Talley - Projects 2015_12

Matt Talley - Projects 2015_11

Matt Talley - Projects 2015_10

Matt Talley - Projects 2015_09

Matt Talley - Projects 2015_08

Matt Talley - Projects 2015_05

Old iron is the best

I am too stupid to own a motorcycle. Really. I have been on one bike or another since I was 5 , when i first sat on a 50cc Honda dirt bike and my last one was a beautiful 900cc rocket. I have all sorts of stories about crashes and near misses, a few scars, a broken wrist and foot from my early riding years. I decided that most of my injuries and near-death experiences on a bike were completely my fault and that unless I wanted to be an early organ donor I had to give them up, so after the birth of my daughter, I sold my last bike and other than a dalliance with rebuilding a duel-sport on my balcony in 2004, I have been able to resist the pull of two wheels. Then, minding my own business, I walk into something like the pair shown below:

Matt Talley _ French Moto _ 2015 (1)

Matt Talley _ French Moto _ 2015 (2)

Matt Talley _ French Moto _ 2015 (3)

Matt Talley _ French Moto _ 2015 (4)

Matt Talley _ French Moto _ 2015 (5)

Matt Talley _ French Moto _ 2015 (6)


Went to local pizza shop for dinner last week and what is sitting outside? Two vintage bikes, both old single cylinder French Motobecanes – the single-seater with the white helmet is a 1950 and the double-seater with the gas can on front is a 1952. Talked to the two guys riding them and the bikes are barn finds bike that they pulled out and got running this morning. Super jealous!!!! There were cobwebs and barn dust still on them. Take gander at the old plates! These babies make me want an old bike to tinker with, ride, rebuild, ride, cuss, work on, ride, love, ect… Now, I need another project/hobby like I need a hole in my head, but the pull of the Dark Side is SO strong!

Kitchen Island – Update

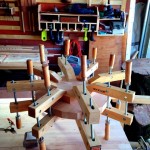
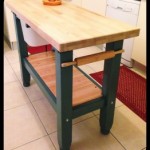
It has been almost a year since I built (with help from The Ruminator) Stamps-With-Foot a kitchen island and she has loved it (so I am told) and used the bejesus out of it.  I made a couple of additions and there are a a few observations:

  1. The wood I used as the base platform shelf was REALLY wet and I put 1/16″ spacing between the boards.  WAY too much.  I should have wedged them in as tight as possible because they have shrunk and now I have 1/8 gaps in a couple of places.  No big deal since it is tongue and groove, but I don’t like spacing that large.
  2. I installed an Arkansas Razorbacks bottle opener on one of the legs.  It was required.
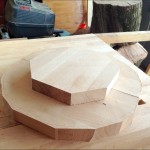
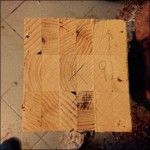
  3. I had used a hunk of cherry tree trunk/firewood and turned it down as a lid/plug for the scrap hole.  I turned it too large since it was really wet and was bound to shrink/warp/crack.  My best guess is that it is done moving, so I put it back on the lathe and turned it down to size and changed the profile a little.
  4. The rolling pin is a great towel holder, but I should have/need to stop it from rolling – the towel slips off and onto the floor occasionally.
  5. I also originally finished the plug with walnut oil, but it gets handled a lot by wet hands and I had to oil it every couple of weeks.  This time I finished it with 3 coats outdoor polyurethane and then added a coat of wax.


Matt Talley Kitchen-Island-France-2014-1-262x300

Matt Talley - Projects 2015_03

Matt Talley - Projects 2015_02

Matt Talley Kitchen-Island-France-2014-2-300x263

Matt Talley - Projects 2015_29

Some small projects around the house

I have been swamped with work and travel for the last couple of months, so my shop time has been very limited. I have mostly been puttering around with my workbench, getting the last bits and bobbles done before calling it done and I have spent the off hour here and there on the lathe and doing stuff around the house:

  1. I had to fix a dishwasher leak and do some painting in the kitchen – still hate plumbing
  2. We did some re-arranging, so I had to fill some nail holes and then make new ones.
  3. Glued a cutting board back together after it split – craptastic glue didn’t hold, so it is back in the to-fix pile and will get some dowels this time
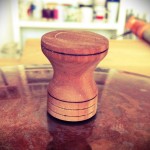
  4. Made a pot lid handle out of some scrap cherry.
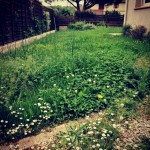
  5. Tackled the jungle that was once my yard – twice
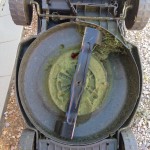
  6. Sharpened the lawnmower blade
  7. Turned the compost
  8. I bought a sheet of plywood and built a DVD shelf and a 8′ bookshelf for the lending library we run.
  9. There was been an oak log in my shop for months so I cut it in half and made a couple of stools for my office.
  10. Our puppies play a game called “run away from Mommy” when she takes them out, so I built two small fences to keep them in the back yard and away from the front gate.

I have do a few things in the shop just for organization and am working on a couple of little projects:

  1. We got a huge free wardrobe that I put in the GROP to organize non-tool/shop related items like climbing gear and life jackets
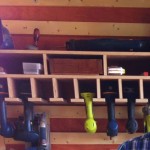
  2. My battery operated tools need a home, so I put together an organization center for them that mounts on the French cleat board
  3. I hung up my 6 heavy panel clamps to get them out of the way
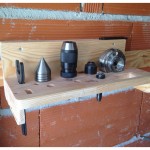
  4. Made a Lathe chuck and tail-stock tool organizer for the French cleat organizer
  5. With a bonus from my J-O-B, I bought a few more molding planes, but they arrived in sad shape. I spent 6+ hours one Saturday cleaning, sharpening and fixing them.
  6. Started work on a blanket chest rebuild: cut here, snip there, new runners and new feet. Will get new milk paint finish when complete.
  7. Working on a copyist lectern rebuild. I made the base, pillar and other bits from some scrap beech left over from the bench build.
  8. Built a wooded top for the puppy Kennel so it blends better with the furniture in the Living Room.
  9. Putting together a 6-board chest for molding plane storage.  Will get re-purposed forged hardware and a Barn Red milk paint finish.
Matt Talley - Projects 2015_06 Matt Talley - Projects 2015_11 IMG_3410 Oak stool 23-2015 (2) Matt Talley - Projects 2015_24 Matt Talley - Projects 2015_22 Matt Talley - Projects 2015_23 Matt Talley - Projects 2015_25 Matt Talley - Projects 2015_17 Matt Talley - Projects 2015_18 Matt Talley _ Drill Organizer _ 2015

My workbench is DONE!!

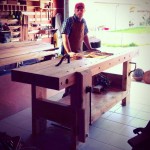
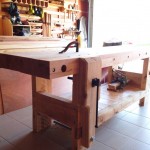
I am about a month late in posting this – life and my J-O-B got in the way – but the Cornebarrieu Bench is done. Completely done! All bells and whistles added. It seems like it took me forever, but it fits perfectly in the shop and I started using the bench even before it was finished. I am very happy with the outcome and am currently working on projects that have been piling up all winter. Just in case you haven’t been following along for the past year and a half or so:

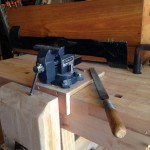
My GROP (garage and shop combo) in Seattle was too small for a proper joiner’s bench. I made due with a slim, high, wall-mounted work counter, a bolted on machinist-vise, Quick Clamps, and the top of my table saw. It worked – mostly/sort of – but was a pain in the ass a good bit of the time: I never once planed a board on a stable, solid surface. My GROP here in France is roughly the same size as the one in Seattle, but is absent the huge cast iron machines and saws. I have some room to move and finally have the space for a big, heavy, proper work bench as well as some time to build one – or so I thought.

It is an amalgamation of benches by M. Roubo, Roy Underhill, Chris Schwartz, and Bill Schenher. I am calling it the “Cornebarrieu Bench” after the small village in southern France where we live, where the lumber has been sourced, and where the bench was made and first used.

For anyone interested, here is a documented build process, build notes, and step by step guide – 115 steps – to build this beast.

Cornebarrieu Bench 2015  (30)_sm - Copy

Cornebarrieu Bench 2015  (31)_sm

Cornebarrieu Bench 2015  (29)_sm - Copy

Museum of the History of Paris – a MUST see

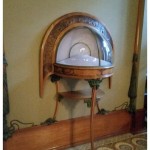
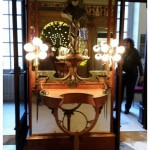
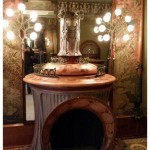
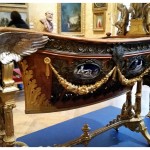
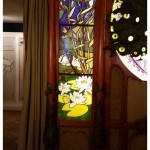
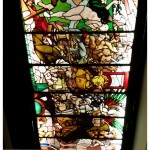
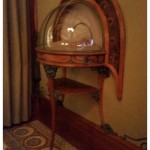
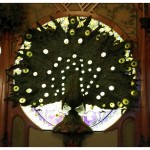
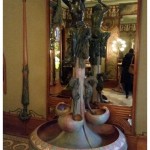
The Musee Carnavalet (The History of Paris Museum) is a hidden gem! It is off the normal well-beaten tourist path and within walking distance from St. Eustace Church and the Picasso Museam. It is full of treasures including an entire Alfonse Mucha designed jewelry store – see pictures below. It made me feel all funny inside when my wife drug me there. She tried to get me to go with her this summer , but I wanted to do something else that now escaes me. I should have listened to her. There are 100+ rooms of paintings and sculpture, models, furniture, and good stuff to gawk at.

Set in a series of old Parisian town homes and Orangeries that are all put together with walkways and joined gardens. One of the cooler aspects is that you wander through re-creations of rooms from the French Revolution to the Paris Commune, and enter into the private spaces of famous Parisians like Marcel Proust’s bedroom with his brass bed and his little table covered in pens, ink, and notebooks. As I said, I was drug here the first time, but it is on my list to visit now even if I am in the city alone for a few hours. It was not too crowded at all and the gardens are a really nice place to sit in and catch up on your travel journal entries. Did I mention that the admission is free?!

History of Paris Museum - 2015 (35)

History of Paris Museum - 2015 (36)

History of Paris Museum - 2015 (37)

History of Paris Museum - 2015 (38)

History of Paris Museum - 2015 (39)

History of Paris Museum - 2015 (40)

History of Paris Museum - 2015 (2)

History of Paris Museum - 2015 (3)

History of Paris Museum - 2015 (4)

History of Paris Museum - 2015 (5)

History of Paris Museum - 2015 (6)

History of Paris Museum - 2015 (7)

History of Paris Museum - 2015 (8)

History of Paris Museum - 2015 (9)

History of Paris Museum - 2015 (10)

History of Paris Museum - 2015 (11)

History of Paris Museum - 2015 (12)

History of Paris Museum - 2015 (13)

History of Paris Museum - 2015 (14)

History of Paris Museum - 2015 (15)

History of Paris Museum - 2015 (16)

History of Paris Museum - 2015 (18)

History of Paris Museum - 2015 (19)

History of Paris Museum - 2015 (20)

History of Paris Museum - 2015 (21)

History of Paris Museum - 2015 (22)

History of Paris Museum - 2015 (24)

History of Paris Museum - 2015 (25)

History of Paris Museum - 2015 (26)

History of Paris Museum - 2015 (27)

History of Paris Museum - 2015 (28)

History of Paris Museum - 2015 (29)

History of Paris Museum - 2015 (30)

History of Paris Museum - 2015 (31)

History of Paris Museum - 2015 (32)

History of Paris Museum - 2015 (33)

History of Paris Museum - 2015 (34)

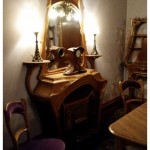
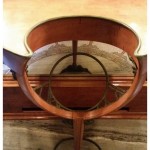
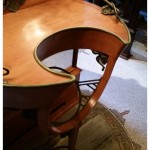
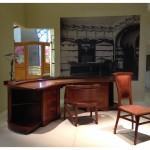
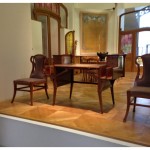
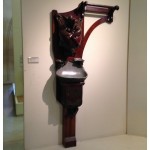
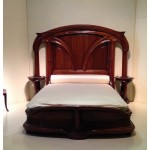
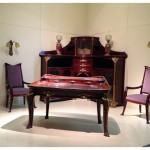
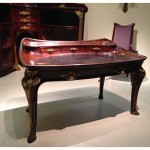
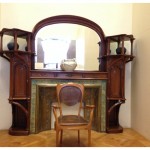
Art Nouveau Desks and Furniture at the Musee d’Orsay

We were recently in Paris and we had 4 hours to kill before our train left for Toulouse. We decided on a visit to the Musse de Orsay. Excuse me while I mount my soapbox: If you go to one museum in Paris, let it be this one. Go early, get the audio tour and plan on a half day. It is full of impressionists: Monet, Manet, Corbiers, Toulouse Letrec, Van Gogh, etc… the sculptures are breathtaking – on pare or better than those found in Florence or in the Vatican. Dismount soapbox.

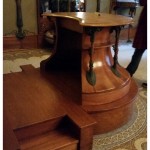
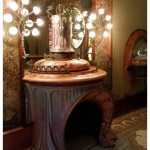
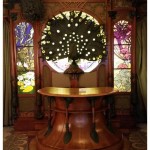
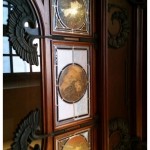
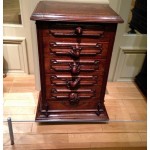
We concentrated this visit on a couple of painting rooms and the Art Nouveau furnishings collections. I have a serious weakness for fine furniture. It is genetic – both side of the family. I have been to the exhibit before, but I wanted some quality time with it and my wife happily agreed. The downside to any visit is that whenever we go and Stamps-With-Foot sees anything remotely Art Nouveau related, she is almost unbearable for an entire day: “PLEASE build me a bed like that!?” “Can we PLEASE have a door just like that…?” The collection is on the second floor on the left, directly opposite of the Seurat gallery – an artist near to my brother-in-law’s heart.

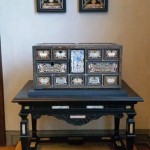
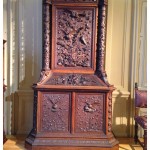
From the photos below, I WISH I had the time and skill to do the little chest with the linen-fold drawer fronts and the carved mice pulls.

Furniture - musee dOrsay 2015 (10)

Furniture - musee dOrsay 2015 (1)

Furniture - musee dOrsay 2015 (2)

Furniture - musee dOrsay 2015 (3)

Furniture - musee dOrsay 2015 (4)

Furniture - musee dOrsay 2015 (5)

Furniture - musee dOrsay 2015 (6)

Furniture - musee dOrsay 2015 (7)

Furniture - musee dOrsay 2015 (8)

Furniture - musee dOrsay 2015 (9)

Turkish Carpet Sellers

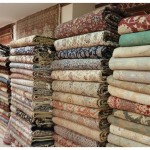
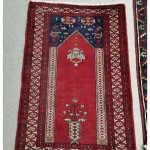
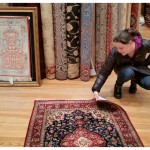
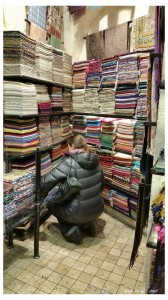
Carpet Sellers: I have purchased rugs and carpets from multi-generational vendors from Istanbul to Marrakesh, Casablanca to Chendu, Ankara to Toulouse. These men, always men, have spoken every conceivable language – especially the numbers – and have seen every bargaining trick known to man.

My wife is an expert haggler and has no qualms about walking away from a market seller and going to the next stall in full view of the first seller. She was in Marrakesh when I bought my first Moroccan Hanbel, but she didn’t do the actual bargaining – she drank the sweet mint tea and watched. It think this left a hole in the part of her soul that needs to haggle (the Burton side of her genetic pool) and she has been twitching to buy a carpet ever sense. I think that she wanted to bargain with the best of the best – to test her mettle and skill. Our recent trip to Istanbul provided her with that opportunity.

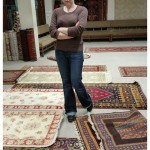
Our first carpet stop was at a 5-story establishment late one evening just before dinner near the Blue Mosque. We were handed off to a tall, greasy, smooth-talking seller that had spent lots of time in the US and was the picture of shady used car salesman. Seriously. We let him talk and lie and talk and lie. After about 2 hours and in the middle of what was probably his dinner time, we started negotiating prices. I really wanted a unique 5X7 kilim and Laurel was eye-balling a wool runner. The seller wanted BMW prices for the equivalent a small Honda with a tiny engine. Laurel gave him a final price for both and he unceremoniously ushered us out of the door. I really liked that Kilim and it became another “One that got away.” A shame that it did not go home with us… It will forever be like the hanbel (kilim is the Turkish word) in Essaouira, Morocco that I left folded on the floor there that still calls to me. Every so often my wife will say, “Remember that rug…” and we both get a little sad.

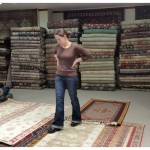
Our second stop was the next night and due to my schedule, we showed up 15 minutes before their scheduled closing time. No worries, three people stayed and tea and carpets and rugs appeared from all corners of the shop. My sweet wife busied herself inspecting a $3000 silk carpet that stayed in the store where it found her. Our seller was another guy that had spent some serious time in the US and although would also have been at home at any New Jersey used car lot, was more polished and a touch more upfront than our dealer the night before.

Laurel went to work on him. We were good-cop bad-cop right away. I was the bored, broke husband upset at my wife’s spending habits and she was the doe-eyed, sweet little girl who couldn’t make up her mind. She is awesome at that. We work the shit out of it and she was so good that she completely had me convinced that she wanted an entirely different rug – crafty that one is.

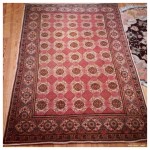
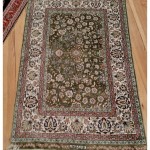
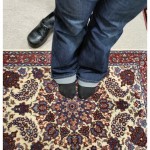
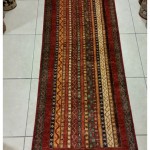
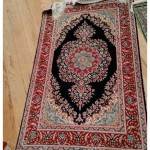
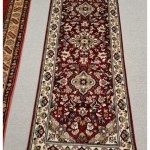
In the end she got an amazing small wool rug with insane knotting and detail for our bedroom and I got a small wool on wool rug for the living room. Now, we did not get the deal of the century, but we didn’t have to sell blood to finance our taxi ride back to the hotel either. We got a decent price, but make no mistake – the seller made good money.

My hope was that this one experience might satisfy her need to buy Turkish/Persian/Moroccan carpets… Nope. She talked about “the next one” on the taxi ride home. I have helped created a monster.

Turkish Rugs - 2015 (8)

Turkish Rugs - 2015 (4)

Turkish Rugs - 2015 (17)

Turkish Rugs - 2015 (1)

Turkish Rugs - 2015 (16)

Turkish Rugs - 2015 (15)

Turkish Rugs - 2015 (14)

Turkish Rugs - 2015 (10)

Turkish Rugs - 2015 (13)

Turkish Rugs - 2015 (12)

Turkish Rugs - 2015 (6)

Turkish Rugs - 2015 (3)

Turkish Rugs - 2015 (11)

Turkish Rugs - 2015 (7)

Turkish Rugs - 2015 (9)

Turkish Rugs - 2015 (5)

Turkish Rugs - 2015 (2)

A trip to Istanbul with my wife

I spend 1/3 to 1/2 of my work life on the road and away from my wife and hearth: Crappy food, shitty airports, empty hotel rooms, taxis, trains, assigned to the middle seat in the plane, another awful airport, missed connections, terrible coffee, jet-lag, missing luggage, etc, etc, etc… It was all very exciting when I started this 15 or so years ago, but it has gotten very, very old. Most of the time when I travel I get to see the inside of meeting rooms, lounges, and hotels, but every so often I get out to see some local attraction and one of my first reactions is ‘I wish Stamps-With-Foot was here to see this…’ Traveling alone when you love your wife sucks. There is a bright spot every so often though – when my schedule and our finances work out so Stamps-With-Foot can come along.

A couple of weeks ago the stars aligned and we bought a super cheap (somewhat uncomfy) flight to Istanbul for her to spend a couple of days there while I was working. It was fantastic. We got to tour some sites together after work, do a little shopping, make some memories, and neither of us was all by ourselves waiting on the other.

Istanbul was on both of our bucket-lists and we only had a few hours each day to cram stuff in and although it was cold the whole time and pouring rain one day, we made it all work out:

A tour of the Blue Masque
Raw honeycomb every morning with breakfast
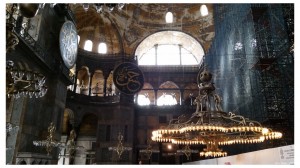
Tour of the Hagia Sophia
Late night Carpet shopping
Criss-crossing the Bosphorus – back and forth between Europe and Asia
An accidental trip to the Egyptian Bazaar
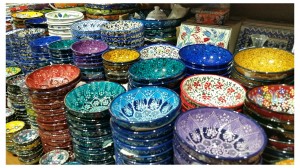
The full Grand Bazaar experience – sites, sounds, and lots of haggling
My wife attempted to buy all the scarves in Turkey
Little souvenirs bought for people we love
I ate a TON of pistachio Baklava
Great food was eaten
Serious snuggling in a king-sized bed sans puppies

20150223_133817

Istanbul 2015 (1)

Istanbul 2015 (2)

Istanbul 2015 (3)

Istanbul 2015 (4)

Istanbul 2015 (5)

Istanbul 2015 (6)

Istanbul 2015 (7)

Istanbul 2015 (8)

Istanbul 2015 (9)

20150223_133402

20150223_133812

New stools from an oak tree

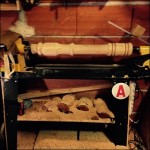
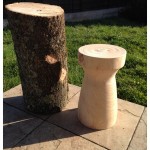
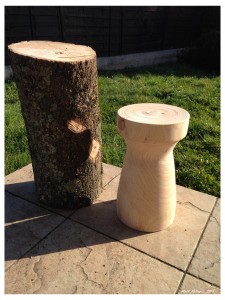
This weekend I finished up a “little” lathe project I started in early February – I made a couple of stools out of a hunk of oak tree that was cut after a storm in our village. They are about 15.5″ (39cm) tall and 10″ (26cm) around and getting it that way pushed my Chinese lathe to its absolute max. It walked all over the floor when I first started it up – hence the kettle bells thrown on the middle shelf to add mass. It super did not like the out of balance logs. It would have been fine at a slower speed, but the slowest my lathe goes is 400 RPM and that is too fast for this size project. I managed, but there was lots of starting and stopping.
I really like both how the turned out and how comfy they are to sit on – just the right height for a quick stop-and-rest. I will add bow-tie joint if needed as they dry out and split, maybe out of some walnut that I have. They will make a nice addition to my home office.
Oak stool 23-2015 (2)

Oak stool 23-2015 (3)

Oak stool 23-2015 (1)

Oak stool 23-2015 (4)