Spring projects start and an ultimatum of sorts.

It seems that La Maison du Talley is in constant project mode.  There are two furniture refinishing projects happening in the unfinished side of our basement, there is an inch of sawdust on my shop floor, the front and back yards are still in various stages of completion, and my project idea/sketch book is quickly filling with new stuff.

I have finished a good number of things on my plate and have vowed to finish everything currently under construction or re-construction before beginning anything new.  I decided that as winter closes and spring dawns to take advantage of the better weather and rising temperatures (better for painting and finishing) and get some stuff knocked off.  In that vein, I had a very productive weekend:

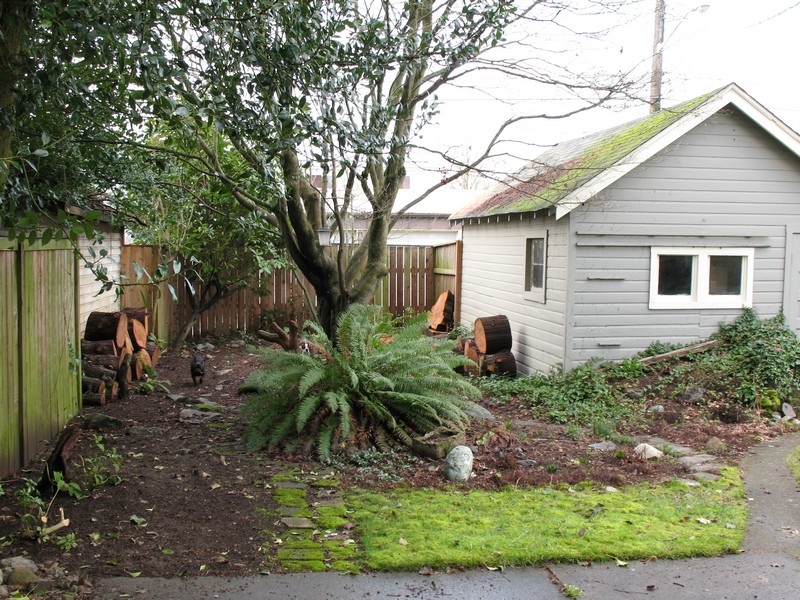
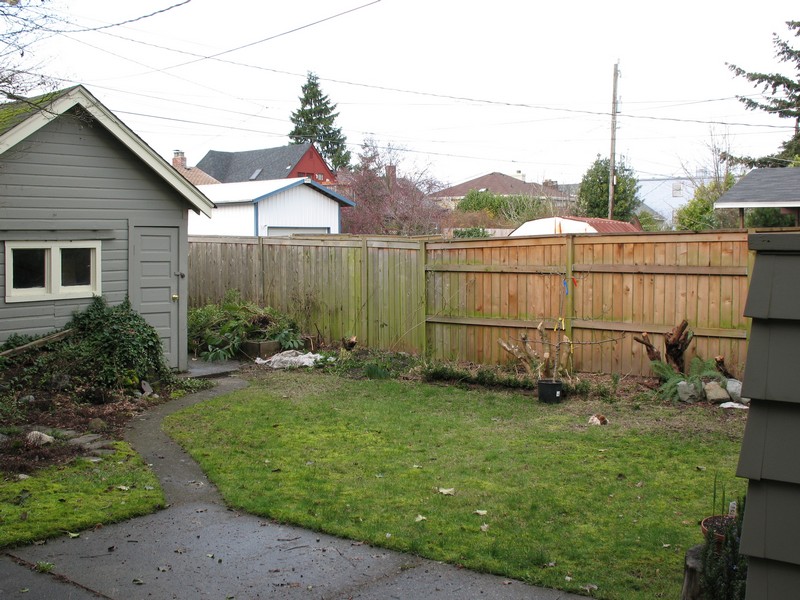
I built and installed an irrigation system for the backyard made with ¾ PVC.  There are drip hose attachment points, ball valves, and splitters for ancillary hose attachments.  I built it so that I can later install a timer for watering the fruit trees and veggies when we are out of town and a coupler to flush the pipes with compressed air before the first freeze every year.  The total cost was less than a $100, I spent maybe 8 hours of labor from concept design to finish, and the shear convenience of it will pay off in spades in the years to come.

Last spring I acquired the top half of a built-in dish cabinet/hutch that had been ripped/sawed out of a 1920’s house.  It was missing one side, had no back, covered a thick coat of unknown layers of paint, and scrapes and gouges all over it.  I looked past its current state and saw some potential for some period appropriate and beautiful basement storage, so I picked it up for a steal and brought it home.  It languished there in the basement, covered with plastic and accumulating junk on top through my shoulder recovery, the excitement of the summer, and during our fall of rest and relaxation.

I got serious about it a couple of weeks ago and after, squaring the cabinet with joined pipe clamps, I installed a beadboard back – real beadboard and not the plywood facsimile.  I had Stamp-With-Foot help glue and drive a few nails so she would get an appreciation of the scope of the rebuild.  I also took her with me to the millwork store and she picked out some decorative edge molding that I incorporated into a built up crown detail.  I really appreciated her input as it made the project seem more like ours than just mine.  After re-gluing and adding screws to all the joints, I installed a new side piece and 3” structural beams for mounting it to the wall – it will be holding a good bit of weight and I wanted the load evenly distributed on the whole piece.

My little wife helped me man-handle it into place and attach it to the walls.  I spent an evening last week gluing up a custom top with clear grained popular and pine – it will have additional recessed storage in the top.   While milling the edges on the top edge, I realized that I had used my father’s tools to do almost the entire job.  I made me both smile and a little sad.  My father helped give me the skill to build cabinets and furniture; he taught me that doing something right and making it beautiful were one and the same.  I am using his tools because they became mine when he passed away and it made me wish that he were still here to see my adult ability to build and create, to help teach my son (his namesake) the same lessons I learned, and to just sit quietly and listen to him talk about his day and experience his warm smile.

I spent Saturday night and Sunday evening installing the new top and bits of trim.  I built all the pieces perfectly square and there was a hiccup during installation as the walls of our 1928 house and the actual dimensions of our “new” 1920 cabinet are anything but…  I called the wife down, she gave me her opinion (better than my own in this case) and I spent some quality time with a razor-sharp draw knife, a svelte jack plane, and creatively used a couple of long shims to make it all both work and look good.  All the trim is now installed and the whole thing turned out really nice. We will do a little more scraping before priming the bare wood and paint it all with a gloss white trim paint.  I will ost about it again when the finished cabinet is ready for unveiling.

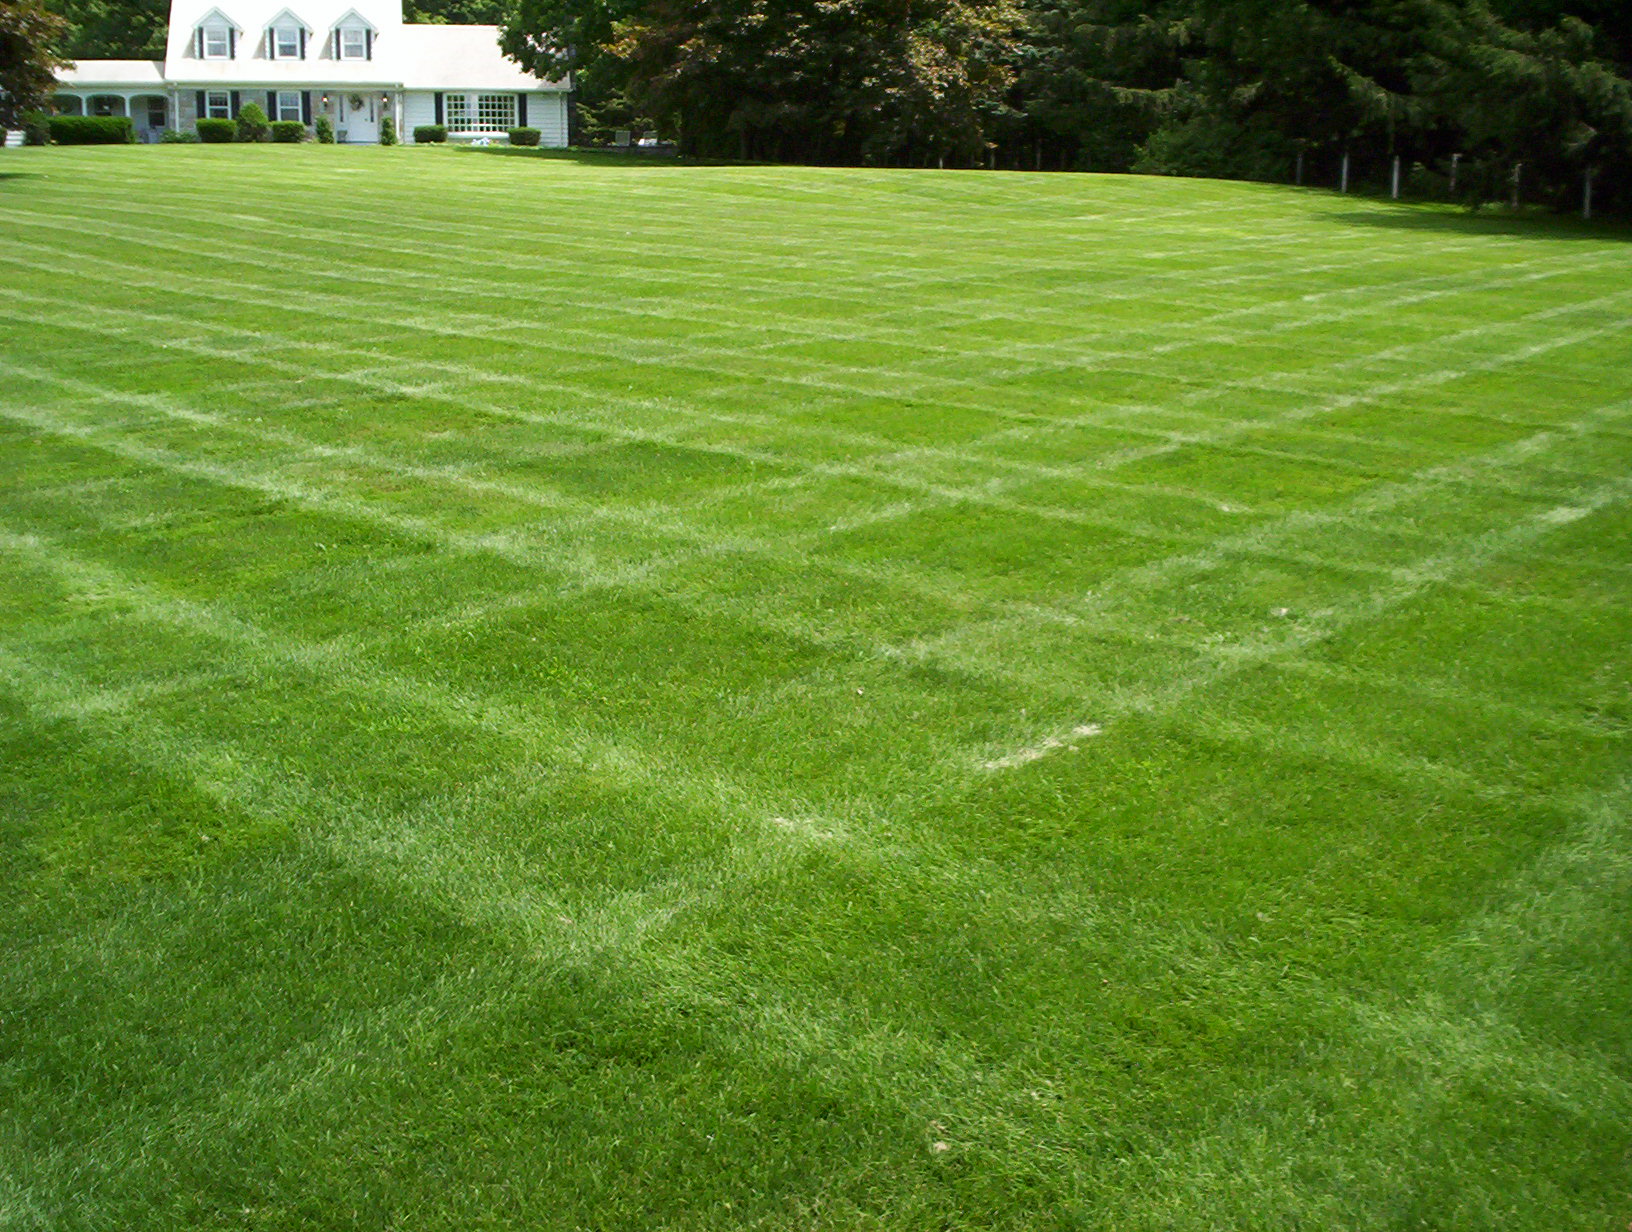
Note: Stamps-With –Foot has now informed me that this is the last project that I will do in the house until I install a dishwasher and build the additional cabinets in the kitchen.  I will NOT complete the 1942 Philco Radio refinish, nope to reseeding the grass, the nook table remake will wait, no new fruit tree planting, the crown and headboard in our bedroom has been pushed and gym entertainment/storage cabinet is nixed until the Kitchen is done…

Unduly expensive and complicated raised garden boxes

I have spent something like 40 total hours of labor over the entire summer and spent ~$250 to build the most over complicated raised garden bed boxes within a four mile radius.  I have obsessed over the design & materials, changed the layout and location no more than 4 times and used child labor (my 9-year old son) during construction.  We now have Garden Boxes that can support the weight of our entire house and my wife mentioned that I might need an intervention.

It all started when we decided to grow some veggies and I didn’t want to use treated lumber from Home Depot.  I considered landscape bricks, but the total project cost would be over $700 for three 8X3X2’ beds.  I wanted to use 3-inch thick cypress beams, as that particular wood is rot proof for 50+ years, but that type of wood is outrageously expensive here in the Pacific Northwest ~$1000 for the needed lengths.   I considered redwood, but it was also too pricy to be left out in the yard, half covered with dirt.  The predicament was solved for me when I happened upon a bunch of 4”X10”X8’ fir beams that were end cuts from a beam roof construction project in the neighborhood.  As they were “scrap” I picked them up for a song.

In addition to the boxes, there will be an espalier apple tree and two columnar apples on that side of the yard.  I wanted the garden boxes to mesh with that plan and still be functional, pretty, and to fit in with the style of our house & yard. To help with that goal, I decided to lap joint the corners of the boxes and use hardwood dowels to both keep the joints together and as homage to the period craftsmanship of our home.  I know I have OCD.  Since I was already using dowels, I wanted to marry the planks together (see drawing) so that the whole structure would be stronger and resist and bowing in the middle as the dirt pressed on the sides of the beds.  I felt it might also be nice to add replaceable cedar top rails to shed water and to take the brunt of any abuse.  I may have over-thought the concept and might have been better off just using concrete cinder blocks…

The finished product with espalier apple trees cartooned in.


Here are the exact steps to take in building raised garden boxes just like ours:
Plan obsessively
Re-design twice
Buy lumber – get great deal
Bring home and cover with tarp
Let sit for a month
Measure and layout each joint with son’s help
Let son drop board on your shin
Try REALLY hard not to say curse words
By son ice cream.
Limp for a couple of days
Carefully cut all end notches with son
Tell him no when he wants to run the circle saw
Tel him no when he asks again every 10 minutes
Lit it all sit for 2 more weeks
Find really expensive combination square your son left in the grass
Smile because you love him anyway
Drill all dowel holes in the middle of the individual sections with spade bit
Let sit for a week in rain because you forgot to tarp it
Assembly all sections dry for 1st box
Realize that the pieces are now warped and twisted more than a bit
Say a LOT of curse words
Hand-fit each joint with a mallet and chisel
Cuss some more
Purchase ¾” X 2’ auger bit
Assemble 1st box with glue and dowels
Get HUGE splinter in palm
Say hurtful, mean things to the lumber & loudly question the legitimacy of its parentage
Cry a little while digging the jagged hunk of wood out with utility knife
Use Super Glue creatively as first aid supply
Spend a full hour getting 1st box square using one hand
Call it a night
Make sure the thing didn’t move while you were sleeping
Drill corners for dowels
Almost burn up drill
Look at sky and count to ten
Run out of waterproof wood glue
Say dirty words all the way to Home Depot
Buy bigger drill, glue, and more dowels
Apply glue and hammer in dowels with wooden mallet
Look over to see puppy chewing on your hat
Say the F-word
Retrieve soggy hat
Clamp box up with 8 huge pipe clamps
Let joints dry/sit for a week
Construct next two boxes with minimal dirty words
Let sit a further week
Ask 15 year old daughter if she wants to help
She will look at you like you are insane for the mere suggestion
Try not to break her phone when she returns to texting
Look up and count to twenty – repeat
Spread out boxes in yard and turn over
Apply two coats of white primer to bottoms of boxes
Get paint on favorite pair of shorts
Let wife help paint over primer with green outdoor paint
Look up and notice that wife has painted halfway down the box…
Take paint brush from wife
Say sweet things to her and laugh about the extra paint coverage
Let boxes sit for two days
Finish painting bottoms green (keep ground moisture out and blends with grass)
Let sit a week
Position in yard where they should finally go
Ask visiting friend for his opinion
Take his advice (as it is better than your plan) and reposition
Let wife see
Move 3 more times to make wife happy
Move back to position friend suggested
Let sit for a week
Get married to wife a second time and almost loose mind to stress
Have house full of guests for a week
Try not to kill Ross when he makes fun of your yard
Drink lots of beer
Buy gravel and hardware cloth for box foundation
Cut sod from under box locations and move to bare patch in front yard
Wife will work hard in front planting lavender and arranging sod
Lay hardware cloth and pour gravel footings
Spend Saturday with wife finally placing boxes
Drink beer and wine until you hurt the next day in celebration of your hard work
Let sit another week
Cut top rail on table saw
Decide to really complicate things by adding hardwood splines to top rail joint
Devise special spline jig for table saw
Cut last rail too short
DO NOT throw anything, close eyes and count to ten
Revert to cussing
Trip to Home Depot for extra cedar
Re-rip and re-miter last rail
Glue joints of rail and try not to glue rail to box
Wait 3 days and cut away spline waste
Find “cute” little ceramic tiles from the 1920’s that wife will love for boxes
Spend 2 nights in shop making custom cedar frames for the tiles
Add corner splines to match boxes just because
Measure twice to find box center
Attach tiles to front of the boxes with proper outdoor screws
Coat top rails with food-safe clear coat
Wait 2 days
Apply another coat and repeat
Show wife your handy-work and wait for her to swoon
Point out the joint details and all the thought that went into the build
Wait for batting of eyelashes and the swoon…
Mention the period tiles and their perfect symmetry
Keep waiting…
Waiting……………

A drawing of the project shoeing some of the detail

Picture 1 of 23

Fresh Raspberries

I got up semi-early Sunday, went out for a little yard work and noticed that 5 bright red ripe raspberries were waiting for me.  I gave ’em a little squeeze and decided to give them another 24hours before moving them from cane/stalk to my cereal bowl.  I thought about them as I cleaned the garage and finished up a few little projects during the afternoon.  My mom called and we were talking yard/garden stuff and while I was in the middle of telling her all about the raspberries, I looked  out our bedroom window at them and a fvcking bird swooped in and started pecking away.  Holy swamp-crotch!!  I dropped the phone and ran out of the back door barefoot to save Monday’s breakfast.  I was too late – only one of the ripe ones survived the avian assault.  I MAY have eaten it greedily while hunched over glaring about with murderous intent for any feathered “friend” who happened to have flown by…  It looks like I will be off to the Garden Center in the morning for netting.  At least it was only a few berries and not a whole crop.

My strawberries, blueberries, and blackberries are all comming along and it will be July before most of them are ready, so I have some time to set up my anti-bird blockade.

Progress in the back yard

We spent some serious time in the yard this past weekend. I was “asked” by my lovely wife to move the compost bins for the third time… Then, I spent an hour with a chainsaw cutting stumps off below ground level in the spot where we plan to install our raised beds.  The last stump gave the saw fits and I ended up having to attack it with a double bit axe, splitting maul, and pry bar.  Holy crap! – it was work. It has been a long time since I swung an axe at something other than ice and snow.  Following the defeat of the stumps, I mowed, raked moss from the grass, cut vines from the back fence, planted some shade-loving grass in a bare spot, removed three ferns, sweep the garage roof (don’t ask), watered the kitchen herbs and took care of the normal weeding/edging/mowing in the front.

My better half, helped me clean up the mess from the stumps, level the ground were they were removed from, move some of the cedar rounds left from cutting a tree, water the herbs, and she planted some begonias in a stone planter near the one fern that gets to keep living.

After all that, I took a nap in the hammock under our vine maple and had a dream about garden gnomes while laurel cranked up the grill.  We had a pic-i-nic on the grass just before dark.  As a note: I slept like a stone that night and woke up feeling 114 years old.

Laurel in Garden

the smell of fresh cut grass

The smell of fresh clipped grass is one of those scents that transports you back in time to a summer making extra coin cutting the neighbors lawn or slaving away on your dad’s golf course green of a yard.  It can either bring a smile to one’s face or twist the mouth into an outward sign for an inner loathing.  I have a touch of the OCD when it comes to lawn care and have left every yard in every rental house I have ever lived in exponentially better shape than when I moved in.  Today, I got to cut the grass for the very first time in my very own new home.  It was magical for so many reasons:  My house, my yard, my grass – not a rental and not my parents.  The yard has so much potential to become a small, well-kept carpet of medium length green, shaded by a fruit tree, edged with flowers and lavender, and fenced with wrought-iron.  Edging and mowing our own little patch of Heaven made my dark little soul happy, well that and I got to spend some time murdering dandelions.  That weed has no place in my universe.  They are a hateful green grass-cancer that has to be pulled up by the root.  I even have an assortment of special tools that make their demise faster, easier, and thorough.

Along with the house came an electric lawn mower and I have been itching to give it a try all winter.  As I lived most of my lawn cutting years in the heat of the South where the grass is thick and the yards can be expansive, I am most familiar with 2 or 4-stroke, blue smoke belching push mowers.  They all seem to conch out either just as you start when you have a tiny patch left in the very middle.  Our yard now is small and the electric is the way to go!  It was quiet, light, height adjustment was a cinch, and I didn’t have to suck in exhaust fumes for an hour.  I also have an electric edger that I paid $5 for at a garage sale.  I used it once at our rental place and now here, so I think that it has now paid for its self.  I figure that every time I use it from this point on is just gravy.  I have a heavy-duty weed eater/trimmer that I picked up cheap and it ran for almost all of last summer, but it has a carburetor issue.  After experiencing the sweetness of electric yard maintenance, I will put $10 bucks into the gas unit and sell it, applying the funds to an electric model.

Bringing light to the darkness

It has begun… We have started the transformation of our yard from mossy dark over-grown warren to bright open space. There was a 40’ cedar growing into the garage and casting its pall on ¾ of the back yard. We had a guy come in and take it down 16” at a time a couple of Saturdays ago. He brought in a wood chipper and I spent the day cutting eighteen 2” to 8” trees/bushes down and feeding them into the chipper. Laurel and I planted our strawberry pots, and ½ of our kitchen herbs. I am pulling some stumps this week/weekend, planting our new Espalier apple tree and laying out the three raised garden beds – the Territorial Seed Company catalog and I have become the most intimate of friends.

I finished building stack-able ceder compost bins on Saturday (Laurel liked VERY much!) and my next major build is the planters. The raised beds will be enclosed with wall block. It took some soul searching as I REALLY wanted to do them in carefully joined wood, but cypress lumber in the Pacific North West is crazy-expensive. Redwood is almost as good as resisting rot, but to get true clear pieces that are untreated I have to special order them and for three 3X7X1.5 planting beds I would have $750 in wood. The block will last a LONG time and is a quarter of the cost of building in wood. After removing an old pond filled with used cat litter (??), the addition of a hot tub, some stone, and small green house will make my own small urban farm/park/orchard/retreat just about PERFECT.

Click on small image for large one you can read.

The front yard is a project for later this fall – just before my last shoulder surgery. We want to extend the yard to the sidewalk. Right now there is 8’ between the fence and walk were the property slopes down and the space goes to waste. We will also remove the chain link and install an iron fence, cut down the over grown rhododendrons, add a Belgium Fence Espalier, plant a Lapin cheery tree, add Provence, Lady and Spanish lavender at the fence and add azaleas (my daddy’s favorite) under the front windows.

Spring and summer projects for inside the house are vast in their breadth: new built-ins for the living room, a fireplace surround, a new heating system, addition of period appropriate kitchen cabinets, built-ins in the basement, Man Cave construction, rework of basement stairs, a new bathroom vanity and WC cabinet, rewiring of attic, attic subfloor and stairs, etc… etc… As you may deduce, we will not be traveling to any exotic locals this year. Vacations will be spent with children at home and putting sweat equity into Case Da Talley.

Vermaculture

Laurel and I have become farmers and we have about .00008 acres under cultivation right now. We are farming worms, that’s right – Vermaculture. We noticed that 40% or so of our weekly garbage was kitchen waste and didn’t quite know what to do with it all so into the garbage it went. While visiting some family in Seattle we spied their worm box and were impressed with how much the worms ate and how little maintenance they needed. We Googled worm farm instructions/problems, checked out some How-To videos on YouTube, and ordered a 2kg box of exotic red worms on the net. I built a simple worm box as per all the instructions, and they are happily munching away as I type.

I also built a compost bin out of old pallets and so far it is eating yard waste like a champ. We have a 15 gallon trash can and there is never more than 10” of trash in the can and it feels good to push a mostly empty can to the curb every Wednesday morning.

“…The worms crawl in, the worms crawl out…”

My sweet commute

My single speed on the edge of Interurban Trail with Mt. Rainer in the background. click on for large image

My 3-5 times per week commute to work on the bike is going great. Even when it rains, it is still a good time out and offsets the amazing amount of time spent in a chair in front of my computer at work. I have just put new wet-condition specific brake pads on my road bike as well as removable fenders and treaded commuter tires. I will swap out the wheels and remove the fenders for long fast road training rides or for any races that I do this year. In addition to my regular road bike, I have been riding my single speed into the office part of the time. I take off after work along the river trail and do 15 to 20 miles of flats before meeting Laurel in the valley after she gets off and put the bike on the roof for a hill-less, pain free ride home. On clear days, Rainer sticks up and I get to look at the snow-capped mountain for ¾ of the way home. There are worse views. “The Hill” is still there. It gives me a small sense of accomplishment everyday when I top it, but that fact doesn’t make it any less of a beast. I have tried a couple of other ways home (will try one more this afternoon). It is the same overall elevation gain from work to home no matter which path I choose, some routes have longer, more gradual ascents. The longer ride to the house is great on pretty days and lessons the chance that I will keel-over from exhaustion one fine afternoon.