House Remodel Status September 2, 2016 – 7.5 months in

Here is the house/garage re-build/build status for the 1st part of September.

  1. The F-Bomb Garage has been painted – at least the outside walls.  I need to paint the trim and doors next.
  2. Repaired some major issues with the trim and siding on garage – real unhappy with my garage builder!
  3. Front yard is still green, but need to clean and re-seed the back yard.
  4. There oar only 2 rooms in the house that are complete and need no work at this point.  Stamps-With-Foot could be happier with me right now…
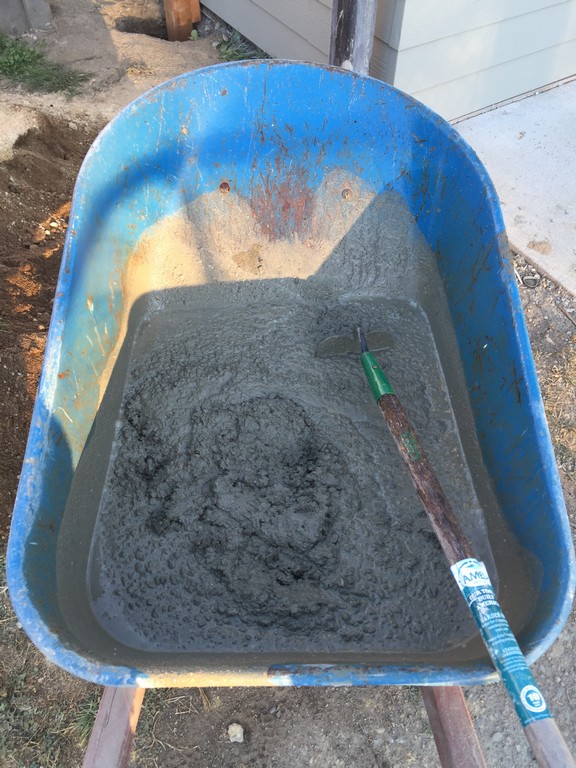
  5. The mounting brackets for the granite in the basement are done and I will install them this weekend.
  6. Our washing machine went out…  fuck.  The bearings finally gave up the ghost.  need to haul it out and put another in.
  7. No garage power yet.  Huge load of confusion between the City of Seattle and my electrician.  Maybe worked out now, but we will see.
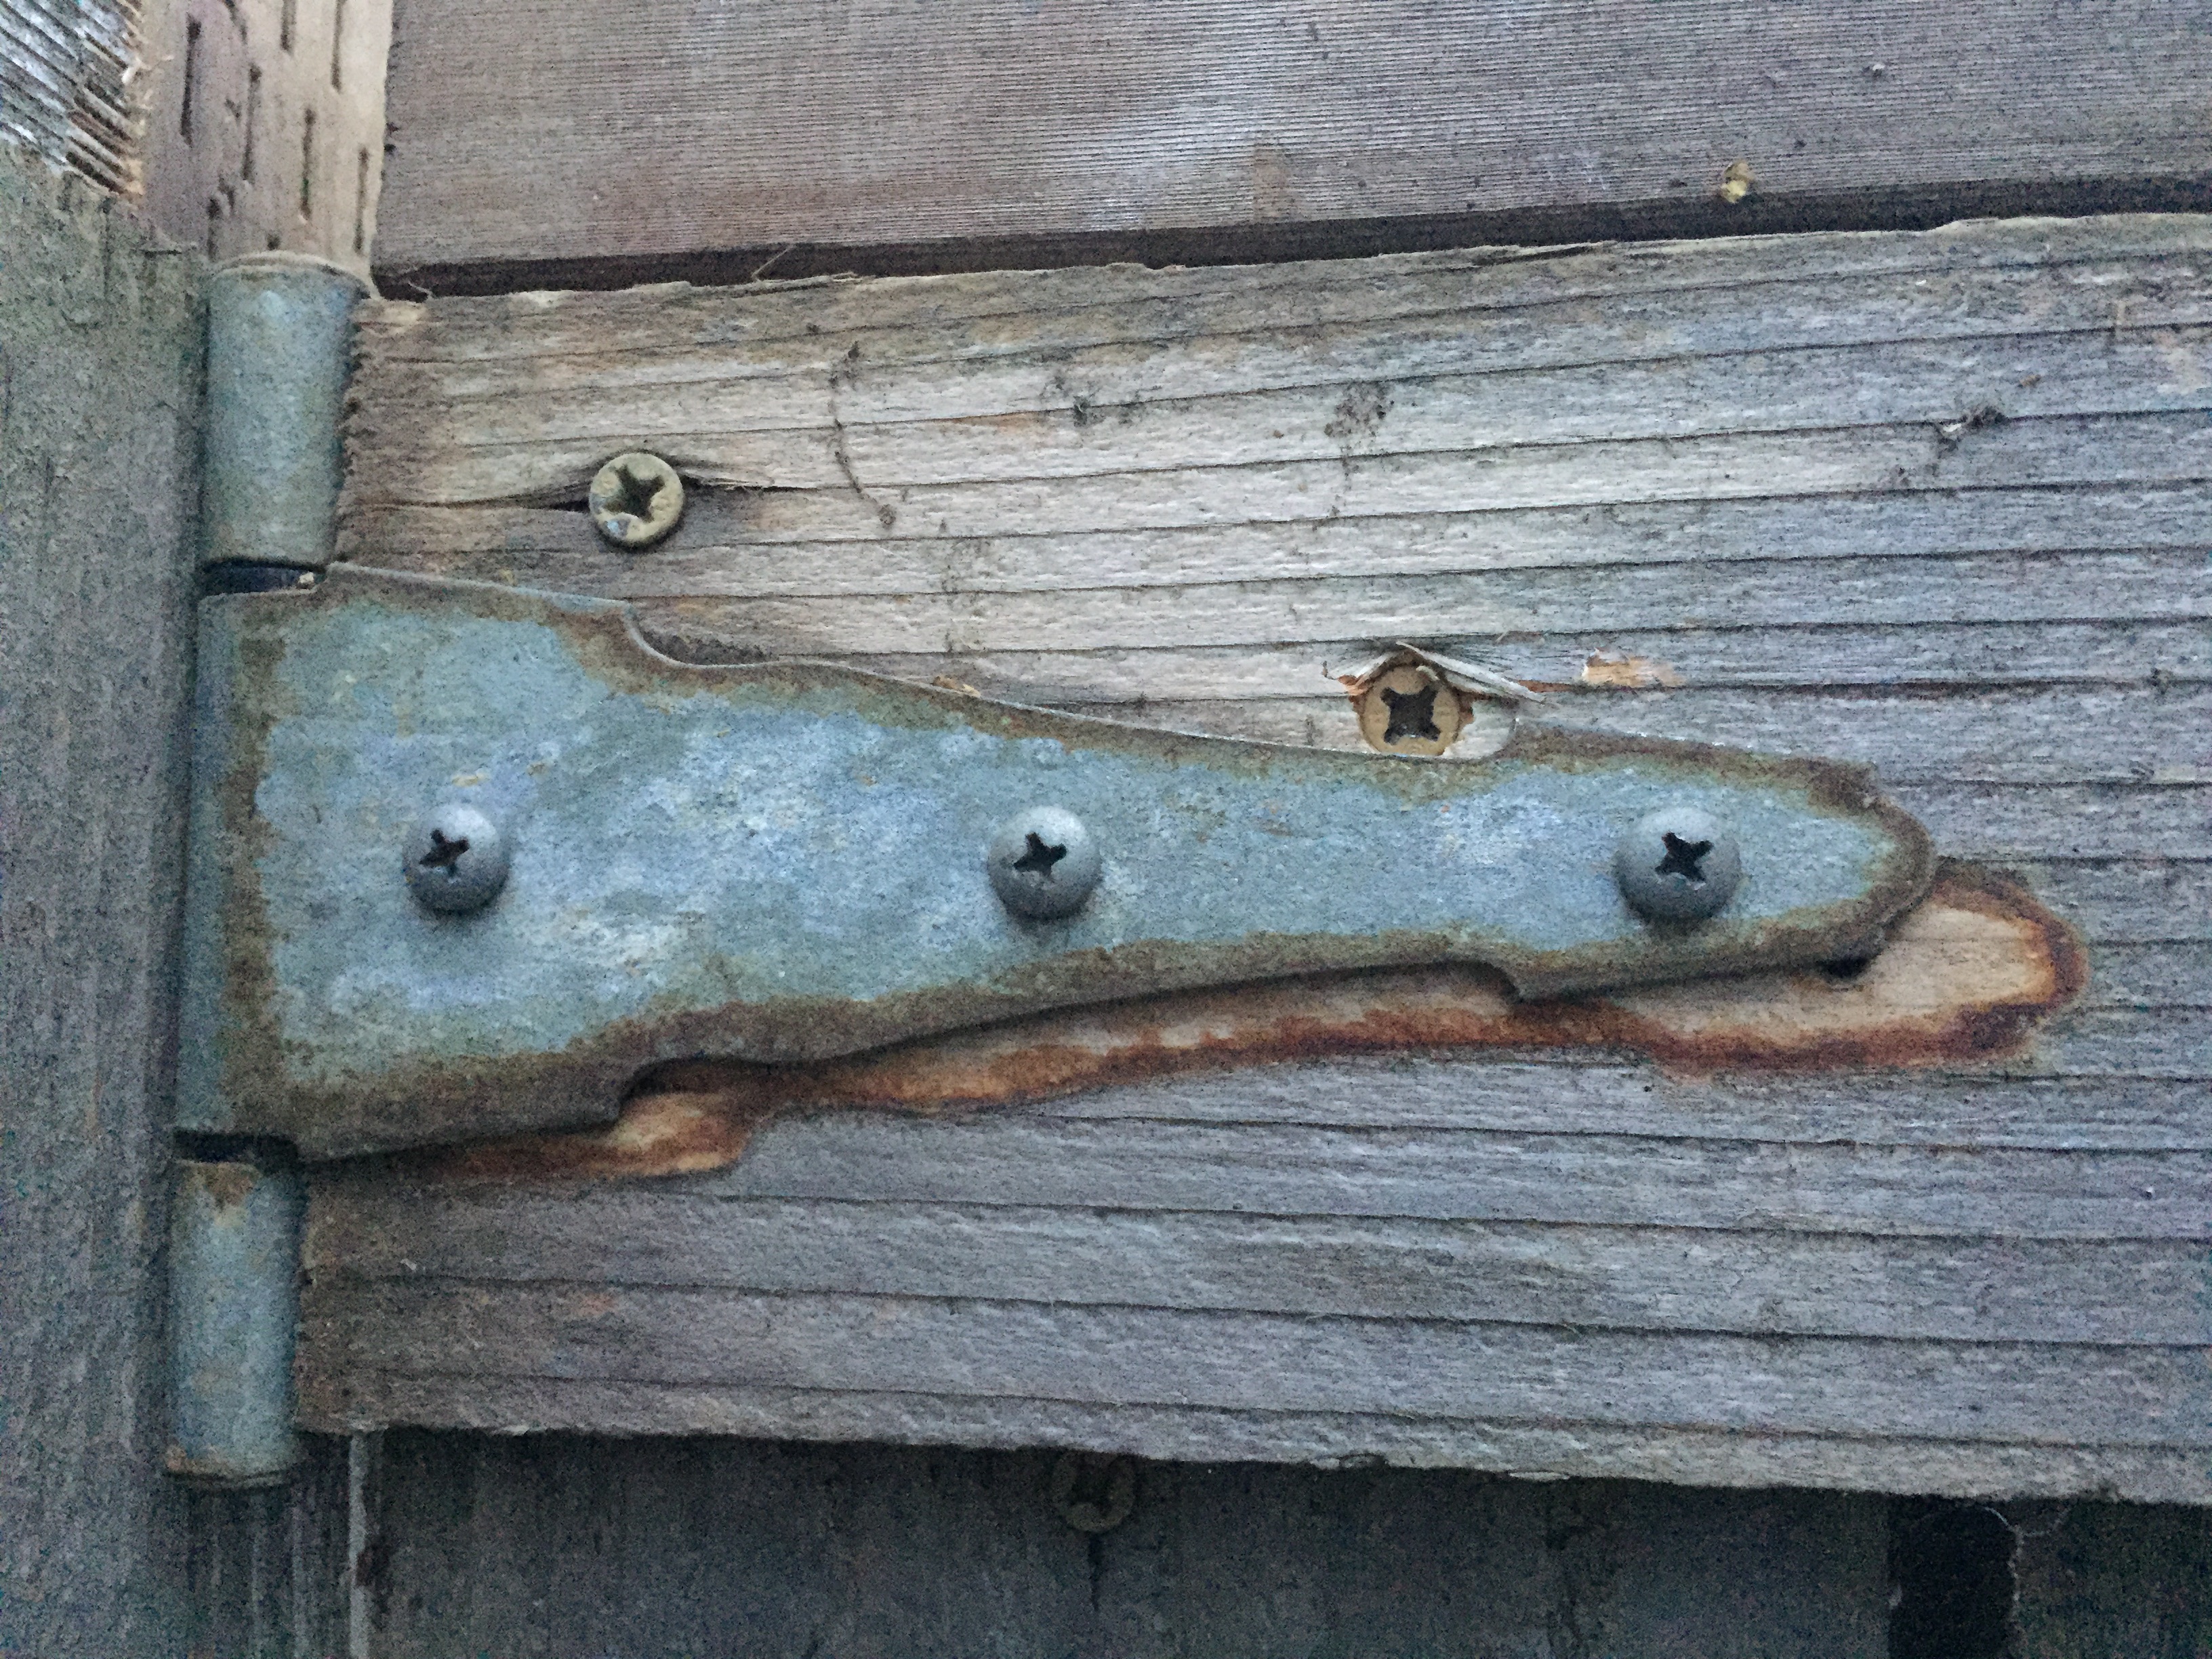
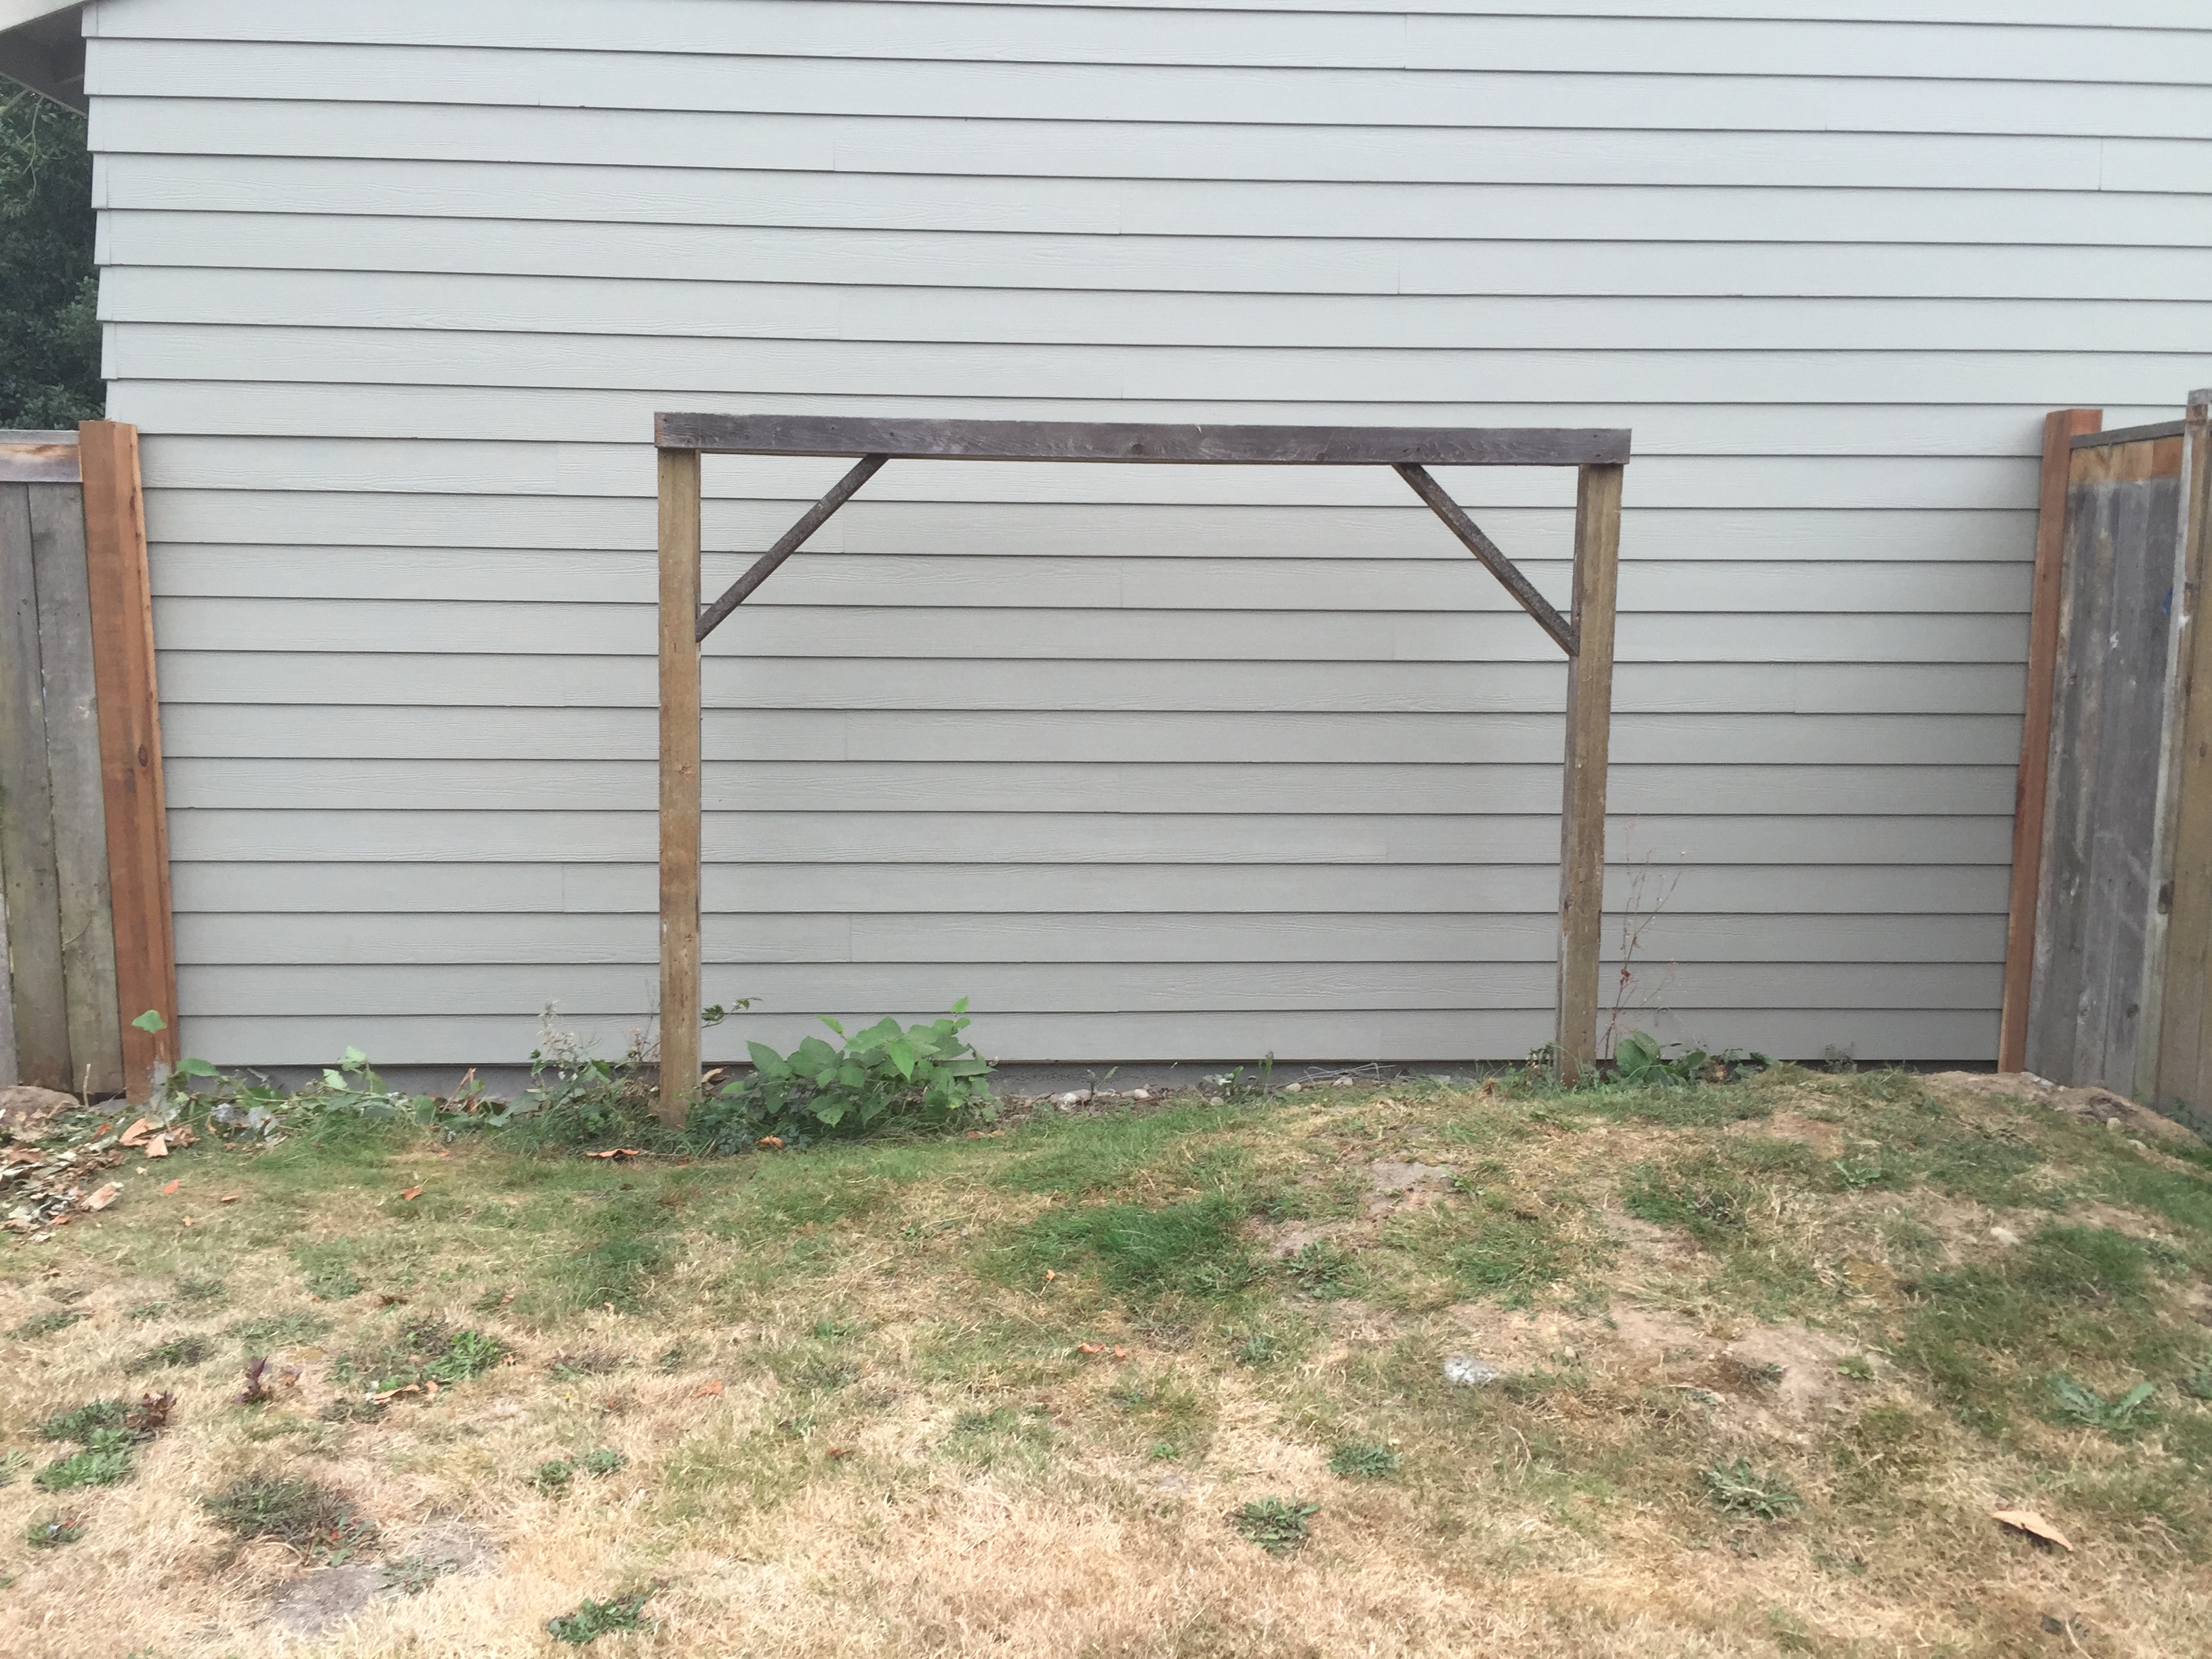
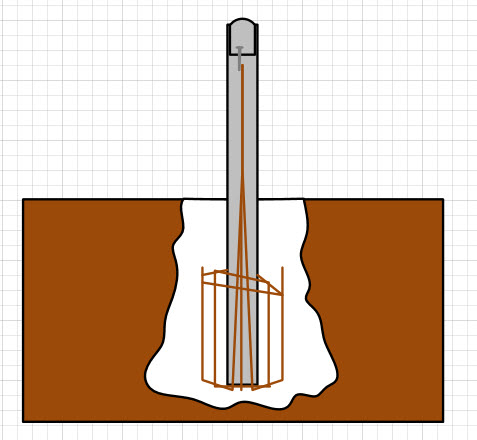
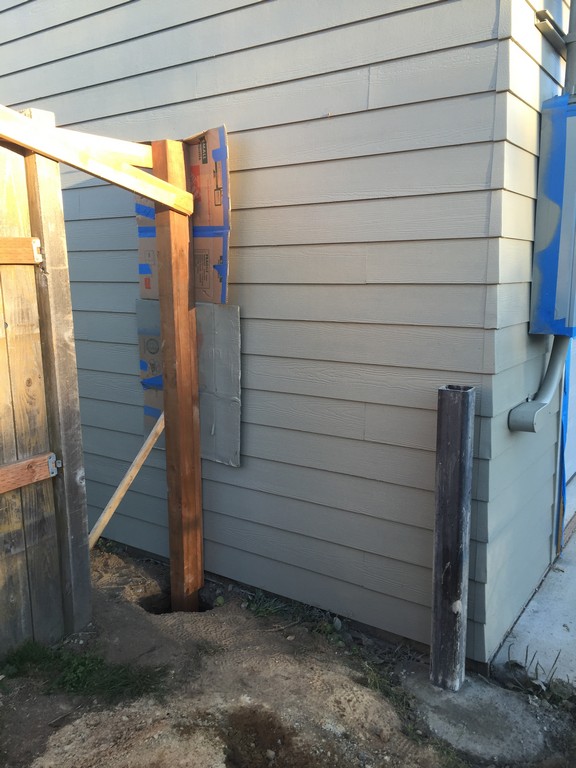
  8. The yard is completely fenced in and the rear gate is installed.  just a couple of tweaks and then power wash and polyurethane coat.
  9. The living room corner cabinets are in place, but not painted or installed.
  10. We have a small roof leak – motherfvcker!!!  it is around the kitchen vent and from where the moss removal team got too eager with the power washer.  I will go up there this weekend and seal it.
  11. Got a huge bill from our plumber for work that they didn’t do before abandoning the job.  wanted to scan my ass into the 3D printer and send them a copy.  Called a lawyer instead.  we have a plan forward.

The yard is now secure for the puppies

I spent my evenings after work this week rebuilding 35’ of fence, connecting it to the corners of the new garage, and installing two gates using reclaimed boards and stringers from the original fence that I carefully tore down back in January.  I reused the screws and most of the hardware, but had to buy 7 new treated posts, 2160 lbs of Sakrete, 4 bolts and two 2x8x10s. Total cost was $160 and 14 hours of labor including the tear down and hole digging.

My neighbor has been INCREDIBLY patient with me, my mess, noise, and building debris.  When I rebuilt the fence on her side of the yard, I tore out some more of the existing, replaced two rotten posts and then leveled the tops of each section to make it look nicer.  There were a couple of solid posts left from the previous fence location – about 2′ from the new garage – that I just couldn’t chop down or pull out so, I leveled them up and built her a simple trellis for honey suckle or wisteria.  I also bought her a $50 Starbucks card as a small ‘Thank you!’.

The back gate and adjoining section is a nice mix of mostly reclaimed and reused hardware, boards, bits mixed with new posts and structural support. I did double up on the facing boards (set on both sides) for some additional privacy as our hot tub is right on the other side.  The gate itself used to be on the opposite side of the yard.  I had to trim it a bit to get it to hang plumb, and move some hardware around a little.  I will be adding an additional hinge in the middle for added support and some face boards on the outside as well, so it gives the same amount of privacy and so it matches the fence.   The whole thing then will get a power washing and a coat of polyurethane in the coming weeks.


Matt Talley Fence re-build 2016 (3)Matt Talley Fence re-build 2016 (2)Matt Talley Fence re-build 2016 (5) Matt Talley Fence re-build 2016 (6)

Matt Talley Fence re-build 2016 (1)

Building fences and pouring concrete

I need to tie the wooden fence back into the new structure so the dogs can roam in the back yard again. While backing up to unload concrete and posts for the fence, I barely tapped the corner of the garage with my trailer. Not a single scratch or dent or ding, but it made me say DIRTY words. I put my thunkin’ cap on and decided that if I did it once, I would do it again, and someone else would definitely smack the corner. A Bollard was in order. I went by Pacific Metals and picked up a 6’X5″X5/16″ wall hunk of square tubing and 4 sections of 3/8X10′ rebar.

I rented an auger to dig the needed 7 post holes and dropped in 1 more for the bollard. The fence post holes are 18-14″ deep, but the bollard hole is 38″ deep and after chipping away at it with a post hole digger, maybe 14-16″ in diameter with a bell-shaped bottom. I cut 3 of the rebars to 7’ and bent the three pieces into a fishhook shape, wire tying the tops together in 3 places. I then took the off cuts and bent them into a “U.”

I put the rebar in the hole, sitting on plastic rebar chairs and placed the post over them. I splayed out the “hook” sections and wire-tied the U-shaped pieced around the rebar and around the bollard. I then added another hoop around the original section and the tied hoop. Concrete was poured in and vibrated to get all the air and voids out. I filled the bollard with concrete and used a scrap section of rebar to agitate and pack down the concrete in the bollard.

I left 4” of the top of the square tubing free of concrete and dropped in a 6” lag bolt with to 3” sticking out of the wet concrete, but still in the tube. After the concrete dried and while I was setting some fence posts, I went back and finished off the top of the bollard with a bit more concrete. I will paint it red when I paint the doors to the garage. The thing won’t stop a tank, but it might save the corner of my garage from a moment of inattention…
matt talley Bollard detailMatt Talley_Garage 2016_089 Matt Talley_Garage 2016_090Matt Talley_Garage 2016_082Matt Talley_Garage 2016_084Matt Talley_Garage 2016_081 Matt Talley_Garage 2016_083Matt Talley_Garage 2016_085 Matt Talley_Garage 2016_086