The house remodel seems to never end… I will be so glad to just be and live in our space at some point. We are close, but there are still details left undone – enough that I am trying to concentrate on one room at a time. My plan is to get each done in turn and then move on to the next. I wasn’t as successful at that as I wanted to be this weekend as I bounced back and forth between the living room and our bedroom closet, but I did get a ton done.
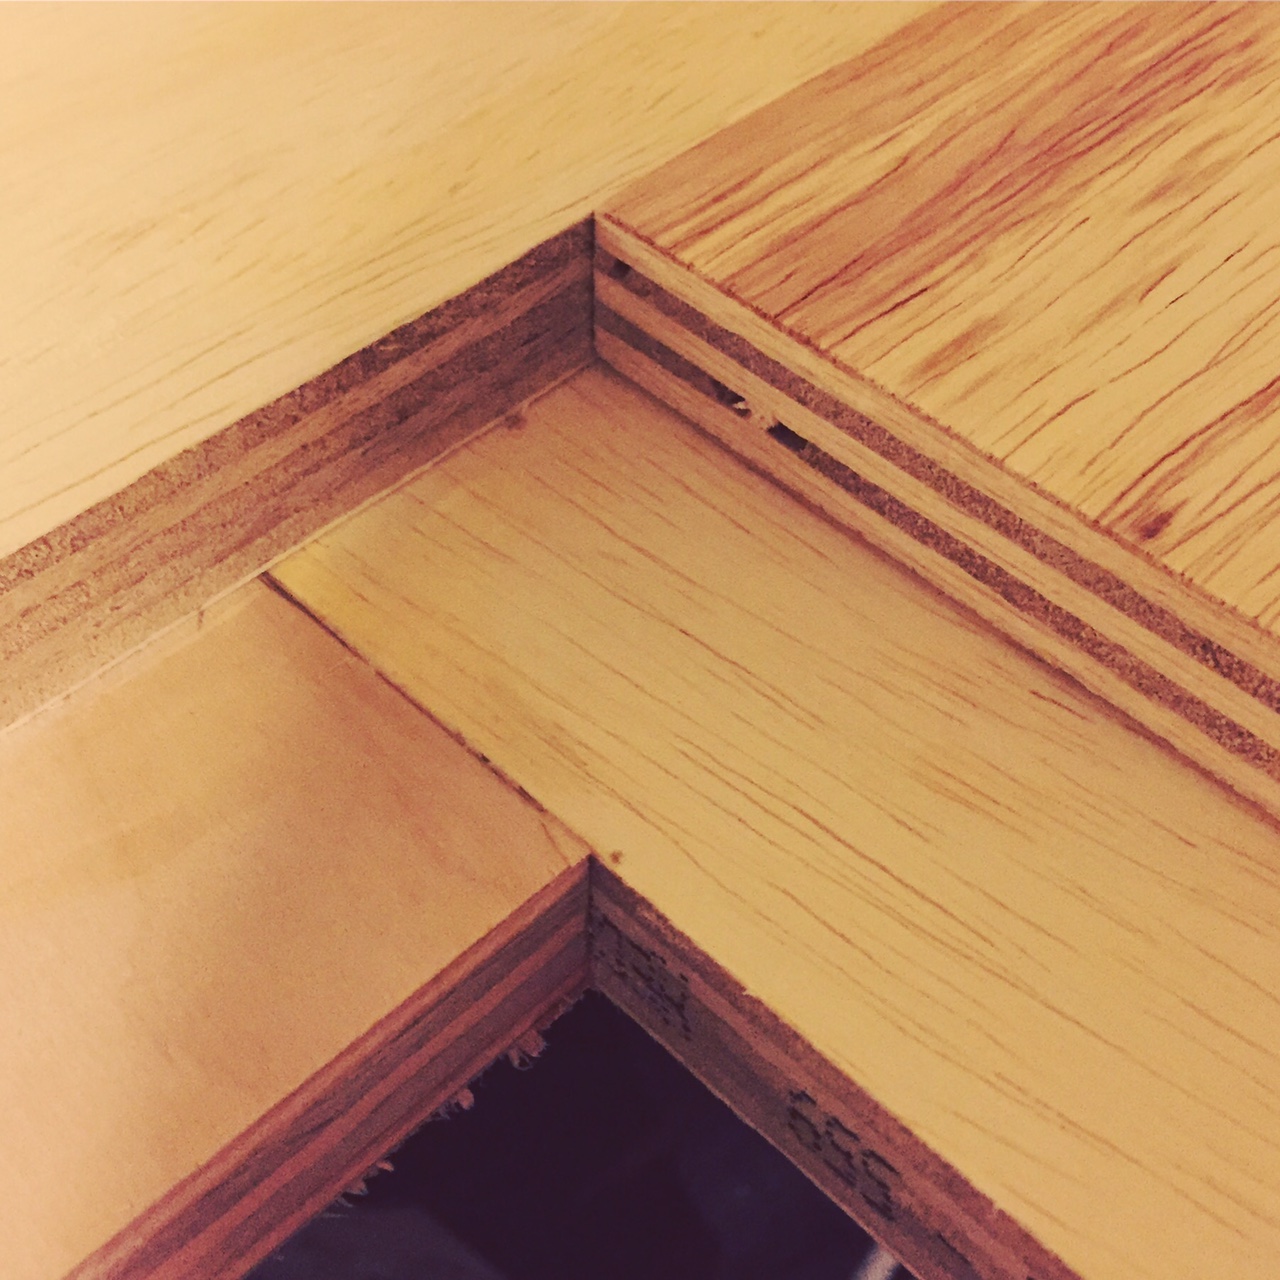
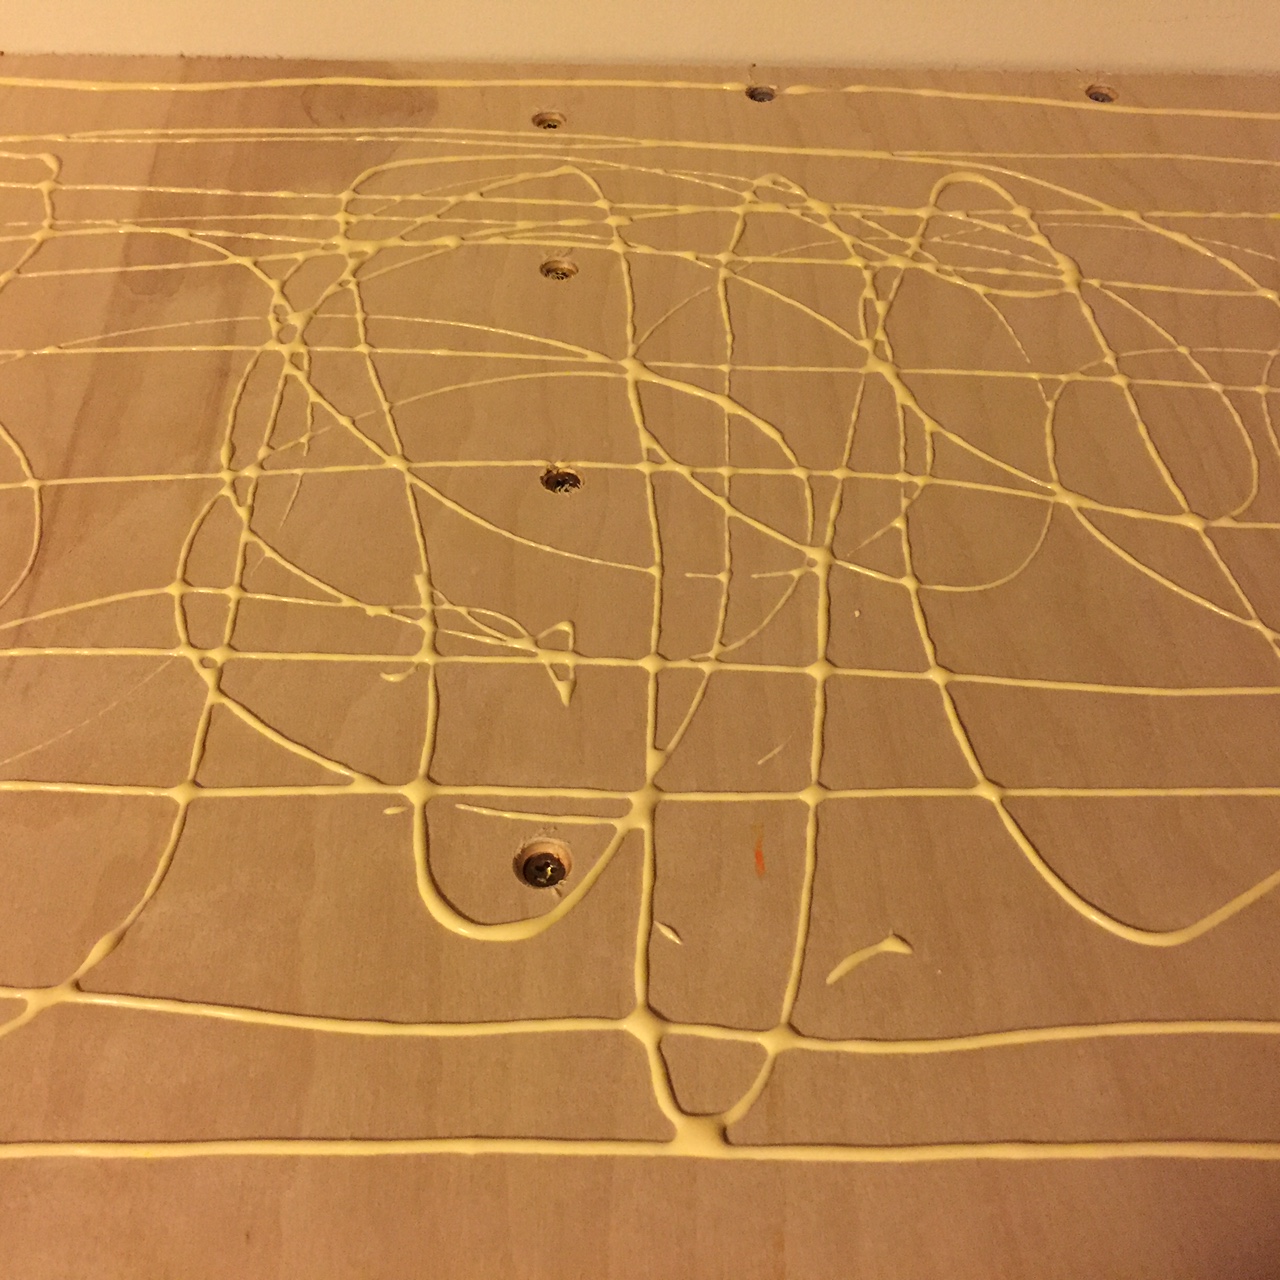
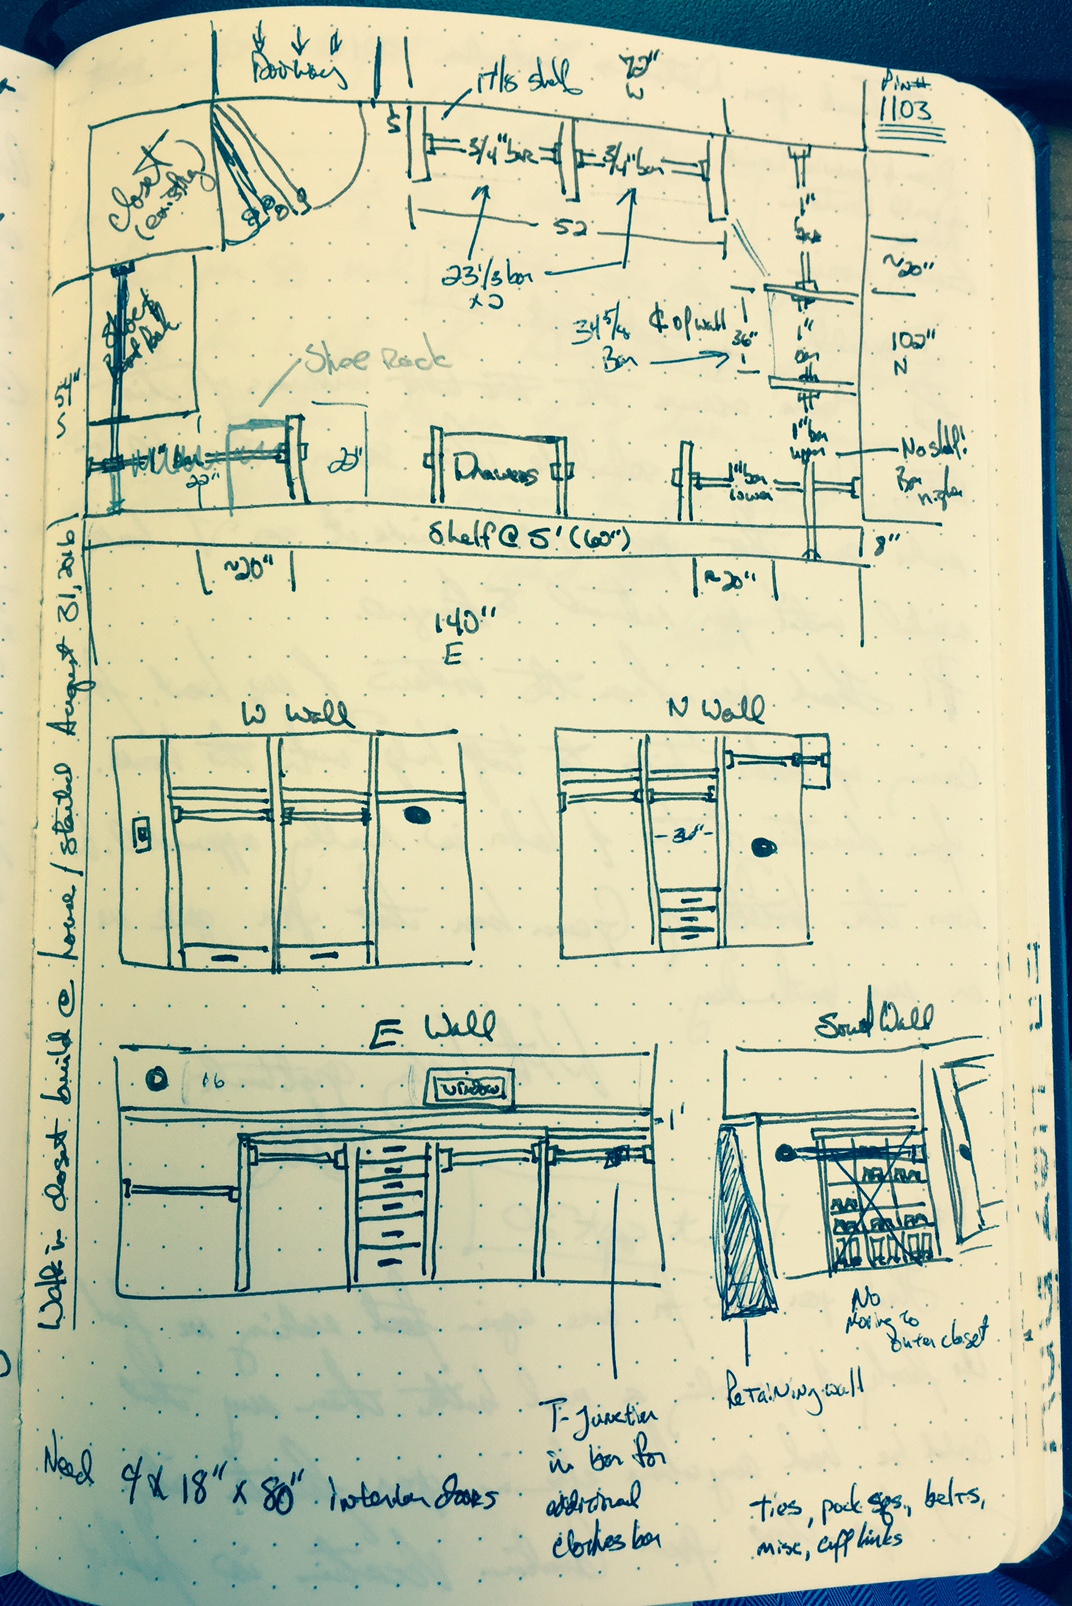
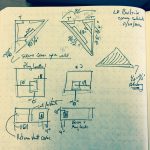
I installed the upper shelves and corner shelf in the walk-in closet, laminating two layers of 3/4″ plywood for really strong support over a 54″ span and in the unsupported corner. In addition to using copious amount of glue and screws, I attached the butted plywood edges together with wood biscuits – it is always a fine day when I get to crank up the biscuit joiner.


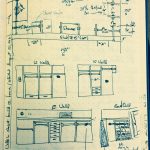
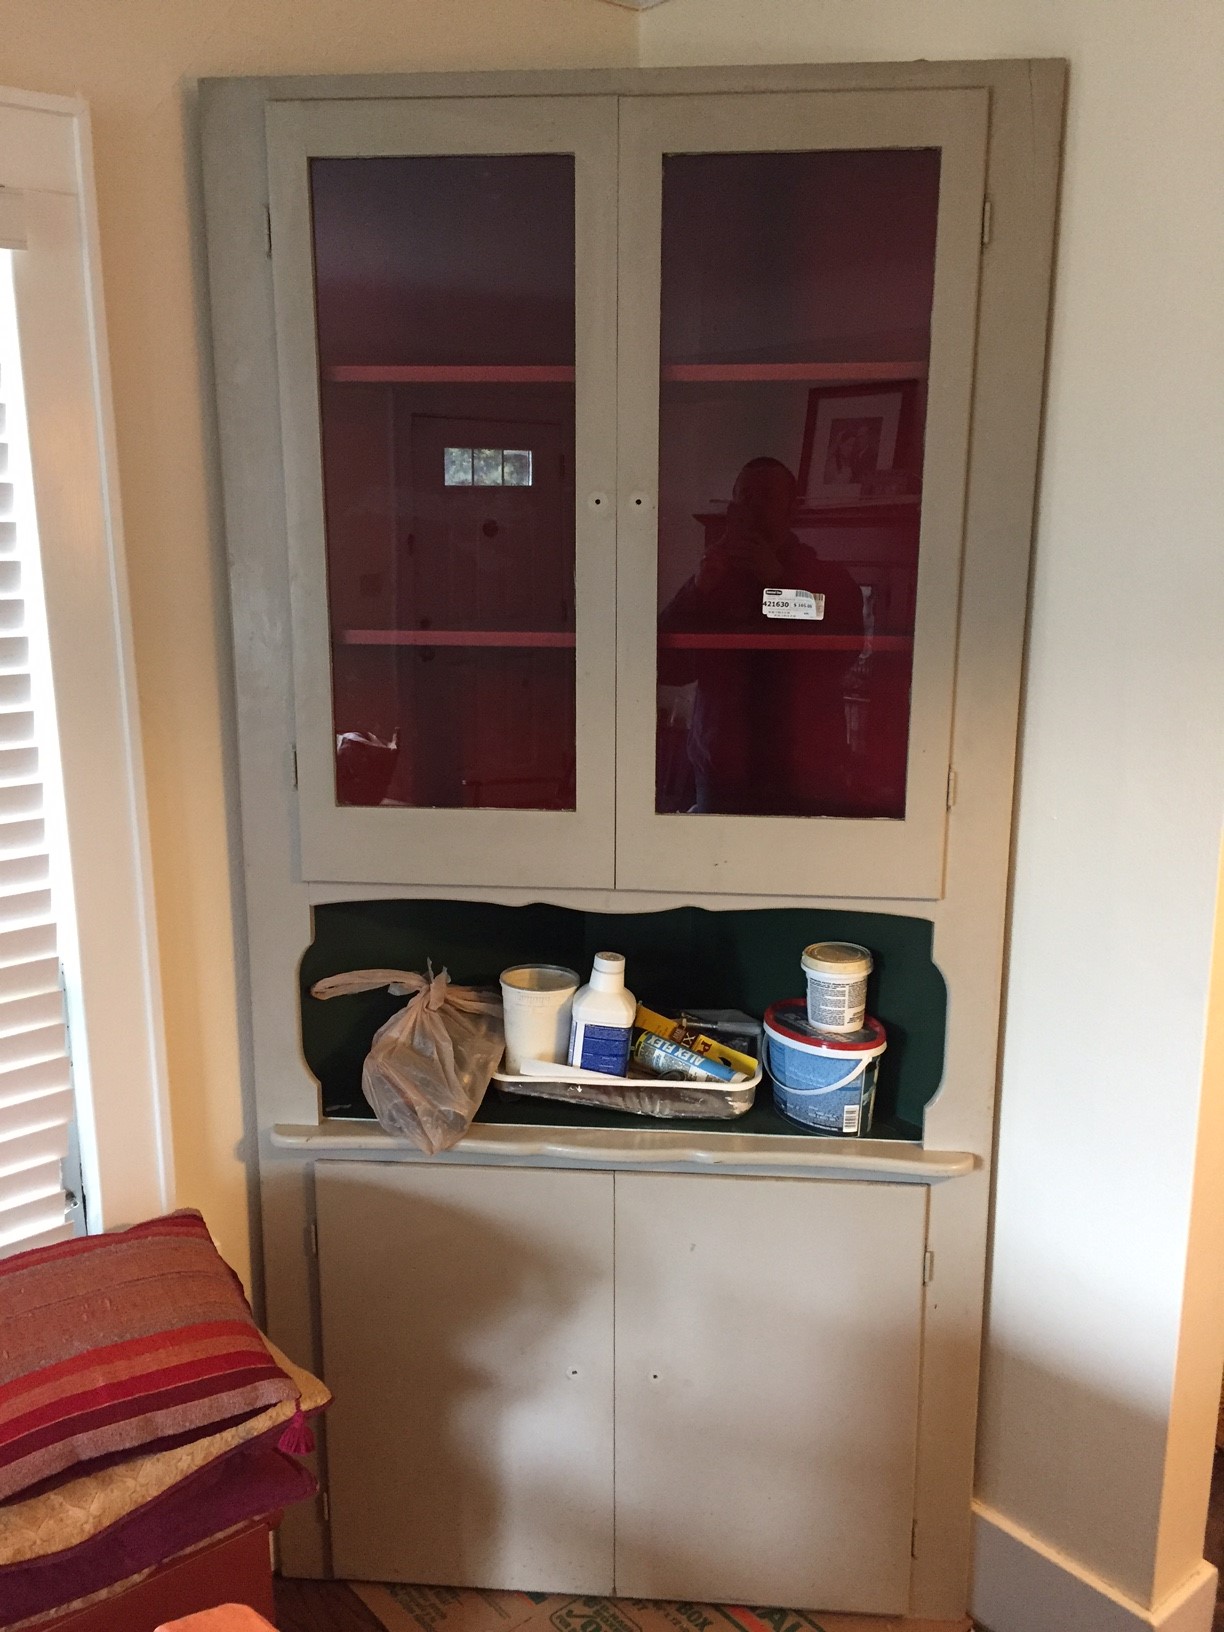
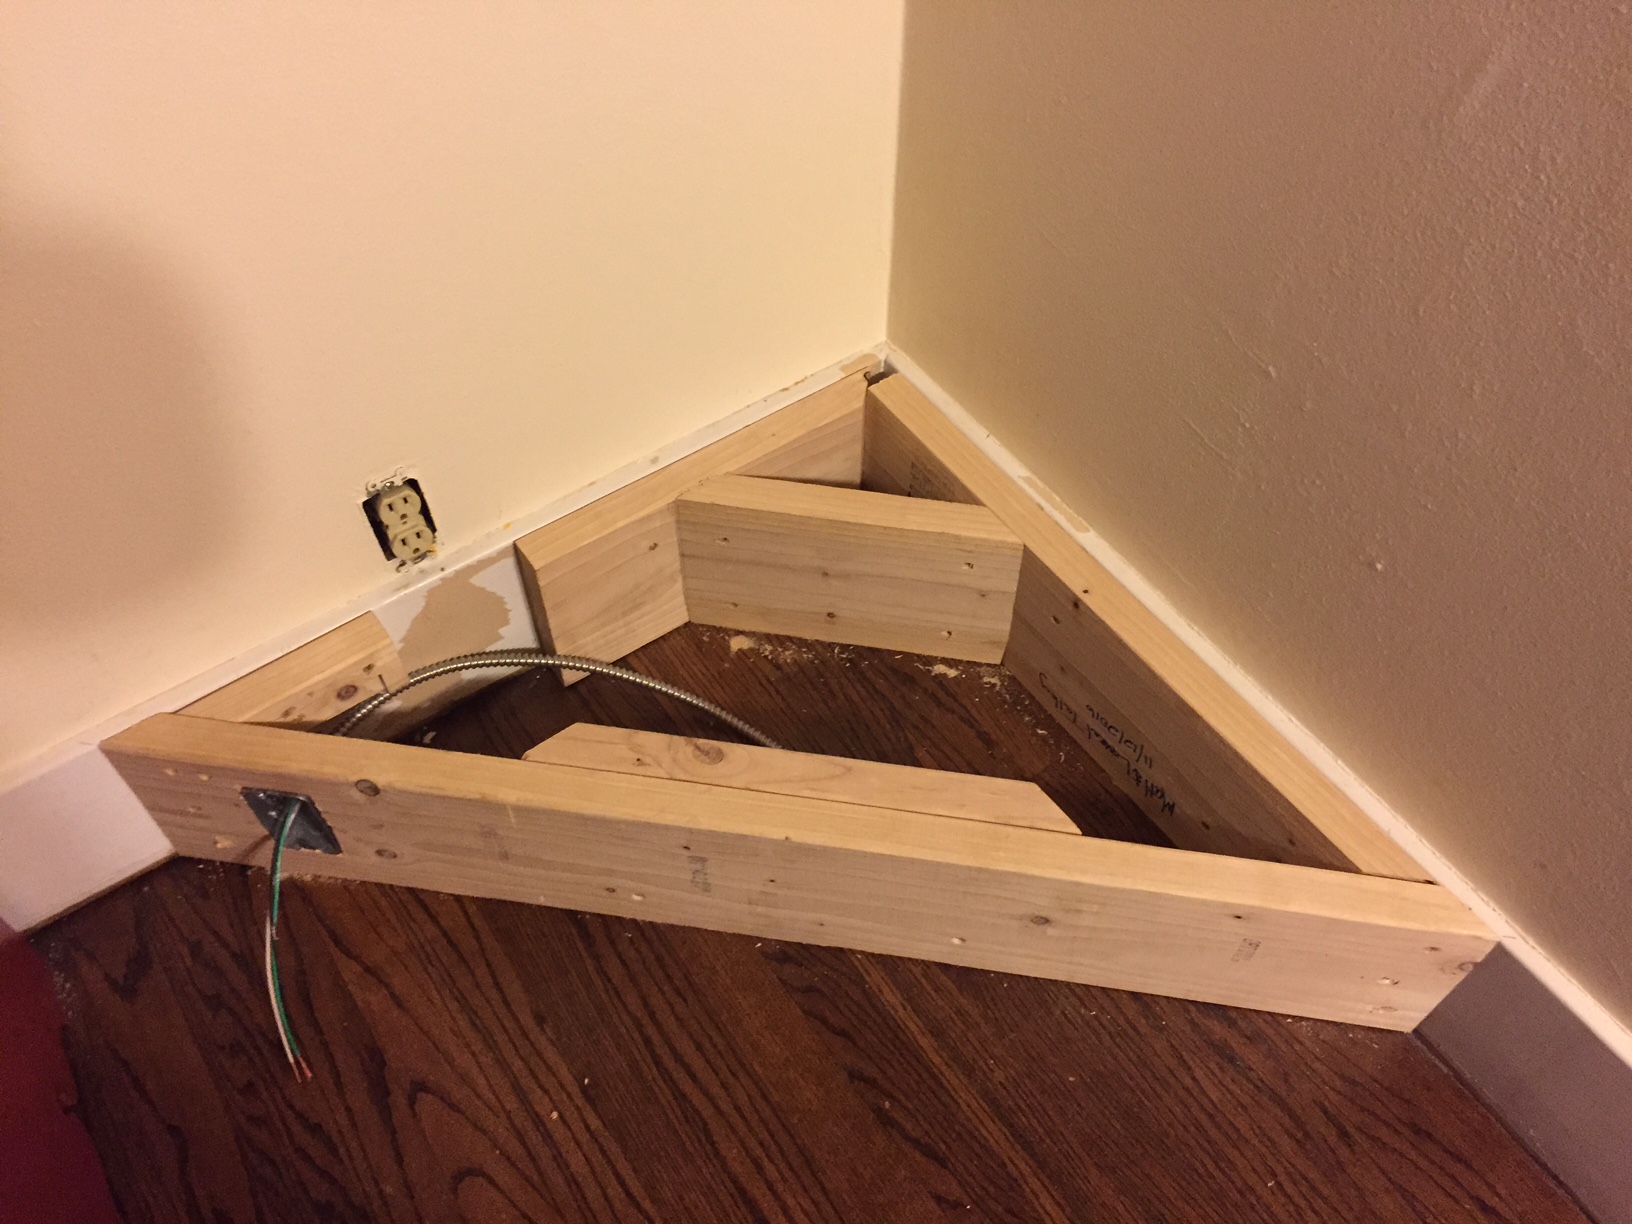
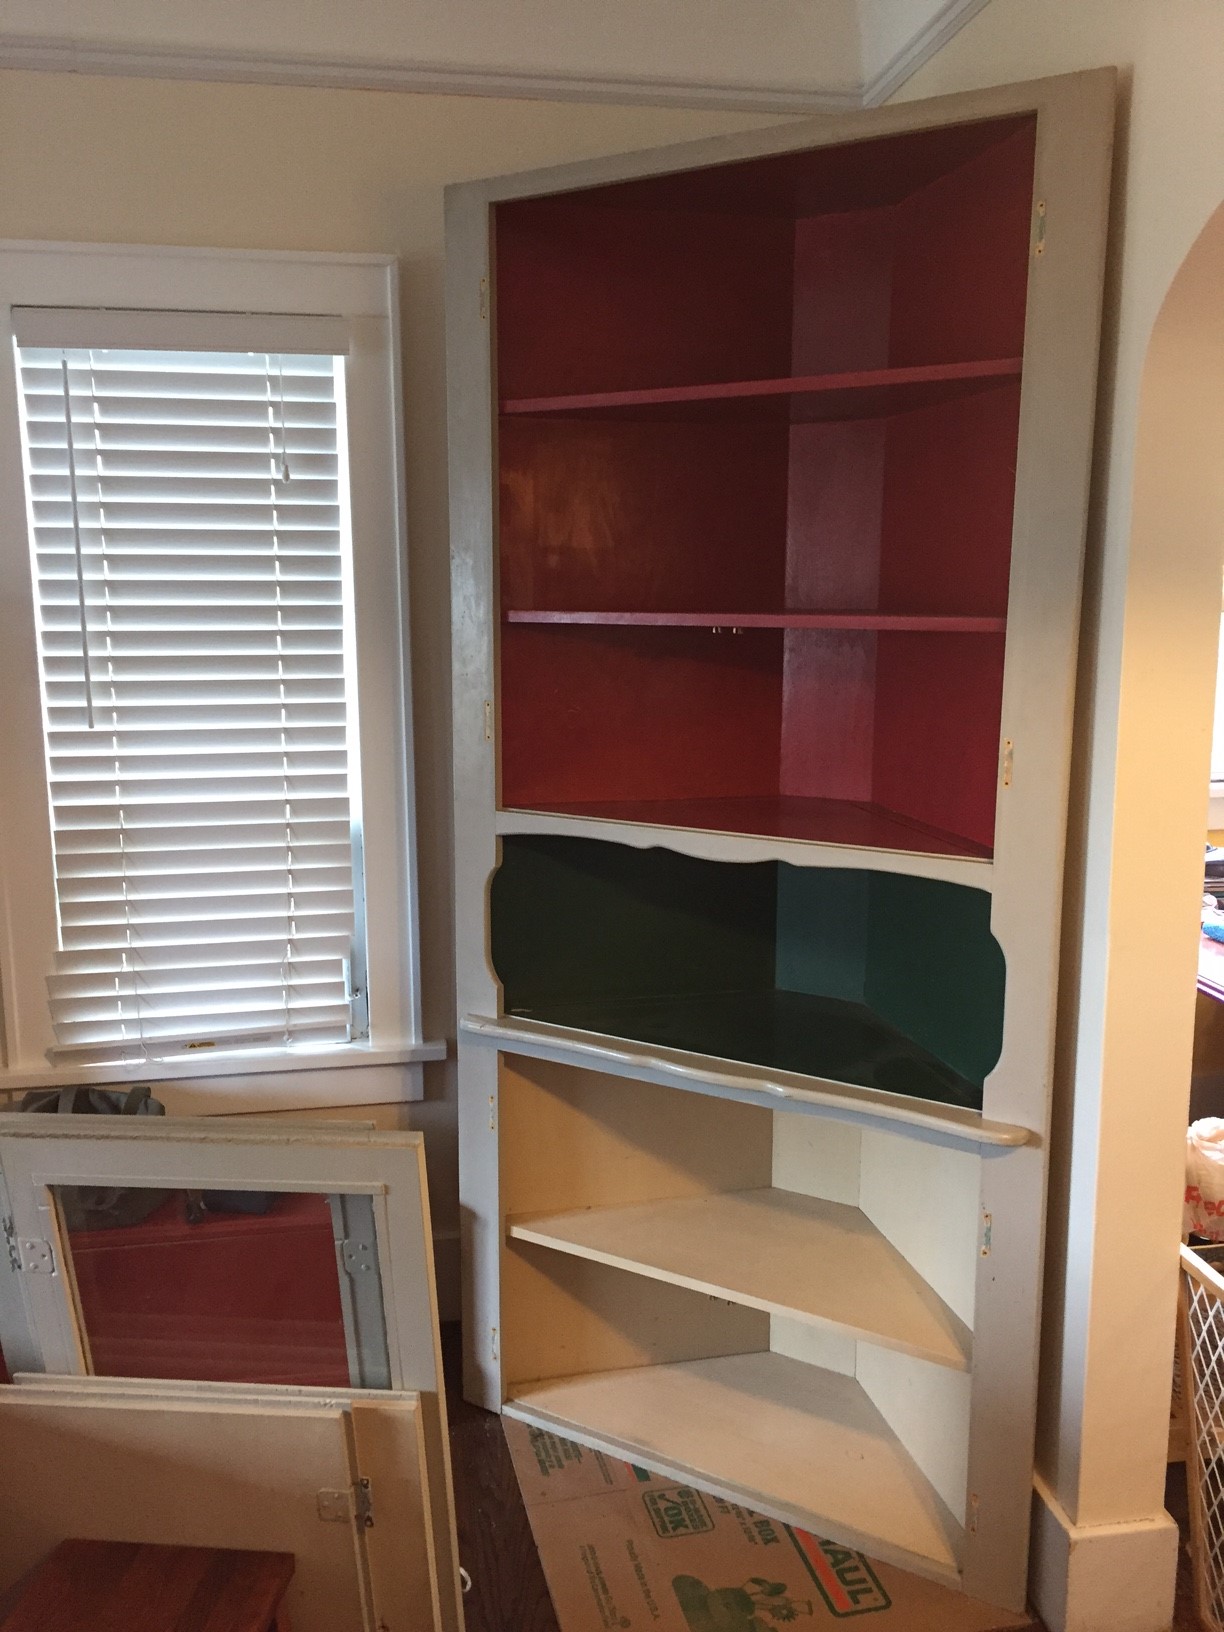
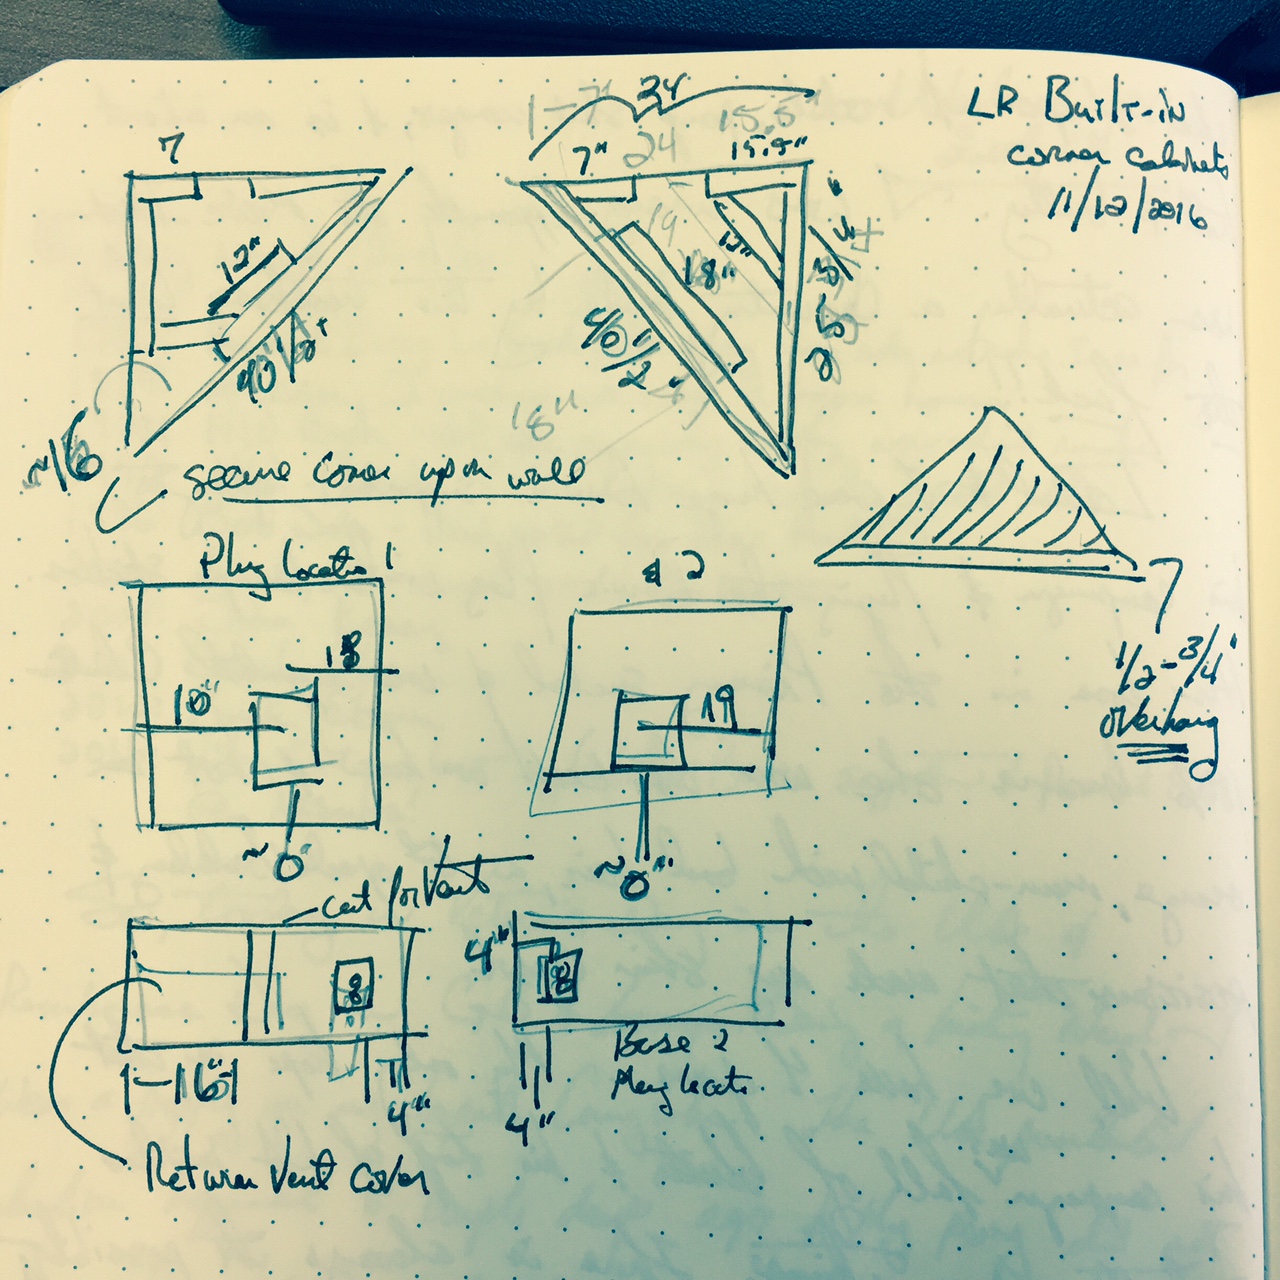
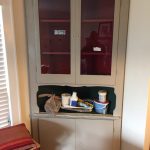
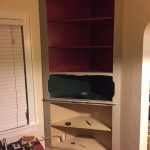
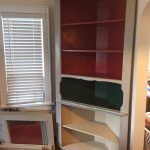
Almost a year ago, I sourced some corner shelves at one of the local architectural salvage places for less than $200 – far cheaper than what it would have taken me to build them. They came out of a 1930-40’s house and were painted Christmas colors, but I knew that they would be perfect for our living room, which was stripped of its built-ins at some point in the last 88 years. They have sat in storage and until this past week when I pulled them out and got some material together to permanently mount them. Stamps-With-Foot helped me set them in place after I built sturdy bases. Each of them cover a wall plug, so I am in the process of re-routing the receptacle using armored cable. I also have to build in an air-return duct under one and that has taken some serious brain power to get right. I will add trim this week and my wife and Mother-in-law will paint them cabinet white this weekend.

While I was at it, I punched out a rubber washer for a pot lid knob. I made the knob a couple years ago out of some scrap cherry firewood after the original plastic one broke. The original washer had corroded, so I made a new one and installed it.
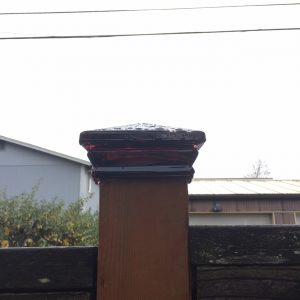
I also took a couple minutes to mount the red glass post topper on the back fence. It was ordered (along with a spare) months ago and have meant to put it on every weekend since. There is always an excuse for why I didn’t, so I marched right out first thing Saturday with a tube of clear silicone and finally just got it done. It is the little victories that keep me going.