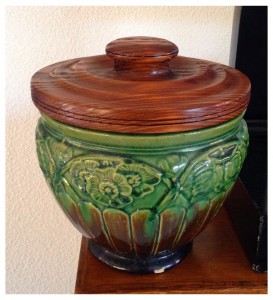
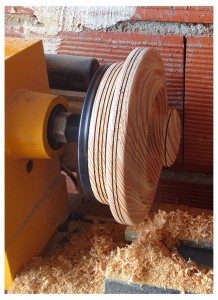
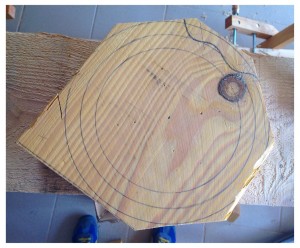
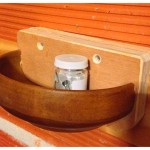
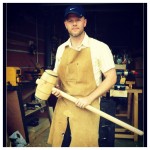
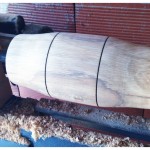
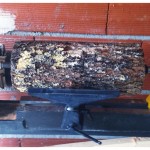
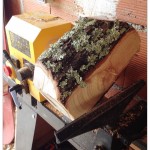
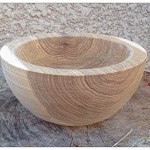
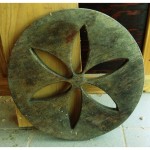
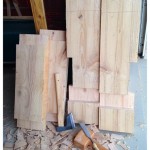
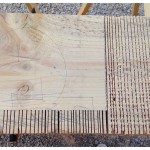
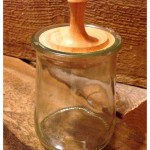
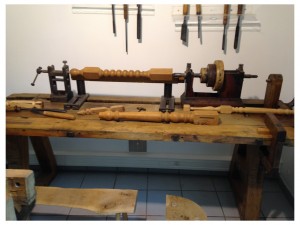
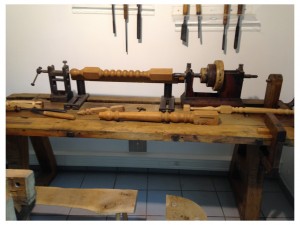
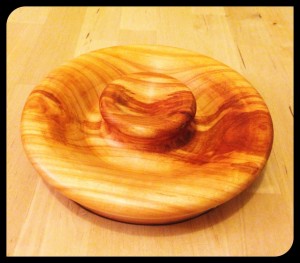
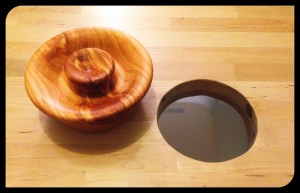
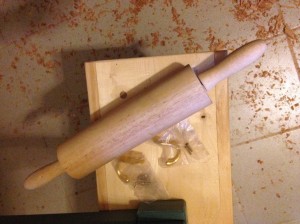
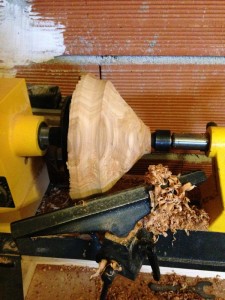
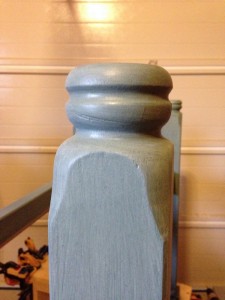
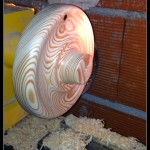
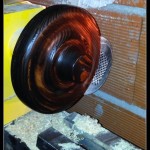
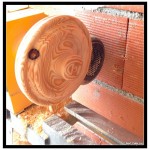
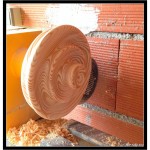
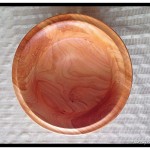
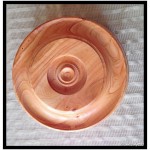
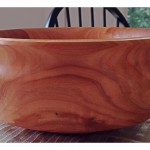
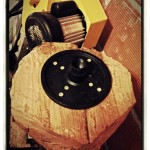
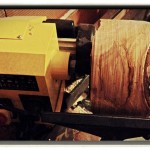
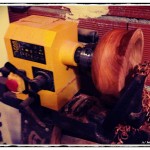
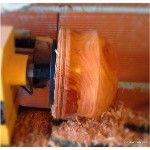
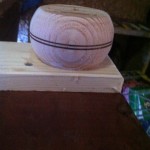
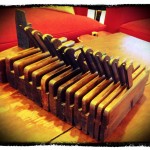
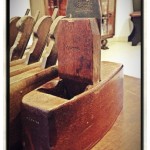
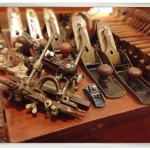
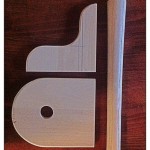
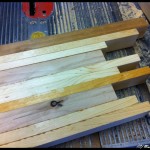
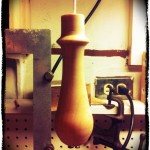
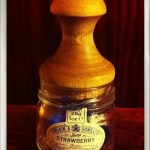
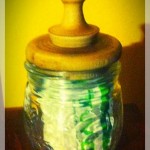
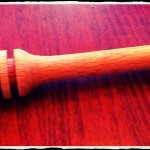
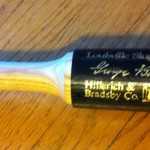
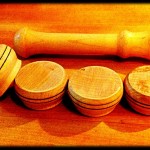
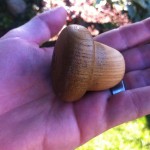
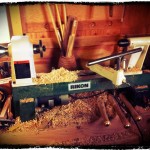
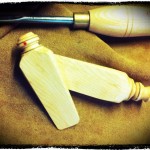
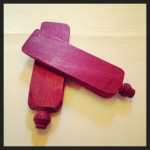
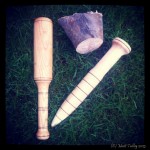
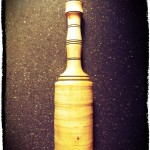
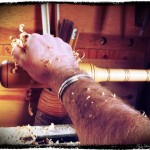
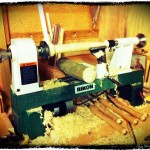
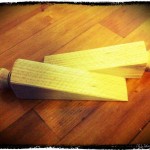
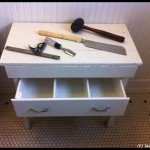
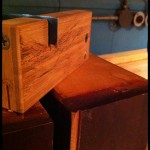
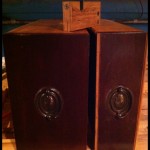
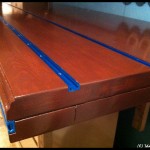
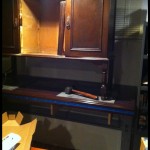
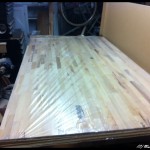
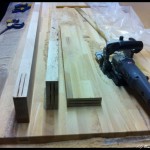
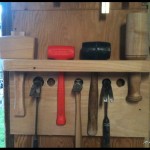
We have a Art Deco flower pot in the guest bathroom that is used as a trash can. is about 9″ high and 8″ in diameter, so it doesn’t hold a lot. However, our new puppy is VERY interested in the contents of that vessel. To stem any possible and eventual messes, I took some pine scrap, chucked it up in the lathe and made a heavy wooden lid. I stained and finished to match the pot. Simple fast jobs like this make it so I can buy new tools without my sweet wife flipping out.
Tag: Lathe
Making stuff with My Son
It is one of my duties in this life to make sure that my children can do for themselves. Having to call a plumber for a clogged drain or an electrician to replace a switch just is not the Talley way. We are fixers, tinkers, builders, and warranty voiders by practice and nature. I cannot have it on my conscience that such a path would end with me, so part of the summertime ritual is to fix and build stuff.
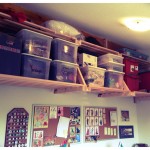
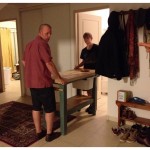
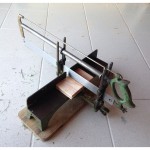
This year was no different. The Ruminator work on the lathe a bit, helped me build a kitchen island, and helped design and construct a hanging shelf system for my wife’s sewing room. We hung a storage rack in the garage, built a snowboard rack for his room, hung stuff up in the living room, applied a little spray paint and finish, learned about milk paint, refurbished a miter-box saw, cut up some andirons, went over tool identification, sunk a bunch of screws, put some all-thread to use, made sparks with the grinder, and that sort of thing.
Just little bits at a time… Next year we will do a little metal work and wood carving. The year after, we might build a deck and do a little welding. At some point he will learn to sew and mend a little – not to be a seamstress, but enough to make simple stuff and put a button back on a coat. If he wants to be a carpenter or a cobbler or a tailor or a machinist or a welder fine, then I am equipping him with early skills to build from. But if he wants to be an architect, teacher, engineer, lawyer, doctor, or whatever – I still want him to have the knowledge base of how things work, how they are put together, and how they should be fixed.
UPDATE: Shortly after my son left to go back home, I was cleaning up the GROP and I found this message below written in saw dust. It made me both humble and very proud.
Small parts holder for French Cleat wall
What happens when you are 99.98% done turning a bowl, there is a millisecond of inattention and BAM! And the bowl explodes off the chuck?? After you check your britches and finish saying dirty words, you pick up the pieces and make lemonade from lemons.
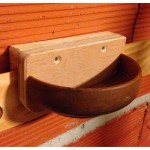
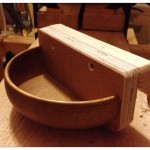
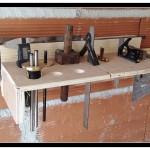
I thought about tossing it all in a fire, but decided to use the largest intact piece to make a small parts holder that mounts on a French Cleat. I am forever looking for a jar or a can to put small parts in while I am voiding a warranty or rebuilding something small and complicated.
Everyone needs a circus tent stake maul…
I have a good number of wooden stakes to drive into the ground – garden project, long story. In the early stages of planning, I realized that I didn’t have a proper maul and did nor relish driving any of them with a claw hammer. Hummm….
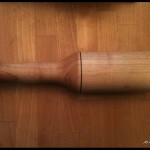
To remedy that tool deficit, I finished turning one from a piece of oak firewood after work the other day – instead of mowing the yard… The steel bands are cut from a 5″ iron pipe and they are held on by 15 or so long brass nails. It seemed like a good use of my time and was a nice end to a very stressful day.
Weekend Update – the gods of lawn maintenance are displeased
We had a national holiday in France on Friday and I made the most of my 3-day weekend.
Instead of the stuff I needed to do I did this:
1. Got up at 7:30 on a holiday
2. Went up into the mountains with a group of Expats for a hike and a picnic – got some great pictures and had fine food
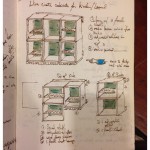
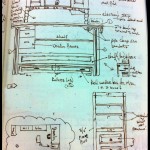
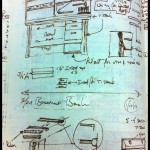
3. Worked on a design for wooden wine box/kitchen cabinets
4. Completely filled my Leuctterm1917 design sketch notebook – took 2 years
5. Watched a girlie movie with my sweet wife
6. Started a new notebook – a Rhodia Webbie this time (I like the paper better)
7. Spent too much time on the interwebs
8. Started formal permit process for garage shop and apartment above at our place in Seattle
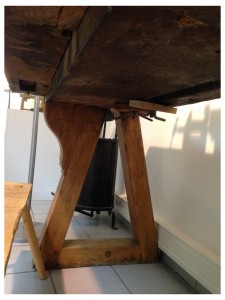
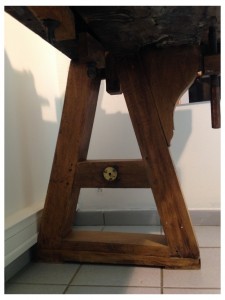
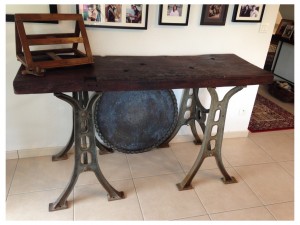
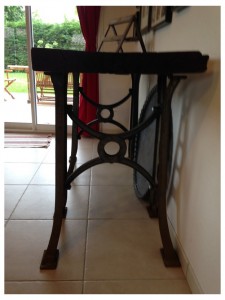
9. Sanded, sealed and painted the “T” supports for the workbench/buffet table
10. Rough turned 4 oak bowls from a piece of tree blown down in a storm
11. Sent some e-mails out that I had let sit too long
12. Coated the bowls in wax and will let them cure for a year.
13. Cleaned and organized GROP – oak shavings were EVERY where
14. Composted the shavings with some grass and kitchen scraps
15. Sharpened all my lathe chisels
16. Brained myself on a low hanging bike – said f-word more than once
17. Went to a run along the river
18. Called my Mom and talked for a bit
19. Checked on the kids
20. Cut first 5” top sections for Cornebarrieu Workbench
21. Need a proper circle saw… the 18v battery saw is out of it league on 1.5” beech
22. Worked on the small cabinet rosettes for our neighbor – he also asked me to install a shelf while I was at it…
23. Played with the puppies – while Stamps-With-Foot had a girls night
24. Got sucked into Pinterest
25. Updated website a little (here and Tumblr)
26. Watched a little too much TV/YouTube
27. Took puppies for a walk around neighborhood a couple of times
28. Rode my bike about 10 miles – muddy
29. Cleaned and tuned single-speed bike
30. Played with puppies
31. Did some grilling with beer in hand
32. Got up Sunday morning and worked for a few hours, – because I thought it was Monday. Damn it!
33. Closed office door and did not return for 24 hours
34. Told wife her hair was very pretty
35. Went for a walk with wife and puppies
36. Made a small parts organizer out of a broken wood bowl
37. Got glue on my favorite shorts
38. Wrote some snail-mail
39. Surfed the interwebs until I fell asleep with the iPad on my chest…
40. I did not mow the yard again. The gods of lawn maintenance are displeased with me.
Very Productive Weekend – except in the yard.
I did not mow the yard this weekend. It just didn’t happen. I meant to and I wanted to… I even took the mower and cord out, but it just didn’t happen. Instead I did this:
1. Redesigned the top of the workbench that I am building.
2. Threatened for 148th time to quit Facebook.
3. Didn’t quite
4. Updated status
5. Cleaned and organized GROP a little while grumbling about my lack of willpower
6. Worked on a J-O-B related spreadsheet
7. Finished bookends for wife – made from Victorian andirons.
8. Cut the base (legs and stretchers) for my workbench.
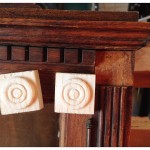
9. Turned two sets of TINY rosettes for our neighbor to replace a couple that are missing from a piece of furniture – help the neighbors when you can.
10. Put together a set of I-beams to reinforce a table top that is warping – they do that after 250-300 years…
11. Gave my wife a foot rub.
12. Glued up some maple blanks to turn later on
13. Played with the puppies – there are two now.
14. Got sucked into Pinterest
15. Watched a little TV/YouTube
16. Took puppies for a walk around neighborhood
17. Turned a small jar lid for wife out of some scrap cherry
18. Drank some Spanish rosé with wife and had a nice home cooked Thai meal
19. Fixed front door lock at 1:00am
20. Had weird dreams Saturday night
21. Slept in – new puppy had first good night’s sleep 🙂
22. Puppy sat while wife got her hair cut.
23. Told wife her hair was very pretty
24. We took puppies into Toulouse to meet some friends for coffee
25. Walked in park with wife and puppies.
26. Cut and chiseled joints in to ½ of the workbench legs
27. Sucked into Pinterest vortex again
28. Sent some J-O-B e-mail
29. Talked to my mom
30. Text messaged with my daughter
31. Tried to call my son – he was out with friends. Teenagers… 🙂
32. Played with puppies
33. Sent some more work-related e-mail
34. Told wife hair was pretty again
35. Made a tiny adjustment to kitchen island at wife’s request
36. Wrote a snail-mail letter to my aunt and son
37. Filled out a couple of post cards
38. Updated website a little
39. Looked at work calendar for tomorrow – very full.
40. Said dirty words…
41. Went downstairs to snuggle wife, puppies and to stay up too late on Pinterest or stupid Facebook.
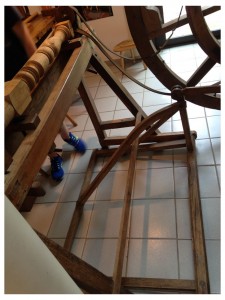
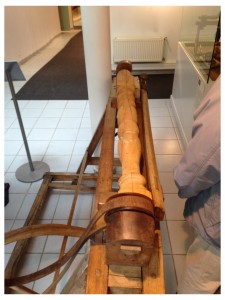
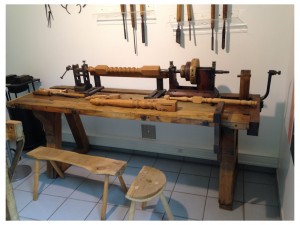
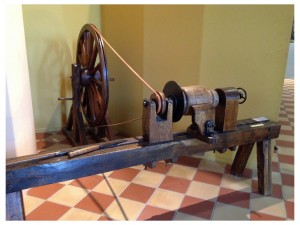
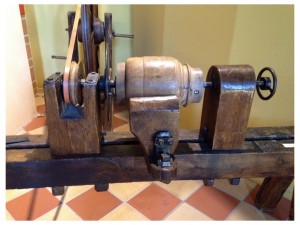
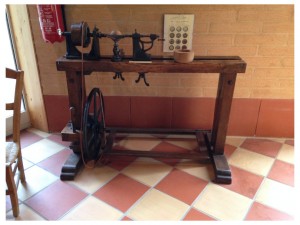
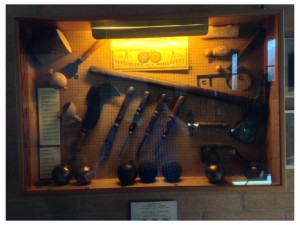
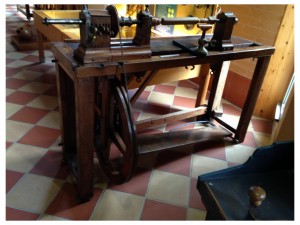
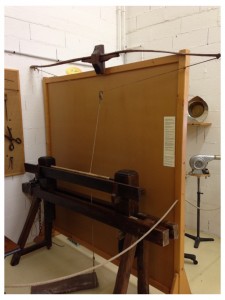
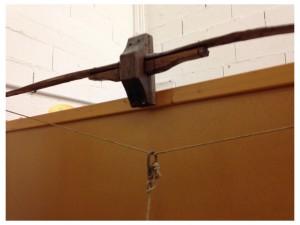
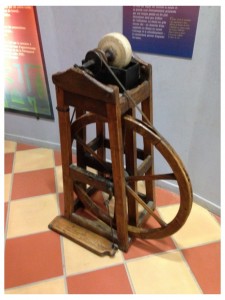
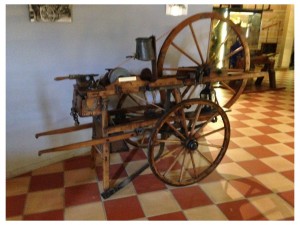
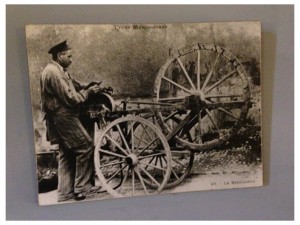
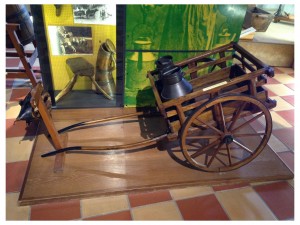
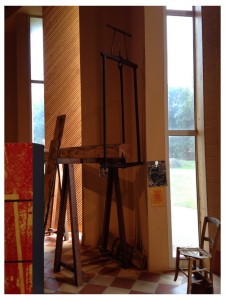
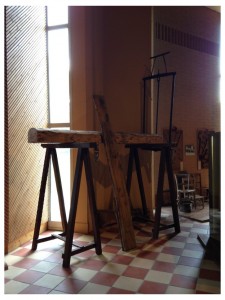
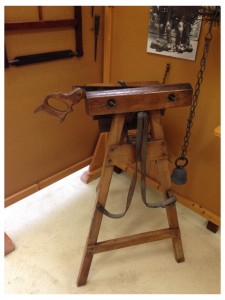
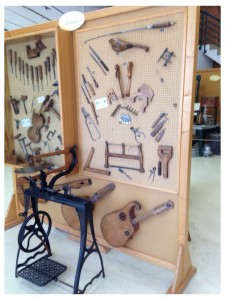
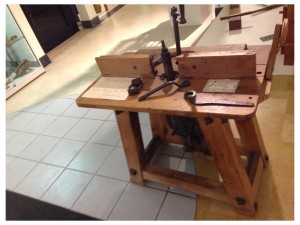
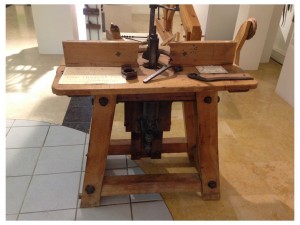
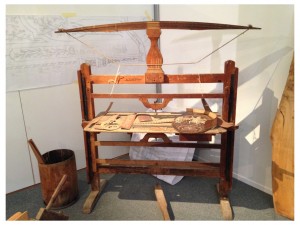
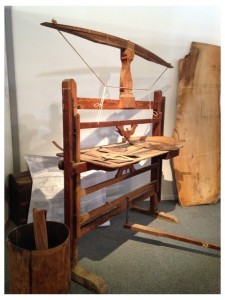
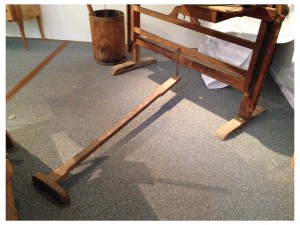
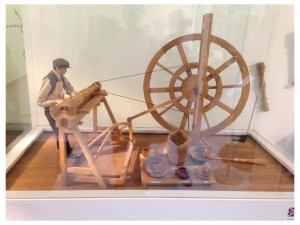
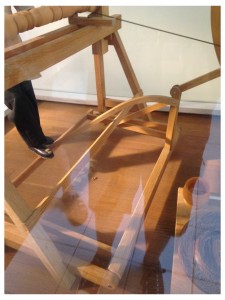
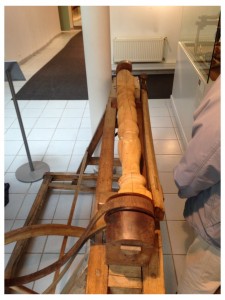
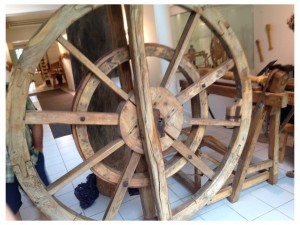
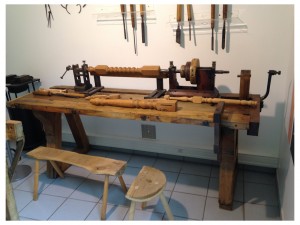
Before Electricity – French machine tools that were/are human powered
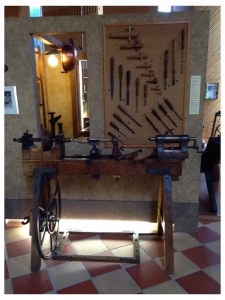
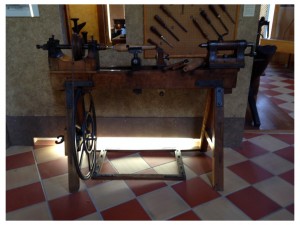
As we have traveled a bit here in France, I have drug my wife, son, in-laws, and friends to dusty museums and shops to see some amazing examples of traditional French woodworking tools and machines. These bits of pre-electric woodworking gems have been covered in beasage, wabi-sabi and love. Some were almost pristine, looking like there were used the day before and a few are shadows of their former-selves, but beautiful none the less. There are lathes, marqueterie saws, Saw-tooth sets, sharpening stones, carts, presses, saws, etc…
One of the most prominent things I noticed were all the different mechanisms for making the different lathes go ’round: peddles, treadles, hand operated flywheels, waterwheels, and bows.
Enjoy
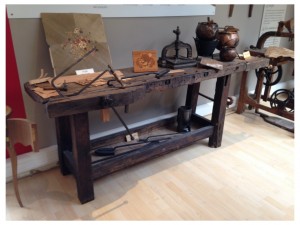
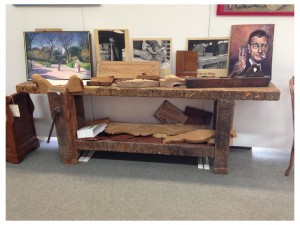
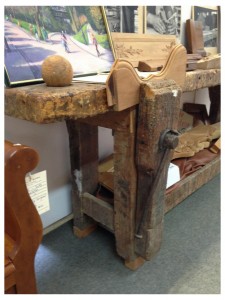
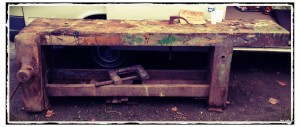
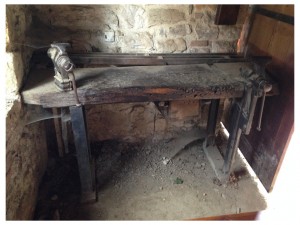
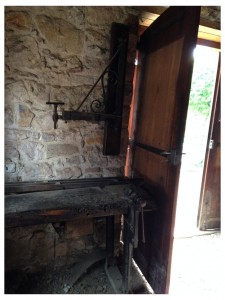
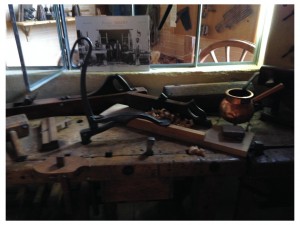
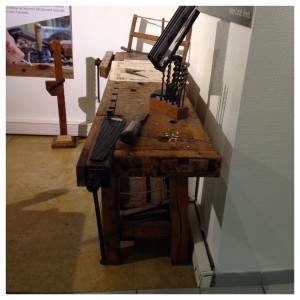
Historic French Work Benches
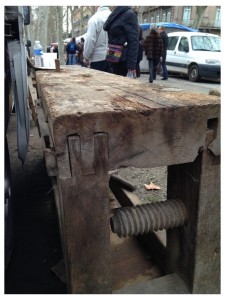
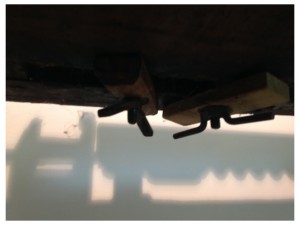
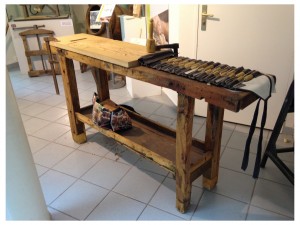
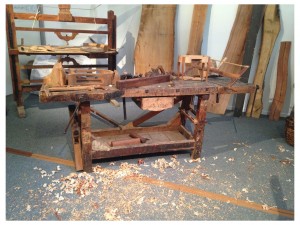
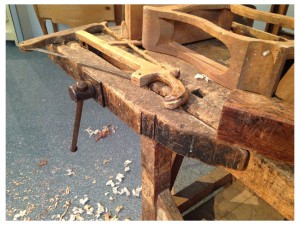
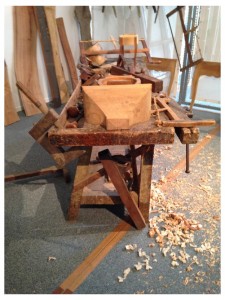
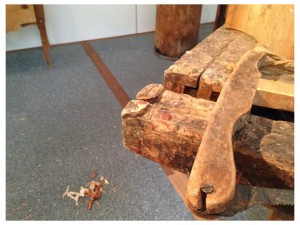
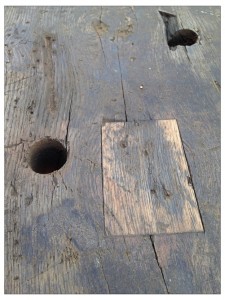
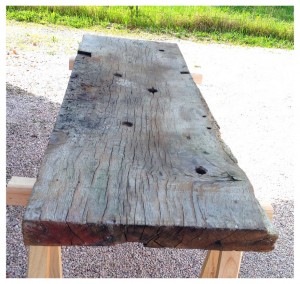
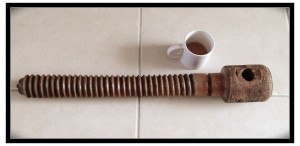
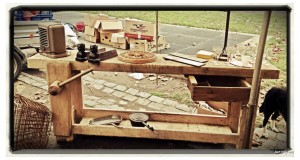
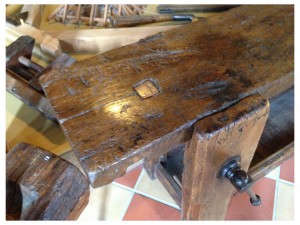
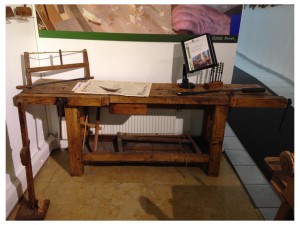
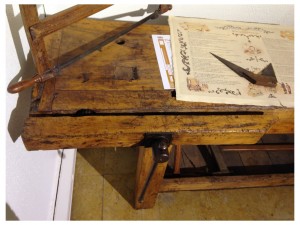
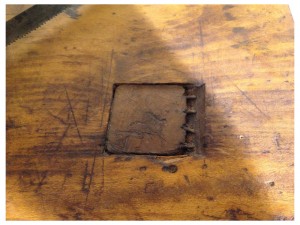
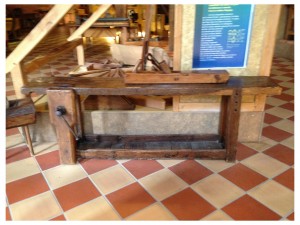
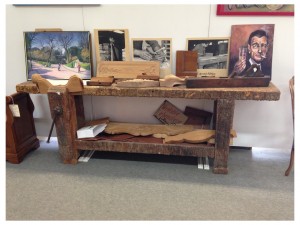
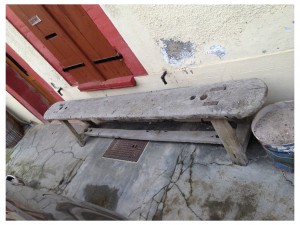
In the 7 months I have lived in France, I have seen some amazing examples of traditional French carpenters’ work benches. They are full of tool marks, tool trays, attachments, vices, dog-holes, studded plane stops, nicks gouges patches, etc… Some are almost pristine, some covered in 100+ years of marqueterie glue, and some rotted – full of worm holes. One some you will see the standard “French” leg vice and others have a parallel top vise – also don’t know what to call it – is a southern French/Basque sort of thing. I asked a local “old guy” here and he said was a “thing” here. That is the direct translation 🙂
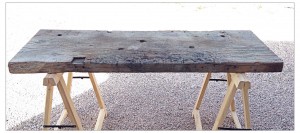
Almost all the benches I see here are slab benches and a number are slab benched with a thick dadoed plank bolted to the front edge to provide square dog holes.
As a man who appreciates such things, as a joiner in the process of building my own bench, and as a tourist in a foreign land I have been busy with my camera. 🙂 Below is a data-dump of some of the better benches and details that I have seen so far. I will update as I see more in the “wild.”
Side note: I bought a couple and am having the gassed (wood worms are serious here!) and will be bringing them back to the US when we rotate back in a couple of years – one for the house and one for the shop (tall oak slab for dovetail cutting) and IF there is any room in the container I may bring back a couple more – just because my wife hasn’t said no :-).
Chopping Block Kitchen Island – IKEA Hack
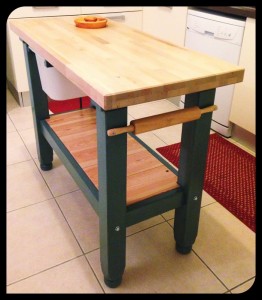
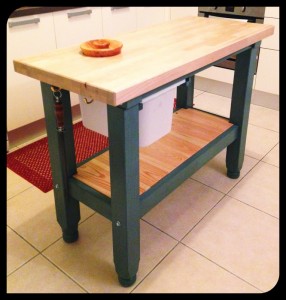
Stamps-With_Foot has wanted a chopping block island for years. Our kitchen in Seattle just didn’t have the room for one, but the kitchen in France was PLENTY big enough. I looked into taking some 5/4 maple and gluing it up for her, but without a table saw and a power planer it would have been REALLY difficult. We found a couple that were already built, but they were between 400 and 900 Euros. No.Thank.You. After some deliberation, I decided on an IKEA island – the Groland. Stop Laughing and put down the stones…
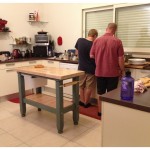
While my son (The Ruminator) was here in France on his summer vacation, we bought one in a box, strapped it to the top of the car, drug it home, and started putting it together. I couldn’t leave it stock though, that is just not how I operate 🙂 We added a few flourishes to make it “better.”
1. Turned the legs on the lathe to give it bun feet
2. Glued it all together and added some extra dowels for reinforcement
3. Removed the steel rods on the original and plugged the holes with Dowels
4. Painted the base with a Sea Green Milk Paint
5. Added an additional block section to the bottom of the top panel – to make it super-solid
6. Cut a 6″ hole in the top for sweeping scraps off the work surface
7. Put a large plastic bin – removable from both sides – under scrap hole
8. Bolted rolling pin to one side to towels and placed 2 brass hooks on the other side
9. Scrapped the wood lattice bottom panel and used 7/8″ tongue and groove clear pine decking boards instead.
10. Polyurethaned the top – 5 coats – and bottom shelf so they match and make the painted base “pop”
11. Took a hunk of cherry tree trunk and turned it down as a lid for the scrap hole.
My Son and I had it installed just in time for my chef Father-in-Law, The Chatty Buddha, to visit and whip up a few fine meals using it as a work platform
GROP update – French Cleats
Since I live in France, it only makes sense for me to have a shop organization wall that using French Cleats. I have wanted to do it for years, but just never found the time between house and furniture projects when we were in Seattle.
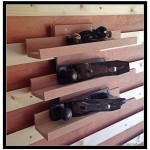
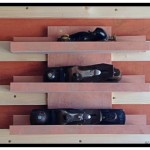
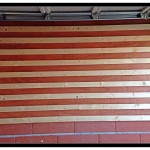
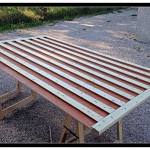
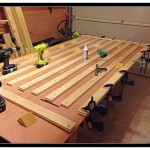
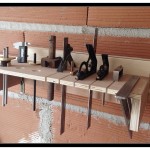
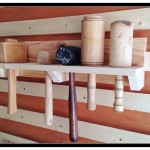
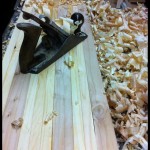
I ripped down some pine sub-flooring that came from the local French Big Box (Leroy Merlin), cut the edges at a 45, ripped the board in half, and glued/screwed them to a section of 1/2-ish (13mm) plywood. Exterior water-based poly was added to both the back and front before it went up on my clay-block garage shop wall with 8 large anchors. For my first French Cleat accessory: I had three small cut-off sections left from a picture shelf wall I did in my home office that I tacked to section of scrap ply to hold my #5 1/4 Jack, #4 smoother, and a couple of block planes. I keep the rest of my planes in a chest, but I use these constantly and wanted to have them in reach. I was so happy with how it all tuned out that I started building all sort of other holders and organizers: ones for squares, chisel rolls, Mallets, cords, apron hooks, saw horses, clamps, Japanese saws, etc… I ringed the garage with a single cleat about 6′ up for all sorts of diabolical organization plans, then hung two more above the lathe so that I would have a place to suspend my lathe chisel rack that is currently in progress and for a spot light that shines down on projects as they are turning.
I will update and post as I add new stuff.
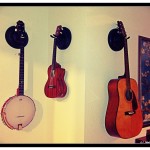
Guitar and Ukulele wall mounts
One of the last things to deal with at our place in France was all the stringed instruments propped in corners or laying precariously on top of furniture. I wanted them out in view so they would be played instead of put in a closet somewhere, forgotten about. We want a home that is filled with music and if there is a loaner guitar or uke (LOVE the ukulele – have two) about, someone is going to pick one of them up and strum a few cords. There is nothing like a cool evening, sitting outside after a BBQ with someone softly playing a tune or two. I looked at a couple of commercial wall mounts that were pricey and didn’t really go with our decor and decided to make my own. I am sure they would look great in a studio and there was one model that would have been killer in my 15-year-old self’s poster-filled bedroom, but nothing I looked at screamed “hand-crafted” or “classy.” I went through a couple of ideas in my head that wouldn’t have really worked out for various reasons before having a light bulb moment while on a work trip in China: scrap wood + my lathe + U-hooks and some silicone tape = sweet instrument hangers that both blend with our home AND that no one else has.
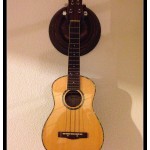
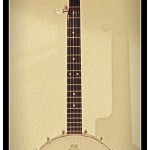
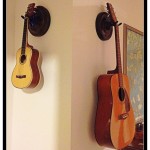
This past weekend (Easter holiday), I cut five octagon blocks out of some left-over 5 inch thick pine timber and rounded the first one on the lathe. It was meant to be a prototype so I free-handed the curves without really having a design in mind before I started. It looked so great after the stain and wax went on that I took it right in and mounted it to the wall. I turned the others all with different patterns and hung them in a living-room hallway that has an awkward corner. They look great there – if my opinion counts for anything. Now there is room for 2 ukuleles, an acoustic guitar, an electric cigar-box blues machine, and a resonator banjo.
I am working on a Uke hanger for my home office as well. I spend 10+ hours on my computer or on the phone and find that it helps if I can take a little break or strum while thinking about a technical problem that is pissing me off. I wouldn’t be able to do that in a cube.
Another Cherry Bowl
I started it out thinking it was going to be a different shape, but due to some spongy fruit-wood, it became more of a vertically sided bowl with a deep finger groove on the bottom. Like the last bowl (and most of my bowls and lids), I turned a little detail in the bottom of the bowl because I think that curiosity should be rewarded. The bowl is again finished off with my own mix of beeswax and walnut oil. I am going to let it dry for a few months and reapply.
]
From tree to bowl with a LOT of sweat in between
I have a colleague that was making over a large section of his property out in the French country-side and he needed a dying cherry tree taken down. It was a big old tree with what looked like lots of good hard wood in the trunk base, so I gave him a hand. I thought I could tun the wood into some nice bowels, mallet heads, honey dippers, etc… and he agreed to let me have some of the wood that was destined for his fire place. Holy Crap it was work – not at all helped by his tiny electric chainsaw. It made me long for my 30″ bar, 2-stroke beast back in my Seattle garage shop.
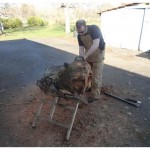
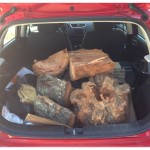
After cutting 2 good rounds and trimming up the root ball, I split the rounds in two, then put 200 pounds of wood in the back of my tiny Suzuki Swift and hauled it home. Into the garage it went and the wife and I were off to the Saturday Market. I came back to one of the rounds on the next night and decided to prep it for turning. With my Japanese hatchet and hand saw, I worked it into an octagon-ish shape. There was a lot of rot in the outer rings and the sections did not make as large of bowls as I had hopped, but the root ball will make an AMAZING centerpiece on the table for holding bread or fruit at parties. I am getting ahead of my self a little…
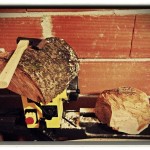
Anyway, the first section was a beast! It took me 3 hours to go from the half-round to the round bowl-blank. I almost threw the hunk down and took it over to my neighbors wood pile while just roughing it into shape with the axe. The wood was SO FREAKING HARD! It got worse when I started spinning the thing! My roughing gouge was super sharp when I started and I had to sharpen it twice again during the initial turn. There was a break in the turning where I built a jig for my turning chisels so that the sharpening angle was perfect every time, but that is a different tale…
I have never gone from tree to bowl before and I wanted to see if I could do it well. Usually, I either glue up hardwood scraps or buy a rough elm or maple blank from my hardwood dealer in Seattle (With the coin I drop at his place, he is most assuredly a DEALER! His crack just has figured grain and tight growth rings…) Anyway, I might should have picked a tree with softer wood for my first time, but how many turners back in the US can say that they cut down a old cherry tree in France and made cool stuff with it?!
I finished up the bowl four nights after I started turning the rough shape. I had to work around some rot and cracks, but the final shape turned out really nice. When someone handles the bowl and flips it over, they will find my makers mark and I turned a little detail in the bottom of the bowl because I think that curiosity should be rewarded. The bowl is finished off with my own mix of beeswax and walnut oil. After two coats, it colored up beautifully. There are a couple of spots where it may split along the rim, but that is just the nature of the wood and that specific piece – it will add character to the bowl. This one was done for the guy who gave me the wood and I will turn a couple later for our house.
I was really proud of how it all turned out and the final product made all the sweat and cussing worth it.
How to make a Chinese wood lathe work “right out of the box”
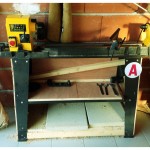
I have mentioned that when planning our move to Toulouse, I realized that I would have to leave my big electrical shop machines in Seattle. It hurt a little as I have become dependent on a table saw and compound miter saw for even the simplest tasks. I am looking forward to spending some quality time with my hand tools, but I have to have a lathe to complete 75% of the projects that I tackle. There is no way in Blue Blazes that I am was going to build a pole lathe or a foot-powered flywheel lathe – there I draw the line. I needed a fairly large machine to turn the posts, trenchers, stools, bowls, table legs, spindles, scoops, etc… that are on my “to-do in France” list.
Machine tools in France are CRAZY expensive. Look at the US price, change the Dollar sign to a Euro sign and add 30% to the final price. I looked at a large Jet lathe and it cost more than my first truck. Even the small midi version was the equivalent of $600. I just can’t spent that kind of cash on something that doesn’t either feed me or take me to work. After some research, I found a bare bones, no accessories, Chinese made model that some of the local turners were buying for their second or third lathe. It was 1/3 the cost of a well appointed model with the same bed length and power. Sold. I brought all my chucks and jigs and accessories with me, so I thought “Perfect!”
There wasn’t one available in a 400 mile radius, so I had to order it at the home center in the next village over. 11 days later it showed up and I brought my new 400 pound beauty queen home in a Suzuki swift. I am sure the douche-bag that stood 10′ from me watched as I man-handled it into the rear hatch of my tiny car using old tires and 2X4s has already posted the video.
Now, it was advertised at “Ready to turn out of the box!” For that to be true you need the following tools:
- Rubber Mallet
- 1/2″ combination wrench
- Set of standard Allen wrenches
- Flat-head screwdriver
- #2 Phillips screwdriver
- 3/8″ drive ratchet
- 1/2 socket
- Long socket extension: >6″
- Standard Tap and Die set
- A large vocabulary of cuss words
- Drill
- Metal Drill-bit Set
- Large Bastard File
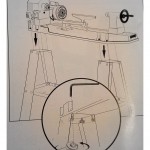
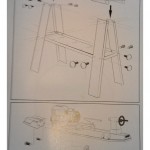
You will also need the following additional parts as the bolts and washers provided were likely scooped from a bin without counting and dropped in a bag. There are only two small pages of instructions and they do not list all the parts, the number of each that will be required, or the order in which they are installed. Take examples of the bits and pieces provided and get duplicates in the same size:
- Washers
- lock-washers
- pan head bolts
- Machine bolts
You will also need:
- four 8′ long 2X4s
- Wood Glue
- Sandpaper
- Pan-head wood screws or deck screws
- 4 sacks of concrete
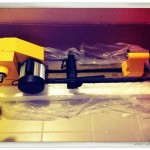
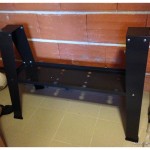
I found out about the hardware issue right away and drove back to the home center in the next village for spares, but I had all of the other supplies on hand – I did not pack light for our move here 🙂 The base was my first obstacle. It was flimsy sheet metal and some of the holes were out of alignment. I drilled and fitted, whacked with a mallet and said lots of dirty words, before I finally got the lathe on. A quick tug showed that the base needed some serious beefing up. If I put an unbalanced piece in it, it would shake apart. I ended up building a crossed braced wooden skeleton for the whole thing – my Jr. High Wood Shop teacher would beam with pride. The reinforcing process took me 4 hours that first night, but that was mostly because I don’t have a miter box saw and was making compound angle cuts with a sliding-T bevel and a Japanese pull saw. I ended up having to chase the threads in the cast iron lathe bed and on the head stock (really) with a couple of different taps and used Loctite on all the bolts.
All the handles and knobs had to be put on and tested and the tail stock and head stock had to be adjusted, tweaked, and tweaked a little more to get them in alignment. The cast iron tool rest was really rough, so I used a file here and there on it and sanded the tool bearing surface and finger groove with progressively finer sandpaper, from 80 to 400 grit. This all took another 3 hours the next night.
After all was said and done, I clamped up a small hunk of 2X4 that was a cut-off from building the base and with just my skew chisel, turned it down and into a bunch of tiny beads. The lathe turns great and has plenty of power. I couldn’t be happier. I saved 800-1000 Euros in exchange for 7-8 hours of me time.
Found Trunk
Last spring (2013), I was at the West Seattle Fruit Market and asked if I could snag an oak pallet that was sticking out of their dumpster. “No worries. Sure. Take whatever.” When I pulled out the pallet, I found an old trunk/chest under it that had the top ripped off and was in sad shape. I almost left it where it was, but then decided it would be good for tool storage in the shop as the top was under the box and all the pieces were there. I drug it all home and after I cleaned some old lettuce and a rotten beet out, stuck the thing under a wing of the table saw where it promptly started collecting sawdust.
While working on my own version of the Anarchist’s Tool Chest a few months later, I decided to fix the found trunk up as well. It took maybe a total of 2 hours was strait forward:
Vacuum job
Removal of the old bent and broken hardware
old hinges from some other scavenged project installed
Top refitted and put on
a little glue was applied to some trim
1″X4″ slats to reinforce the bottom…
A few well-placed screws
From the pieces of left-over pallet wood found on the same day, I glued up some 5″ blocks and turned them down to make bun feet.
Installation of the new feet
a quick light all-over sanding
Two coats of Teak tinted tung oil.
….and done…
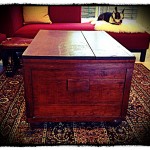
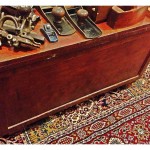
Stamps-With-Foot saw it up on saw horses in the yard and claimed it for the house. Apparently, it was too “rustic & French & crafty” to be vanquished to warrens of my dark little shop to be abused with tools, dirt, dust, grease and boyness. When I first started putting it back together, I found stained receipt from a outdoor store (no date) and a cub scout pin wedged in the bottom. I surmised that this was a young man’s camping/scouting trunk that he or his dad or both built it together. From the construction and the materials used, it looks like it was put made in the late ’40’s or early 1950’s. It now sits in our living room in the south of France and serves as a coffee table and blanket/hammock storage chest.
Film Friday – Chair making – March 7, 2014
This is a long one, but really detailed…
The Sterling Historical Society presents PeterGalbert from Robert McKay Jones on Vimeo.
Tools I brought with me from the old country…
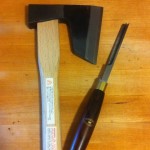
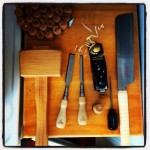
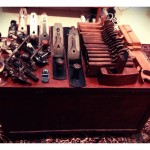
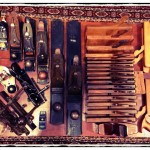
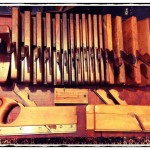
When planning our move to Toulouse, I came to the realization that I would not be able to take my entire shop with me. I didn’t relish the idea of replacing all my power tools and saws with 220vt/60Hz versions, only to have to sell them in a couple of years when we move back to Seattle. I decided that I would bring mostly my hand tools and and spend some quality time working small projects, cutting dovetails, tuning my planes, etc… There were three 24″X24″ boxes and one wooden chest full of edge moulding planes, Stanley Bench Planes, 4 rolls of chisels, mallets, Japanese saws, hand drills, dovetail tools, axes, draw knives, my half set (#2 – #18 even) of 1850ish Gleave hollows and rounds, squares, jigs, rasps, and assorted joinery paraphernalia.
My plan is to use the time here to do the detail work that I am usually in too much of a rush to even contemplate: carved scroll-work, mortised frames, insets, layered stain finishes, edging with the moulding planes, some light carving, maybe even cutting a few linen-fold panels. I have done a couple of little things already, but my first big task is to build a HEAVY work bench so that I will have a proper work space: I am going with a split top Neo-Roubo without a leg vise. I will be installing a cast iron Front Vise and a Screw Vise on the tail of the bench instead. No cabinets underneath so that I can store a shooting board and a Moxon vise. It WILL BE coming home to Seattle with us.
In the interest of full disclosure: I am not a neo-Luddite – I did buy an orbital sander right after we got here and I shipped my Ryobi 18vt tool set (circle saw, 2 drills, reciprocating saw, flashlight, & jig saw). The same sets are sold here and I got a 220vt charger that works with my existing batteries and picked up a couple of fresh new lithium-ion batteries in the process. Aside from the battery tools, I ordered a large wood lathe so that I can make furniture legs, tool handles, bowls, jar lids, platters, etc. I brought all my lathe chisels and chucks with me and I got a model that uses a DC motor that I can change over to one that runs on US current when we move back. It is much larger than my lathe in Seattle and will be a valuable addition to the shop there when we return.
France – The first 30 days.
Still Love France.
My French has gotten SO bad.
I did forget how slow things are to get done here.
You want a buy/lease a car? Three weeks-ish.
You want cable and internet? 1 month.
Want it to work? 1 more week and 14 phone calls
Love my J-O-B
No such thing as coffee to go… even if you get it in a tiny paper/plastic cup, there is no lid.
Really like the house here. The 16″ thick concrete walls and steel shutters give it a homey crypt-like feeling.
Miss our house in Seattle.
There are doctors who speak English, but their receptionists who book the appointments don’t…
You want groceries on Sunday? Nope, not going to happen
I also forgot how amazing the eggs and meet are.
Want to sit and have coffee and talk to my mom, miss that.
Bread goes with EVERYTHING! Awesome bread.
Having a really hard time finding a shop that sells wood lathes – only power tool I want/need here.
The weather here in winter is better than summer in Hamburg.
Miss my furniture. We have been “Camping” since Halloween and I am about 99.9999% done sitting on the floor to eat my dinner.
Want my tools like a junkie wants their cooking spoon.
Stamps-With-Foot is buying enough cheese to make the regional sale figures blip.
Our dog< Brodie, has fully integrated and will cop a squat in the middle of the street, sneering at anyone who dares to question his right to do so.
He goes to restaurants with us like he is a little prince.
The wife slips him duck breast, cote of Beaof, and aged cheese under the table.
I had 2 glasses of $4 wine that we bought at the grocery store with dinner tonight.
It was awesome. No, truly.
Wish my kids were here.
I miss Starbucks, but I have a Killer espresso machine in the kitchen.
Can now watch Netflix and BBC One with country specific VPN accounts - sticking it to the man!
Miss my bikes. Can't wait for them to arrive next week (insert giddy face)
The designer dog food here is sold in breed specific bags - really. It is crap, but it is packaged well.
I have lost a little weight because I am not eating crap and started running again.
Very, very nice wooded trail near house - miles and miles long.
Flying to Florida for work next week and am bringing home coffee beans, dry dog food, and Cajun Seasoning.
Packed an extra duffle bag...
Went for a drive in the country today and happened by a 16th century chalet with turrets and a moat about an hour form the house.
The thought of Stamps-With-Foot driving in France scares the Hell out of me!
Life is damn fine on the whole.
Kitchen Cabinet Work Update
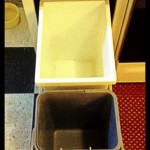
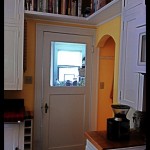
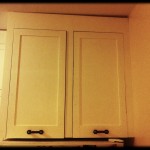
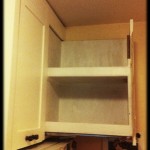
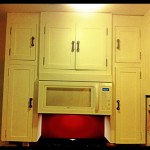
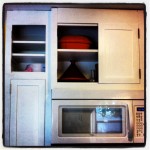
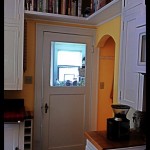
There was a flurry of activity to get our kitchen done before our move to France. I got it 99% of the way – with serious help from Mr. Flood and my sweet wife. It just needs a little paint on the overhead fridge pullouts, slight pull-out slide adjustment and the installation of the custom milled and matched cove molding. That will all keep until we get back to Seattle though. My mom will be able to cook in there just fine as-is.
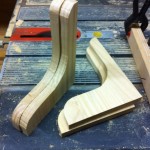
I feel that the upper cookbook shelf ties the old and new sides together and adds that part of the overall kitchen that was missing. The shelf also seems to lighten up the space a little as well. The wine rack was put in specifically for my wife. It started as a discussion in the breakfast nook one mid-morning, transitioned to a napkin sketch, and four hours later, the carcass was built, bottom brackets cut, and block top was in the clamps with the glue drying. After the paint was on and top installed, my wife swooned. It made me smile from ear to ear!
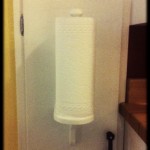
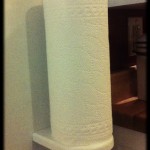
The paper towel holder was a bit of a conundrum. With low upper cabinets, there was just no good spot either on the counter or under the cabinet. I toyed around with a couple of ideas before I decided to mount the paper towels on the old ironing board (now spice cabinet) lower door. I used some scrap popular and turned a section of oak down on the lathe for the rod. It is inserted all the way through the shelf and both wedged and glued in place. My grand kids will still be able to use that towel holder when they are my age. yes, I over built something again… On the brighter side, the paper town holder bracket, the small round shelf brackets, the cookbook shelf brackets, and the wine rack brackets all match, again marrying all the different kitchen elements together.
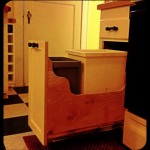
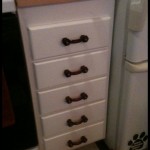
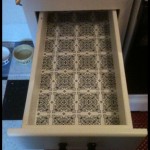
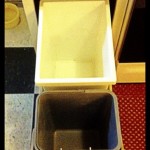
Almost as important to her as the wine rack was the trash and recycling can drawer. After it was in and painted I caught her pulling it open and closing it over and over with a giggly smile. The curves on the side match all the shelf brackets – I couldn’t help myself.
A Few Turns of the Lathe
After our house was packed up and loaded on a container-ship bound for the Panama Canal and on to the Port of Marseilles, the only tool I had were my lathe chisels, so I made use of the time and spun out a few odds and ends: a few cord pull handles for the florescent lights in the basement. two jar lids for Stamps-With -Foot, a wooden pestle (2 actually) for kitchen herb grinding and a short honey dipper for her as well.
From the same section of wood as the pestles, I turned some small bun feet for Brodie’s new food & water bowl stand. I re-turned my ash carving mallet to change the handle profile and add some ring details. As I was in the mallet mood, I made general use wood working mallet for my brother-in-law out of a Baseball Bat and reused the bat’s pommel and turned it into a foot massage nubbin for my wife. I got points in the ledger for to wife-specific items. Always a good thing.
Kitchen Update – September 2013
We are in the home stretch in getting the kitchen done! Holy crap, it has been a long road. I am so close that I can FEEL the end coming. My hope is that I do not get penalty points from the wife for finishing it just before we move away for a couple of years…
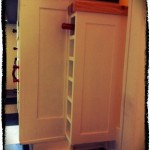
The recycling/trash pullout is 95% done – it just needs paint. The two above-fridge pullouts are in work and should be ready to go in by next Monday-ish – I just need the good weather to hold a little longer. There are 2 toe-kick drawers to paint and install. The new cookbook shelf and the little 6-bottle wine rack (Made block top) that I popped together are complete (wife loves!) and the shelf really marries the two halves of the kitchen together. We have spent 4 years moving a cheap paper towel holder around the kitchen and it is constantly in the way. I decided to build a new one and mount it to the lower spice cabinet door and spent an hour with the lathe, jigsaw, and router to make a holder that matched the rest of the kitchen. Stamps-With-Foot will prime and paint it tomorrow.
I will install the majority of cabinet pulls tomorrow night, but we need 12 more red glass handles for the remaining cabinets so that they match. There is still painter’s caulk and 1/4 round to go on in one spot and I have finally sourced 40 feet of matching cove molding for the tops of the new cabinets – by sourced, I mean I am making it on the table saw. So close….
Hanging out in our ‘hood this weekend
We had a quiet West Seattle weekend: Friends over on Friday and we all drank no small amount of great Italian wine and ate the last of our French Comte cheese. I worked around the house and in the shop (me and the lathe are friends) Saturday morning while Stamps-With-Foot nursed a touch of a hangover and snuggled with the Brodie – He didn’t complain. Sunday was lazy with Brunch at Meander’s in White Center (Go For the Chicken and Waffles!) and afternoon coffee at C&P. After coffee and reading, there was a trip to Trader Joe’s, home for left-overs, some quality hottub time, and then we finished the evening with glasses of port, sitting in front of a fire.
Cutting trees down and making stuff
Shortly after we moved into La Maison du Talley, we cut 21 trees out of the backyard. There was only one serious tree – a 40′ cedar – and the rest were smaller Bay Laurels and Vine Maples that were blocking any possibility of sunlight reaching the ground. I kept some of the larger, straighter sections of the small trees and put them in the loft of the garage to dry and season, hoping that I would eventually make stuff out of them. That was three and a half years ago and while spring cleaning in the garage/shop this weekend I decided to take a little break and mess stuff up again 🙂 I pulled a couple of sections down and cut them to manageable size with the chop saw. I knew exactly what to do with pieces.
We have a neighbor who is crazy helpful and has a passion for dahlias. He grows and shares them with the whole street and has helped Stamps-With-Foot litter the edges of the yard and flower beds with them. She loaned him the bulb planter early this spring and he loved it. He had somehow gone through life as a gardener and just never tried one. I decided to make him his own with graduated depth gauge marks and a matching mallet to drive it into the odd patch of hard ground. The planter is made from a section of the vine maple and the mallet is turned from a hickory Little League baseball bat that I bought for $2.00 at Goodwill. The maple was super-dense and I counted 21 very tight growth rings on it. It grew in the shade under larger trees for all that time and that made it an especially hard and nice piece of wood to turn with sharp chisels – the wood shavings and tailings came off in long, thin, lace-like strips. An absolute pleasure to work with.
Since I was making sawdust already, I decided to keep going: The wife and I are planning to make some/most of our Christmas gifts this year. I have already started and added a few mallets for the woodworkers in my life (I am not spoiling the surprise – none of them read this blog…). I also turned a garden mallet for Stamp-With-Foot from a section of Laurel tree (her name-sake). I added the burned striped bands at her request after she saw her’s beside the others and got mallet-envy.
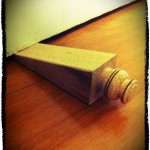
Just before my wife stomped out to the shop and MADE me come in for the night, I took a hunk of red oak that I have had for 10+ years and turned a couple of fancy door-stops. Since we live in a house built in 1928, the doors have a mind of their own and a well placed wedge keeps a person from walking into the edge of a door in the middle of the night. I will add some tung oil and a few coats of satin poly this week to finish them up.
Film Friday – Metalwork Double Feature
A Seattle Bike builder:
The Builder – Max Kullaway from Loaded Pictures on Vimeo.
High speed, extreme magnification of metal being cut on a lathe:
Film Friday – Farm Lathe
The Wood Turner from Elliott Forge on Vimeo.
Roller Derby, St. Paddy, Dresser Building and an Anniversary Weekend
This weekend was busy with friends, a dinner out, St. Paddy’s Day activities, an outing to the Roller Derby (?!), and the 9th anniversary of the day that my sweet wife and I met was on Sunday. Even with all that, we still got bunches done around the house: Our under-bed dresser finished, bathroom table drawer installed (a little work on that left), wine crate storage boxes made, basement lighting installed, and the basement work bench is moving along.
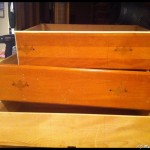
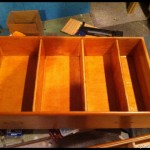
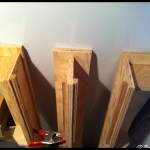
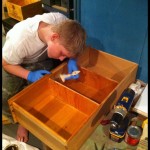
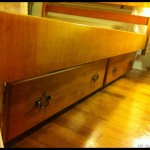
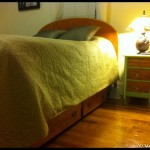
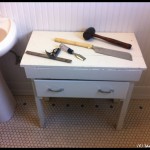
The drawers for the under-bed dresser and the one for the bathroom all came from a wooden donor-dresser that my father-in-law drug home from a garage sale last summer. He paid $4 for it and it was in pretty bad shape, but it was solid wood and had potential. It was mistakenly left in the weather (plastic cover leaked) for a month before I salvaged the drawers, cut out off the top and used the sides for kitchen cabinet door panels. I re-squared the drawers, added dividers in the fall, and over the Christmas break sealed the insides (The Ruminator helped). After lots of filling and sanding and more sanding, I stained the fronts to match our bedroom furniture, then built ¾” plywood beams to hang the drawers from bed frame and used some scrap oak flooring as drawer guides/runners. The final product really looks good and is super functional. While some husbands bug their wives by filling the house with brought-home junk – I give my wife more and more and more storage and organization space.
On Sunday, I put the final coat of finish on the basement workbench top, let it dry, and then installed the three runs of aluminum t-track. Stamps-With-Foot bucked up and helped me wrestle its 200 pound beech and maple mass onto the steel base. I secured it with screws and covered the top with carpet squares while I finish the upper shelf/cabinet. I installed a outlet power strip under the main body of the topper and removed the old drawer dividers. I will soon add a plywood back with a mirror, a light under, a dedicated air supply line, install the desk drawers under the bench and mount 4 reclaimed letterpress drawers directly under the top as well. Happy with the progress so far.
Basement Bench and Winter Workshop
I have found that my workshop productivity goes way down in the winter/the six months of Seattle rainy season. My garage shop is small and quickly fills with material, lumber, tools, and projects. To add to the handicap of the small size, the lack of heat means that I can’t do any finish-work because of wood humidity, shrinkage/swell, and moisture. I have made do in the unfinished side of our basement for the past three winters, but I am done my wife is done with the mess and clutter and my bitching about an inadequate work area when the weather turns crappy. I need a little bit of dedicated space that I can work on the small stuff year round that doesn’t require power tools and a little bit of assembly/finish space where I can glue and clamp some projects up, a solder station, a spot to reload ammo, work on my bikes, and a clean/dry/warm space to apply stain or a hand-laid finish coat. Add to this my current want of a small metal lathe and mill and I will have the makings of a nice little hobby shop from which to launch my plans for world domination …er, I mean a spot where I can make small parts, solder, or tinker.
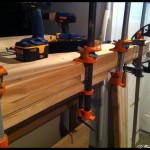
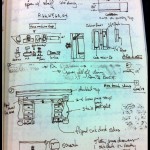
Anyway, instead of buying a crazy expensive cabinet bench or making do with a thin metal and partial board Home Depot bench, I have decided to build the sturdiest all-around hobby bench that I can with the funds and material I have available (~$130.00), add some really nice features (aluminum t-track, lots of drawers, removable vises, power, lights, etc…) and make it into a finished piece of furniture that I will be proud to sit at and show off to friends for the next 30+ years. To start the process off, I found a cheap older thick steel framed 6′ workbench at Second Use that I felt would make a bombproof, rock solid base. I sourced a used IKEA cutting-board counter top that I cut down to the appropriate size and then used the trimmed pieces to add thickness and rigidity (I am still going to add some angle iron). I thought about and sketched 3-9 different ways to add some shelving and some organization to the top and was still tossing around options in my head when a realized that an old buffet that my mom had just might work. I took some measurements and looked into reinforcing here and there and realized that not only would it work, but that its style would set the tone and color for the entire bench build.
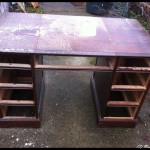
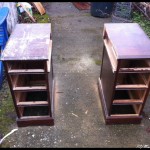
I decided that the drawers to be added under the bench top needed to be narrow and at least partially match the newly planned top section, so I looked for an older desk or vanity that I could cut apart. I struck out at Goodwill, the Salvation Army, and Craig’s List, but Second Use came through again and hooked me up with exactly what I needed at a decently fair price, well decent after I haggled a bit…
The current state of the build is that the bench top is 2/3 done, the desk is cut apart, the steel legs are up and in place and I am 1/4 of the way done with reinforcing the buffet/top shelving unit. I will update the build as it is completed and share some more pictures.
Film Friday -Skills that I wish I had
My lathe and my personal skill set are not up to this task… I was duly impressed!!
Making of a Shade from Soren Berger on Vimeo.
Film Friday – MAD Lathe Skills!
Watching this video took away every excuse I have ever had on why my projects don’t tun our like I want them: “My Lathe is old,” “My Chisels aren’t right,” “I need a new jig,” I don’t have quality oak/maple/mahogany/black palm/koa to work with,” “The tool rest I use is crap”… Nope, I now know that every one of those phrases was complete and utter ego-protecting crap. Watch what this Moroccan craftsman does with a medieval bow lathe, a skew chisel, cast off wood, and his toes(!!). I am humbled.
A bowl and a mallet
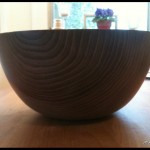
I few weekends ago I spent some hours hunched infront of the lathe just playing with shapes and chisels. I came away with a much needed maple carving mallet and a large elm bowl for Stamps-With-Foot. She was all smiles when I presented it to her and turned it in every direction to see all the detail. There was some kissing. The mallet is now in my shop and I have used it for some clean-up chiseling on some trim and the bowl is sitting on our kitchen table filled with fruit and the first roses clipped from our bushes this year.
I find that if I spend a whole day in my shop and come out out with a little something that either makes the wife’s day easier or something that she has requested fixed I can get away with walking into the house covered in wood chips and sawdust. A hour or so of labor is a fine trade for 8+ hours of shop-time were I am not penilized for not mopping the kitchen floor, washing dishes, or cleaning the toliet.
