Film Friday – Recycling Sawdust and Wood Chips

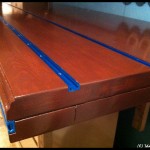
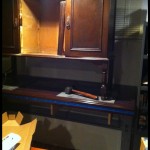
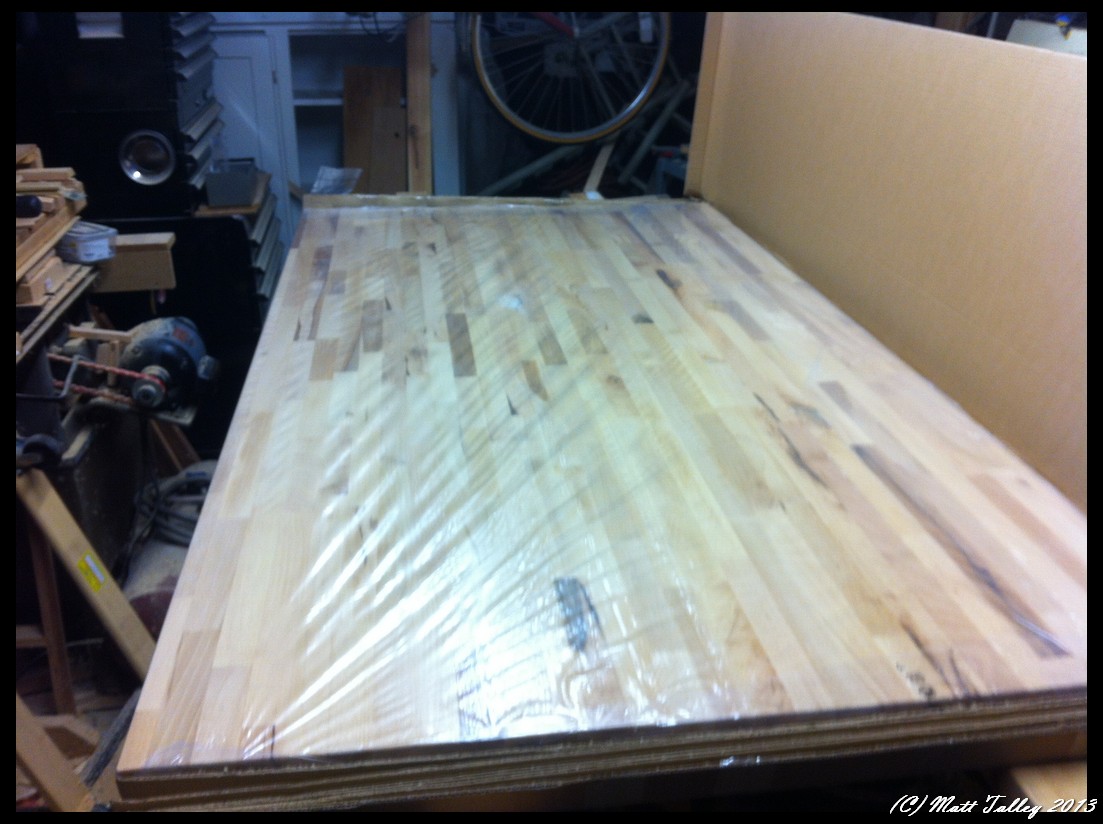
I spent last weekend in Portland, Oregon and happened by a custom furniture shop downtown called The Joinery.  The workmanship of their wares was terrific and the sales staff was really accommodating.  They knew I wasn’t going to buy any of their very nice pieces and yet still explained their ethos and process, details of the builds, and even let me wonder around taking a couple of pictures.  If Mid-Century to Japanese Fusion to 21st Century Modern is your thing and you are as allergic to IKEA pressed wood crap furniture as I am, them look them up and see if they have a piece of furniture that you have to have to fill that void in your living-room/soul.

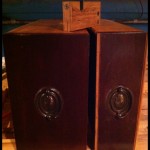
Aside from their furniture, they had a display of pressed hardwood sawdust pucks – making furniture produces some waste and normally this sawdust goes to landfills or in my case, used for mulch and compost roughage.  Their display piqued my interest and I started asking questions. The Joinery and like establishments produce exponentially more sawdust than my little shop does, so their way of dealing with it is that they have invested in a sawdust briquette press that makes these hardwood hockey-puck-ish sized briquettes that are burned in pellet stoves, regular wood stoves, or fireplace inserts to provide heat.  There is no glue or bonding agent used, just pressure from a hydraulic ram-press keeps the pucks together. The shop goes a little beyond expectation though and GIVES THEM AWAY FOR FREE to the public at their other sales location and workshop (48th and Woodstock in Portland).  I can’t even tell you how happy it makes me to see a company do this.  The shear fact that this is part of their business model makes me want to buy a small occasional table or some such item just to support what they are doing.

I am so turned on by this that I am looking into a small briquette press for my shop.  The ROI time for the model that meets the size/cost requiremnet for me (a UK made press, a couple of Chinese machines, and one Canadian model) would be like 2 years for my limited use, but it would be worth it to me as there is only so much mulch that I and my neighbors can use.  I would like to use the briquettes for some house heat and to heat the shop and green house in the winter, giving away what I didn’t use.  Stay tuned for updates in my hunt and go by The Joinery’s website of shop and support them if you can.

Working on my day off

The house remodel seems to never end…  I will be so glad to just be and live in our space at some point.  We are close, but there are still details left undone – enough that I am trying to concentrate on one room at a time.  My plan is to get each done in turn and then move on to the next.  I wasn’t as successful at that as I wanted to be this weekend as I bounced back and forth between the living room and our bedroom closet, but I did get a ton done.

I installed the upper shelves and corner shelf in the walk-in closet, laminating two layers of 3/4″ plywood for really strong support over a 54″ span and in the unsupported corner.  In addition to using copious amount of glue and screws, I attached the butted plywood edges together with wood biscuits – it is always a fine day when I get to crank up the biscuit joiner.

matt-talley_-notebook_11-2016-3 matt-talley_closet-build_11-2016-2 matt-talley_closet-build_11-2016-1 matt-talley_-notebook_11-2016-2


Almost a year ago, I sourced some corner shelves at one of the local architectural salvage places for less than $200 – far cheaper than what it would have taken me to build them.  They came out of a 1930-40’s house and were painted Christmas colors, but I knew that they would be perfect for our living room, which was stripped of its built-ins at some point in the last 88 years.  They have sat in storage and until this past week when I pulled them out and got some material together to permanently mount them.  Stamps-With-Foot helped me set them in place after I built sturdy bases.  Each of them cover a wall plug, so I am in the process of re-routing the receptacle using armored cable.  I also have to build in an air-return duct under one and that has taken some serious brain power to get right.  I will add trim this week and my wife and Mother-in-law will paint them cabinet white this weekend.

matt-talley_corner-builtin_11-2016-4 matt-talley_corner-builtin_11-2016-1 matt-talley_corner-builtin_11-2016-2 matt-talley_corner-builtin_11-2016-3 matt-talley_-notebook_11-2016-1


While I was at it, I punched out a rubber washer for a pot lid knob.  I made the knob a couple years ago out of some scrap cherry firewood after the original plastic one broke.  The original washer had corroded, so I made a new one and installed it.

matt-talley_new-washer-for-pan-lid

I also took a couple minutes to mount the red glass post topper on the back fence.  It was ordered (along with a spare) months ago and have meant to put it on every weekend since.  There is always an excuse for why I didn’t, so I marched right out first thing Saturday with a tube of clear silicone and finally just got it done.  It is the little victories that keep me going.

matt-talley_glass-post-top_11-16


The yard is now secure for the puppies

I spent my evenings after work this week rebuilding 35’ of fence, connecting it to the corners of the new garage, and installing two gates using reclaimed boards and stringers from the original fence that I carefully tore down back in January.  I reused the screws and most of the hardware, but had to buy 7 new treated posts, 2160 lbs of Sakrete, 4 bolts and two 2x8x10s. Total cost was $160 and 14 hours of labor including the tear down and hole digging.

My neighbor has been INCREDIBLY patient with me, my mess, noise, and building debris.  When I rebuilt the fence on her side of the yard, I tore out some more of the existing, replaced two rotten posts and then leveled the tops of each section to make it look nicer.  There were a couple of solid posts left from the previous fence location – about 2′ from the new garage – that I just couldn’t chop down or pull out so, I leveled them up and built her a simple trellis for honey suckle or wisteria.  I also bought her a $50 Starbucks card as a small ‘Thank you!’.

The back gate and adjoining section is a nice mix of mostly reclaimed and reused hardware, boards, bits mixed with new posts and structural support. I did double up on the facing boards (set on both sides) for some additional privacy as our hot tub is right on the other side.  The gate itself used to be on the opposite side of the yard.  I had to trim it a bit to get it to hang plumb, and move some hardware around a little.  I will be adding an additional hinge in the middle for added support and some face boards on the outside as well, so it gives the same amount of privacy and so it matches the fence.   The whole thing then will get a power washing and a coat of polyurethane in the coming weeks.


Matt Talley Fence re-build 2016 (3)Matt Talley Fence re-build 2016 (2)Matt Talley Fence re-build 2016 (5) Matt Talley Fence re-build 2016 (6)

Matt Talley Fence re-build 2016 (1)

Reusing/remaking old tools

I love me some old tools. I love looking at them, touching their surfaces, using them… Most of my hand planes, some of my chisels, and all of my molding planes are older them my grandfather. I will push people down in a junk/antique shoppe to get to a wooden plane or socket chisel peeping out from behind a Paint-By-Numbers masterpiece.

Occasionally, I find a beautiful tool that is beyond repair and cannot be brought back to life. I lament its loss. There have been a couple of pieces lately that I just couldn’t let go into the burn pile or let sit to languish as food for wood-worms. The molding plane pictured below was/is a 1860s-ish Gleave #8 round and was split and has warped at the split to the point that there was no bringing it back from the dead. So I cleaned it up, applied a little walnut oil, and added a VERY pitted iron to make a key holder for our living room. It subtly tells first-time visitors that a carpenter/Ébéniste lives here.

The 23″ walnut joiner plane, also below, was the property of a C. Wanger, and used just outside the village of Cornebarrieu, France. It bears the marks of his hand on the foreend and his thumb and index fingers have left deep indentions on the tote. It has been repaired a couple of times, the wedge has been cut off and worms got to it years ago. The poor thing is now held together with hope, spit, and a little epoxy. I loved the size and color, so I turned it into a desk organizer for my office.

Before you all start collecting scrap so you can roast me alive for desecrating beautiful tools, know that I rescued them from a fiery fate and have given these tools a useful and meaningful after-life.

Keys 2014 - France

IMG_3450

a couple of saw benches for the shop

I needed a couple of saw benches for my GROP, so I put a together two of different designs. They are both simple, plain and sturdy – no nails or screws, just glue, dado joints, and oak dowels. One is an old V-notch pattern that I have seen 1000 times and the other is combination bench/tool tote of my own design. I made the tote handle of the second one from a baseball bat that was cracked. I turned down the ends on the lathe to make 1-1/2″ round tenons and captured the tenons with wedges and 2 dowels – placed at 6:00 and 12:00 as keys. This permanently locks the bat and will keep it from twisting loose. the Louisville brand is facing up when carried – It adds a little flair to something that would normally be utilitarian and is big enough to carry everything I need to do a household fix/honey-do.

Grop Bench 2014 (1)

Grop Bench 2014 (2)

Roller Derby, St. Paddy, Dresser Building and an Anniversary Weekend

This weekend was busy with friends, a dinner out, St. Paddy’s Day activities, an outing to the Roller Derby (?!), and the 9th anniversary of the day that my sweet wife and I met was on Sunday. Even with all that, we still got bunches done around the house: Our under-bed dresser finished, bathroom table drawer installed (a little work on that left), wine crate storage boxes made, basement lighting installed, and the basement work bench is moving along.

The drawers for the under-bed dresser and the one for the bathroom all came from a wooden donor-dresser that my father-in-law drug home from a garage sale last summer. He paid $4 for it and it was in pretty bad shape, but it was solid wood and had potential. It was mistakenly left in the weather (plastic cover leaked) for a month before I salvaged the drawers, cut out off the top and used the sides for kitchen cabinet door panels. I re-squared the drawers, added dividers in the fall, and over the Christmas break sealed the insides (The Ruminator helped). After lots of filling and sanding and more sanding, I stained the fronts to match our bedroom furniture, then built ¾” plywood beams to hang the drawers from bed frame and used some scrap oak flooring as drawer guides/runners. The final product really looks good and is super functional. While some husbands bug their wives by filling the house with brought-home junk – I give my wife more and more and more storage and organization space.

On Sunday, I put the final coat of finish on the basement workbench top, let it dry, and then installed the three runs of aluminum t-track. Stamps-With-Foot bucked up and helped me wrestle its 200 pound beech and maple mass onto the steel base. I secured it with screws and covered the top with carpet squares while I finish the upper shelf/cabinet. I installed a outlet power strip under the main body of the topper and removed the old drawer dividers. I will soon add a plywood back with a mirror, a light under, a dedicated air supply line, install the desk drawers under the bench and mount 4 reclaimed letterpress drawers directly under the top as well. Happy with the progress so far.

Basement Bench and Winter Workshop

I have found that my workshop productivity goes way down in the winter/the six months of Seattle rainy season.  My garage shop is small and quickly fills with material, lumber, tools, and projects.  To add to the handicap of the small size, the lack of heat means that I can’t do any finish-work because of wood humidity, shrinkage/swell, and moisture.  I have made do in the unfinished side of our basement for the past three winters, but I am done my wife is done with the mess and clutter and my bitching about an inadequate work area when the weather turns crappy.  I need a little bit of dedicated space that I can work on the small stuff year round that doesn’t require power tools and a little bit of assembly/finish  space where I can glue and clamp some projects up, a solder station, a spot to reload ammo, work on my bikes, and  a clean/dry/warm space to apply stain or a hand-laid finish coat.  Add to this my current want of a small metal lathe and mill and I will have the makings of a nice little hobby shop from which to launch my plans for world domination …er, I mean a spot where I can make small parts, solder, or tinker.

Anyway, instead of buying a crazy expensive cabinet bench or making do with a thin metal and partial board Home Depot bench, I have decided to build the sturdiest all-around hobby bench that I can with the funds and material I have available (~$130.00), add some really nice features (aluminum t-track, lots of drawers, removable vises, power, lights, etc…) and make it into a finished piece of furniture that I will be proud to sit at and show off to friends for the next 30+ years.  To start the process off, I found a cheap older thick steel framed 6′ workbench at Second Use that I felt would make a bombproof, rock solid base.  I sourced a used IKEA cutting-board counter top that I cut down to the appropriate size and then used the trimmed pieces to add thickness and rigidity (I am still going to add some angle iron).  I thought about and sketched 3-9 different ways to add some shelving and some organization to the top and was still tossing around options in my head when a realized that an old buffet that my mom had just might work.  I took some measurements and looked into reinforcing here and there and realized that not only would it work, but that its style would set the tone and color for the entire bench build.

I decided that the drawers to be added under the bench top needed to be narrow and at least partially match the newly planned top section, so I looked for an older desk or vanity that I could cut apart.  I struck out at Goodwill, the Salvation Army, and Craig’s List, but Second Use came through again and hooked me up with exactly what I needed at a decently fair price, well decent after I haggled a bit…

The current state of the build is that the bench top is 2/3 done, the desk is cut apart, the steel legs are up and in place and I am 1/4 of the way done with reinforcing the buffet/top shelving unit.  I will update the build as it is completed and share some more pictures.