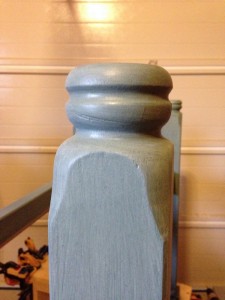
Kitchen Island – Update

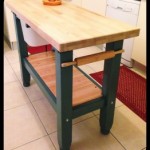
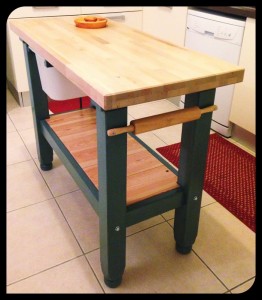
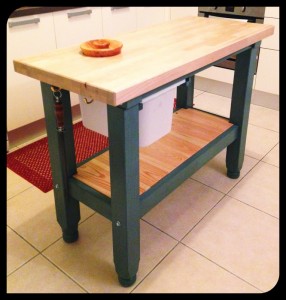
It has been almost a year since I built (with help from The Ruminator) Stamps-With-Foot a kitchen island and she has loved it (so I am told) and used the bejesus out of it.  I made a couple of additions and there are a a few observations:

  1. The wood I used as the base platform shelf was REALLY wet and I put 1/16″ spacing between the boards.  WAY too much.  I should have wedged them in as tight as possible because they have shrunk and now I have 1/8 gaps in a couple of places.  No big deal since it is tongue and groove, but I don’t like spacing that large.
  2. I installed an Arkansas Razorbacks bottle opener on one of the legs.  It was required.
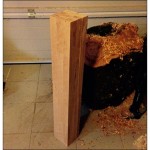
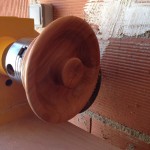
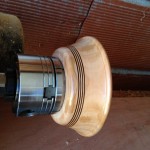
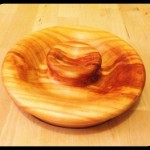
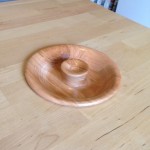
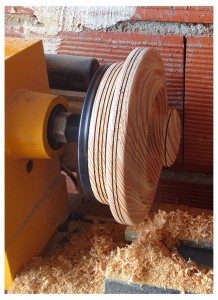
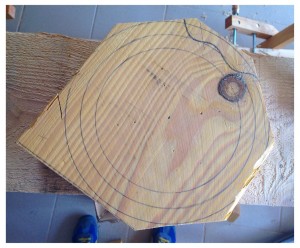
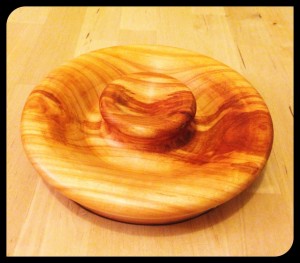
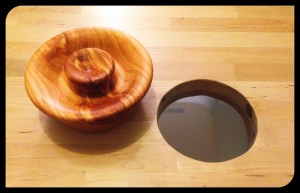
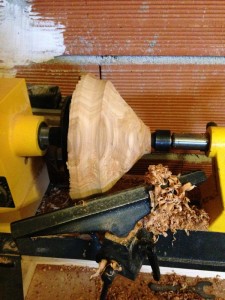
  3. I had used a hunk of cherry tree trunk/firewood and turned it down as a lid/plug for the scrap hole.  I turned it too large since it was really wet and was bound to shrink/warp/crack.  My best guess is that it is done moving, so I put it back on the lathe and turned it down to size and changed the profile a little.
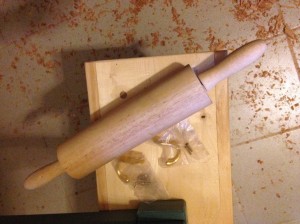
  4. The rolling pin is a great towel holder, but I should have/need to stop it from rolling – the towel slips off and onto the floor occasionally.
  5. I also originally finished the plug with walnut oil, but it gets handled a lot by wet hands and I had to oil it every couple of weeks.  This time I finished it with 3 coats outdoor polyurethane and then added a coat of wax.


Matt Talley Kitchen-Island-France-2014-1-262x300

Matt Talley - Projects 2015_03

Matt Talley - Projects 2015_02

Matt Talley Kitchen-Island-France-2014-2-300x263

Matt Talley - Projects 2015_29

Rainy Day Projects

I spent a few hours this past Saturday cleaning up and re-arranging the GROP. I had bits and pieces of projects strewn about everywhere and I had to wiggle my way in through both the garage door and the door from the house – like I was in need of a hoarder intervention. It just took a couple of hours and only two utterances of the F-word to make sure that my on-going and future tasks were staged for completion and arranged in an orderly fashion.

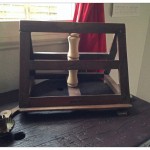
Months ago, I picked up an antique copyist’s lectern (the top part only) taken from a French Abby. It was in ruins and the wood was full of worm holes, but I saw treasure and have planned on rebuilding it “…when I have time...” This is what rain days are for! Running and biking would have beeen cold and muddy, the dogs wouldn’t budge from the warmth of the pillow filled couch, I had already slept late and there was serious wife snuggling, so might as well make some wood shavings!

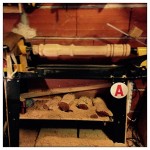
I sketched up a few column profiles in my ubiquitous little black notebook (currently a Rhodia Webbie) and decided on a somewhat simple design that MIGHT have been found when the piece was made. It is not some object of high art – no Gothic arches, no carvings and it seems to have been made for a specific task which didn’t require flourishes. I tried to follow that ascetic and kept it all fairly simple, only using a gouge, parting tool, and skew to work the column. While my lathe is modern, the tools are the same that have been used since the ancient Egyptians turned on their horizontal lathes, so I figure that the re-made version would be recognizable to both the maker and user of the original piece – that and it feeds my own mild form of wood working OCD.

The lectern top is now stabilized and bug free after months of treatment and I spent a little time on Sunday turning a new pedestal out of beech scraps from my workbench build that I had. I glued them all up into a single 5″ X 5″ x 32″ hunk of wood. I then measured and turned matching intermediate supports so that it all blends in as one piece. I need to give it a good all-over sanding before I remove it from the lathe. What I have left to do before I call it done is to replace one book ledge, rebuild (or find at junk shop) the second tin candle holder to match the single original that is left, turn and fit the pedestal base plate, and then everything gets stained and oil-finished to match.

It will look amazing in living room next to the book press with a reprinted copy of one of the four volumes of Roubo’s L’Art Du Menuisier on one side and Viollet-le-duc’s Dictionary of French Architecture from 11th to 16th Century on the other side, tall beeswax candles in the holders… Jesus, I am getting nerdier with each passing year!
Lectern rebuild 11-2014 (1)

Lectern rebuild 11-2014 (2)

Lectern rebuild 11-2014 (3)

Lectern rebuild 11-2014 (4)

Need a trash can lid? Make it on the Lathe

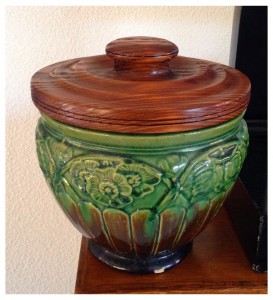
We have a Art Deco flower pot in the guest bathroom that is used as a trash can. is about 9″ high and 8″ in diameter, so it doesn’t hold a lot. However, our new puppy is VERY interested in the contents of that vessel. To stem any possible and eventual messes, I took some pine scrap, chucked it up in the lathe and made a heavy wooden lid. I stained and finished to match the pot. Simple fast jobs like this make it so I can buy new tools without my sweet wife flipping out.

IMG_3436

IMG_3449

IMG_3448

Chopping Block Kitchen Island – IKEA Hack

Stamps-With_Foot has wanted a chopping block island for years. Our kitchen in Seattle just didn’t have the room for one, but the kitchen in France was PLENTY big enough. I looked into taking some 5/4 maple and gluing it up for her, but without a table saw and a power planer it would have been REALLY difficult. We found a couple that were already built, but they were between 400 and 900 Euros. No.Thank.You. After some deliberation, I decided on an IKEA island – the Groland. Stop Laughing and put down the stones…

While my son (The Ruminator) was here in France on his summer vacation, we bought one in a box, strapped it to the top of the car, drug it home, and started putting it together. I couldn’t leave it stock though, that is just not how I operate 🙂 We added a few flourishes to make it “better.”

1. Turned the legs on the lathe to give it bun feet
2. Glued it all together and added some extra dowels for reinforcement
3. Removed the steel rods on the original and plugged the holes with Dowels
4. Painted the base with a Sea Green Milk Paint
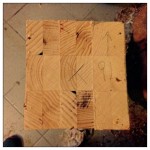
5. Added an additional block section to the bottom of the top panel – to make it super-solid
6. Cut a 6″ hole in the top for sweeping scraps off the work surface
7. Put a large plastic bin – removable from both sides – under scrap hole
8. Bolted rolling pin to one side to towels and placed 2 brass hooks on the other side
9. Scrapped the wood lattice bottom panel and used 7/8″ tongue and groove clear pine decking boards instead.
10. Polyurethaned the top – 5 coats – and bottom shelf so they match and make the painted base “pop”
11. Took a hunk of cherry tree trunk and turned it down as a lid for the scrap hole.

My Son and I had it installed just in time for my chef Father-in-Law, The Chatty Buddha, to visit and whip up a few fine meals using it as a work platform

Kitchen Island France 2014 (1)

Kitchen Island France 2014 (2)

Kitchen Island France 2014 (3)

Kitchen Island France 2014 (4)

Kitchen Island pieces 2014 (1)

Kitchen Island pieces 2014 (3)

Kitchen Island pieces 2014 (2)