Weekend in the shop

I got some serious crap done in the garage and at home this weekend:

Cleaned, swept, and put away tools for over an hour Saturday morning
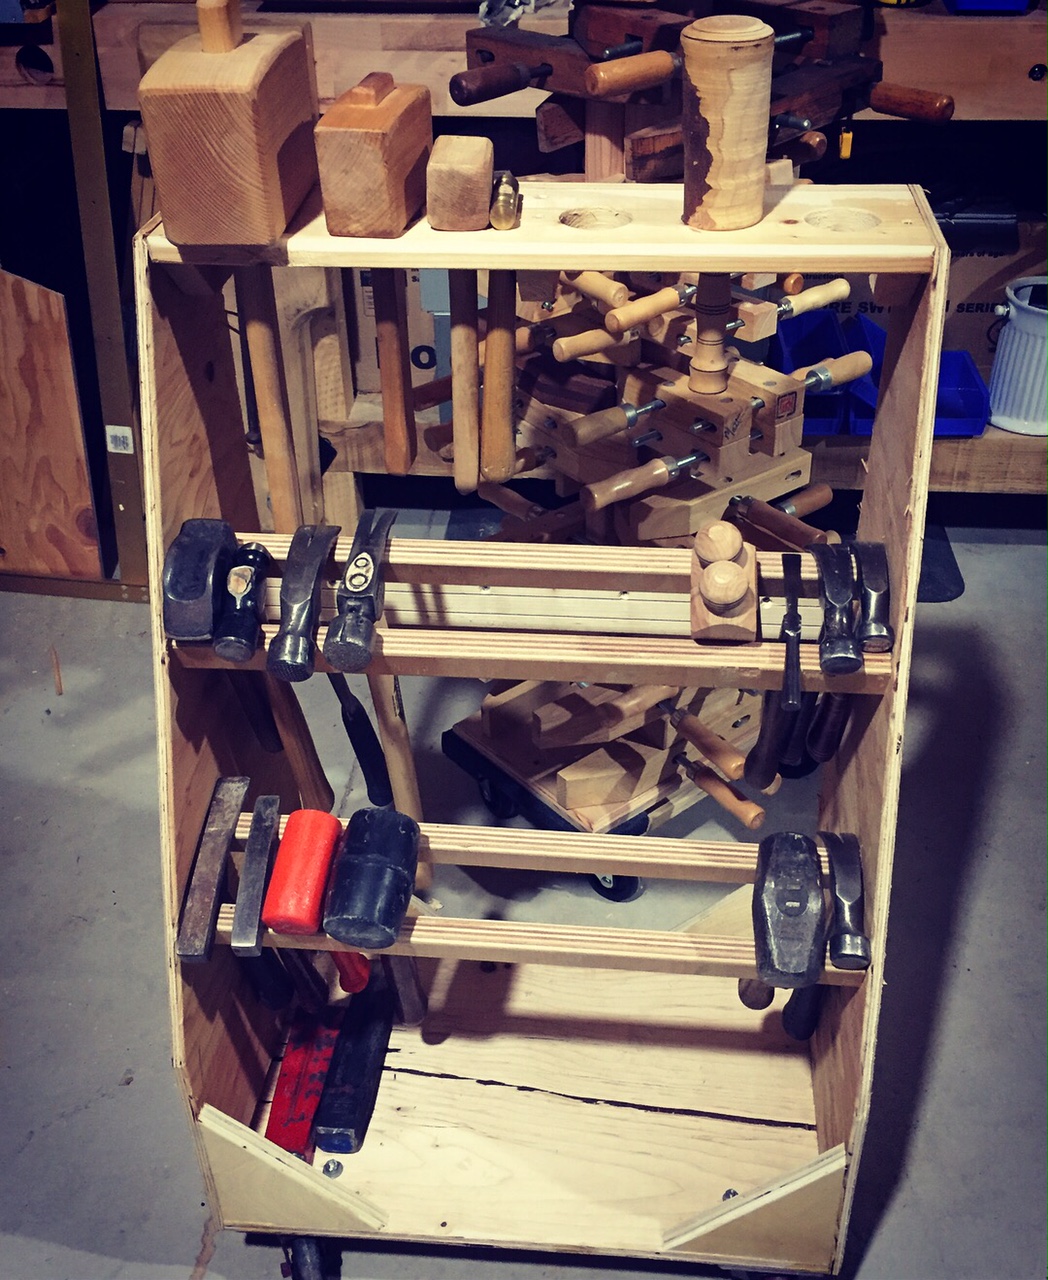
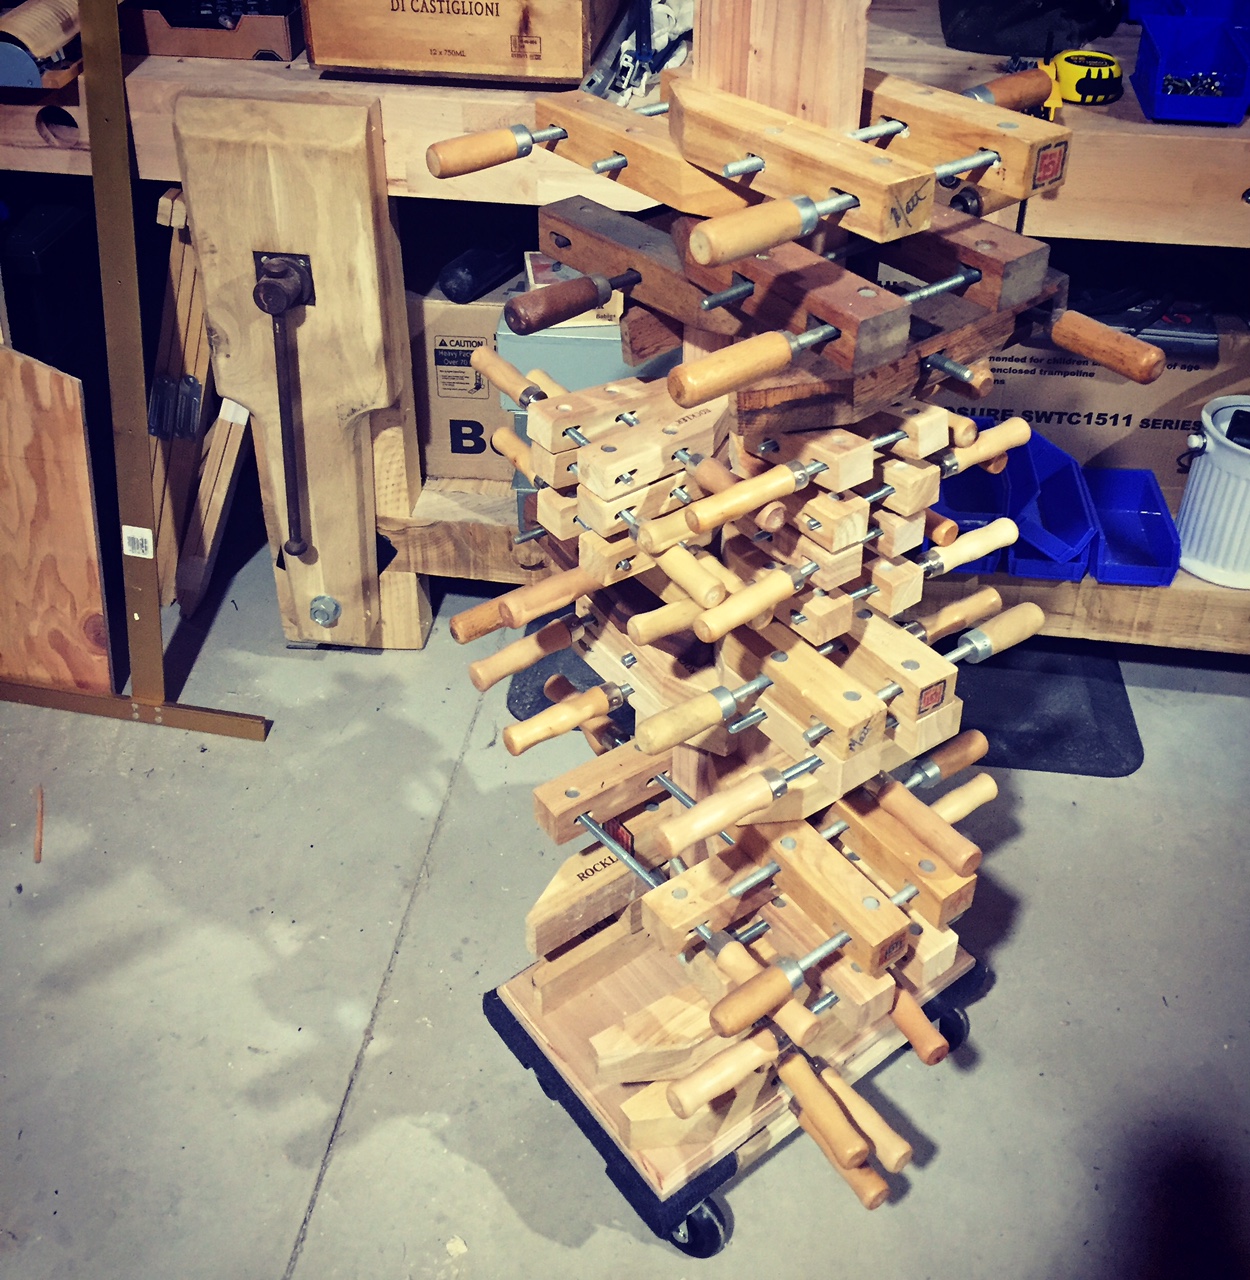
Added wheels to my screw-clamp stand
Built a hammer stand – I have a lot of hammers
Organized 4 drawers on my tool cabinet
Organized a drawer for just camera mounts and cables
Hung 22 small blue U-Line organization bins
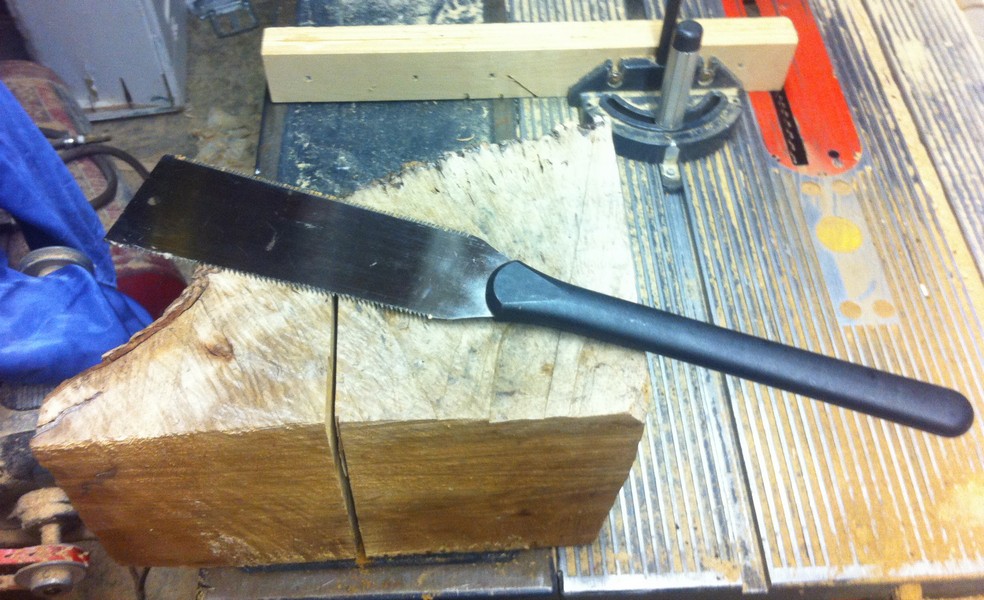
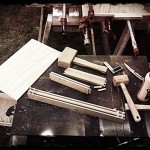
Cleaned off table saw
Installed new table saw blade
Re-tensioned bandsaw
Cleaned off bench for 1st time in MONTHS!
Put all the miscellaneous screws, bolts, and hardware in the proper organization bin
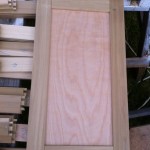
Sanded the carcass for a bathroom cabinet installation
Moved some angle-iron into the metal storage rack
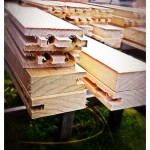
Carried 2 of the 3 cabinet sections in the house
Cranked on the lathe to reduce the diameter of a dowel
Blew 30 amp breaker
Said the f-word at least 3 times
Took a look and original electrician did not fully terminate one of the “hot” wire legs, which led to the failure.
Said dirty words
Drove to Home Depot and back for breaker
Swapped out a blown breaker
Ran 75 linier feet of 12-2 Romex wiring
Installed 12 electrical boxes
Only dropped 1 on my head/face
Installed a couple of runs of CAT-6 ethernet cable for the PoE camera system
Jesus, CAT-6 is expensive!!
Moved some firewood into the house
Built and installed butcher paper roll noteboard on a cabinet front
Re-set wall clock
Worked on chipping hammer re-build
Shot a couple of videos
Sanded a couple spots on the jeep under windshield
Wished I had a bathroom in the garage at 3 different points during the weekend
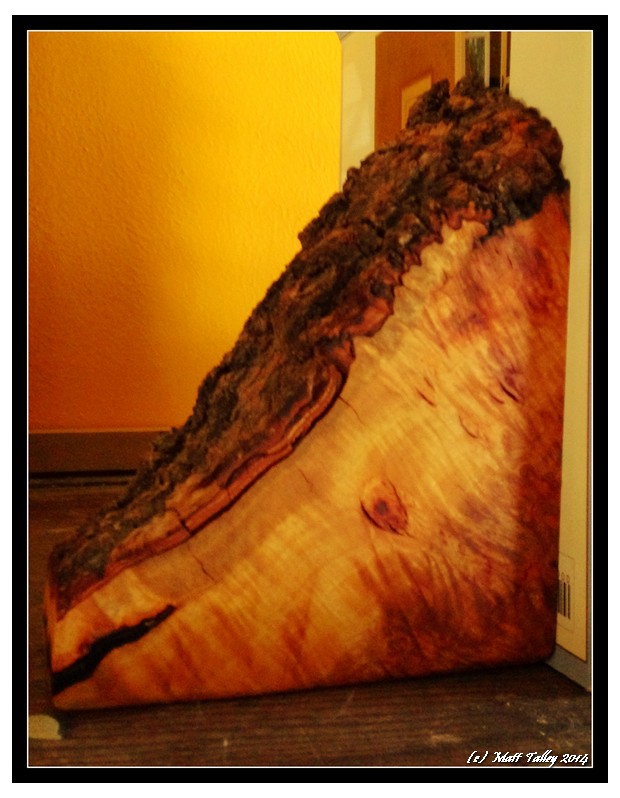
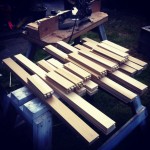
Started on pizza peel build for Father-in-law

Ukulele holder for my office

I have the most of the instruments hanging downstairs, but I spend the lion’s share of my day (sometimes night too 🙁 ) in my home-office upstairs. I decided that I needed a little diversion from my computer every now and then and brought a ukulele up to strum and pick when thinking hard or if the J-O-B gets me down – no one can be unhappy while playing the uke, it is physically and psychologically impossible!

I already had the perfect piece for the task: Last year in Seattle I was playing with some scrap oak flooring on the table saw and I made a modern-ish mount for some tool in my shop that I didn’t end up using. Somehow, it got lumped in with the stuff sent to France and I found it while unpacking some hand-planes. I touched it up a little, added a hanger, and mounted it on the wall under my office window – well within reach while I am sitting at either of my desks (drafting & computer). It looks great and matches my office decor AND I have found my self already absently-mindedly finger-picking while thinking on a problem or figuring out why something isn’t working right.

Last Project in Seattle Shop for a While

Just before we left Seattle for Toulouse, Stamps-With-Foot and I went to San Francisco to secure our French Visas. While there, we spent an afternoon visiting friends and family. At one point, we found ourselves at my wife’s non-biological little sister’s house (Becca) and I noticed a couple of chunks of wood sitting out on her patio. My wood lust made me wonder over and take a look… HOLY CRAP! She had 4 huge chunks of Aromatic Cedar Burl – like $450+ in exotic wood sitting out in the rain. I immediately ran inside and told her to get it on eBay right then. She and her husband found the chunks sitting on the side of the road with the trash and just picked them up. I tried explaining to her how awesome and rare her find was, but Becca didn’t really have the will/time/interest to sell the pieces to some other lumber-jock and I was told to take some home if I wanted it.

I argued.
I tried to tell her how to sell it.
She was firm.
What was I to do??
I packed two hunks into a diaper box, taped it up, and checked it as luggage on the flight home.

The wood was a little wet still, but I couldn’t help myself – I HAD to cut into it to see what the figure looked like. I was a little heart sick on the first cut when my saw hit rotten heart wood. I managed to cut out a few (6) big wedges and a couple of blocks. I sanded one of the wedges smooth and applied a little walnut oil and OH MY!! I do not believe that I have ever fallen in love with a hunk of raw wood before that instant! I didn’t have the time to really do anything detailed, so I cleaned up the two sanded wedges and brought them in the house for bookends and left the other bits to dry and season in the garage until we move back and I can give them a some proper attention. I will make a little lidded bowel for Becca and maybe some bookends out of the other sections for her dad.

Building Custom Cabinet Doors

1. Buy dimensional 3/4″ poplar boards.
2. Plane to uniform thickness.
3. Rip 2″ and 3″ strips on the table saw.
4. Two dado cuts on table saw for 1/4″X 3/8″ panel groove.
5. Run each section on router because table saw is a POS and there is depth variation in all the grooves…
6. Threaten table saw with large iron maul – mean it.
7. Grumble a little.
8. Cut door stiles (sides) to length – Measure opening for stiles, subtract 4″ for stile width and add 3/4″ for double 3/8″ panel slot.
9. Write all measurements down on a non-descript sheet of paper.
10. Put measurements somewhere safe.
11. Take a 2 week to 4 month break because life gets busy.
12. Lose paper with measurements.
13. Tear house and shop apart looking.
14. Give up and re-measure.
15. Cut rails.
16. Lay all parts out and label, check sizing, trim two pieces, and pray a little.
17. Set up horizontal drill press to drill for dowel joints.
18. Screw up at least 4 initial holes.
19. Hit head in shop at least 3 times.
20. Build sweet dowel trimming jig for table saw – let head swell a little.
21. Cut 3/8″ off each dowel (8 per door).
22. Drill 16 holes per door.
23. Sand the cut-off end of dowel.
24. Dry fit first door.
25. Success!
26. Get out every bar clamp, hand clamp, and Quick-clamp that you own and set up clamping station.
27. Find original measurements for doors in the “safe place.”
28. Say dirty words very loudly. Repeat.
29. Add glue to dowels and joints and assemble door.
30. Apply judicious blows from wooden mallet to seat parts.
31. Get glue on hands and in hair.
32. Clamp up.
33. Wipe extra glue on door off with wet rag.
34. Repeat last 6 steps 8 more times.
35. Scrape clue, plane joints, and sand doors with 3 different paper grits.
36. Check and adjust door fit to openings and prime after more planning.
37. Re-prime and paint with two coats of white cabinet paint.
38. Mark, mortise, and install hinges on door.
39. Install red glass pulls.
40. Mark and mortise hinge/door onto cabinet.
41. Check fit and adjust 2 to 9 times.
42. Repeat steps 28 thru 41 eight more times
43. Drink three beers and swear to never build your own kitchen cabinets from scratch ever again!

Weekend Update – 1/7/13

My son was here for a week+ for the holidays and we did cool stuff as he is the Igor to my Dr. Frankinstein. He left on Friday morning and to keep myself occupied so I wouldn’t mope around all weekend thinking about how much I missed him, I busied myself with a few on-going projects:

Underbed dresser – 95% done
Letterpress drawers made into occasional tables – 50%
The never ending kitchen remodel – 85%
Sofa table rebuild – 20%
Bathroom drawer for wife – 50%
Candle box – 100%
Glass cabinet handle installation – 45%
Hall mirror – 22%
Helping a friend move – 50%
Etc…

While fitting the final pieces of the under bed dresser (built from an 1980s $4.00 garage sale upright five drawer) for our room and I transposed  two numbers and cut something a touch too long. Grumble… Grumble…  I went out to the shop, measured for screw clearance and put it on the table saw to rip down just a touch. I missed one screw, but my $56 carbide tipped cabinet blade didn’t. Sparks and bits of carbide flew. I said dirty words and came into the house to drown my sorrows in a Mexican coke, Jack with honey and an old Clint Eastwood western while propped up in bed with my grumpy face on.