Lectern rebuild and re-thinking the plan

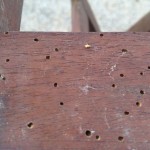
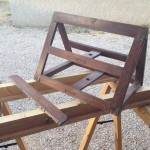
Early last year, I picked up an antique copyist’s lectern (the top part only) that originated in a French Abby.  The lectern was riddled with worm holes, a couple pieces were missing, and there was some damage to repair, but the first thing was to make it bug free so not to infect all our other furniture with wood worm.  The thing spent a couple of months in a plastic bag full of insecticide and chemicals that makes for square babies. According to the interwebs two months bathing in said concoction would make the piece safe to bring out see the light of day again, so after fumigation, it sat in our living-room as decoration for 12 months before I started the rebuild in earnest.

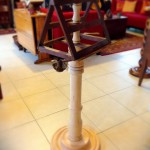
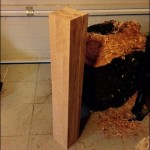
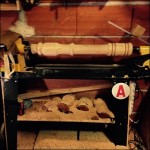
Initially, I sketched up a few column profiles in my ubiquitous little black notebook and settled on a somewhat simple design that matched the overall style and period of the piece.  Next, I spent a little time one Sunday turning a new pedestal out of beech scraps from my workbench build. I glued them all up into a single 5″ X 5″ x 32″ hunk of wood. I then measured and turned matching intermediate supports from a scrap oak rolling pin with curves to match the column.   A couple of weeks later, I used the last of the beech scrap and turned the pedestal base, which ended up 16″ in diameter and 3″ tall.

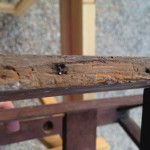
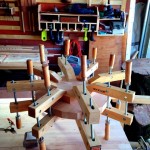
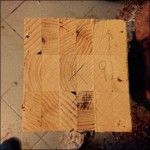
After gluing it all together, applying matching stain, and putting 4 coats of polyurethane on the base, it was time to start on the lectern top.  All was going to plan right up to the moment that I removed a damaged shelf and saw what looked to be fresh wood damage… In one of the joints there was a small white bug larvae…  Son of a bitch…  I immediately put plastic on my bench top and took apart another joint.  I found more LIVING wood worm. I started picking at the capped holes here and there and more worm…  Shit!!!  I wrapped it up in a trash bag and out to the street it went.  It would seem that my lethal chemical treatment wasn’t that lethal.  Just REALLY, REALLY happy that the hatch hadn’t started and that my house was no full of bugs that would lay word worm eggs all over our other furniture. I took pictures and measurements and I am now planning on building a copy of the top over the next month or so and I will post the finished product here when I am done and it is installed in the living room.
Matt Talley - Projects 2015_06

Matt Talley - Projects 2015_07

Matt Talley - Projects 2015_16

Matt Talley - Projects 2015_15

Matt Talley - Projects 2015_12

Matt Talley - Projects 2015_11

Matt Talley - Projects 2015_10

Matt Talley - Projects 2015_09

Matt Talley - Projects 2015_08

Matt Talley - Projects 2015_05

Guitar and Ukulele wall mounts

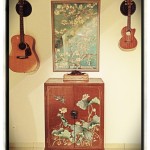
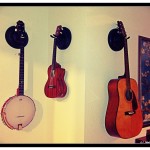
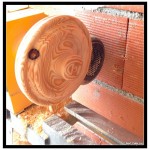
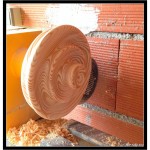
One of the last things to deal with at our place in France was all the stringed instruments propped in corners or laying precariously on top of furniture. I wanted them out in view so they would be played instead of put in a closet somewhere, forgotten about. We want a home that is filled with music and if there is a loaner guitar or uke (LOVE the ukulele – have two) about, someone is going to pick one of them up and strum a few cords. There is nothing like a cool evening, sitting outside after a BBQ with someone softly playing a tune or two. I looked at a couple of commercial wall mounts that were pricey and didn’t really go with our decor and decided to make my own. I am sure they would look great in a studio and there was one model that would have been killer in my 15-year-old self’s poster-filled bedroom, but nothing I looked at screamed “hand-crafted” or “classy.” I went through a couple of ideas in my head that wouldn’t have really worked out for various reasons before having a light bulb moment while on a work trip in China: scrap wood + my lathe + U-hooks and some silicone tape = sweet instrument hangers that both blend with our home AND that no one else has.

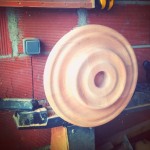
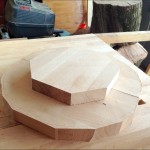
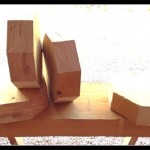
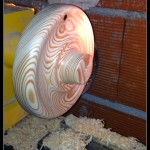
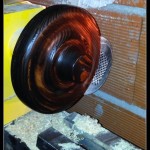
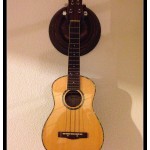
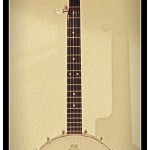
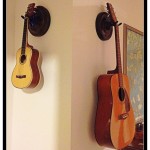
This past weekend (Easter holiday), I cut five octagon blocks out of some left-over 5 inch thick pine timber and rounded the first one on the lathe. It was meant to be a prototype so I free-handed the curves without really having a design in mind before I started. It looked so great after the stain and wax went on that I took it right in and mounted it to the wall. I turned the others all with different patterns and hung them in a living-room hallway that has an awkward corner. They look great there – if my opinion counts for anything. Now there is room for 2 ukuleles, an acoustic guitar, an electric cigar-box blues machine, and a resonator banjo.

I am working on a Uke hanger for my home office as well.  I spend 10+ hours on my computer or on the phone and find that it helps if I can take a little break or strum while thinking about a technical problem that is pissing me off.  I wouldn’t be able to do that in a cube.