Labor Day Weekend – 2017

I was at home for Labor Day weekend this year and spend the time working on the house and yard. I dug up a cubic yard+ of dirt where the garage walkway will be and then built concrete forms, added rebar, and welded wire for a 20′ X 4′ sidewalk pour next week.


I also took a couple of hours to rebuild a 10′ section of fence on our south side. A 40′ (12.2m) tree had grown through it from the neighbor’s yard. He let me cut it down a couple of weeks ago and rebuilding the fence was required.  Note: Stamps-With-Foot did not see me roped up, hanging in the harness, topping the tree, so I didn’t get in trouble for being a “stupid man” until later 🙂

Building fences and pouring concrete

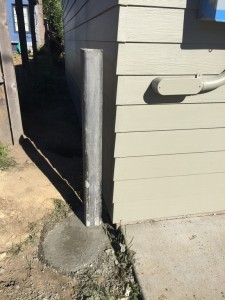
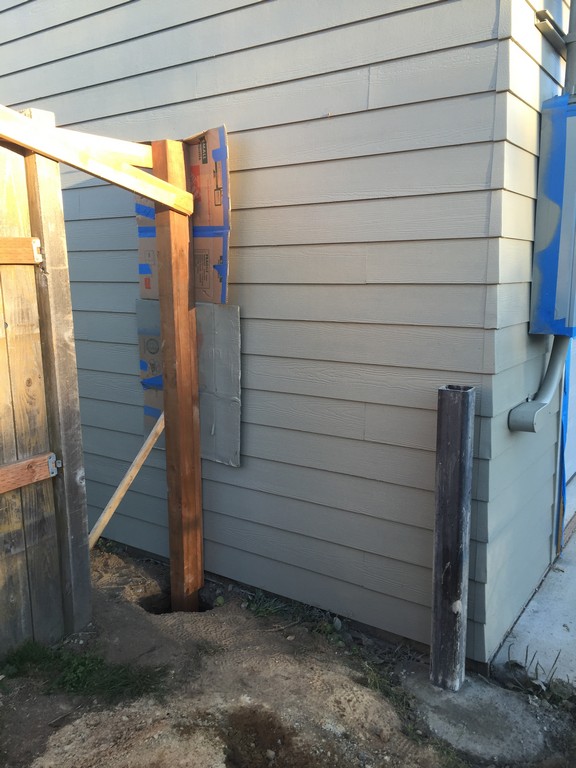
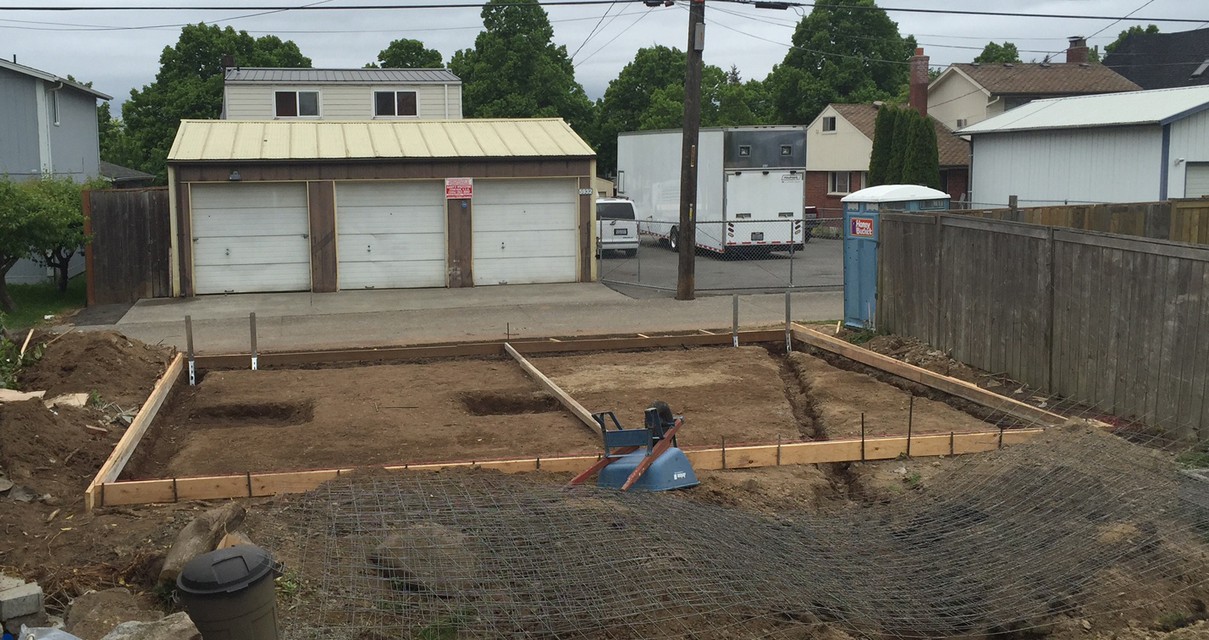
I need to tie the wooden fence back into the new structure so the dogs can roam in the back yard again. While backing up to unload concrete and posts for the fence, I barely tapped the corner of the garage with my trailer. Not a single scratch or dent or ding, but it made me say DIRTY words. I put my thunkin’ cap on and decided that if I did it once, I would do it again, and someone else would definitely smack the corner. A Bollard was in order. I went by Pacific Metals and picked up a 6’X5″X5/16″ wall hunk of square tubing and 4 sections of 3/8X10′ rebar.

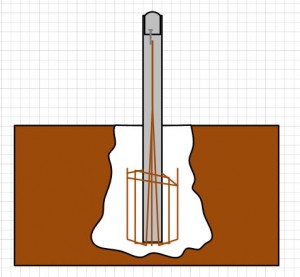
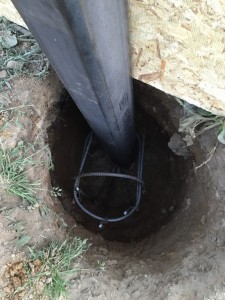
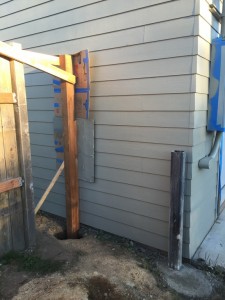
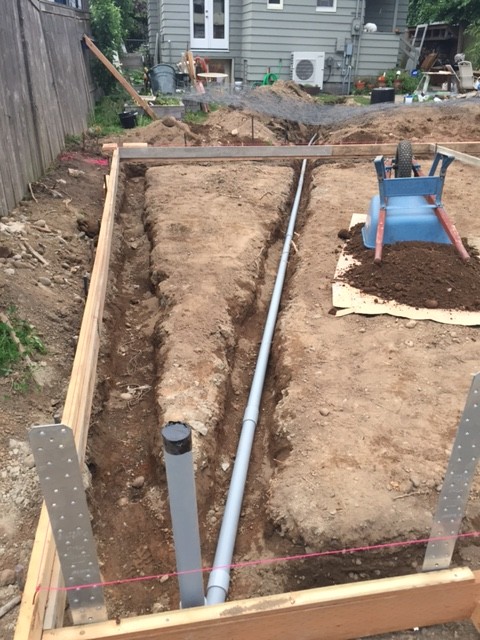
I rented an auger to dig the needed 7 post holes and dropped in 1 more for the bollard. The fence post holes are 18-14″ deep, but the bollard hole is 38″ deep and after chipping away at it with a post hole digger, maybe 14-16″ in diameter with a bell-shaped bottom. I cut 3 of the rebars to 7’ and bent the three pieces into a fishhook shape, wire tying the tops together in 3 places. I then took the off cuts and bent them into a “U.”

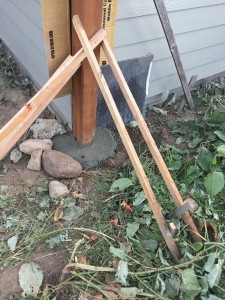
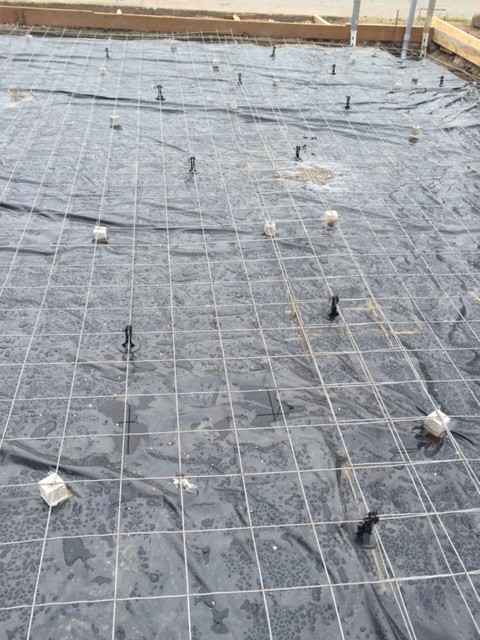
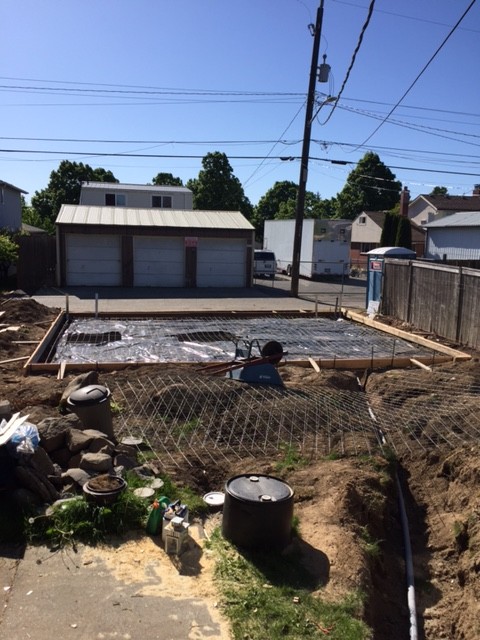
I put the rebar in the hole, sitting on plastic rebar chairs and placed the post over them. I splayed out the “hook” sections and wire-tied the U-shaped pieced around the rebar and around the bollard. I then added another hoop around the original section and the tied hoop. Concrete was poured in and vibrated to get all the air and voids out. I filled the bollard with concrete and used a scrap section of rebar to agitate and pack down the concrete in the bollard.

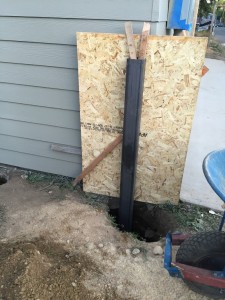
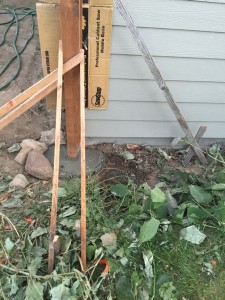
I left 4” of the top of the square tubing free of concrete and dropped in a 6” lag bolt with to 3” sticking out of the wet concrete, but still in the tube. After the concrete dried and while I was setting some fence posts, I went back and finished off the top of the bollard with a bit more concrete. I will paint it red when I paint the doors to the garage. The thing won’t stop a tank, but it might save the corner of my garage from a moment of inattention…
matt talley Bollard detailMatt Talley_Garage 2016_089 Matt Talley_Garage 2016_090Matt Talley_Garage 2016_082Matt Talley_Garage 2016_084Matt Talley_Garage 2016_081 Matt Talley_Garage 2016_083Matt Talley_Garage 2016_085 Matt Talley_Garage 2016_086

Garage Build Update 5/10/16

My slab gets poured next Tuesday. All clear from the City for electric trench and slab forms. There were a few issues that I saw last week that needed to be adjusted: There was a rebar oops in the car lift footings that was a serious new-guy error, but instead of calling my contractor to bitch, if just fixed it. Sometimes you are only as good as your worst employee… I picked some rebar and a couple boxes of chairs, looped ties, and put a 12″OC grid down of 1/2′ rebar 3″ from the dirt in the footing hole on Friday evening after work.

I also lifted the existing rebar over the footing holes up with chairs so that it would all be the same level as the welded wire. Hanging it from the wire would force the wire down to the top of the visqueen, negating the use of the material in a large area. I took the extra chairs I had and added them to the welded wire field. I understand that it gets stomped down when they pour and walk the pour, but the trick for me is to limit the amount that stays down. It was $90.00 worth of material and a couple hours of my time and we can work it out as we move forward with the build. The minor details in the grand scheme.

Matt Talley_Garage Slab work_2016_2016_03 Matt Talley_Garage Slab work_2016_2016_02 Matt Talley_Garage Slab work_2016_2016_07 Matt Talley_Garage Slab work_2016_2016_06 Matt Talley_Garage Slab work_2016_2016_01