My Father-in-Law, The Chatty Buddha, wanted me to make him a pizza peel and while I have built cutting boards and boat paddles, I hadn’t yet made a peel. I agreed, sourced the lumber from a local salvege store. It used to be flooring, but after some magic with the table saw, jointer, some glue, and a hand plane or three – he has a pizza peel that I gave to him for Christmas. I hope to be enjoying pizza from it for years to come.
Tag: Re-Use
Film Friday – Another Hammer Re-Work/Repair
I had a tired, old, home-made, second-hand chipping hammer that was broken and had been so for years. So, I MIG-welded the busted joint, ground the transition, and added a reclaimed hickory handle, which came from a hatchet rebuild shown in a previous video that I posted on YouTube. With the re-weld and addition of copper handle rivets, it should last a few decades now.
Lectern rebuild and re-thinking the plan
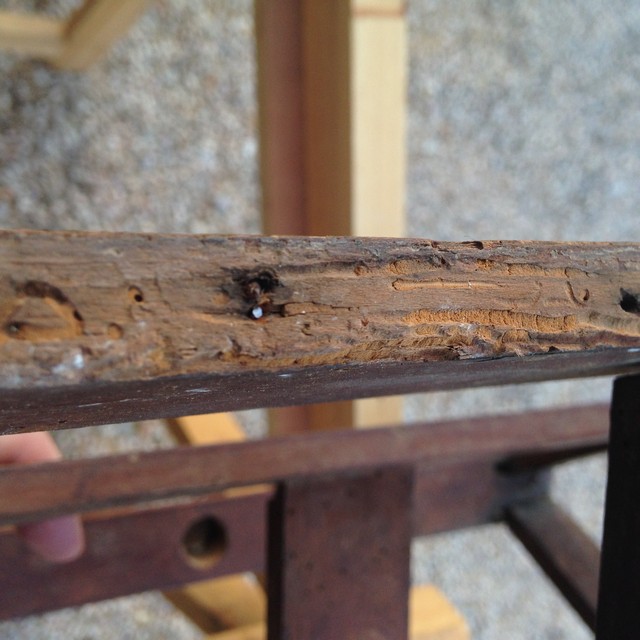
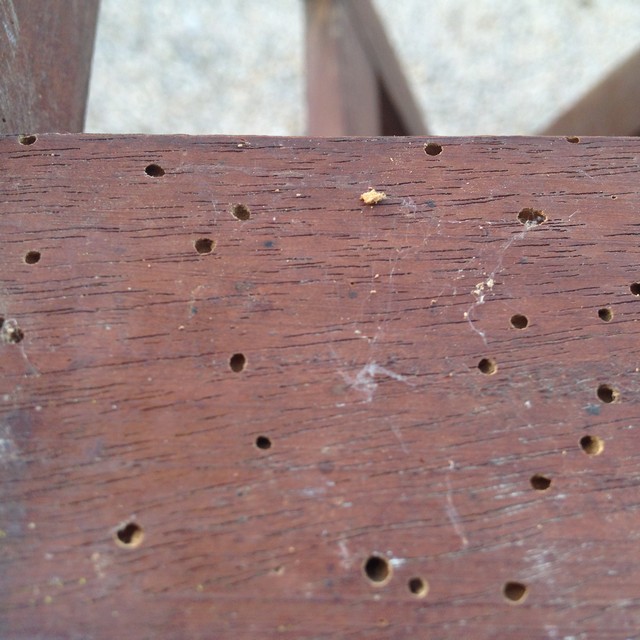
Early last year, I picked up an antique copyist’s lectern (the top part only) that originated in a French Abby. The lectern was riddled with worm holes, a couple pieces were missing, and there was some damage to repair, but the first thing was to make it bug free so not to infect all our other furniture with wood worm. The thing spent a couple of months in a plastic bag full of insecticide and chemicals that makes for square babies. According to the interwebs two months bathing in said concoction would make the piece safe to bring out see the light of day again, so after fumigation, it sat in our living-room as decoration for 12 months before I started the rebuild in earnest.
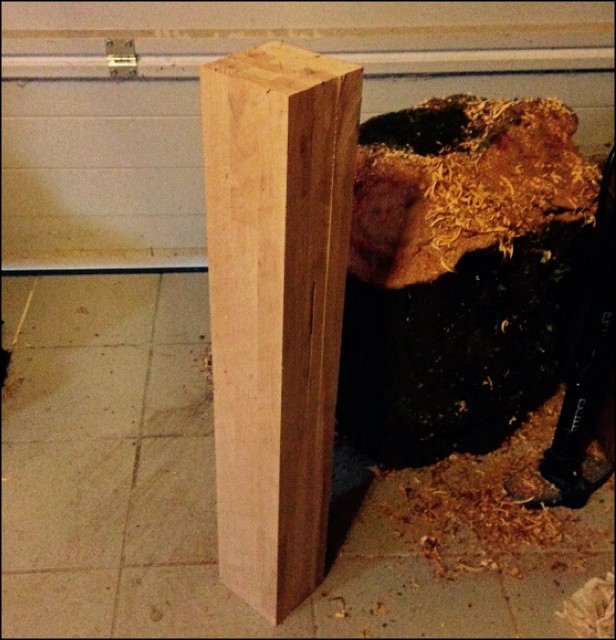
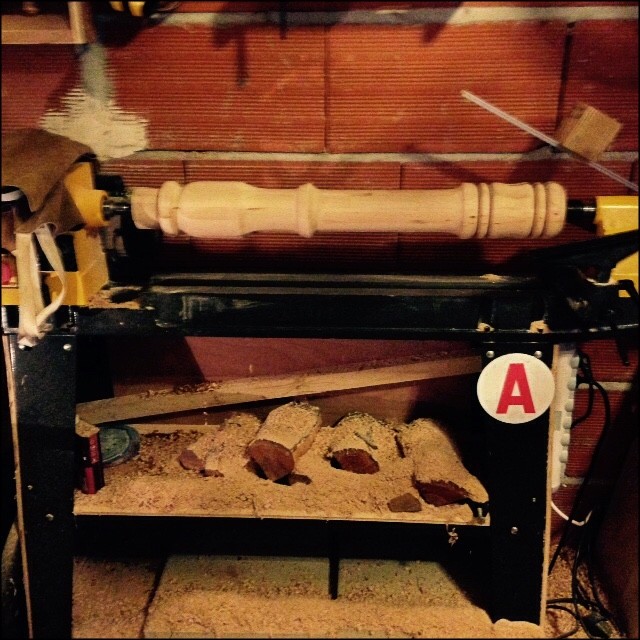
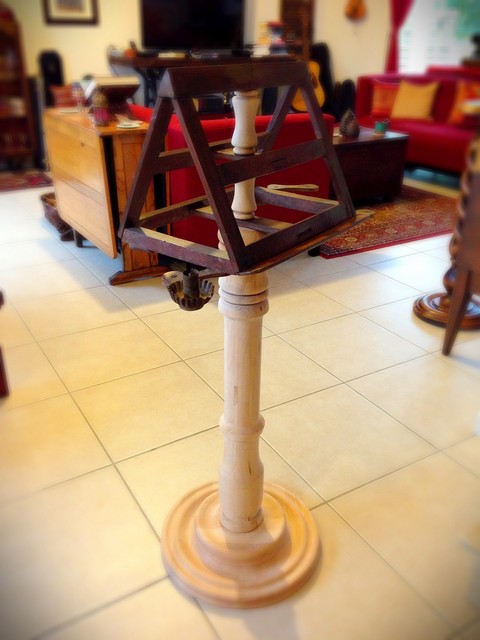
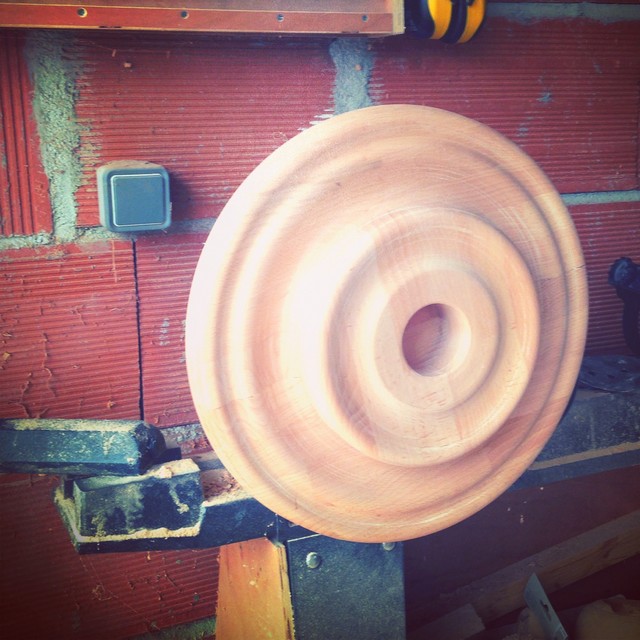
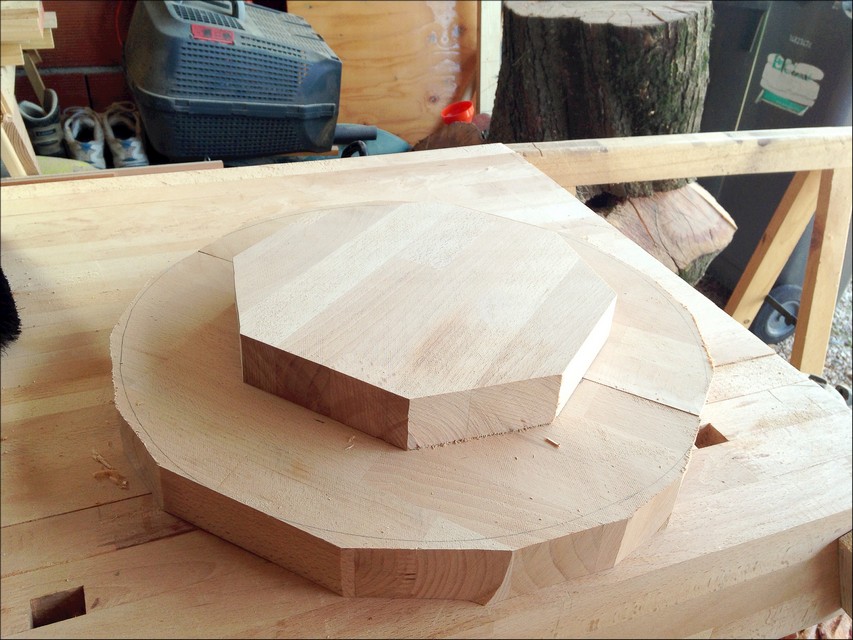
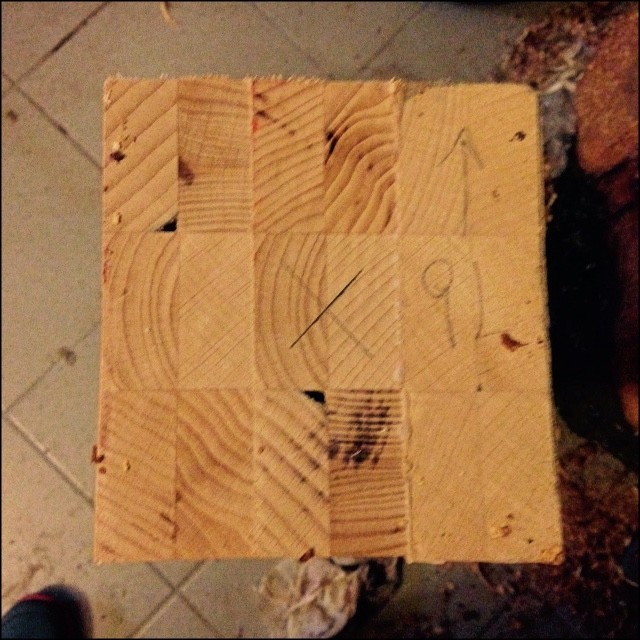
Initially, I sketched up a few column profiles in my ubiquitous little black notebook and settled on a somewhat simple design that matched the overall style and period of the piece. Next, I spent a little time one Sunday turning a new pedestal out of beech scraps from my workbench build. I glued them all up into a single 5″ X 5″ x 32″ hunk of wood. I then measured and turned matching intermediate supports from a scrap oak rolling pin with curves to match the column. A couple of weeks later, I used the last of the beech scrap and turned the pedestal base, which ended up 16″ in diameter and 3″ tall.
After gluing it all together, applying matching stain, and putting 4 coats of polyurethane on the base, it was time to start on the lectern top. All was going to plan right up to the moment that I removed a damaged shelf and saw what looked to be fresh wood damage… In one of the joints there was a small white bug larvae… Son of a bitch… I immediately put plastic on my bench top and took apart another joint. I found more LIVING wood worm. I started picking at the capped holes here and there and more worm… Shit!!! I wrapped it up in a trash bag and out to the street it went. It would seem that my lethal chemical treatment wasn’t that lethal. Just REALLY, REALLY happy that the hatch hadn’t started and that my house was no full of bugs that would lay word worm eggs all over our other furniture. I took pictures and measurements and I am now planning on building a copy of the top over the next month or so and I will post the finished product here when I am done and it is installed in the living room.


Rainy Day Projects
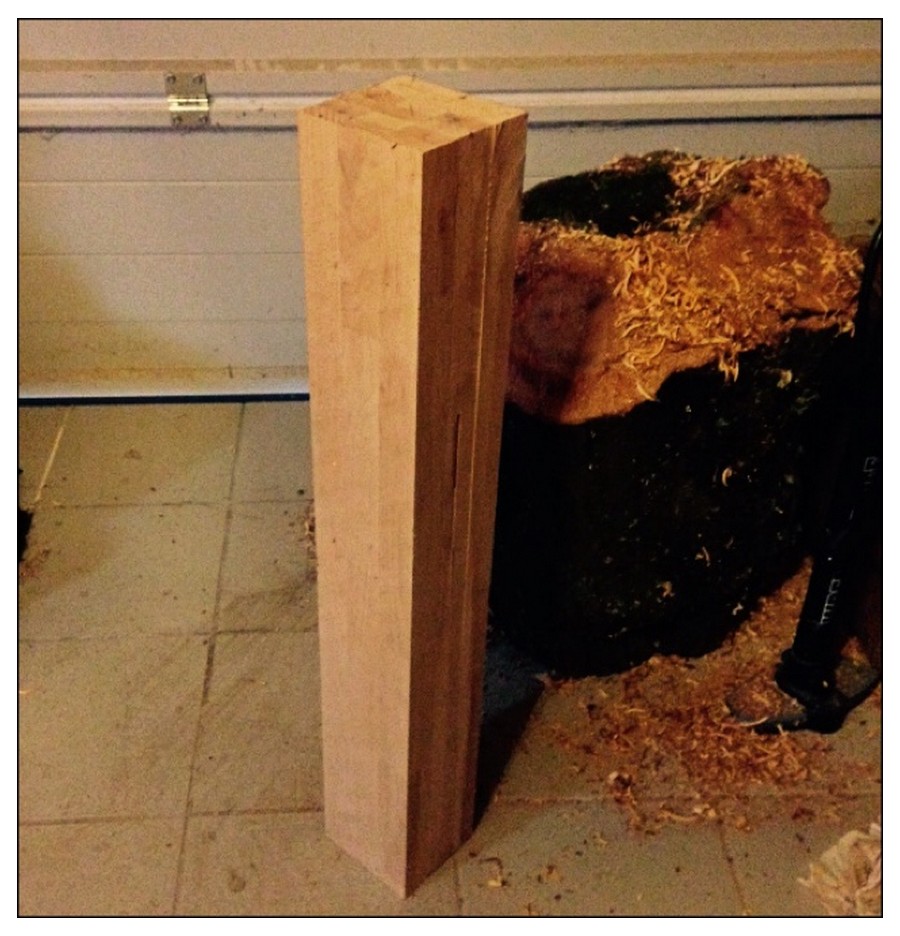
I spent a few hours this past Saturday cleaning up and re-arranging the GROP. I had bits and pieces of projects strewn about everywhere and I had to wiggle my way in through both the garage door and the door from the house – like I was in need of a hoarder intervention. It just took a couple of hours and only two utterances of the F-word to make sure that my on-going and future tasks were staged for completion and arranged in an orderly fashion.
Months ago, I picked up an antique copyist’s lectern (the top part only) taken from a French Abby. It was in ruins and the wood was full of worm holes, but I saw treasure and have planned on rebuilding it “…when I have time...” This is what rain days are for! Running and biking would have beeen cold and muddy, the dogs wouldn’t budge from the warmth of the pillow filled couch, I had already slept late and there was serious wife snuggling, so might as well make some wood shavings!
I sketched up a few column profiles in my ubiquitous little black notebook (currently a Rhodia Webbie) and decided on a somewhat simple design that MIGHT have been found when the piece was made. It is not some object of high art – no Gothic arches, no carvings and it seems to have been made for a specific task which didn’t require flourishes. I tried to follow that ascetic and kept it all fairly simple, only using a gouge, parting tool, and skew to work the column. While my lathe is modern, the tools are the same that have been used since the ancient Egyptians turned on their horizontal lathes, so I figure that the re-made version would be recognizable to both the maker and user of the original piece – that and it feeds my own mild form of wood working OCD.
The lectern top is now stabilized and bug free after months of treatment and I spent a little time on Sunday turning a new pedestal out of beech scraps from my workbench build that I had. I glued them all up into a single 5″ X 5″ x 32″ hunk of wood. I then measured and turned matching intermediate supports so that it all blends in as one piece. I need to give it a good all-over sanding before I remove it from the lathe. What I have left to do before I call it done is to replace one book ledge, rebuild (or find at junk shop) the second tin candle holder to match the single original that is left, turn and fit the pedestal base plate, and then everything gets stained and oil-finished to match.
It will look amazing in living room next to the book press with a reprinted copy of one of the four volumes of Roubo’s L’Art Du Menuisier on one side and Viollet-le-duc’s Dictionary of French Architecture from 11th to 16th Century on the other side, tall beeswax candles in the holders… Jesus, I am getting nerdier with each passing year!


Hall Tree and Shoe Rack for My Bride
Soon after we moved into La Maison du Talley in Seattle, my lovely bride decided that “we” needed a place to hang coats by the front door. I looked a little at coat racks and hall trees in the shops close to the house, but I just couldn’t stomach paying $250-300 for a semi-crappy coat rack that was the wrong color or wood for our house. I had one of those “light bulb” moments and decided to build one for us. Normally, I would have cut the raised panels (I tried to convince Stamps-With-Foot to let me do linen-fold panels) and added a little fancy trip work, but as I was recovering from shoulder surgery (#4), I decided to go with the re-use route. Second Use is a used hardware and reclaimed building material store in Seattle that I frequent and I cruised over for a used fir 6-panel door. Right away, I found the perfect one that set me back a whole $30. While pushing the cart loaded with the door to the front, I found a couple of cast off cabinet doors, a few odd sections of trim, and a bundle of old tongue & groove fir flooring. A plan formed in my little head…
I cut two feet from the top of the door, then flipped it over. I built a bench and shoe rack from the cabinet doors (raised panels turned in to match the adjacent hutch and the flat panel cabinets in the rest of the house) and attached it to what became the bottom of the door/hall tree. I ringed the top with a flooring plank, tongue down, and then applied some 100 year old left over fir crown molding on the top. The whole thing was sanded down and stained a deep red mahogany and finished off with 3 coats of exterior grade polyurethane.
For the hooks, I sourced a set of coat and helmet hooks from an old Seattle firehouse and small round dog leash hooks from Rejuvenation Hardware. When all was said and done, this was the very first project finished for our home in Seattle, I spent a total of $94, and I wrote a little love note to Stamps-With-Foot on the top of it. My little wife was giddy when I brought it into the house and she raved to friends for weeks about handy and awesome her husband was – made me puff out my chest like a Banty rooster.
If I did this again, the only thing I would change would be to make the shoe shelves movable as they are about 1/4″ too narrow for my running shoes, but perfect for her shoes, which I guess is the most important feature.


