As mentioned in a previous post, I purchased a Chinese manufactured wood lathe shortly after moving to France. Putting it together and getting it running true was not a Herculean task, but it wasn’t a plug and play affair either. In addition to the initial setup, I have taken an hour here and there to make it bit more ridged and add some features that did not come stock, just to pimp it out a little:
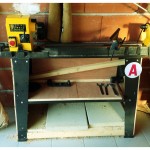
- The base is now sheathed in 1/2″ plywood, glued to the wood supports and screwed into the sheet metal legs. It makes the base a LOT stiffer and clean-up is much faster.
- After 4 months of weekly run-time, I have had to replace a couple of set screws and re-tighten the short bed extension outboard of the head-stock. The clamp bolt holding the head stock shattered and caused me some grief. Chinese bolt quality sucks.
- The bottom of the base was finished with 2″ thick scraps and I added a couple hundred pounds of pavers, gravel, and crushed brick to add even more stability. It is not enough when I try to turn a 15″ hunk of cherry outboard, It still wobbles and jumps around a bit. There is just no way to make the sheet metal frame more ridged.
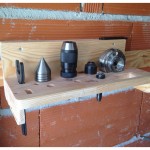
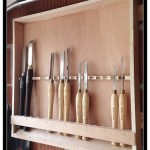
- On the French cleats above the lathe, I added a tool holder and chuck/drive center/tail center tool mount for convenience.
- I hung a long compact florescent over the work area and on the side there is an IKEA floor lamp/spot light that I can move about. Scored it used for $8.00!
- A tool grinder the I picked up for about $45 is mounted are the end of the lathe on a small table for easy mid-project tool sharpening.
- The capacity is only 12″ and that is not the magic number. 16″ – 18″ would be perfect for the bowls and bases and platters that I am doing here. If I added 2″ iron risers to the head and tail stocks, then it would give me a 16″ turning capacity (swing). I have thought long and hard about doing it, but haven’t yet as it might be a complication that is more headache than useful AND I don’t want to put anymore time or money into the thing. I just want it to work.
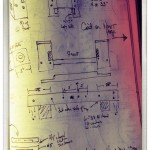
- I designed a steel bed extension – modeled it in 3D and everything, but I am not going to have it made… I would be trying to turn an under powered Hyundai into a V8 4X4 Toyota Truck.
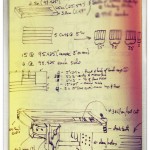
- For tuning large objects with the head swiveled, I designed a sweet swing arm tool post as well. I modeled it up too, and decided not to have it built for the same reasons. I will use the tool post arm that came with the lathe with a wood post under for support when I turn bigger stuff outboard.
- This Lathe will get me by for the next couple of years and I will go over it and repair/replace any worn parts before we leave France to ensure the next owner has relatively trouble free tool, but This is my last “cheap” lathe. I am going to plop down some funds and get a Robust, Vicmarc, a huge Powermatic, Oneway, Oliver, or a Stubby – Something with power, mass, lots of heavy cast iron and reliable parts that I don’t have to screw with.
