Project built for my truck – the one I sold 2+ years ago…

So this post is a little bit delayed.  It has been sitting in my draft folder for almost three years.  It may be time to publish it…

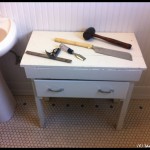
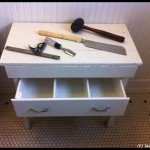
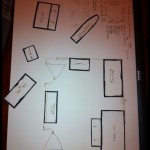
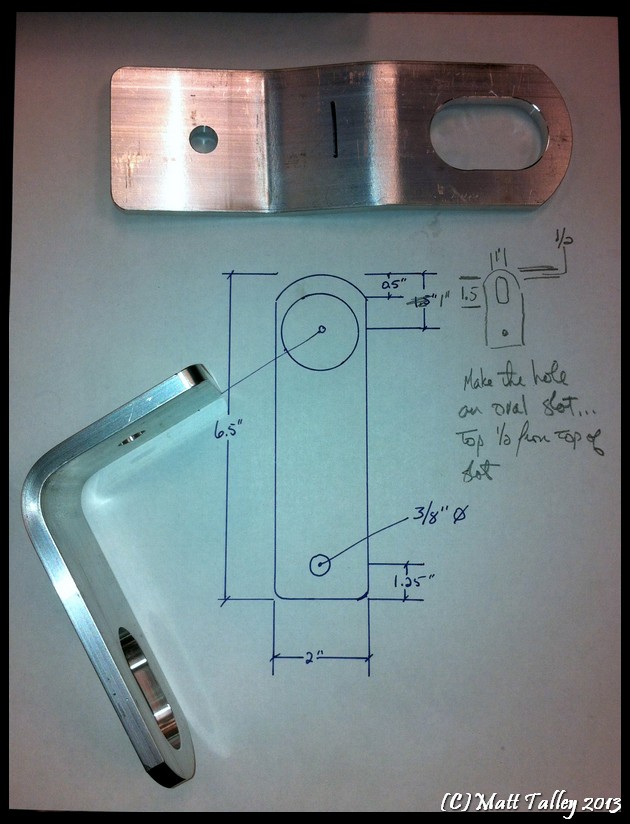
My 2011 Nissan truck had a very cool really system for holding gear in the back of the truck: an extruded aluminum track along the side rails and two in the bottom of the bed.  They made sliding tie points for use on the rails that were great for some stuff, but I needed more to really strap a load down when hauling brush and debris to the dump.  I looked at buying more from Nissan, but they wanted >$200 for the set of 4.  No thank you!  I did what any engineer would do:  Designed my own and went into the machine shop and made a few prototypes out of aluminum scrap that was laying about.

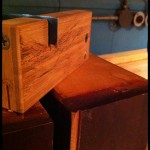
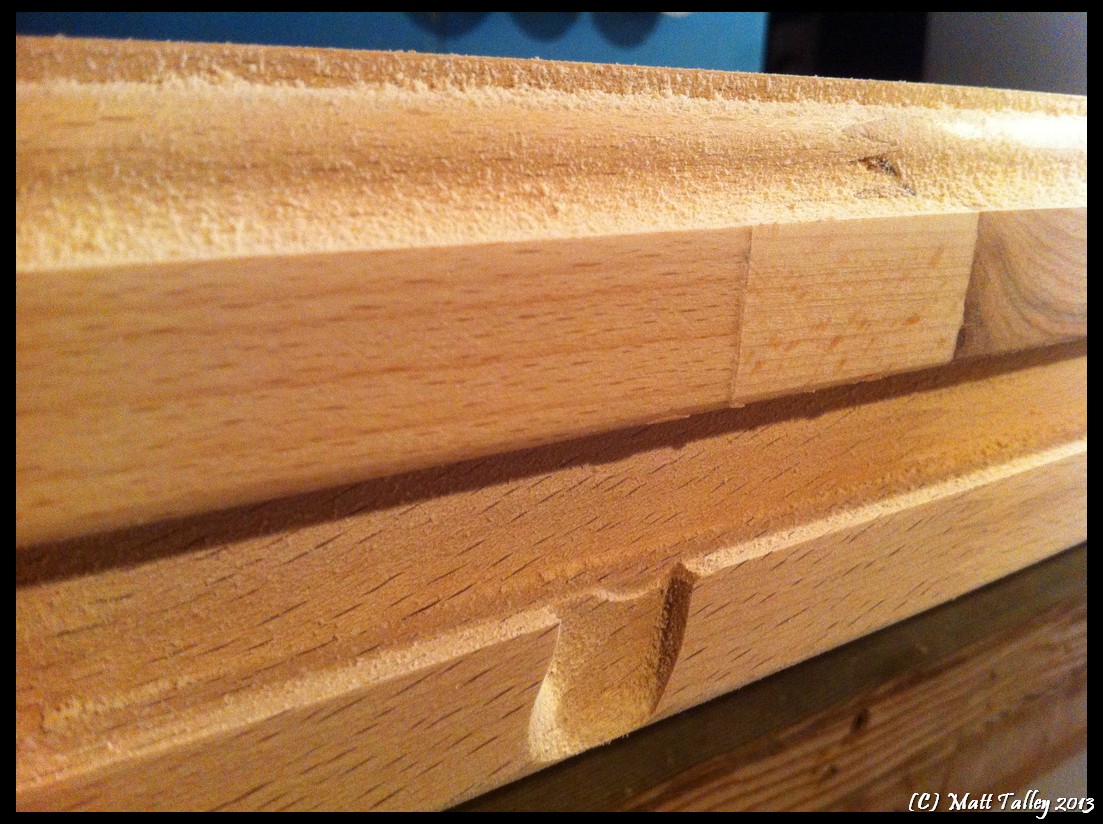
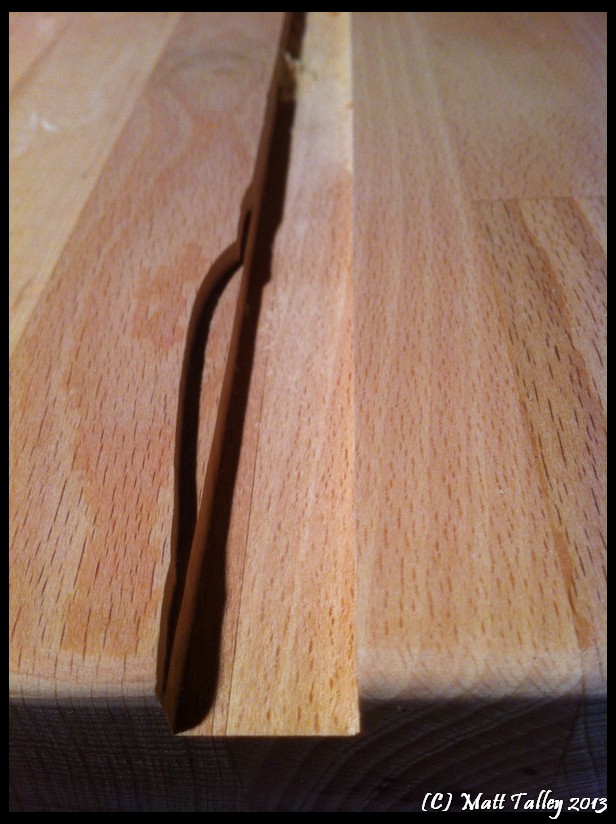
I made one version with an offset bend for the side walls and the other with a 90 degree bend for use on the bed floor rails.  I might change the latter a little as I found that while a standard small ratchet strap or rope had no effect on it, if I used a large ratcheting load strap, I could bend it.

I also found that the rails were the exact same dimension as commercial uni-strut (standardized formed metal structural system used in electrical, plumbing and HVAC installations for structural support).  Parts are available at all the Big-Box home stores and I was able to pick up a bag of 10 threaded nut plates for ~$8.00 and 1/4″ hex-head bolts of various lengths for another $5.00.  The prototypes worked so well that I made more and with my hold down solution and the OEM tie points, I could haul anything I really wanted and make sure it was securely fastened:  Refrigerators, lumber, yard trimmings, fire wood, trash, you name it.

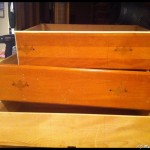
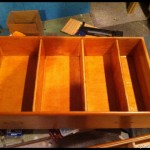
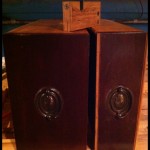
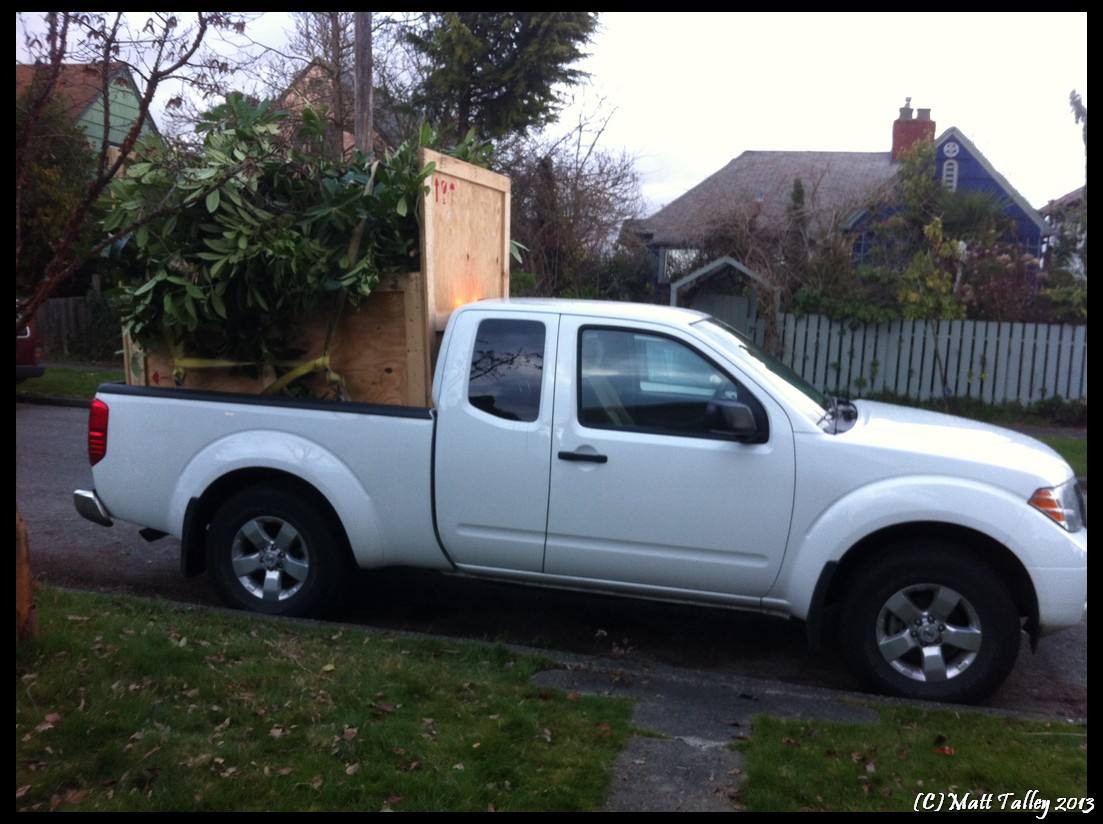
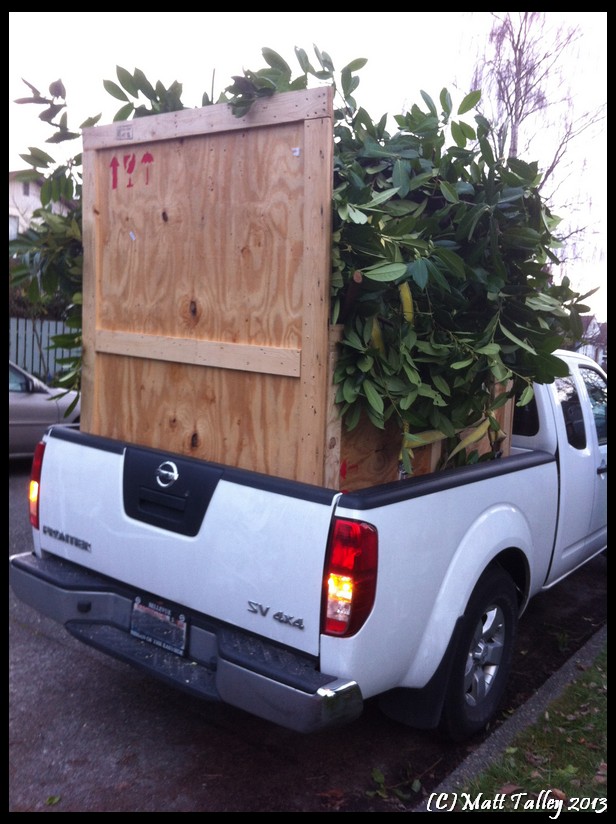
I added the side walls of a wooden shipping crate to my new truck bed system, bolted directly to the side rails using the uni-strut nut plates and then strapped over the whole load with 2″ straps.  I found the installation took me 15 minutes from start to finish and it made dump and material runs super simple.  It was even faster to remove and store in the garage so I didn’t drive around town like I worked for Sanford & Son.

Truck tie loops

Truck Tie Downs 2012-3 (2)

Truck Tie Downs 2012-3 (1)

Truck Tie Downs 2012-3 (3)

Truck Tie Downs 2012-3 (4)


I sold the truck in December of 2013, but I kept the OEM Nissan tie points as well as the ones I made.  I will use them on my next truck, or possibly my next trailer.  I will just install uni-strut on the sides and on the deck and I will make it that much more useful.

Getting a new garage in 2016!!!

Woohoo!!  It looks like we are a go for a new garage and some needed updates to our heat, plumbing, and wiring at the house.  I am meeting our builder this weekend and passing him a check (two checks actually, one is for the City of Seattle permit office…) and I will have a real garage and wood-shop by spring.  I will have room for a big lathe, cabinet saws, wood storage , my joiners workbench, room to assemble projects/furniture, a real dust collection system, and all my planes/saws/chisels/hand tools on one side.  On the other side of the shop will be a mini-machine/fabrication shop with a two post lift, lathe, end mill, welder, mobile paint booth, and work table…

I cannot tell you how stoked I am!  Seriously, I am all giddy about it.  I plan to make cool stuff, descend into super-nerdy, and will be voiding the shit out of warranties!

Here are the prelim drawings that are being submitted and a lay out of the shop floor.

Garage floor 3 Garage Floor 1 copy Garage floor 2 copy

Update:

Drawings sent to the city. Cross your fingers and pray with me that Planning is having a good day/week/month and these babies get a stamp.

image

image

Roller Derby, St. Paddy, Dresser Building and an Anniversary Weekend

This weekend was busy with friends, a dinner out, St. Paddy’s Day activities, an outing to the Roller Derby (?!), and the 9th anniversary of the day that my sweet wife and I met was on Sunday. Even with all that, we still got bunches done around the house: Our under-bed dresser finished, bathroom table drawer installed (a little work on that left), wine crate storage boxes made, basement lighting installed, and the basement work bench is moving along.

The drawers for the under-bed dresser and the one for the bathroom all came from a wooden donor-dresser that my father-in-law drug home from a garage sale last summer. He paid $4 for it and it was in pretty bad shape, but it was solid wood and had potential. It was mistakenly left in the weather (plastic cover leaked) for a month before I salvaged the drawers, cut out off the top and used the sides for kitchen cabinet door panels. I re-squared the drawers, added dividers in the fall, and over the Christmas break sealed the insides (The Ruminator helped). After lots of filling and sanding and more sanding, I stained the fronts to match our bedroom furniture, then built ¾” plywood beams to hang the drawers from bed frame and used some scrap oak flooring as drawer guides/runners. The final product really looks good and is super functional. While some husbands bug their wives by filling the house with brought-home junk – I give my wife more and more and more storage and organization space.

On Sunday, I put the final coat of finish on the basement workbench top, let it dry, and then installed the three runs of aluminum t-track. Stamps-With-Foot bucked up and helped me wrestle its 200 pound beech and maple mass onto the steel base. I secured it with screws and covered the top with carpet squares while I finish the upper shelf/cabinet. I installed a outlet power strip under the main body of the topper and removed the old drawer dividers. I will soon add a plywood back with a mirror, a light under, a dedicated air supply line, install the desk drawers under the bench and mount 4 reclaimed letterpress drawers directly under the top as well. Happy with the progress so far.

A giant sealed dome over our place would solve most of this….

There are some days where I want to just drop everything I am holding, turn off the lights, lock the door, and go on an extended vacation involving a sugar-sand beach and copious amounts of fruit laden alcohol.  This Saturday was one of those days.

I decided to work on the kitchen cabinet doors, cut some plywood sheets down, and tackle a bench top while the sun was shining.  I opened the shop, brought out a plastic truck-bed toolbox to cut on (my 4 sawhorses are currently being used elsewhere), pulled 3 full-sized sheets of ¾” and ½” plywood out of the lumber rack and drug it all out into the backyard.  After marking the first sheet, adjusting my saw blade depth, lining up my rip fence, and checking for clearance – I started my first cut and immediately ripped a 6” long kerf-cut into the top of the tool box that the sheet was sitting on.  Dammit! I cut the rest of the plywood up without incident, but grumbled thinking about the mistake (I will fill and patch it with molten P-Tex plastic at some later point).  After stacking all the assorted pieces of ply back into my cluttered shop, I man-handled the 170+ pound beech and maple in-work bench top from the basement and placed it on the now-damaged toolbox – trying very hard not to either herniate a disk in my bask or tear what is left of my shoulder.

My Shop/Garage is pilled deep and high with lumber, hardware, undone winter projects, wood shavings, tools, sawdust,  flotsam & jetsam, etc….  I spent an hour trying to set up my router and in all the clutter and mess I couldn’t find a ¼” collet for one router and the other does not have an integrated fence, so using my big monkey brain, I improvised a fence.  All I really wanted to do with the top was to route channels for t-track and thoroughly sand it down before taking the beast back into the bowels of the basement to apply stain and a tung oil finish.  All was going as planned and my first cut was perfect.  The second cut went just the same, but at the very end of the third cut my improvised fence failed and the router wobbled – gouging the top that I had spent a month building.  Jesus H. Christ I was pissed! – Mostly at myself, but there was some vitriol left over for the machine in my hands.  I said dirty, hateful, vile things while resetting the fence and making an adjusted cut.  I moved on to make my last cut in the very front lip of the bench and while the fence held, I stood up mid-way through the pass and the router wobbled, making the bit chew into a section of wood where I did not want it to go.  I gritted through the rest of the pass and finished the cut, but the second I was clear of the wood, I wanted to throw the still running router on the ground and beat the electric life out of it with the pruning shears that were leaning against the garage wall.  I had to walk away, hand over my mouth, and just breathed deeply with my back to the offending router, my own incompetence, and the damage they had both wrought.  My moment of reflection was short lived because just as I turned, I felt the first drop of rain fall from what was minutes ago a blue sky that had ominously darkened while I was focused on my router-rage (I swear it happened just like that – strait out of a hip urban dramedy…).  SHIT!!  I ran for something to cover the bench top.  The only thing I could find was a pink tent fly and a sheet of cardboard.  I covered everything and retreated into the shop, right eye twitching with disbelief/confusion/anger.  I spent the next hour drinking coffee laced with sawdust and moving piles of crap around in my shop.

When my sweet wife got home she MAY have found me in the shop muttering to myself, pacing, covered in saw dust, contemplating the logistics of building a giant sealed dome over our entire lot.  She talked me off the ledge, helped me put the top back into the basement, patted me a little, told me I was pretty and smart and a good boy, put me in some fresh, sawdust free clothes, and took me out to see a movie.

I got up the next morning and after a yummy breakfast of flaky croissants, bacon, eggs and two cups of coffee, I went downstairs and chiseled out the offending screw-ups, then cut and glued maple patches in.   After calming down some and after a good night’s sleep, I felt better about the whole thing, but me and that router are still not on speaking terms.

I will end up muttering to myself.

I have come to both love and accept my wife’s little quirks. I don’t understand them all and from time to time I have to just shake my head and mutter after finding something odd in the recycling or noticing that kitchen silverware was used to dig in the flower beds for example. I have also discovered that it is best to work within the confines of these quirks instead of confronting them/her with what most people would call reason. That confrontation would lead to a two hour discussion that would, in turn, lead nowhere. I would have to apologize for even bringing it up and then I would have to buy her something shiny for my transgression. In the end, I would be right back where I started – muttering to myself and slowly shaking my head with my lips pursed in an expression of both frustration and amazement.

Stamps-With-Foot is very visual and she has to SEE something for it to be real for her. Visualization of a concept like arranging pictures on the wall, where flowers COULD go in the yard, or where to move a chair in the living room is an exercise in frustration. This normally means that after a week+ of debating where a piece of furniture should go, I will move it 4-9 times before she decides that the original decision was the correct one. This comes up for me because we have been talking about to swapping offices at home. Her sewing/estrogen room will go upstairs to the sunny well-lit wood-floored bedroom at the front of our house and I will move my faux-Edwardian office/man-cave into the basement so that it will be co-located to my tiny hobby machine shop, work bench, and our den: A win/win for us both of us as long as I don’t have to move crap up and down and around for two days.

In the spirit of working with her previously addressed/documented traits, I formulated a plan to have it all work in my favor. I measured and drew a scale model of the room upstairs, showing locations of the doors, windows, and air vents. Then, I made scale cutouts of all the furniture that she could possibly have in the room. I left her with the drawing and cutout so that she could torment and second guess herself in peace while I went into the basement and worked on my new machine shop bench. 24 hours later and after looking at every possible combination at least 6 times, she had determined a location for each and every twig for her sewing nest and taped her choices for furniture location down on the drawing. I have elicited a promise that her decision is a final one and that if there is a change in any of the locations it will be made before the very first piece is picked up and humped upstairs.

Now all that is left for me to do is to bribe/con some friends and neighbors into helping move all the crap, putting it in its designated place and then to disappear in to my basement to plot my plan for world domination…. Mwahahahaha….

Basement Bench and Winter Workshop

I have found that my workshop productivity goes way down in the winter/the six months of Seattle rainy season.  My garage shop is small and quickly fills with material, lumber, tools, and projects.  To add to the handicap of the small size, the lack of heat means that I can’t do any finish-work because of wood humidity, shrinkage/swell, and moisture.  I have made do in the unfinished side of our basement for the past three winters, but I am done my wife is done with the mess and clutter and my bitching about an inadequate work area when the weather turns crappy.  I need a little bit of dedicated space that I can work on the small stuff year round that doesn’t require power tools and a little bit of assembly/finish  space where I can glue and clamp some projects up, a solder station, a spot to reload ammo, work on my bikes, and  a clean/dry/warm space to apply stain or a hand-laid finish coat.  Add to this my current want of a small metal lathe and mill and I will have the makings of a nice little hobby shop from which to launch my plans for world domination …er, I mean a spot where I can make small parts, solder, or tinker.

Anyway, instead of buying a crazy expensive cabinet bench or making do with a thin metal and partial board Home Depot bench, I have decided to build the sturdiest all-around hobby bench that I can with the funds and material I have available (~$130.00), add some really nice features (aluminum t-track, lots of drawers, removable vises, power, lights, etc…) and make it into a finished piece of furniture that I will be proud to sit at and show off to friends for the next 30+ years.  To start the process off, I found a cheap older thick steel framed 6′ workbench at Second Use that I felt would make a bombproof, rock solid base.  I sourced a used IKEA cutting-board counter top that I cut down to the appropriate size and then used the trimmed pieces to add thickness and rigidity (I am still going to add some angle iron).  I thought about and sketched 3-9 different ways to add some shelving and some organization to the top and was still tossing around options in my head when a realized that an old buffet that my mom had just might work.  I took some measurements and looked into reinforcing here and there and realized that not only would it work, but that its style would set the tone and color for the entire bench build.

I decided that the drawers to be added under the bench top needed to be narrow and at least partially match the newly planned top section, so I looked for an older desk or vanity that I could cut apart.  I struck out at Goodwill, the Salvation Army, and Craig’s List, but Second Use came through again and hooked me up with exactly what I needed at a decently fair price, well decent after I haggled a bit…

The current state of the build is that the bench top is 2/3 done, the desk is cut apart, the steel legs are up and in place and I am 1/4 of the way done with reinforcing the buffet/top shelving unit.  I will update the build as it is completed and share some more pictures.