Film Friday – Hammer fix

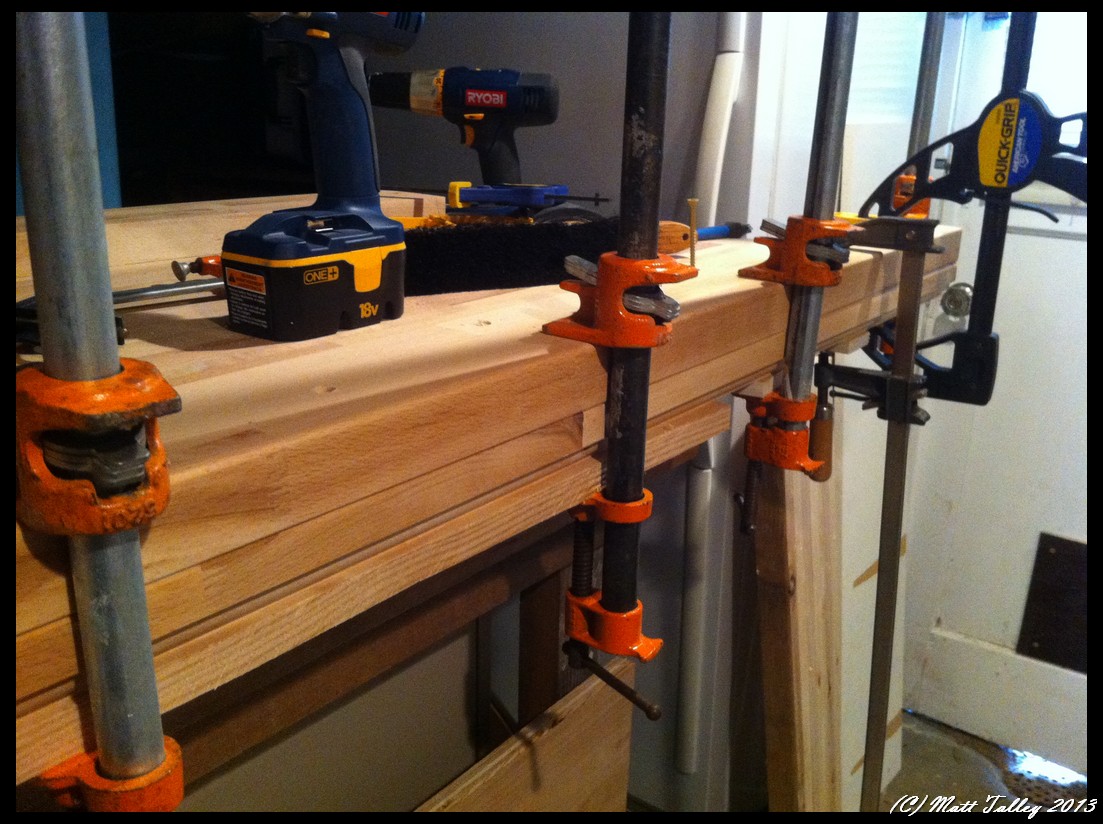
We are well on our way to becoming a doomed and disposable society. Example: After trying in vain to buy a handle replacement locally for my broken framing hammer, I had to buy one online and have it shipped to Seattle from the East Coast. I didn’t need the fancy matching OEM handle. Most any would have worked with a little shaping using a rasp and file. Neither Home Depot nor Lowes sells replacement handles for hammers or hatchets anymore – just handles for garden tools. I had four people try to sell me a new hammer while searching though. Apparently, just spending $80+ is easier than fixing a tool with a replaceable part designed into it. Lazy mother f….. Son of a …

The hammer holds no special value or spot in my heart or personal history. It wasn’t smuggled into the US 300 years ago by a ancestor who built and defended his home with it… Nope, just a framing hammer that someone gave me once. It had already been used and abused for years before it fell into my hands. The point was/is the thing is mine. A tool that I use to make stuff with. A tool that is MADE to have the handle replaced and somehow there are not enough people with the skill and drive to do such a simple task to keep them stocked on the shelves of multiple large national chain building supply stores. I stand by my statement that the movie Idiocracy is a documentary filmed by time travelers.

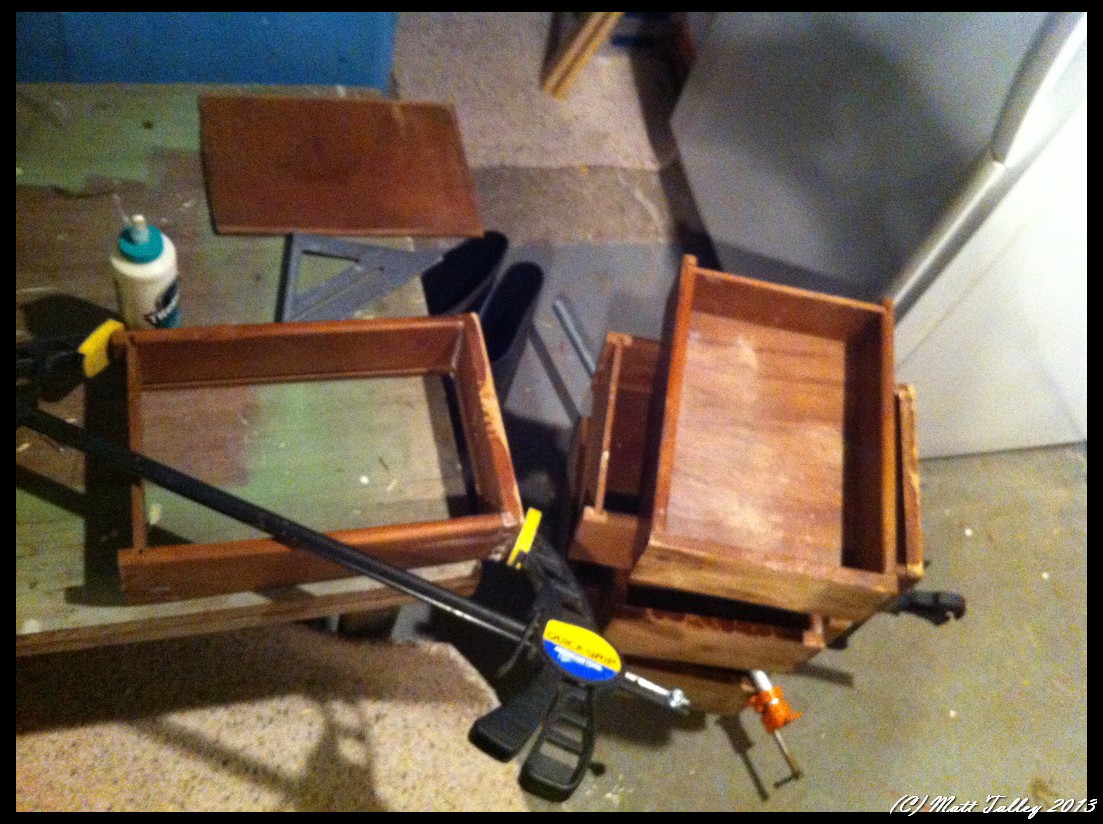
The whole replacement cost me $12 for the handle and shipping + 20 minutes of my time. A lot better deal than $80+ for a new hammer. As an added bonus, I get to rant a little and make a slide show 🙂

Roller Derby, St. Paddy, Dresser Building and an Anniversary Weekend

This weekend was busy with friends, a dinner out, St. Paddy’s Day activities, an outing to the Roller Derby (?!), and the 9th anniversary of the day that my sweet wife and I met was on Sunday. Even with all that, we still got bunches done around the house: Our under-bed dresser finished, bathroom table drawer installed (a little work on that left), wine crate storage boxes made, basement lighting installed, and the basement work bench is moving along.

The drawers for the under-bed dresser and the one for the bathroom all came from a wooden donor-dresser that my father-in-law drug home from a garage sale last summer. He paid $4 for it and it was in pretty bad shape, but it was solid wood and had potential. It was mistakenly left in the weather (plastic cover leaked) for a month before I salvaged the drawers, cut out off the top and used the sides for kitchen cabinet door panels. I re-squared the drawers, added dividers in the fall, and over the Christmas break sealed the insides (The Ruminator helped). After lots of filling and sanding and more sanding, I stained the fronts to match our bedroom furniture, then built ¾” plywood beams to hang the drawers from bed frame and used some scrap oak flooring as drawer guides/runners. The final product really looks good and is super functional. While some husbands bug their wives by filling the house with brought-home junk – I give my wife more and more and more storage and organization space.

On Sunday, I put the final coat of finish on the basement workbench top, let it dry, and then installed the three runs of aluminum t-track. Stamps-With-Foot bucked up and helped me wrestle its 200 pound beech and maple mass onto the steel base. I secured it with screws and covered the top with carpet squares while I finish the upper shelf/cabinet. I installed a outlet power strip under the main body of the topper and removed the old drawer dividers. I will soon add a plywood back with a mirror, a light under, a dedicated air supply line, install the desk drawers under the bench and mount 4 reclaimed letterpress drawers directly under the top as well. Happy with the progress so far.

Basement Bench and Winter Workshop

I have found that my workshop productivity goes way down in the winter/the six months of Seattle rainy season.  My garage shop is small and quickly fills with material, lumber, tools, and projects.  To add to the handicap of the small size, the lack of heat means that I can’t do any finish-work because of wood humidity, shrinkage/swell, and moisture.  I have made do in the unfinished side of our basement for the past three winters, but I am done my wife is done with the mess and clutter and my bitching about an inadequate work area when the weather turns crappy.  I need a little bit of dedicated space that I can work on the small stuff year round that doesn’t require power tools and a little bit of assembly/finish  space where I can glue and clamp some projects up, a solder station, a spot to reload ammo, work on my bikes, and  a clean/dry/warm space to apply stain or a hand-laid finish coat.  Add to this my current want of a small metal lathe and mill and I will have the makings of a nice little hobby shop from which to launch my plans for world domination …er, I mean a spot where I can make small parts, solder, or tinker.

Anyway, instead of buying a crazy expensive cabinet bench or making do with a thin metal and partial board Home Depot bench, I have decided to build the sturdiest all-around hobby bench that I can with the funds and material I have available (~$130.00), add some really nice features (aluminum t-track, lots of drawers, removable vises, power, lights, etc…) and make it into a finished piece of furniture that I will be proud to sit at and show off to friends for the next 30+ years.  To start the process off, I found a cheap older thick steel framed 6′ workbench at Second Use that I felt would make a bombproof, rock solid base.  I sourced a used IKEA cutting-board counter top that I cut down to the appropriate size and then used the trimmed pieces to add thickness and rigidity (I am still going to add some angle iron).  I thought about and sketched 3-9 different ways to add some shelving and some organization to the top and was still tossing around options in my head when a realized that an old buffet that my mom had just might work.  I took some measurements and looked into reinforcing here and there and realized that not only would it work, but that its style would set the tone and color for the entire bench build.

I decided that the drawers to be added under the bench top needed to be narrow and at least partially match the newly planned top section, so I looked for an older desk or vanity that I could cut apart.  I struck out at Goodwill, the Salvation Army, and Craig’s List, but Second Use came through again and hooked me up with exactly what I needed at a decently fair price, well decent after I haggled a bit…

The current state of the build is that the bench top is 2/3 done, the desk is cut apart, the steel legs are up and in place and I am 1/4 of the way done with reinforcing the buffet/top shelving unit.  I will update the build as it is completed and share some more pictures.

Wooden Nightstand Build

My sweet sweet wife has issues with the color green – most shades. While living in Hamburg, we had a tiny bedroom that Stamps-With-Foot wanted to paint “sage green.” She bought the paint at Max Barr (a Teutonic version of Home Depot) brought it home and painted a little swatch on the wall. It was kinda dark, so she painted the whole wall. Still kinda dark. She then painted the whole room. I came home and my bedroom was Olive Drab, Army Green… It took me two coats of primer and three coats of paint to banish the darkness.

Flash forward a few years to Seattle. We have replaced all of our MDF particle board IKEA crap furniture with real wood pieces with the exception of our night stands. I hate them. Hate. I traded my mother a couple bookshelves for a former dressing table/vanity that was deeply scratched in places and had a couple of drawers that wouldn’t budge. It was in two pieces already and I shortened the legs, stripped off some of the old finish and prepped them for paint. Stamps-With-Foot wanted the pieces to match our 1930’s bedroom set, which has a sage green accent color. The plan is to have the bodies painted green, use a soft sunflower yellow for the accent and to completely strip the top and drawer fronts and coat them with a polyurethane so that the natural color and grain would pop. I had primed them, sanded, primed again, and grabbed some color swathes for her to choose from. She chose a fine green and I had it custom mixed at my local Benjamin Moore store (friends don’t let friends buy paint at Home Depot). I had two smooth coats sprayed on before my sweet wife decided they were the wrong color green. I tried in vain to talk her out of making me swap the color. I tried really hard – I even mentioned the Hamburg incident. No dice, the color WOULD be changed.

I showed up at the paint store with a picture frame for them to color-match, ignored their snickers, bought all new paint, went home, sanded, and resprayed both pieces with two coats of the “new” green. I painted the accent color and rubbed the color into the cracks before washing it off the high spots. The tops were polyurathaned, drawers were fixed, dividers installed, fronts refinished, 100+ year old glass knobs bought/installed, and then I carried them up to our Master Suite and my sweet bride gushed over them. Her delight made my heart happy.

In my heart of hearts I know she is still second guessing the 2nd color choice, but I have sworn to myself that if she changes her mind again she will be banned from deciding house/furniture/accent colors for the term of one year and that I will turn the basement into a mountain chalet-themed man cave- which might happen anyway, I am just really looking for an excuse to belay my guilt.