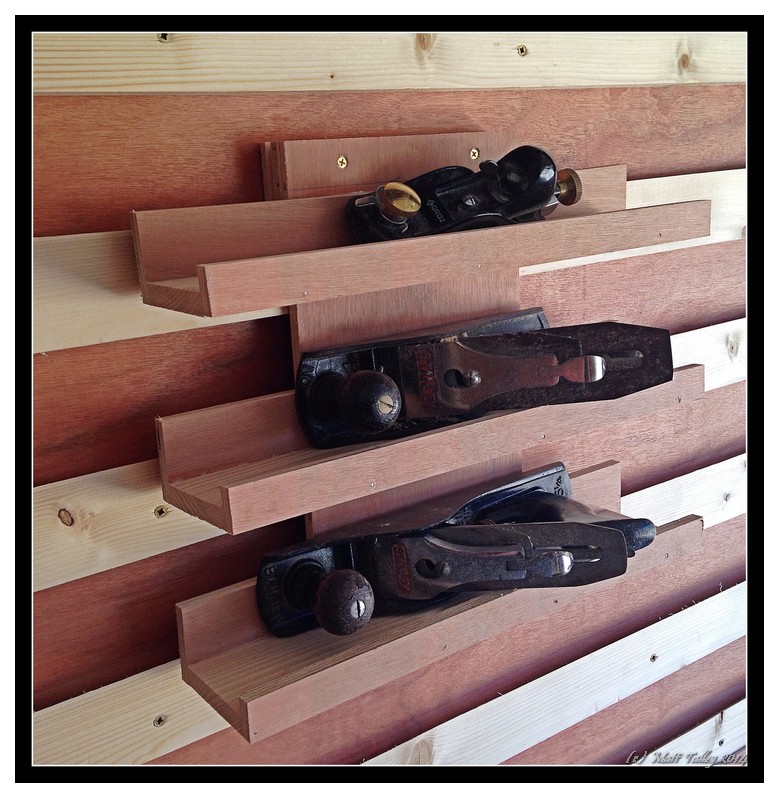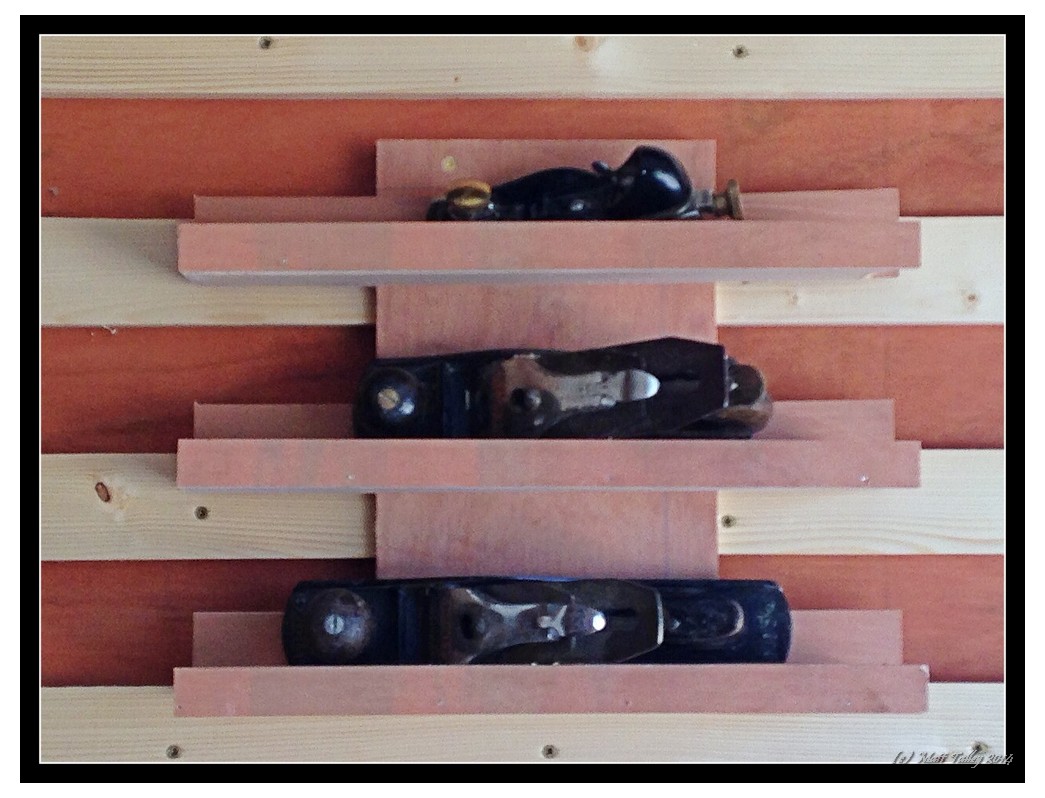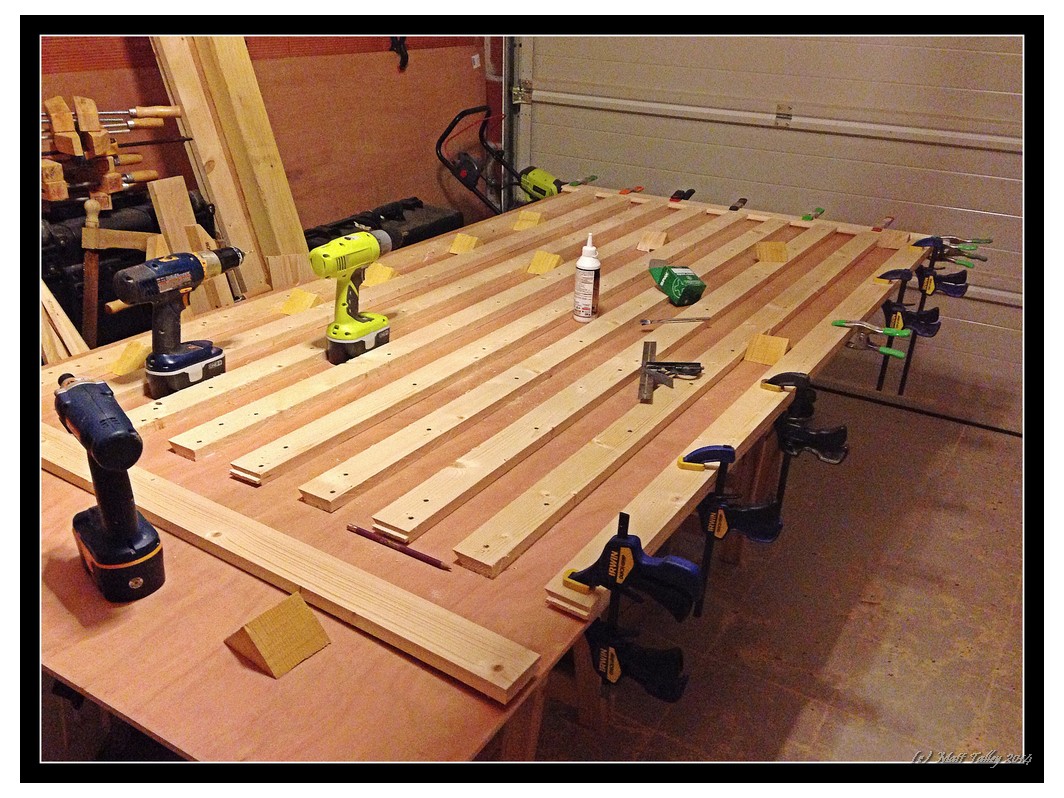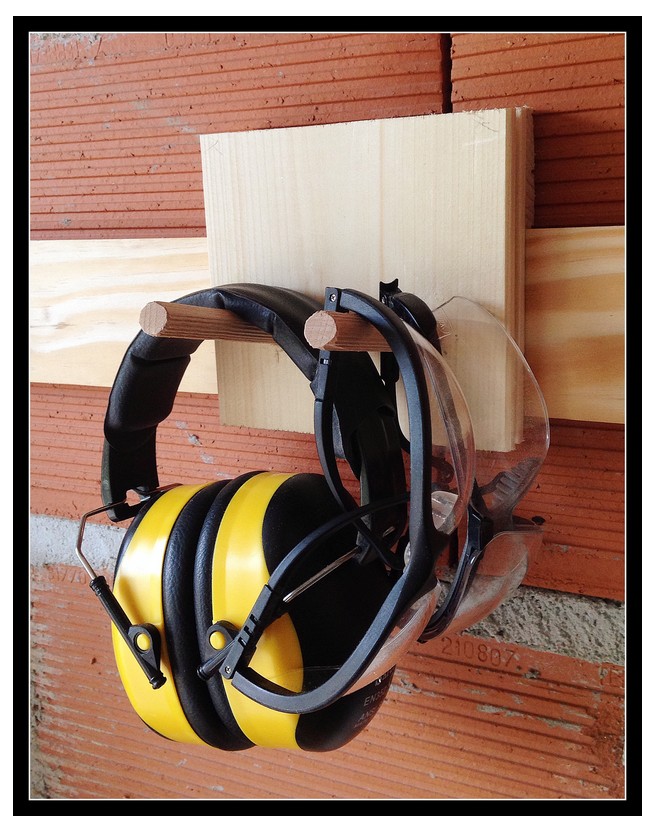
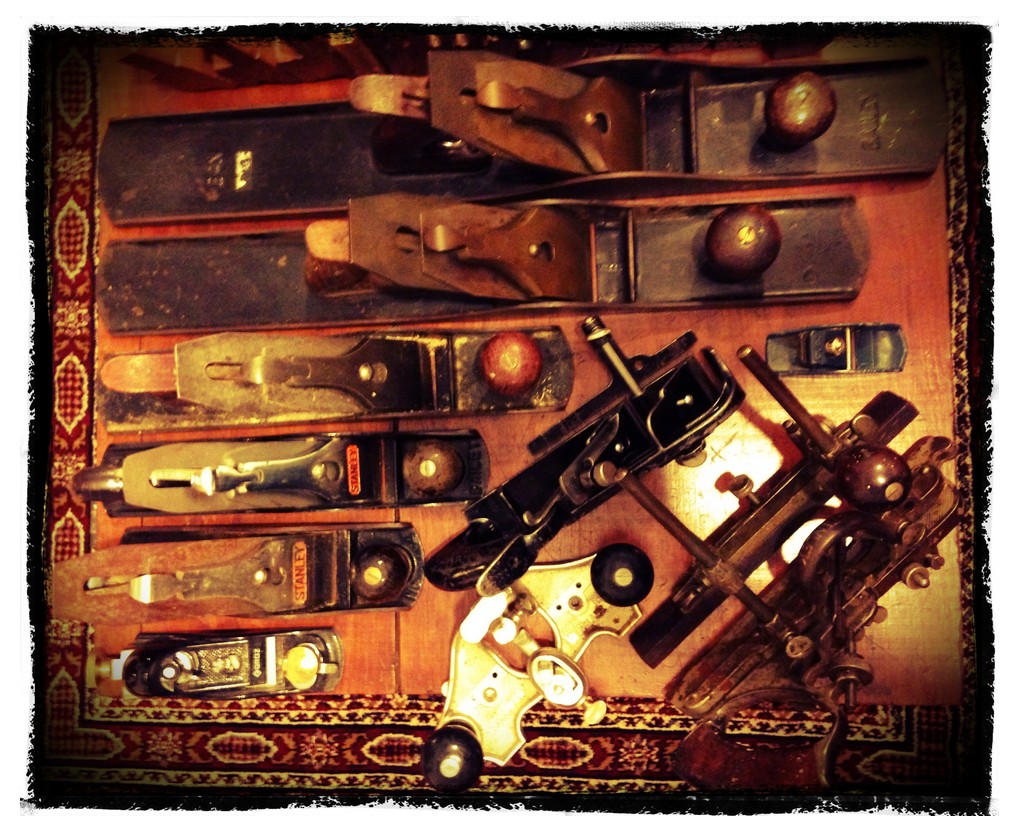
I use the bejesus out of my power tools. I LOVE my SawStop, my Bosch compound miter-saw is scary accurate, and my band-saw is magic, but there is room in my life and in my shop for lots of hand-tools. I am a child of both Norm Abram and Roy Underhill. I watched them both on PBS every Saturday after cartoons as a small child in 1981 until I was 44 or so. Their combined influence has made me value the old way of doing things without being a Luddite and I can appreciate modern cabinet shop/woodworking tools. Case in point: I have a 3HP Powermatic 3520 lathe and would not even want to think about turning a bowl or platter on a pole lathe with a forged hook knife. On the other hand, while I have not given up a single one of by 5 routers, I found years ago that it is sometimes faster to grab an old wooden molding plane from a shelf and take care of an edge detail or piece of trim. I can be done and dusted with the plane in the time it would take me to find the right bit an set up the router.
Because of my vocal love for hand planes, I get questions all the time from friends and acquaintances about what they should buy, where they should start, how to set something up, sharpening, truing a sole, etc… I thought I would take a minute to go over those things, stand on my soapbox a little, and give the world my opinions concerning hand planes.
.. Ascending my soapbox… Ahem…
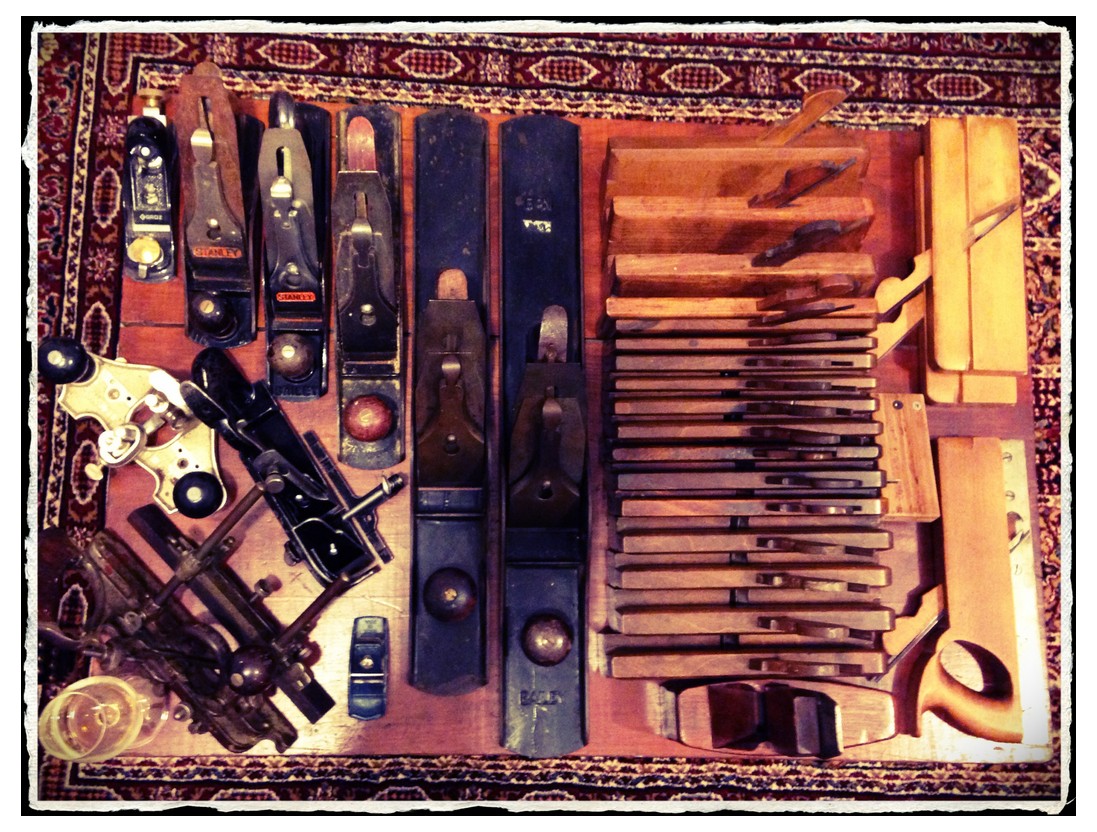
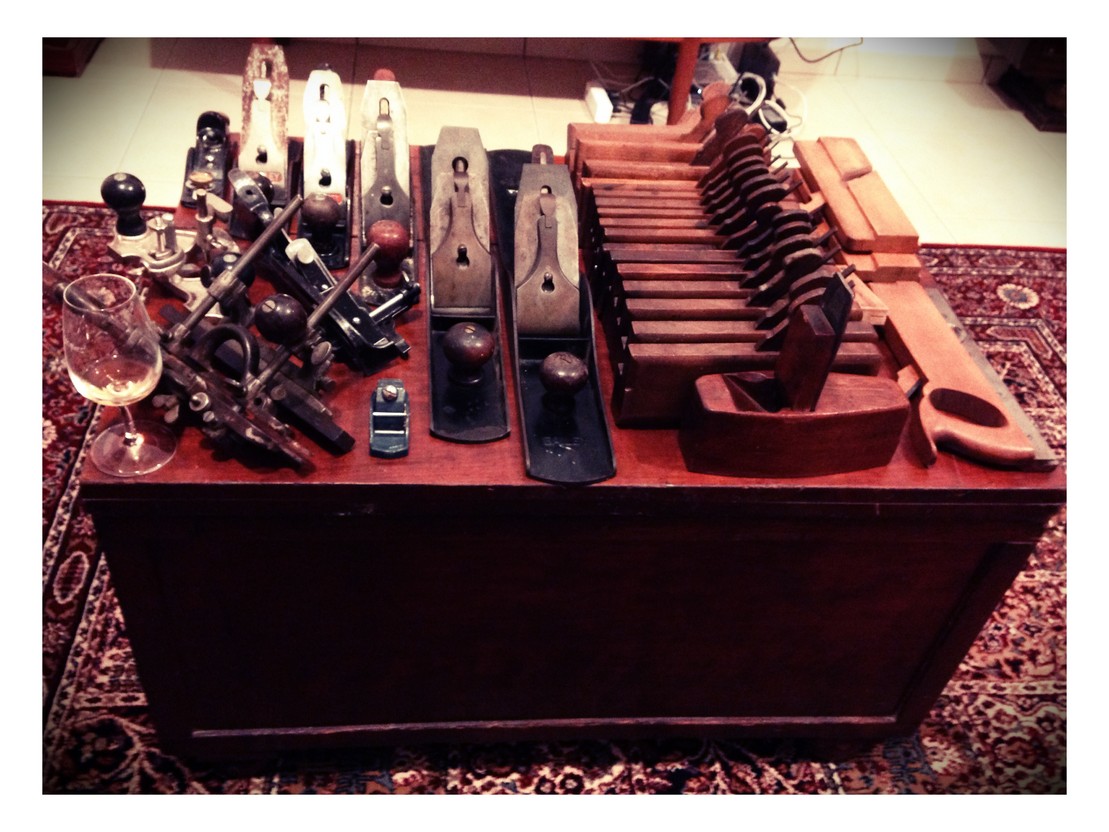
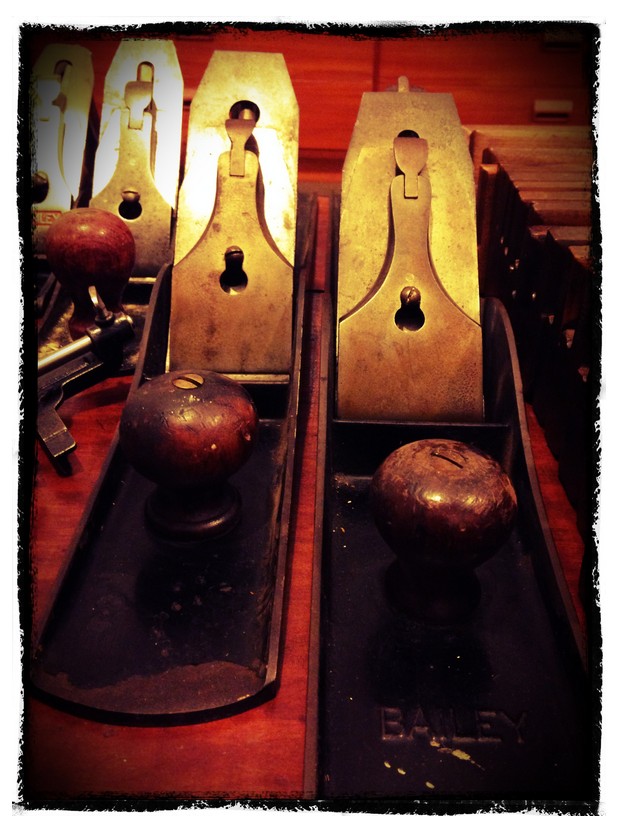
- Buy a quality block and #4 smoothing plane – Lie-Nelson, Wood River, or Veritas are great options. Stay away from used hand planes or classics until you get used to how a hand plane SHOULD work. Setting up an older Stanley or Bailey plane, sharpening, replacing parts and flattening the sole will drive you insane if you don’t know exactly what you are doing and will make you want to throw the thing and swear off hand planes forever. Start with the known good and once you know how it should function, then you can pick up a used #2 bench rabbit or a #8 corrugated bottom jointer and tune them sweetly – maybe. I would go over any prospective purchase with a scornful eye and replacement the blade and/or chip breaker on an old plane is required about 50% of the time, in my experience anyway.
Here is my list of the initial planes and accessories you will want/need ( I like the low angle but to each his own):
- Stanley Low-Angle Block Plane
- Shoulder plane
- Smoother plane
- Plane chip-breaker Screwdriver I swear to God you need this, really! When you mare the screw an a $200 plane because you didn’t listen, it is your own fault for not listening.
- Sharpener: get two…
- Buy a nice set of Japanese water stones 1000 to 8000 grit. Watch the videos and keep your blades sharp.
- Also, Japanese planes, like Japanese pull saws and water stones, are FANTASTIC. They deserve their own diatribe, but for the purpose of this post I will stick to western planes with the exception of an edge-rounding plane. I use mine constantly.
Nice to have once you get serious about using hand planes:
- Jack Plane
- Jointer planeSpoke shave Get the flat first then the curved. You probably wont ever need the concave one.
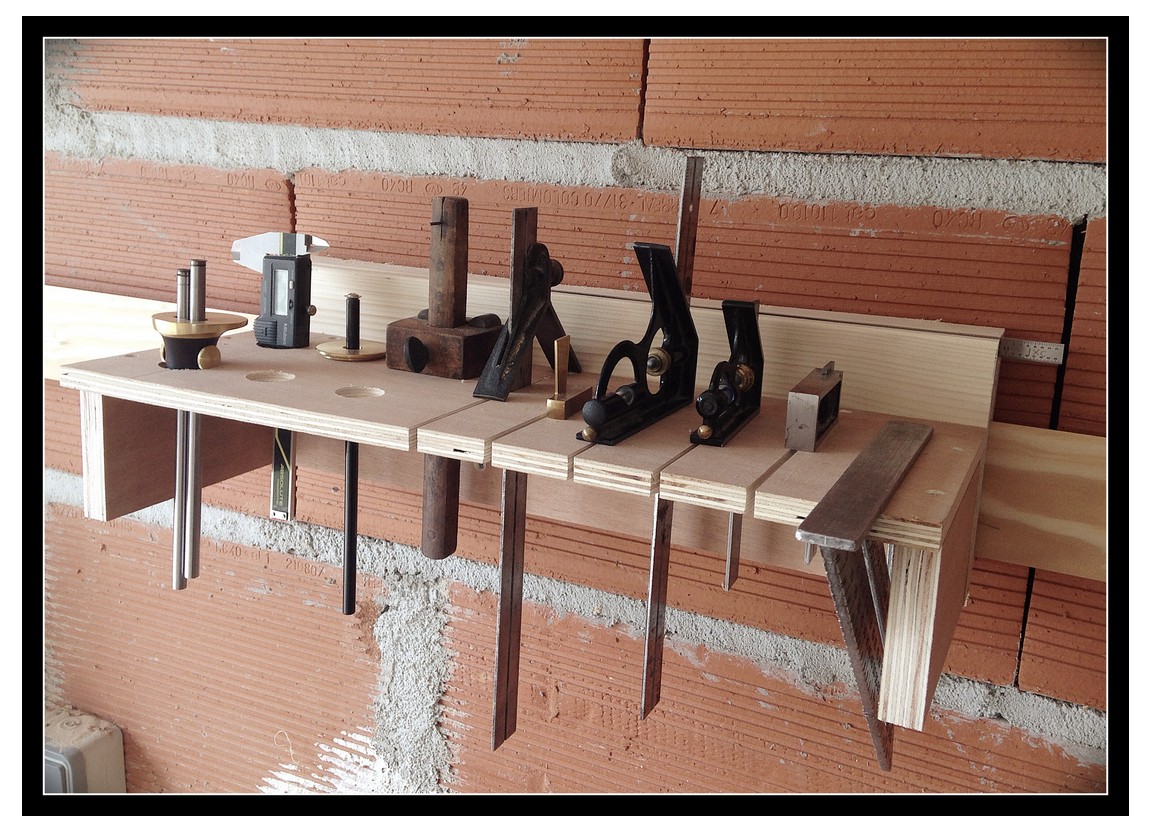
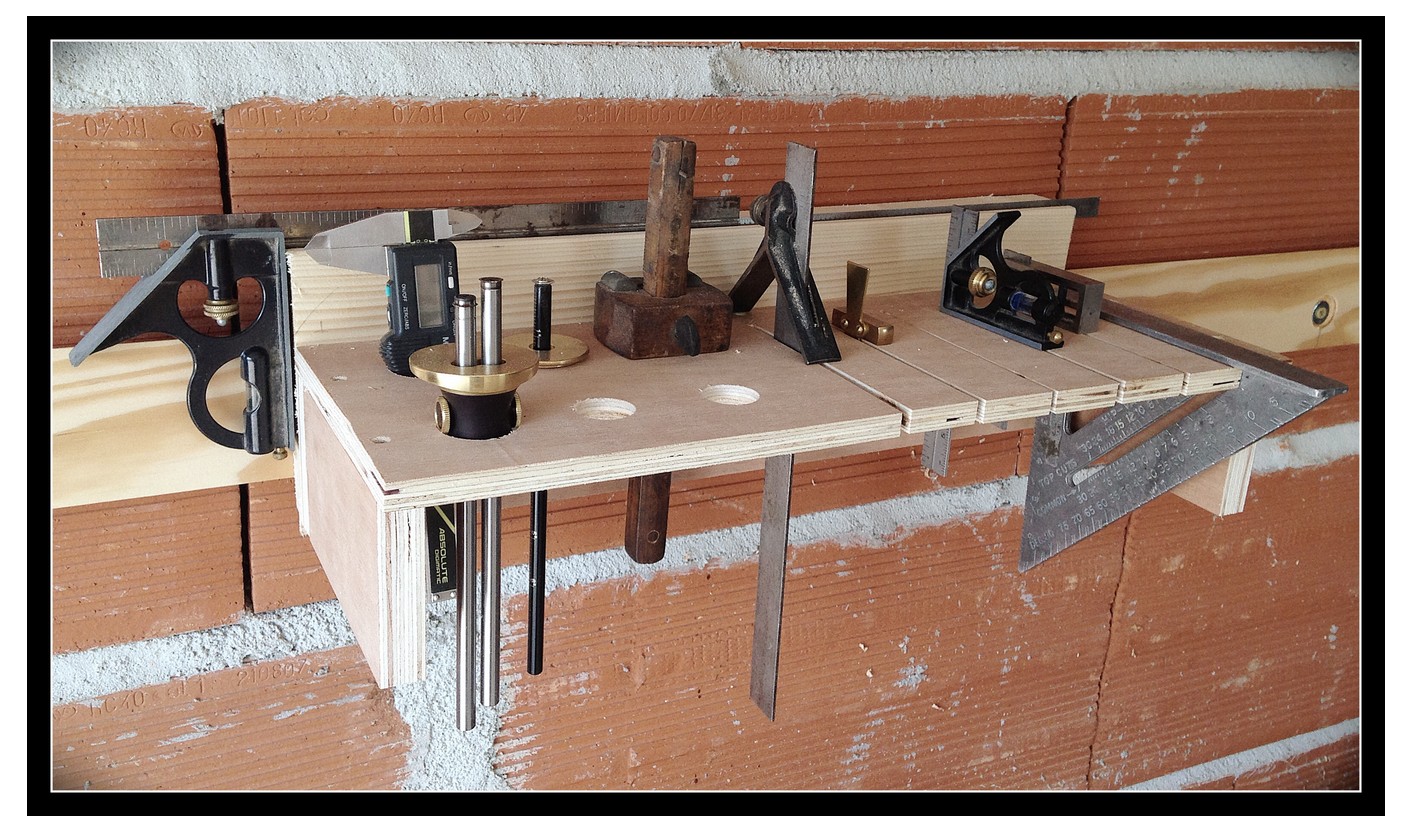
- This Router plane but, if I were in the market for a new one, this Walke Moore version is the nicest I have ever seen!
- Scraper plane – get the toothed blade
- A combination plane, but be wary of used Stanley Record #45/#46s. They can be a beast to swap around and if they come with all the original parts they are spendy!
- if you are going to be doing a lot of drawers or insets, then both a Left and Right Plow Plane are really nice to have
- Wooden molding planes : See below…
Once you have been bitten by the molding plane bug, you will want to run right out and buy a 1/2 or full set. Good luck. There are not a lot of makers out there and the ones that are doing it have a long wait list and are not cheap. Some people, like myself, invest is an older set. My molding planes include a 3/4 harlequin cove and round set (mixed from various makers and time periods) that I have carefully built over the last 9-10 years. The dates for my planes run from 1956 to 1930s to 1850s/70s and I have one from the 1790s that has an uncommon roman ogee shape that I use on boxes and 6-board chest lids. This collecting takes time as there has never been a set standard for what a #8 is, for instance, so there is a lot of variance in sizes between makers. I have replaced a few irons as well.
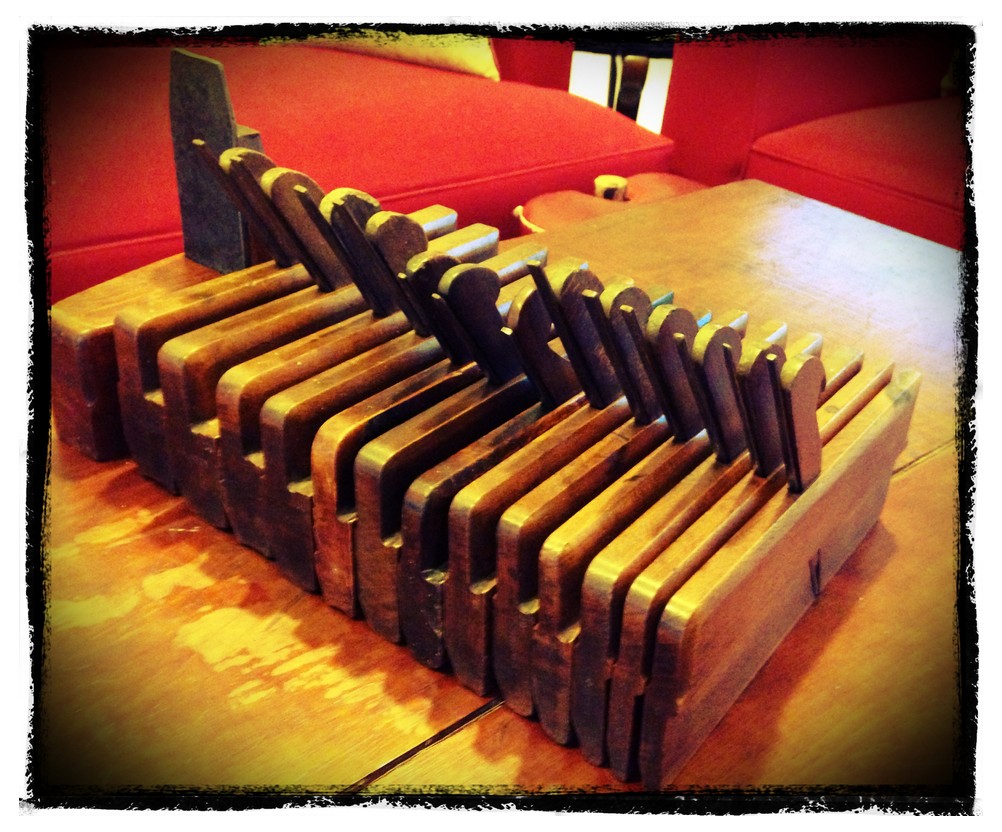


I often defer to people that are smarter than me and Matthew Bickford and Chris Schwartz recommend a set of #4 and #8 and a set of #6 and #10 hollows and rounds as an initial starter set. I would add that a 3/16 beading plane is a wonder to have as well if and when you start down this road.
To my own set, I have added some additional beading planes – up to 1/2″, tongue & groove planes for 1/4″ – 1″ stock, specialized profile molders, 1/4 rounds, scrapers, etc., but those is my own personal obsessive tendencies.
I failed miserably at finding a classic matched set of snipe-bills and half rounds (NEEDED for linen-fold panels). I have resigned myself to buy new ones from Old Street Tools, but I have to warm my wife to the idea of me spending serious cash on blocks of wood and iron that I will use 5-6 times a year. I have been working on her for 3 years and they are on my Christmas and birthday list every year. No luck yet.
Read Bickford’s Moldings in Practice (if you have bled with me or we have swapped spit, you can borrow my copy) and take a look at the video of the same name before jumping in. Molding planes can be sourced from the following, in no special order:
New planes:
- Caleb James
- Matt Bickford
- Old Street Tools
- Made in England Philly Tools
- J. Wilding Planemaker
Classic:
- Jim Bode Tools for reliable planes
- Liberty Tool has great molding and fine steel planes as well
- I have made some decent finds on Inchmartine Tool Bazaar
…and now I will dismount my soapbox…