Reusing/remaking old tools

I love me some old tools. I love looking at them, touching their surfaces, using them… Most of my hand planes, some of my chisels, and all of my molding planes are older them my grandfather. I will push people down in a junk/antique shoppe to get to a wooden plane or socket chisel peeping out from behind a Paint-By-Numbers masterpiece.

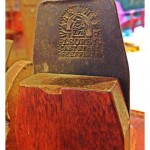
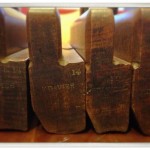
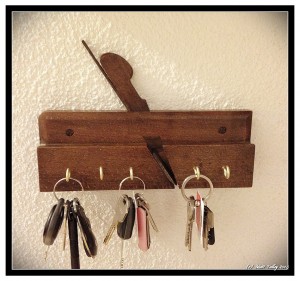
Occasionally, I find a beautiful tool that is beyond repair and cannot be brought back to life. I lament its loss. There have been a couple of pieces lately that I just couldn’t let go into the burn pile or let sit to languish as food for wood-worms. The molding plane pictured below was/is a 1860s-ish Gleave #8 round and was split and has warped at the split to the point that there was no bringing it back from the dead. So I cleaned it up, applied a little walnut oil, and added a VERY pitted iron to make a key holder for our living room. It subtly tells first-time visitors that a carpenter/Ébéniste lives here.

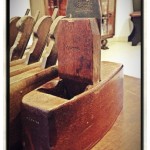
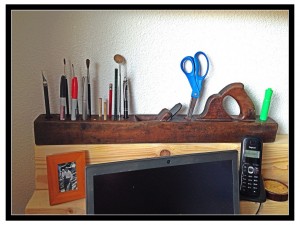
The 23″ walnut joiner plane, also below, was the property of a C. Wanger, and used just outside the village of Cornebarrieu, France. It bears the marks of his hand on the foreend and his thumb and index fingers have left deep indentions on the tote. It has been repaired a couple of times, the wedge has been cut off and worms got to it years ago. The poor thing is now held together with hope, spit, and a little epoxy. I loved the size and color, so I turned it into a desk organizer for my office.

Before you all start collecting scrap so you can roast me alive for desecrating beautiful tools, know that I rescued them from a fiery fate and have given these tools a useful and meaningful after-life.

Keys 2014 - France

IMG_3450

Tools I brought with me from the old country…

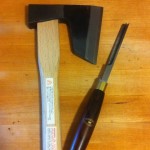
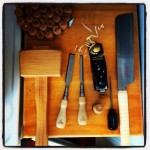
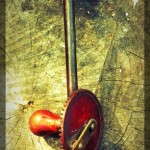
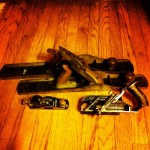
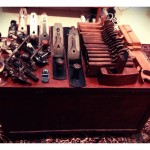
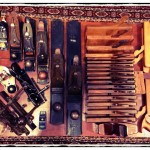
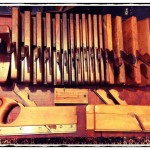
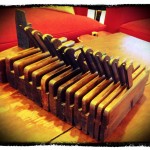
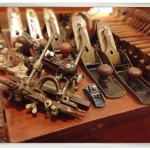
When planning our move to Toulouse, I came to the realization that I would not be able to take my entire shop with me. I didn’t relish the idea of replacing all my power tools and saws with 220vt/60Hz versions, only to have to sell them in a couple of years when we move back to Seattle. I decided that I would bring mostly my hand tools and and spend some quality time working small projects, cutting dovetails, tuning my planes, etc… There were three 24″X24″ boxes and one wooden chest full of edge moulding planes, Stanley Bench Planes, 4 rolls of chisels, mallets, Japanese saws, hand drills, dovetail tools, axes, draw knives, my half set (#2 – #18 even) of 1850ish Gleave hollows and rounds, squares, jigs, rasps, and assorted joinery paraphernalia.

My plan is to use the time here to do the detail work that I am usually in too much of a rush to even contemplate: carved scroll-work, mortised frames, insets, layered stain finishes, edging with the moulding planes, some light carving, maybe even cutting a few linen-fold panels. I have done a couple of little things already, but my first big task is to build a HEAVY work bench so that I will have a proper work space: I am going with a split top Neo-Roubo without a leg vise. I will be installing a cast iron Front Vise and a Screw Vise on the tail of the bench instead. No cabinets underneath so that I can store a shooting board and a Moxon vise. It WILL BE coming home to Seattle with us.

In the interest of full disclosure: I am not a neo-Luddite – I did buy an orbital sander right after we got here and I shipped my Ryobi 18vt tool set (circle saw, 2 drills, reciprocating saw, flashlight, & jig saw). The same sets are sold here and I got a 220vt charger that works with my existing batteries and picked up a couple of fresh new lithium-ion batteries in the process. Aside from the battery tools, I ordered a large wood lathe so that I can make furniture legs, tool handles, bowls, jar lids, platters, etc. I brought all my lathe chisels and chucks with me and I got a model that uses a DC motor that I can change over to one that runs on US current when we move back. It is much larger than my lathe in Seattle and will be a valuable addition to the shop there when we return.

The Ruminator’s Summer Visit – 2013

My son will turn 13 this winter – I feel so old. He came out to Seattle this summer for a visit and I was able to take the whole time off from work due to our pending move and the prep involved. We had the best time together and I can only hope and pray that as he ascends/descends into adolescence that our summers and time together are at least half as good as this summer was.

He is at the age where he is starting to take direction well and can stay on-task for a bit, so I put his little butt to work. We had a mountain of stuff to get done before we leave for France and his extra set of hands was incredibly helpful. We shopped for steel fence and stair rail, installed a speak-easy in the front door, cut and primed two stair rails, I taught him how to used an HVLP spray-gun to paint furniture, we stained table legs, used the router, he learned the first steps in using a wood lathe (he helped make his own carving mallet and made his mother a honey dipper turned from European beech), and he helped me measure, mark and chisel hinge pockets in the kitchen cabinet doors. My toe-headed son helped dig the two 18″ holes for the front entry stair rail, dug a hole up front, outside the fence, and helped replant a root-bound rosemary there. Since he was in mole-mode, we went into the back yard and he helped dig the hole for a new receptacle and motion light power pole near the back fence. We then squared and leveled the pole, braced it, ran conduit for the wire, and mixed & poured concrete. It was a long day and he was a tired little puppy after the digging and concrete work. I guarantee that he slept like a rock that night – I did.

The Ruminator also learned about how to properly use hand planes this summer – he loved them. Left to his own devises, he would sit in the shop for hours banging away on scrap with the chisels and making piles and piles of long, curly, paper thin wood shavings. He was channeling Roy Underhill and I was so proud!

It wasn’t all work though – I am not a slave-driver. There were bike rides, visits to the park and the beach, movies at the theatre and on the iPad, Austin Powers and South-park voice impressions (much to Stamps-With-Foot’s dismay), ukulele playing around the fire pit, and he is probably the first kid in his hometown to have ever been indoor skydiving.

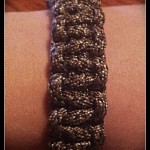
Knotted “survival bracelets” are popular right now and the one we tied up last year is now too small or was unraveled and used on some woodland adventure, I’m sure. We stopped at Home Depot on the way home from some outing and he picked out the paracord color and stainless steel shackle. We sat in the back yard with Stamps-With-Foot, chatting with a family friend while I tied a new bracelet. It fit perfectly and he beamed with gratitude. This was the summer that the Ruminator went to his very first Major League Baseball game – Mariners vs. The Red Socks – and had the whole hot dog/roasted peanut experience. We had great seats 23rows up on the first base line and the Mariners won. I was so happy to be there with him and it made my heart happy to see his face shine when a bat made contact and sent a ball into the outfield.

Probably the highlight of his trip though (for him) was when we went to the Washington Gathering of the Clans and he got a sword. A shiny steel Viking sword. Thinking back to when I was 12, I would have given up anatomy for a sword! I would have slaughtered vegetation, hacked fruit and veggies gruesomely, sheared branches, cut myself at least twice, tried to wear it to school, and gotten into some semi-serious trouble of some sort before my blade would have been taken away and put in that unknown place in my parent’s house from which there was no return – propped up next to my first pellet gun, beside that awesome surgical tubing slingshot, and near that box full of fire crackers. Anyways, I made him promise, not to do what I would have surely done – we will see how that works out. I bet he spent his first week back twirling the thing around like a mini blond Conan – to the annoyance of his mother.

He has been promised that if he does well in school and minds to a considerable degree, doesn’t act up in class, and helps around the house, he will get to fly to France for the summer next year. It is an amazing opportunity and I am looking very forward to showing my son France and Europe! Hiking, cycling, road trips, climbing, food, culture, language, all of it!
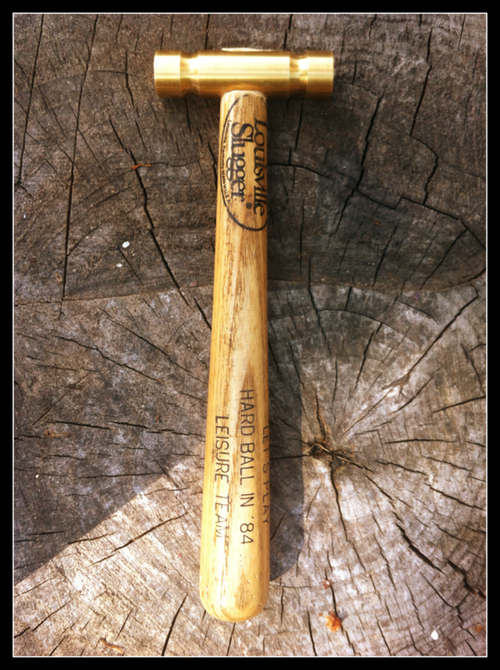
Hammer in my hand…

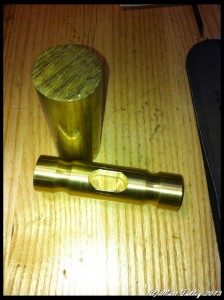
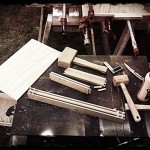
This is a plane hammer that I made from brass bar stock and a game-day bat from my youth. The hammer head was made on an old-school machinist lathe and I used a rasp and Japanese pullsaw to form the handle. A light tap is all it takes.


Getting ready for our move to France – first round

We/I have some serious work to do before we move to France for two years and we have a list of stuff that needs to happen. Here is the initial “to-do” post:

The Lawn:
The Nana is going to be moving into our house and will be puttering around the yard, planting flowers and the like, but there is no way that she will be pruning trees, cutting the lawn, weed eating, edging, or pulling pine needles out of the gutters. There is a little time, so we have contracted a crew to start taking are of the lawn now so that any kinks will be worked out.

In the spirit of full disclosure, the timing of this yard work transition was set into full motion only when my lawnmower blew up. Really, really – kaboom! As in there was a silver dollar-sized hole in the side of the piston housing and oil spewed everywhere. Right up until that moment the lawn caed transition was just a good idea. After it died, I threw it in the back of the truck, so it wouldn’t leak anymore oil on my grass and called the lawn service. There were a couple of things after their 1st visit, that I would like done differently, but on the whole, so far so good.
Projects:
The Kitchen HAS TO BE COMPLETED. I have stopped working on my Basement of Doom, the Campaign Camping Furniture, wood turning and a couple of refinish projects until the kitchen is complete. I will work down from there and not take on ANY new projects. I have two chests of drawers and a Duncan Phyfe Table that I want to complete and sell so that I am not storing them.

Shop:
I hate my table saw. I am going to out the beast on Craig’s List along with my contractor’s saw (Just collects spiders and sawdust), 12″ band-saw, small joiner, small drill press and the miter-box saw. None of them will work in France (50Hz vs. 60Hz power issues), so I can’t take’em with me. They are all old and have had a good life with me. It is time that I pass them on to new homes where they will see less use and live out their golden years making soapbox derby cars and bird feeders. I am planning to use any money made to invest in both some quality carving chisels and I will save part for the down payment on all new, cabinet shop-quality, power tools when we return to the US.

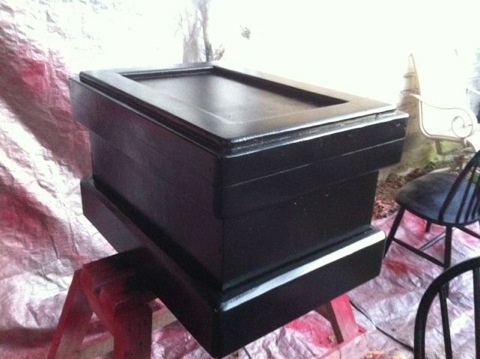
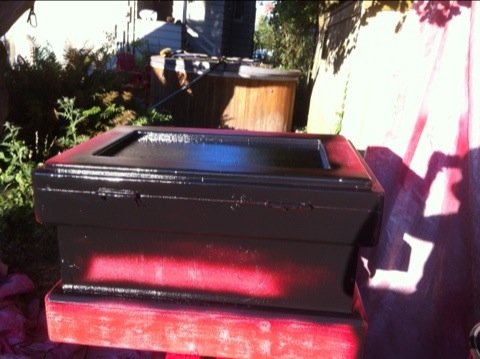
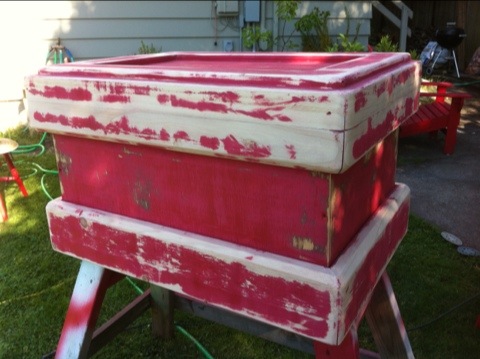
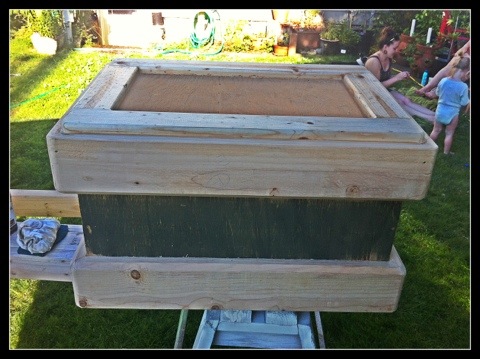
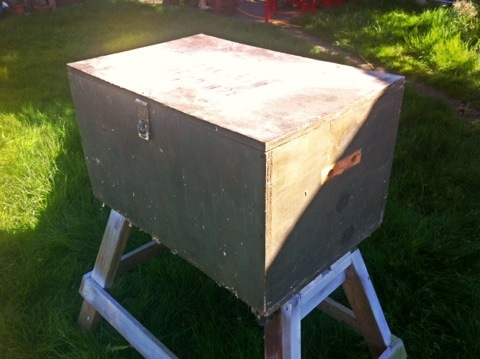
I can’t not build stuff, so I am taking the Anarchist’s Tool Chest route and am taking a rebuilt an old ammo/tool box (see evolution in pictures below) into a more useful tool travel case and will then show up in France with planes (22 of them), carving knives, mallets, hand saws, chisels, etc… The plan is to make smaller more detailed items, mostly by hand, while I am there (I will be sourcing a lathe and doing some bowl work though…).

20130718-102104.jpg

20130718-102216.jpg

20130718-102231.jpg

20130718-102246.jpg

20130718-102337.jpg

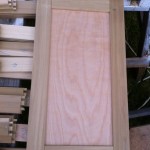
Building Custom Cabinet Doors

1. Buy dimensional 3/4″ poplar boards.
2. Plane to uniform thickness.
3. Rip 2″ and 3″ strips on the table saw.
4. Two dado cuts on table saw for 1/4″X 3/8″ panel groove.
5. Run each section on router because table saw is a POS and there is depth variation in all the grooves…
6. Threaten table saw with large iron maul – mean it.
7. Grumble a little.
8. Cut door stiles (sides) to length – Measure opening for stiles, subtract 4″ for stile width and add 3/4″ for double 3/8″ panel slot.
9. Write all measurements down on a non-descript sheet of paper.
10. Put measurements somewhere safe.
11. Take a 2 week to 4 month break because life gets busy.
12. Lose paper with measurements.
13. Tear house and shop apart looking.
14. Give up and re-measure.
15. Cut rails.
16. Lay all parts out and label, check sizing, trim two pieces, and pray a little.
17. Set up horizontal drill press to drill for dowel joints.
18. Screw up at least 4 initial holes.
19. Hit head in shop at least 3 times.
20. Build sweet dowel trimming jig for table saw – let head swell a little.
21. Cut 3/8″ off each dowel (8 per door).
22. Drill 16 holes per door.
23. Sand the cut-off end of dowel.
24. Dry fit first door.
25. Success!
26. Get out every bar clamp, hand clamp, and Quick-clamp that you own and set up clamping station.
27. Find original measurements for doors in the “safe place.”
28. Say dirty words very loudly. Repeat.
29. Add glue to dowels and joints and assemble door.
30. Apply judicious blows from wooden mallet to seat parts.
31. Get glue on hands and in hair.
32. Clamp up.
33. Wipe extra glue on door off with wet rag.
34. Repeat last 6 steps 8 more times.
35. Scrape clue, plane joints, and sand doors with 3 different paper grits.
36. Check and adjust door fit to openings and prime after more planning.
37. Re-prime and paint with two coats of white cabinet paint.
38. Mark, mortise, and install hinges on door.
39. Install red glass pulls.
40. Mark and mortise hinge/door onto cabinet.
41. Check fit and adjust 2 to 9 times.
42. Repeat steps 28 thru 41 eight more times
43. Drink three beers and swear to never build your own kitchen cabinets from scratch ever again!