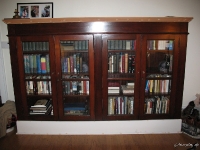
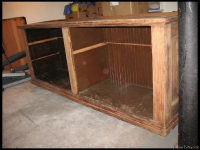
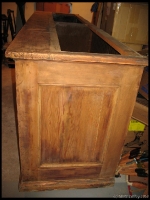
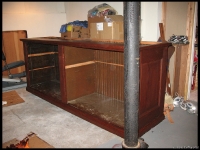
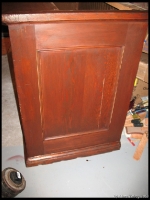
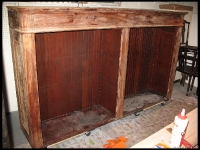
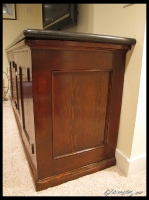
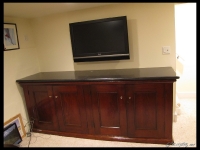
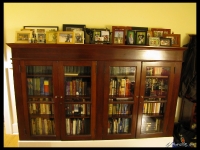
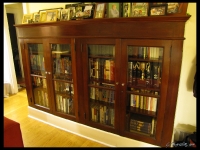
Right after we bought our place, I saw an add on Craig’s List for a huge hutch. It piqued my interest and I went by to take a look at it. A builder had pulled it out of a church school in Queen Anne, but it had been in the rectory library before that. It was in really bad shape: paint splattered here and there, broken and missing trim, missing glass, dents, dings, scratches, etc… Even with all that, I saw potential. After some surprise haggling, I loaded it on my truck and brought it home. This was right after I had shoulder surgery for the fourth time, so I would not be man-handling two 8 foot by 4 foot sections of furniture… I picked up some laborers in the Home Depot parking lot by the house and had them load it into my basement where it sat taking up space for three months before I felt strong enough to tackle the job. Below is the truncated build process in 67 easy steps:
- Looked at hutch for too long and decided to get it done.
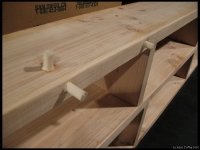
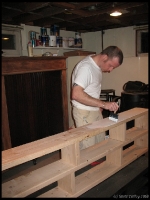
- Started with bottom section – doors removed.
- Stripped off all old paint and varnish from outside with “environmentally friendly” orange stripper.
- Scraped and scraped stripper off.
- Cussed “environmentally friendly.”
- Put more stripper on.
- Scrubbed off again.
- Wife helped for 40 minutes, hated it and didn’t touch either section again.
- Shoved a 1″ splinter under one of my fingernails.
- Said the “F” word 5+ times, bled on base & floor and thought about cutting it all up for firewood.
- Washed whole thing with paint thinner to stop the stripper residue from working any more.
- Let dry and sanded whole case with 120 grit.
- Sanded with 220 grit.
- Sanded again with 220 grit.
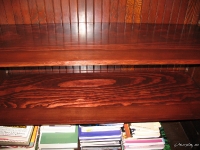
- Stained with a crazy pricey, but color-matched mahogany tinted oil-based stain.
- Used wife’s special dish gloves.
- The old, old fir had issue with the stain and was a little splotchy in some really key spots.
- Was grumpy for two days.
- Second coat of stain used to blend some areas.
- Put on first coat of wipe-on poly acrylic semi-gloss finish.
- Wife found stain covered dish gloves and I got in trouble.
- Went to store and bought wife new gloves.
- 24 hours later, scuffed finish with white 3M pad and applied finish coat 7 more times.
- Spent HOURS on the final coat.
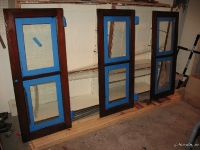
- Repeated all above steps with the four raised panel doors.
- Installed 100+ year old glass pull-knobs on doors.
- Whole process took two months.
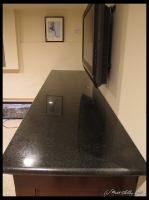
- Moved base into finished side of basement for use as a media cabinet and LCD TV base.
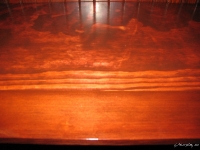
- Went downtown to Chinese-owned granite shop on Seattle’s 1st Ave and haggled over granite for top.
- I am a poor negotiator in Chinese.
- Left and came back with Mandarin speaking co-worker.
- Got GREAT deal on custom top. 1/12th of the price that I was quoted at Home Depot – really!
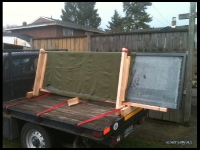
- Built A-frame jig for back of truck to haul granite.
- Picked up top and hauled home.
- Bribed 4 neighbors to help move it into place.
- Neighbors won’t answer my call anymore…
- Four months from start to finish.
- Two weeks later I started the top section.
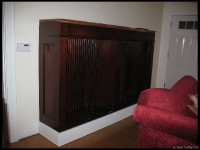
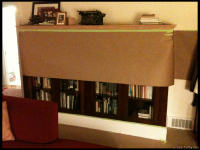
- Decided to make top section into a living room “built-in.”
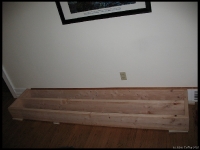
- Built, painted and installed new 8″ base for the top section in our living room to match existing trim.
- Removed the doors, hardware, and hinges.
- Repeated steps above with the exception of splinter under nail and use of wife’s gloves: I learned my lesson the first time.
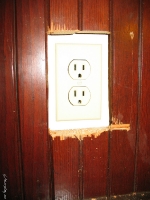
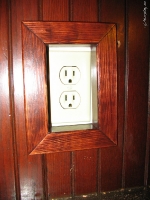
- Cut hole in back for outlet already on wall.
- Had other, unsuspecting neighbors help me move the top section up.
- New neighbors called me names after it was all done.
- Hole for outlet 1″ off to the left.
- Said hateful words.
- Grumpy again.
- Calmed down and used Dremel tool and coping saw to remove section from one side and glued it to other side.
- Trimmed out outlet hole.
- Stained and finished outlet trim.
- Had wedding and took 30 day break in the rebuild/refinish process.
- Started looking for matching trim and crown molding at reclaimed lumber yards.
- No Luck.
- Had crown custom milled at high cost by a shop in SODO that had 90 year old machines running on their floor (shop closed about a month after I was there last 🙁
- Started the process of refinishing the doors.
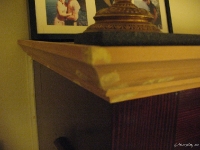
- Installed crown molding.
- Shot nail through molding and into palm on final piece of crown.
- Bled on top of hutch – no dirty words.
- Installed refinished doors.
- Built two interior shelves out of 80 year old fir floor boards. Stained and finished – look original!
- Smacked the back of my head when installing shelves and almost knocked myself out.
- Sourced and purchased piece of wavy restoration glass to match original broken pane.
- Stained and finished the crown.
- Put final coat of trim paint on the new base.
- Installed the one missing glass pane.
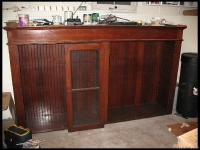
- 5 months after base installed the top is done and looks like it has been in our place since 1928.
Never again.
