Kitchen Island – Update

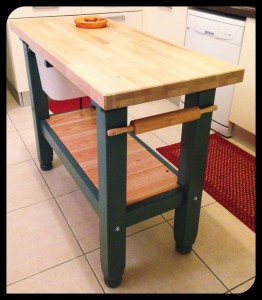
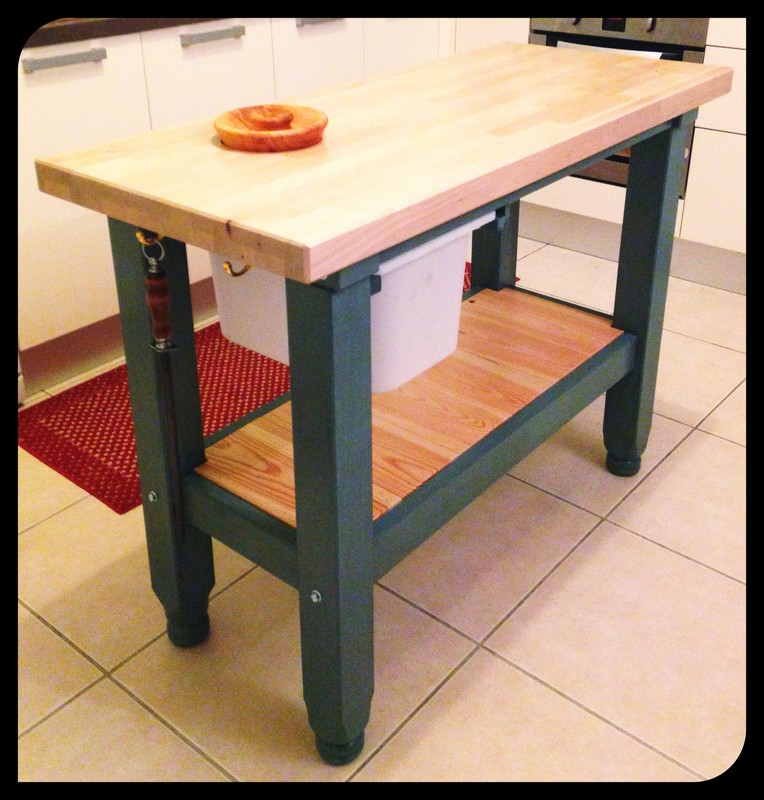
It has been almost a year since I built (with help from The Ruminator) Stamps-With-Foot a kitchen island and she has loved it (so I am told) and used the bejesus out of it.  I made a couple of additions and there are a a few observations:

  1. The wood I used as the base platform shelf was REALLY wet and I put 1/16″ spacing between the boards.  WAY too much.  I should have wedged them in as tight as possible because they have shrunk and now I have 1/8 gaps in a couple of places.  No big deal since it is tongue and groove, but I don’t like spacing that large.
  2. I installed an Arkansas Razorbacks bottle opener on one of the legs.  It was required.
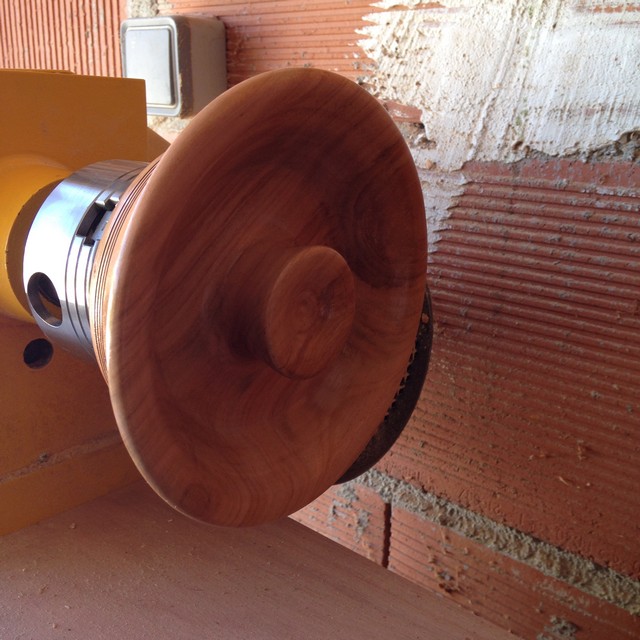
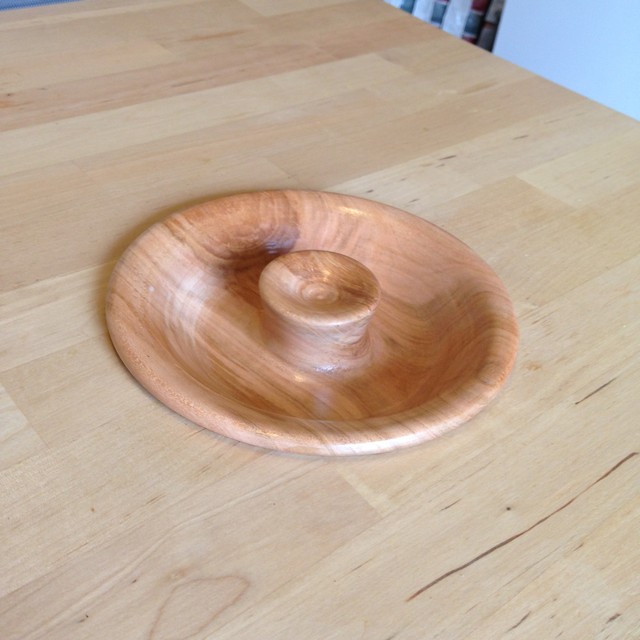
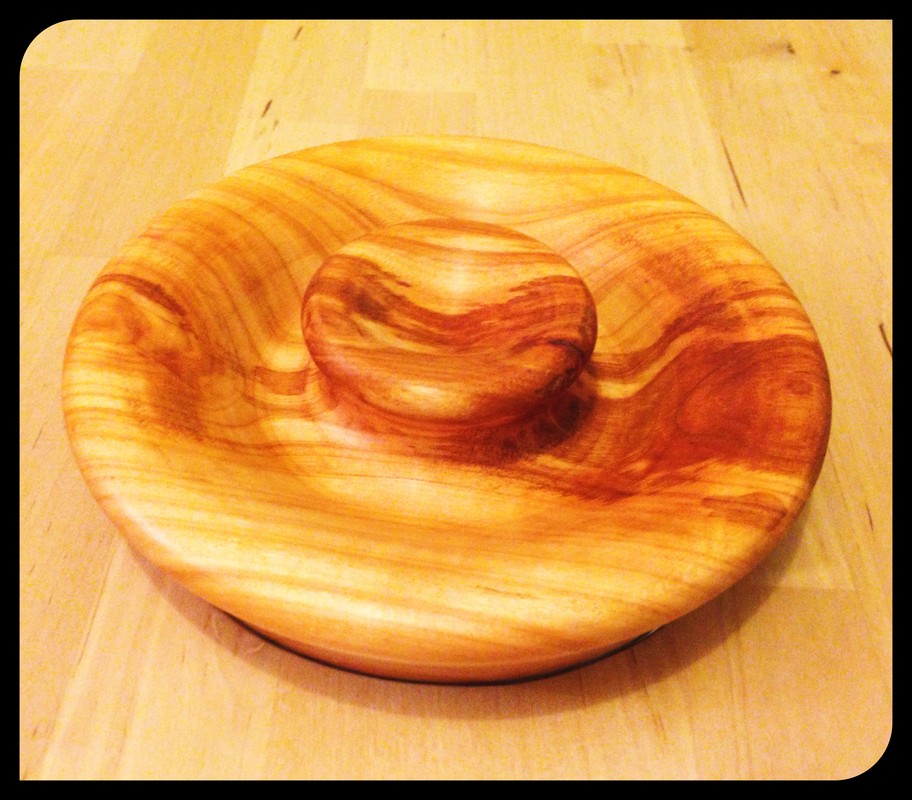
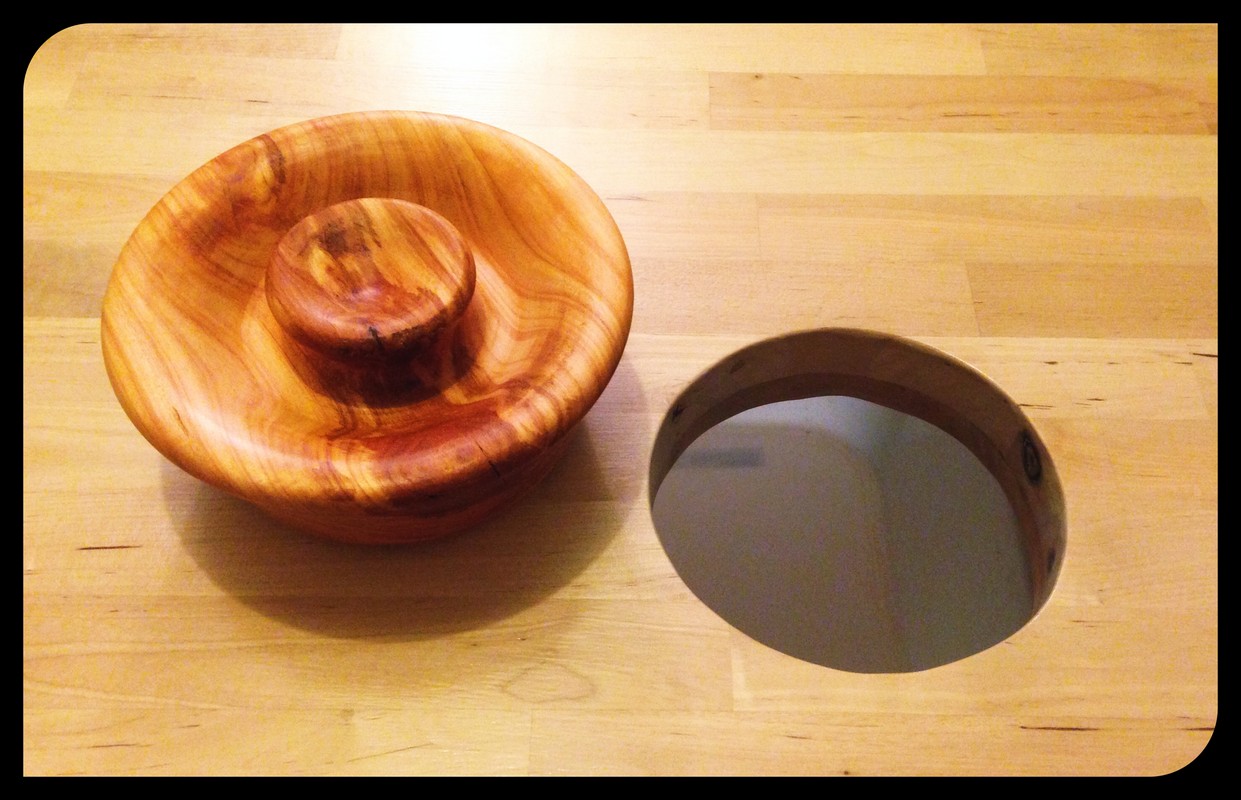
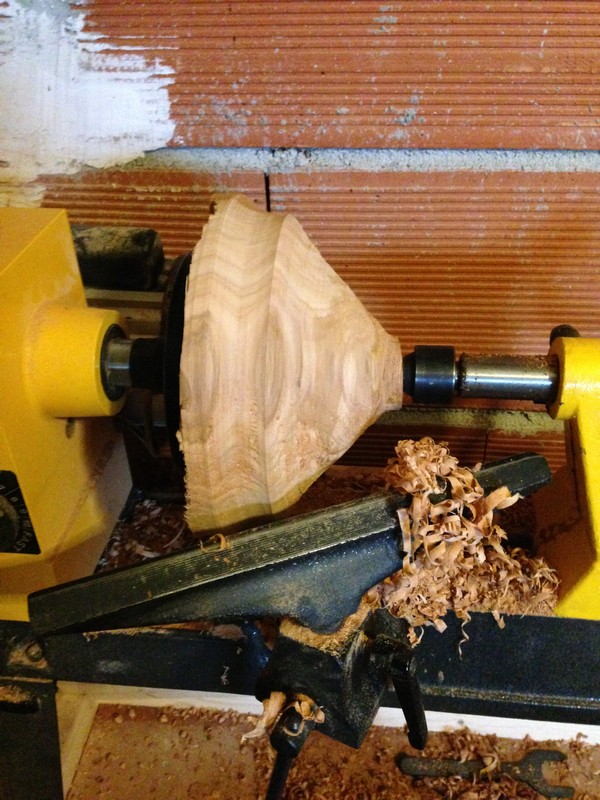
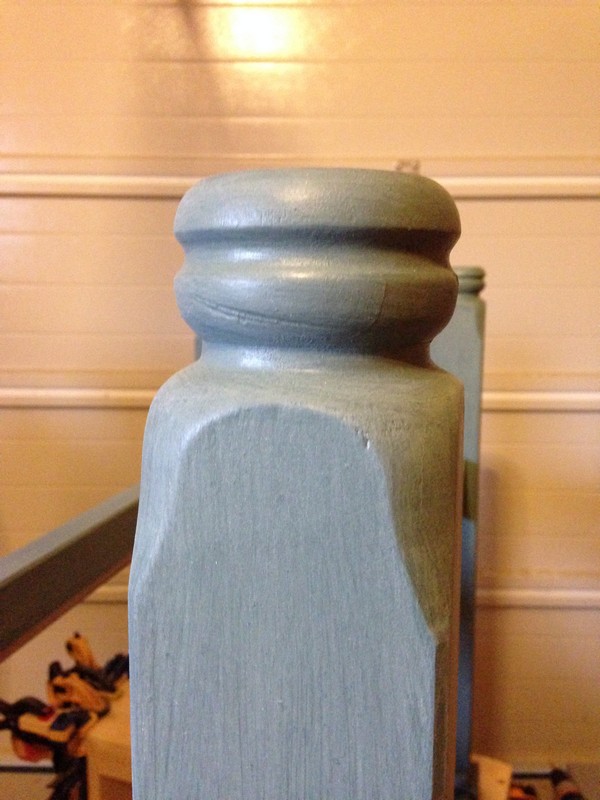
  3. I had used a hunk of cherry tree trunk/firewood and turned it down as a lid/plug for the scrap hole.  I turned it too large since it was really wet and was bound to shrink/warp/crack.  My best guess is that it is done moving, so I put it back on the lathe and turned it down to size and changed the profile a little.
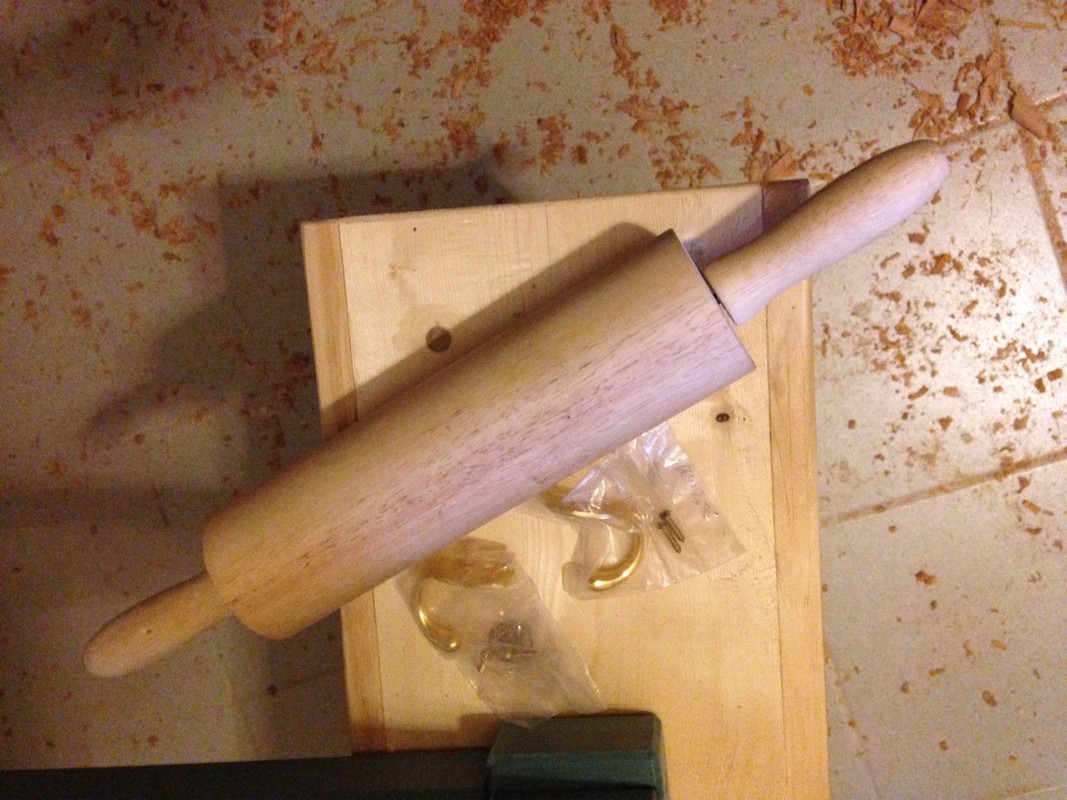
  4. The rolling pin is a great towel holder, but I should have/need to stop it from rolling – the towel slips off and onto the floor occasionally.
  5. I also originally finished the plug with walnut oil, but it gets handled a lot by wet hands and I had to oil it every couple of weeks.  This time I finished it with 3 coats outdoor polyurethane and then added a coat of wax.


Matt Talley Kitchen-Island-France-2014-1-262x300

Matt Talley - Projects 2015_03

Matt Talley - Projects 2015_02

Matt Talley Kitchen-Island-France-2014-2-300x263

Matt Talley - Projects 2015_29

Chopping Block Kitchen Island – IKEA Hack

Stamps-With_Foot has wanted a chopping block island for years. Our kitchen in Seattle just didn’t have the room for one, but the kitchen in France was PLENTY big enough. I looked into taking some 5/4 maple and gluing it up for her, but without a table saw and a power planer it would have been REALLY difficult. We found a couple that were already built, but they were between 400 and 900 Euros. No.Thank.You. After some deliberation, I decided on an IKEA island – the Groland. Stop Laughing and put down the stones…

While my son (The Ruminator) was here in France on his summer vacation, we bought one in a box, strapped it to the top of the car, drug it home, and started putting it together. I couldn’t leave it stock though, that is just not how I operate 🙂 We added a few flourishes to make it “better.”

1. Turned the legs on the lathe to give it bun feet
2. Glued it all together and added some extra dowels for reinforcement
3. Removed the steel rods on the original and plugged the holes with Dowels
4. Painted the base with a Sea Green Milk Paint
5. Added an additional block section to the bottom of the top panel – to make it super-solid
6. Cut a 6″ hole in the top for sweeping scraps off the work surface
7. Put a large plastic bin – removable from both sides – under scrap hole
8. Bolted rolling pin to one side to towels and placed 2 brass hooks on the other side
9. Scrapped the wood lattice bottom panel and used 7/8″ tongue and groove clear pine decking boards instead.
10. Polyurethaned the top – 5 coats – and bottom shelf so they match and make the painted base “pop”
11. Took a hunk of cherry tree trunk and turned it down as a lid for the scrap hole.

My Son and I had it installed just in time for my chef Father-in-Law, The Chatty Buddha, to visit and whip up a few fine meals using it as a work platform

Kitchen Island France 2014 (1)

Kitchen Island France 2014 (2)

Kitchen Island France 2014 (3)

Kitchen Island France 2014 (4)

Kitchen Island pieces 2014 (1)

Kitchen Island pieces 2014 (3)

Kitchen Island pieces 2014 (2)