Film Friday – Home Garage Car Lift Details

The short film below is part on my on-going series on YouTube discussing and showing my garage/shop build process. It details my experience of having a 2-post Rotary Revolution RTP10 vehicle lift, why I went with the type/brand/style that I did, thoughts after using it for 9 months, and what I might do differently if I could go back in time.

As Always, likes are really appreciated on my YouTube Channel!

Car Lift and Jeep CJ-7 Saga/Search/Information

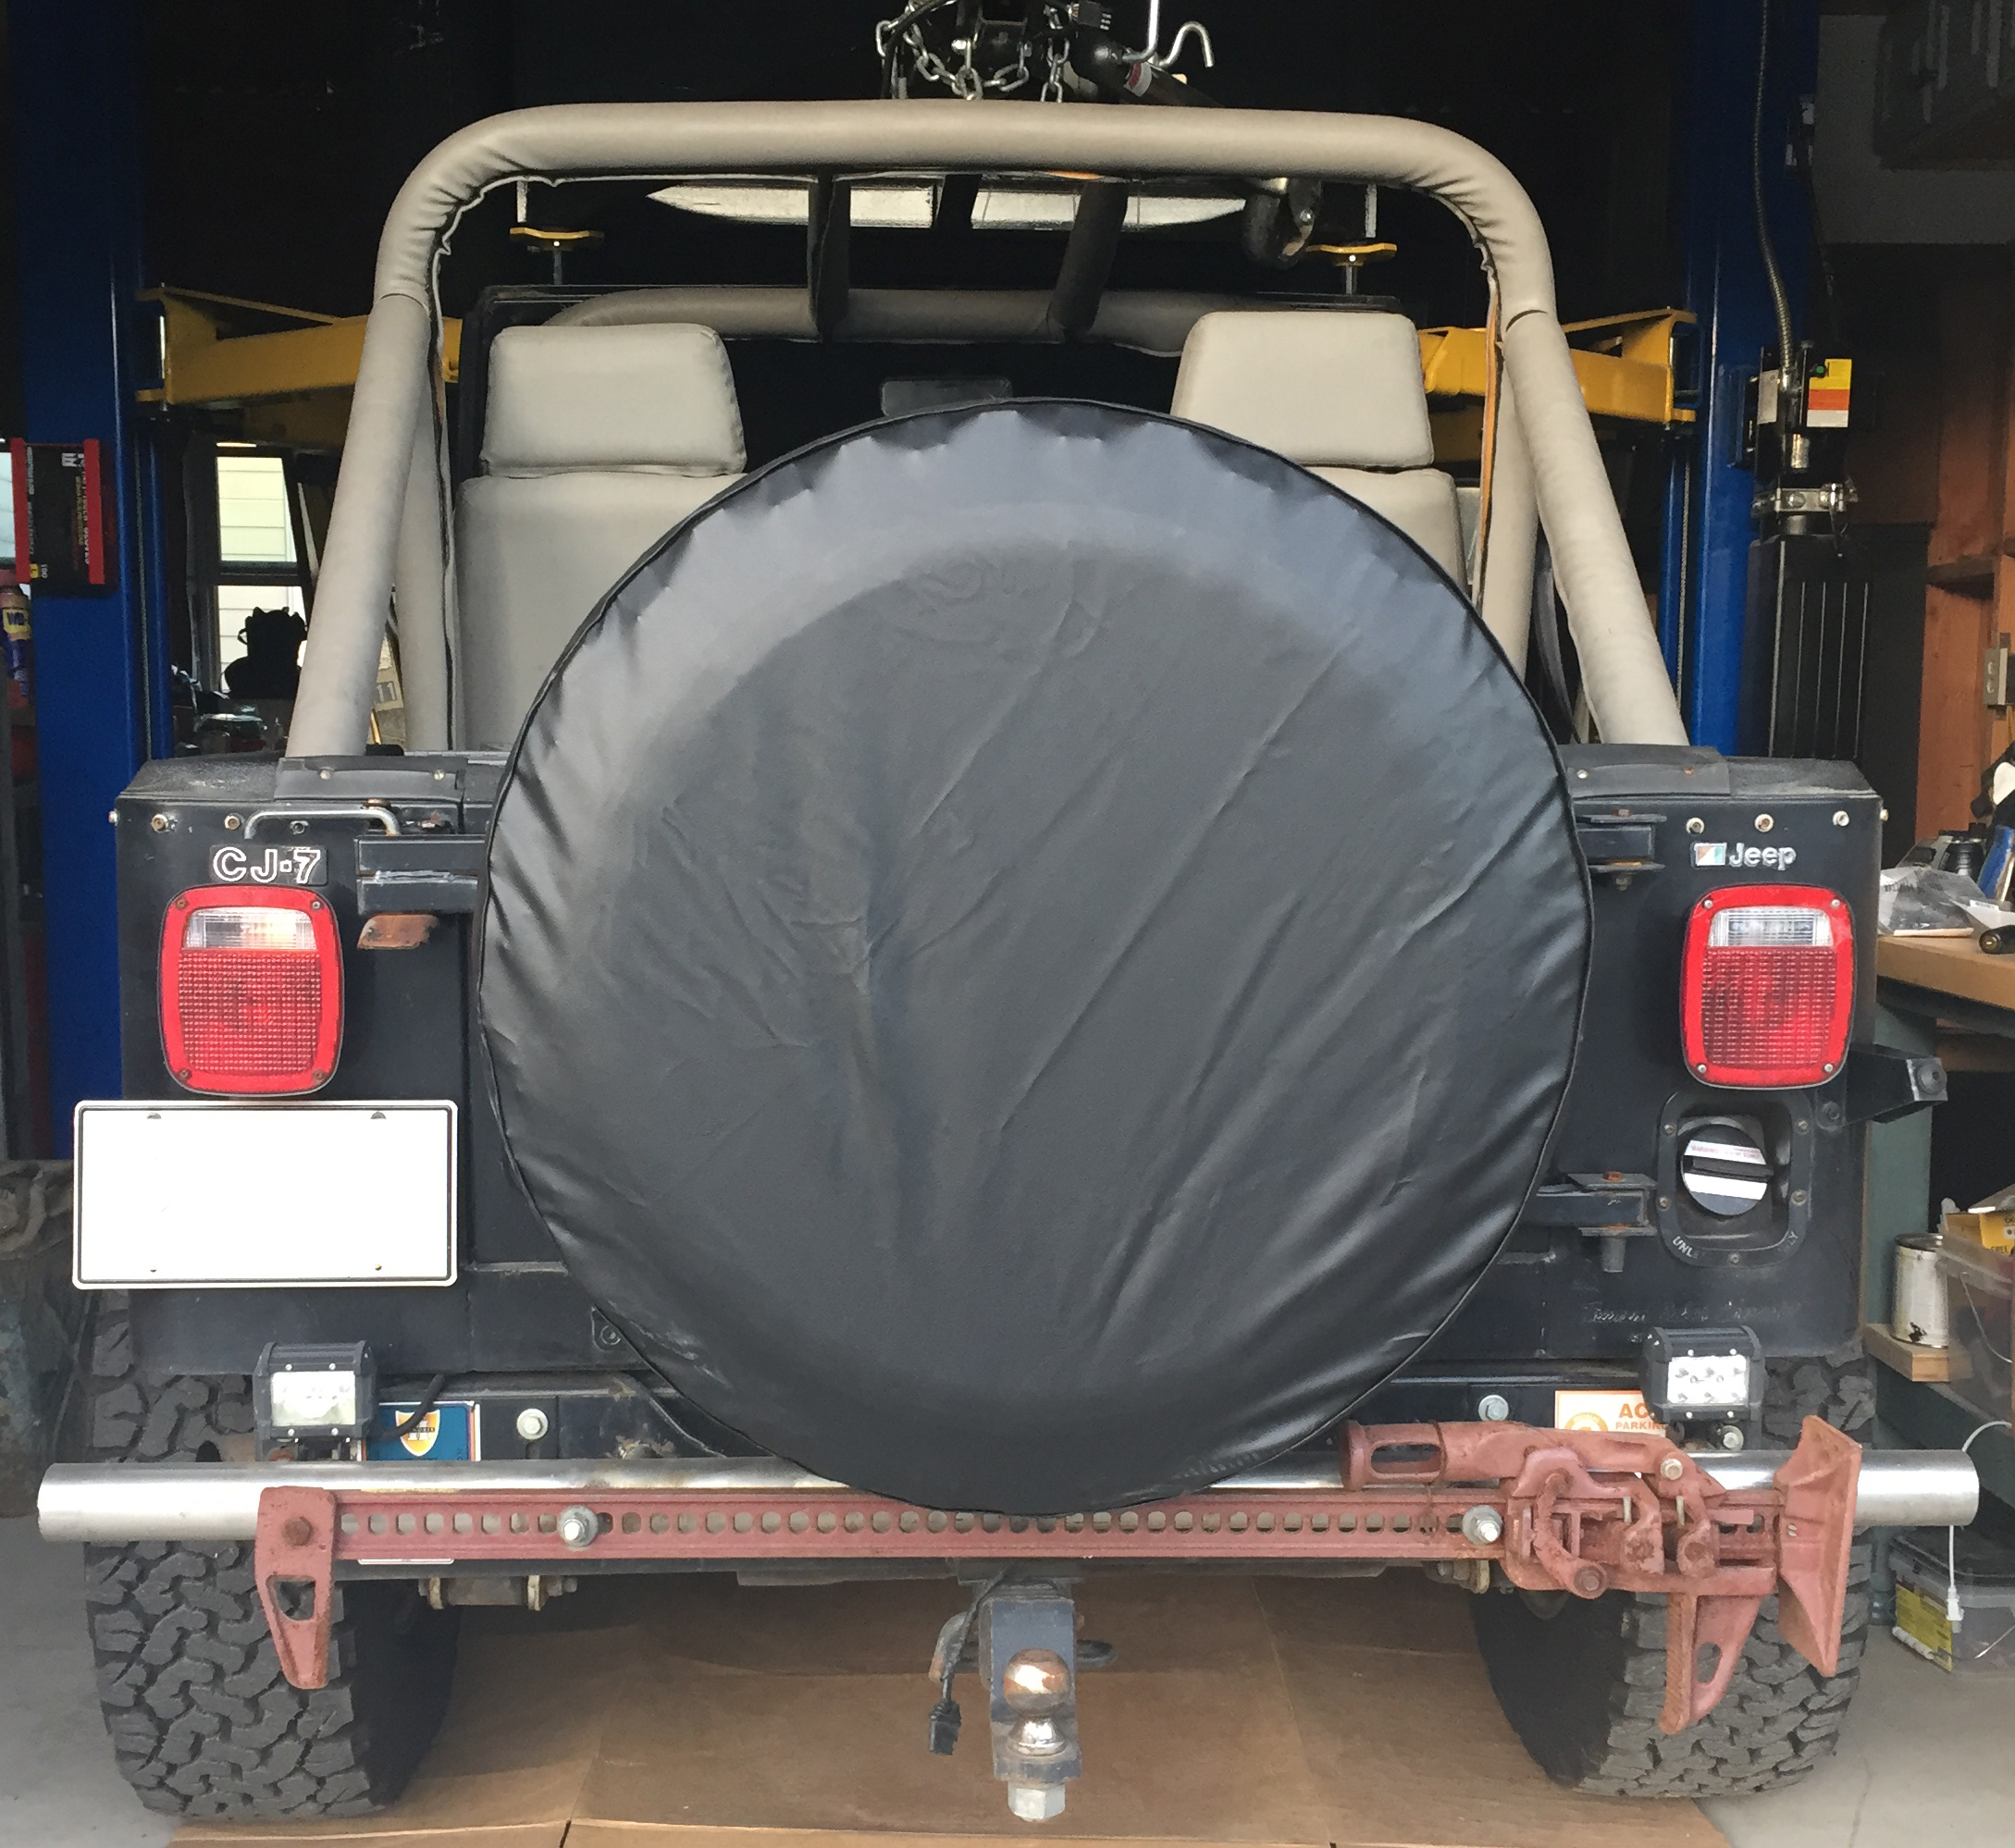
Before putting 4000 pounds of 31 year old Toledo steel above my head for the first time I really needed the correct locations for a 2-post-lift pad placement points on a CJ-7.  I like who I am and I have some plans for the next 30 years or so and really didn’t not want to be that guy who squashed himself in his own garage.  It happens.

lift fail 1Lift fail 2lift fail 3


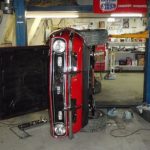
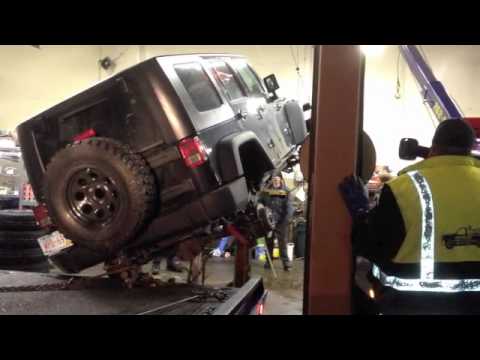
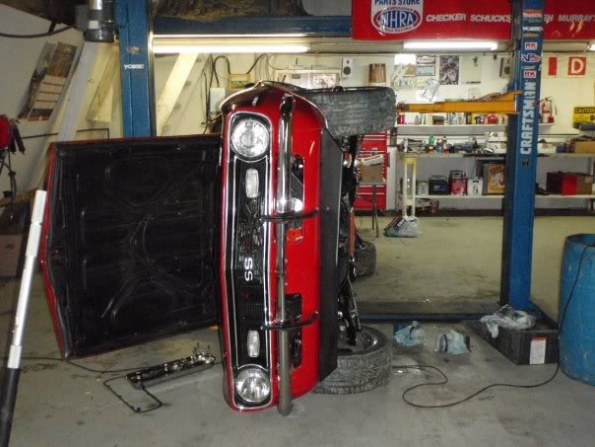
I have seen two jeeps on their sides at dealerships after falling off lifts, countless other lift fails, and have seen CJs put up in the air at least four different ways.  I have had a couple of cars in the air since building the garage, referencing their owner manuals for lift placement, but not the Jeep yet. Again, I didn’t want to be the guy that drops his 4X4 pride off the lift in his own garage. I started doing a little research and asking questions.

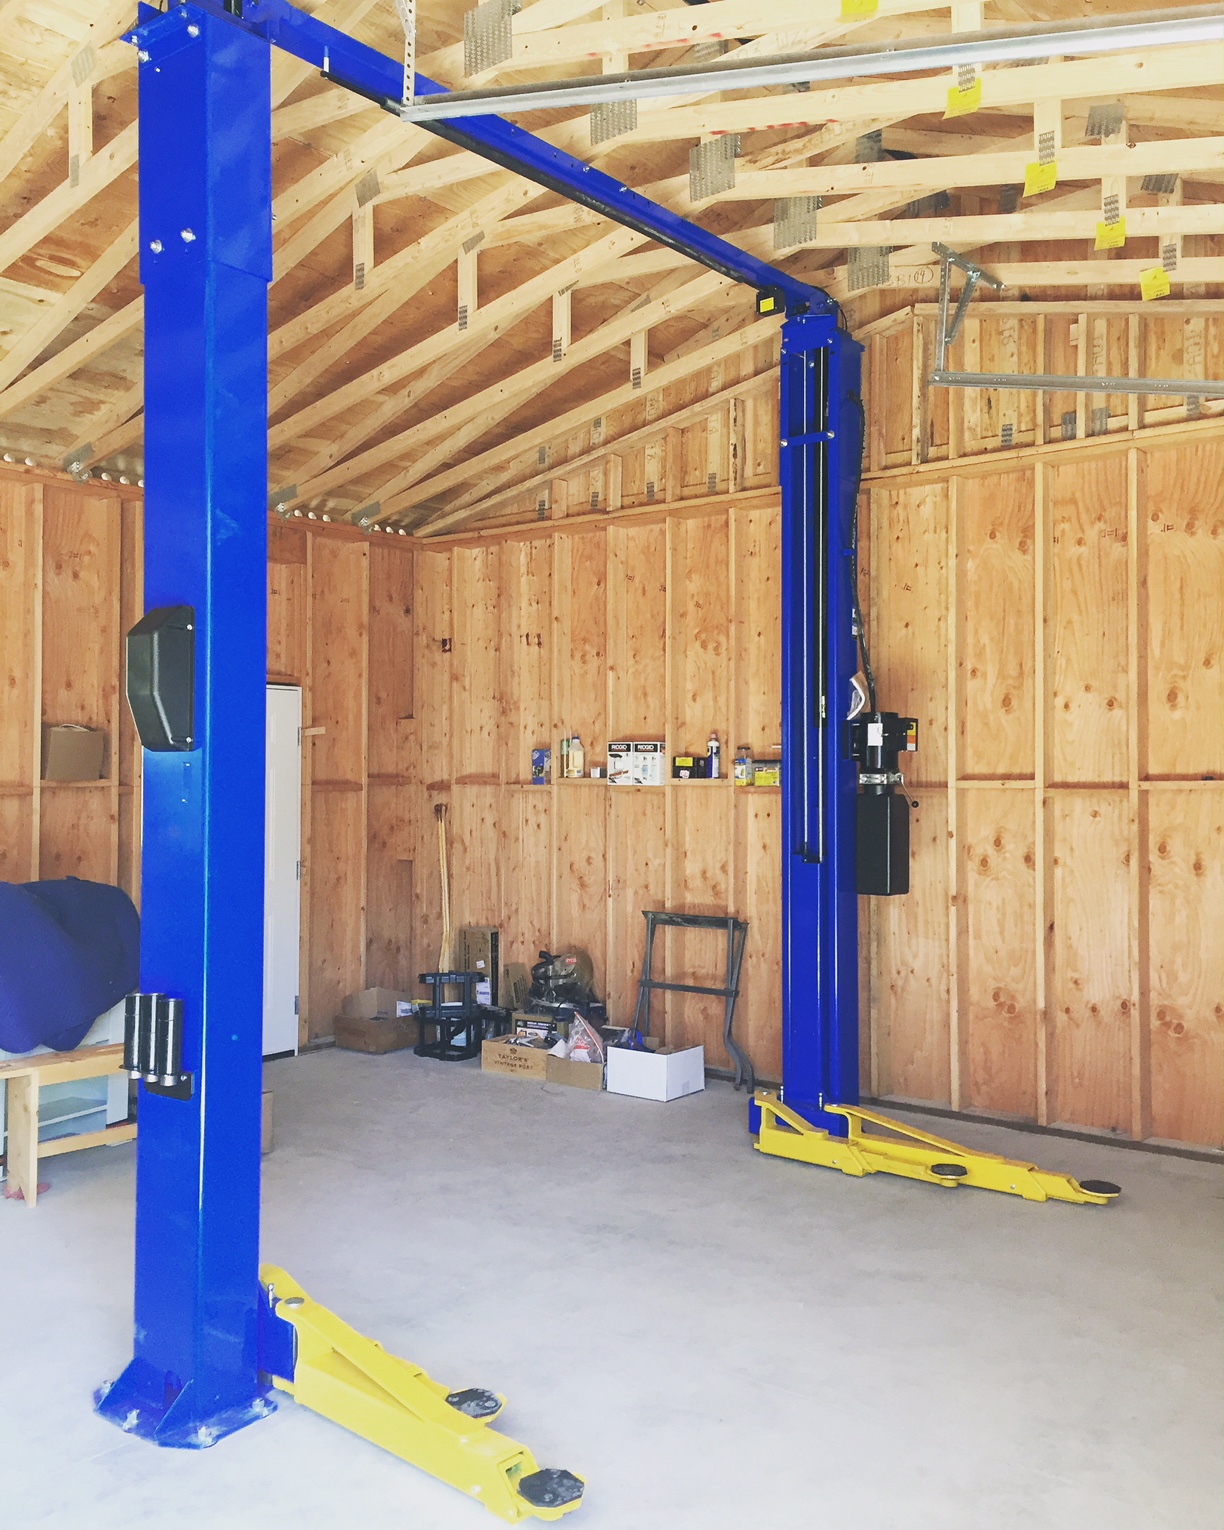
After a fairly fruitless internet Search, I called the company that built my lift (it is a Rotary Revolution RPT10) and they referred me to The American Lift Institute (ALI) manual that came with the lift. The 2016 version of the manual only goes back to 1991 for most vehicles and when I called them, there was no answer that they could give me. They referred me to “a local Jeep dealer.”

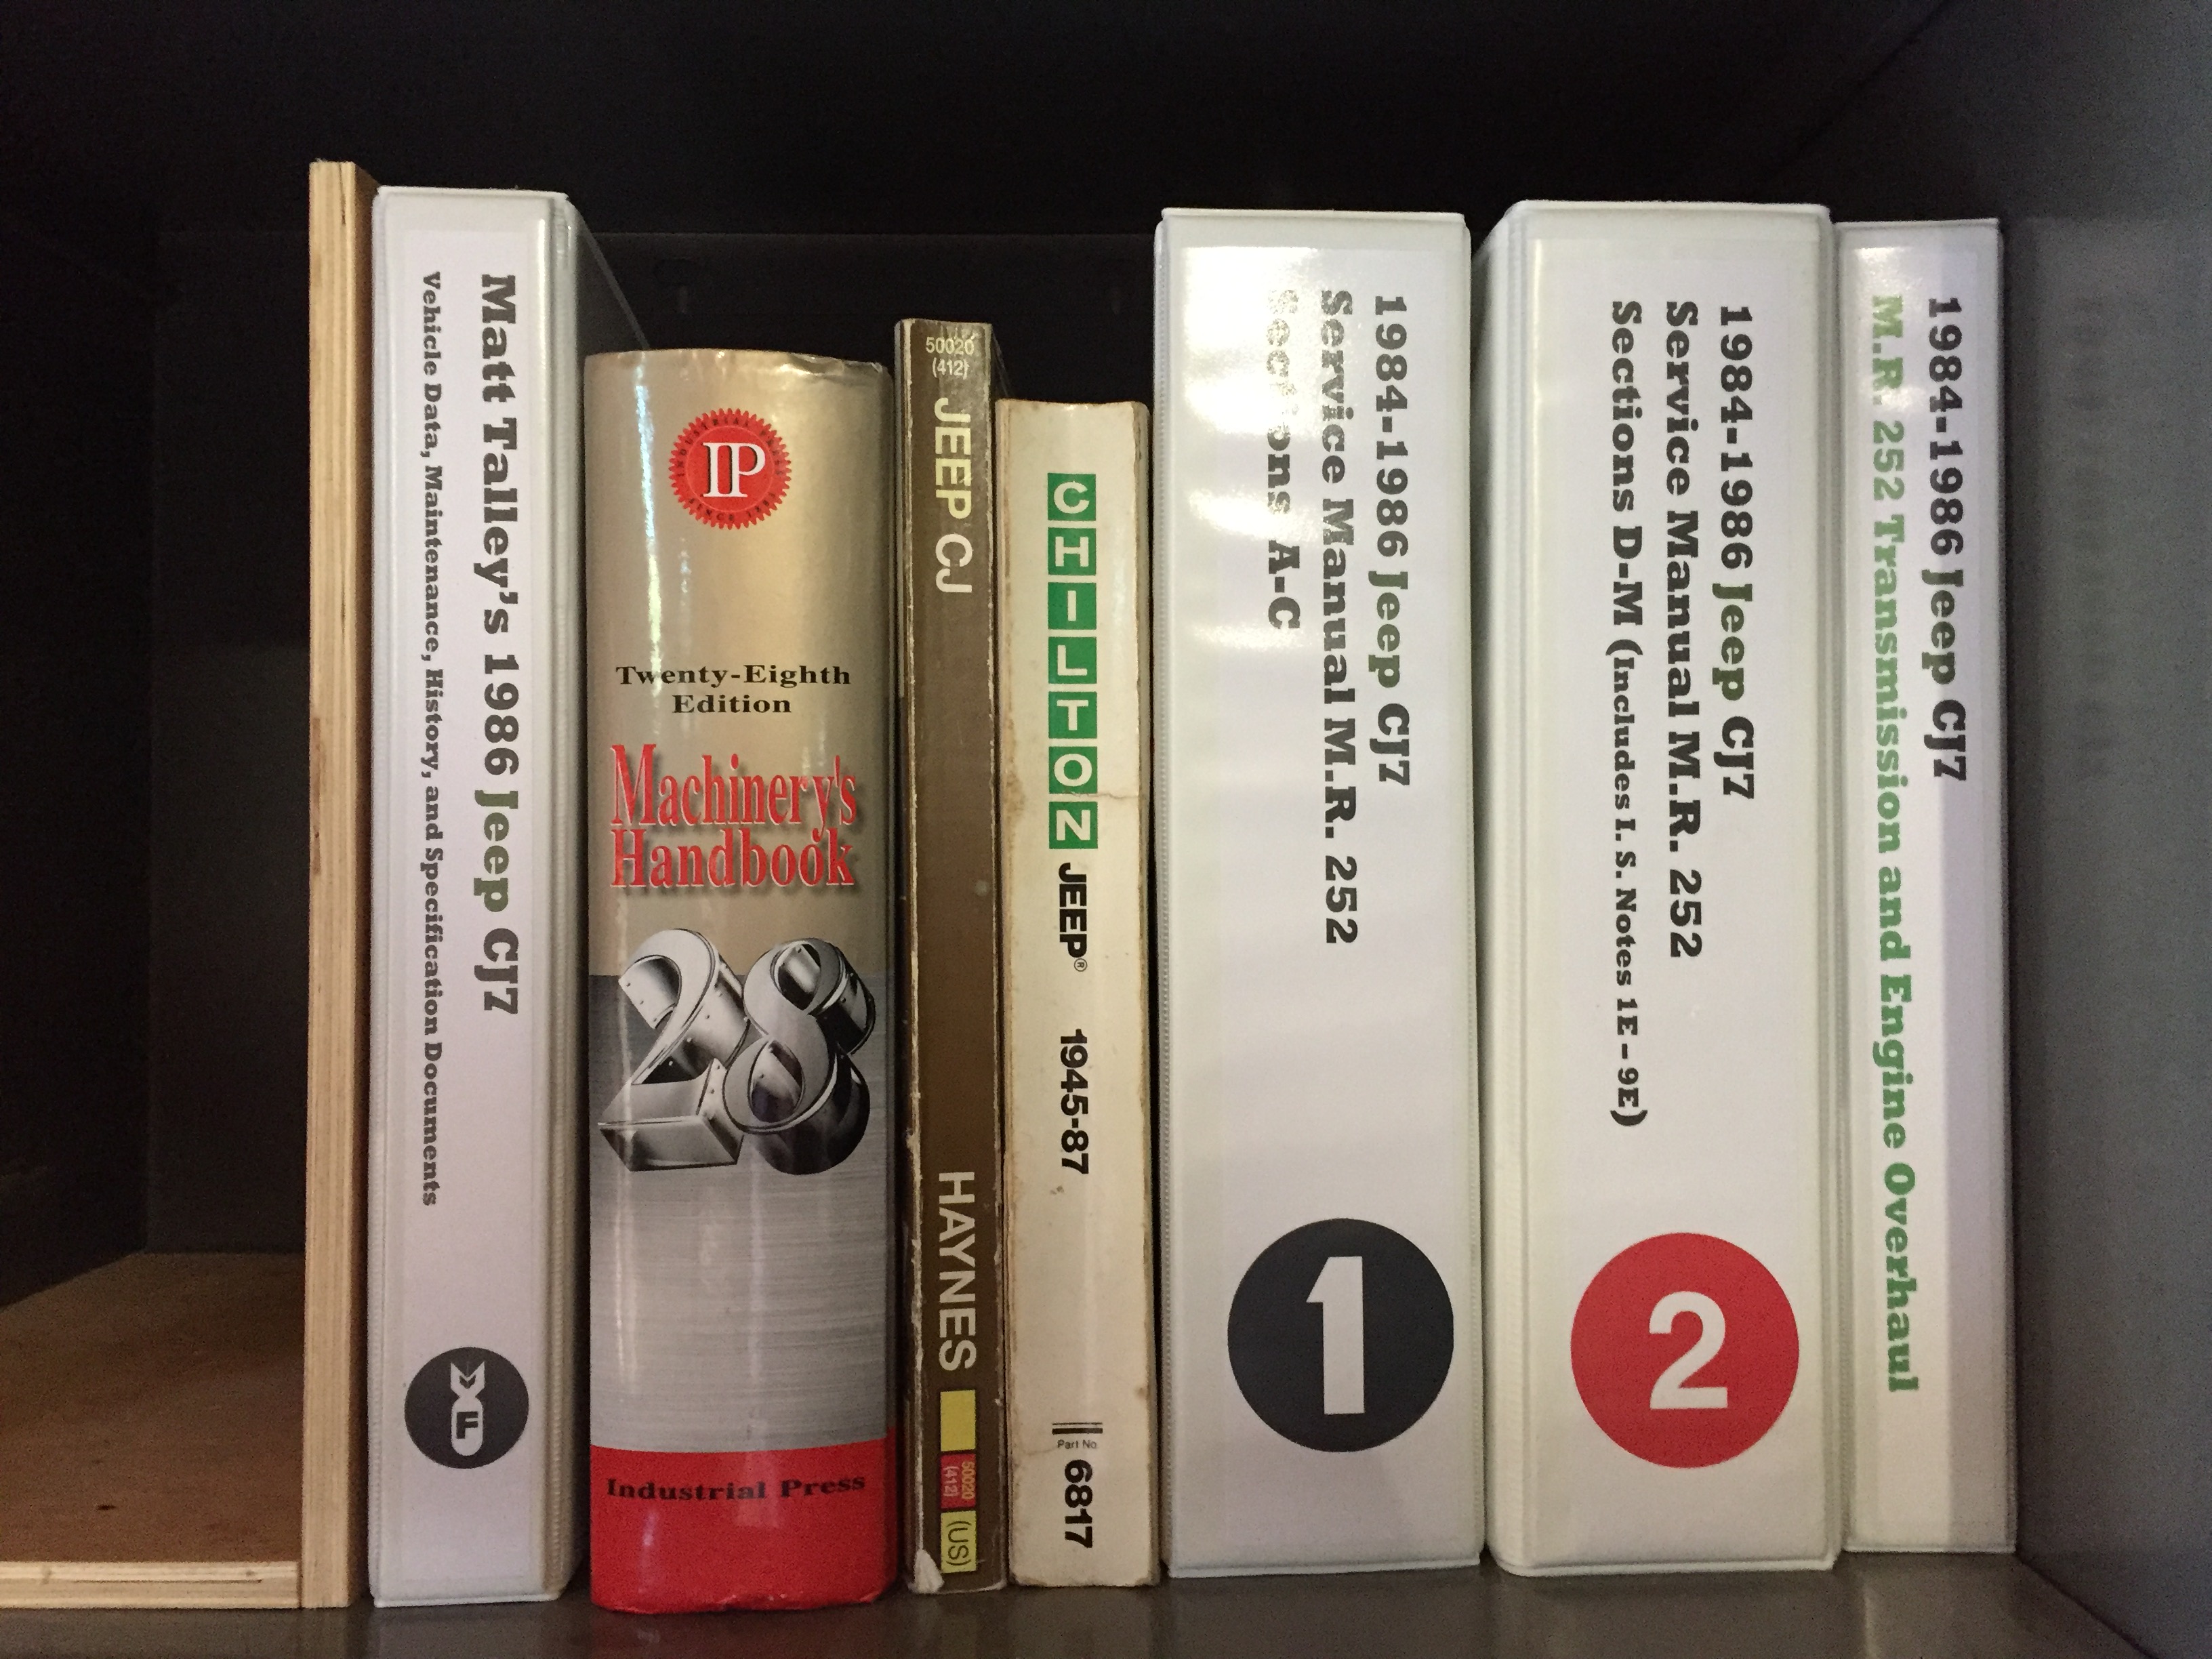
I dropped in the one nearest the house and there was not an “old-guy consensus” on how to life a CJ: on the frame behind the shackle mounts, on the shackles, on the spring plates, on the axles, etc… My Chilton and Hayes manuals have nothing and I am still trying to source a good 1986 Service Manual (can’t find anything in the downloaded ’82) and would love an original Owners manual. I went by a 4X4 shop a bit ago and the tech there said “lift it on the shackles…” and posed it as sort of a question.  I walked away swiftly.

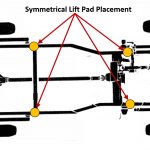
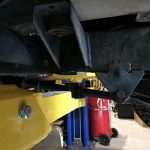
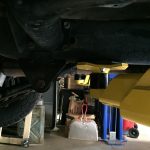
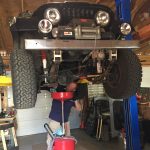
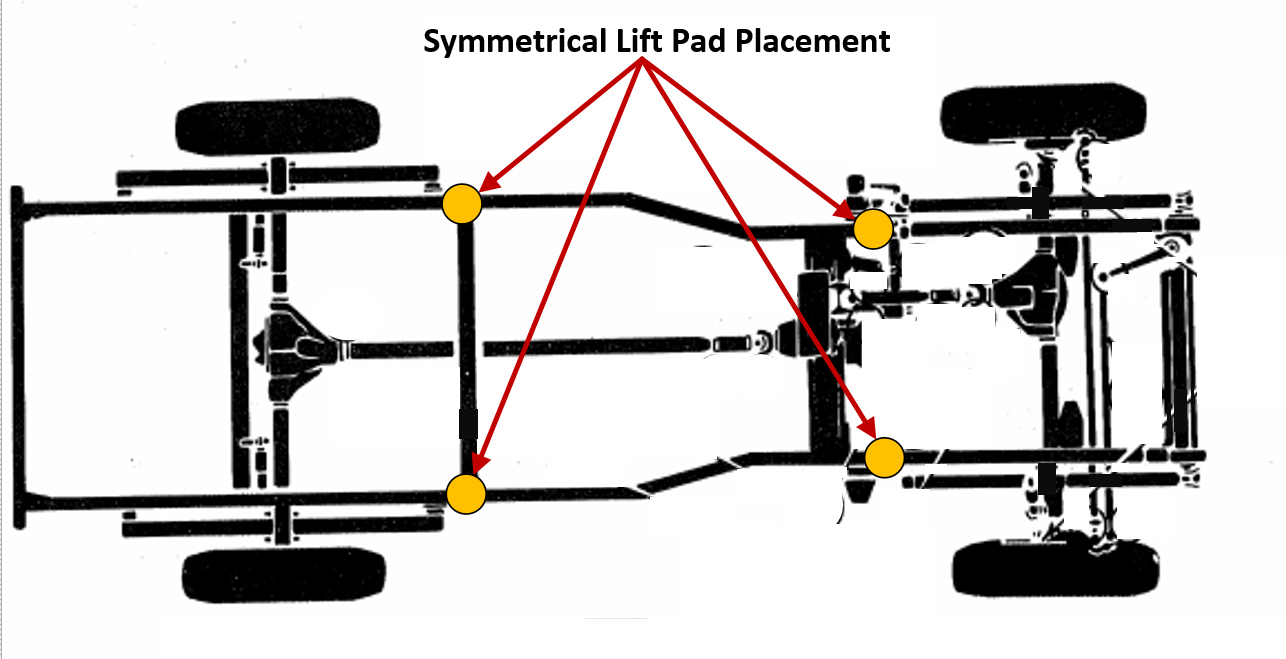
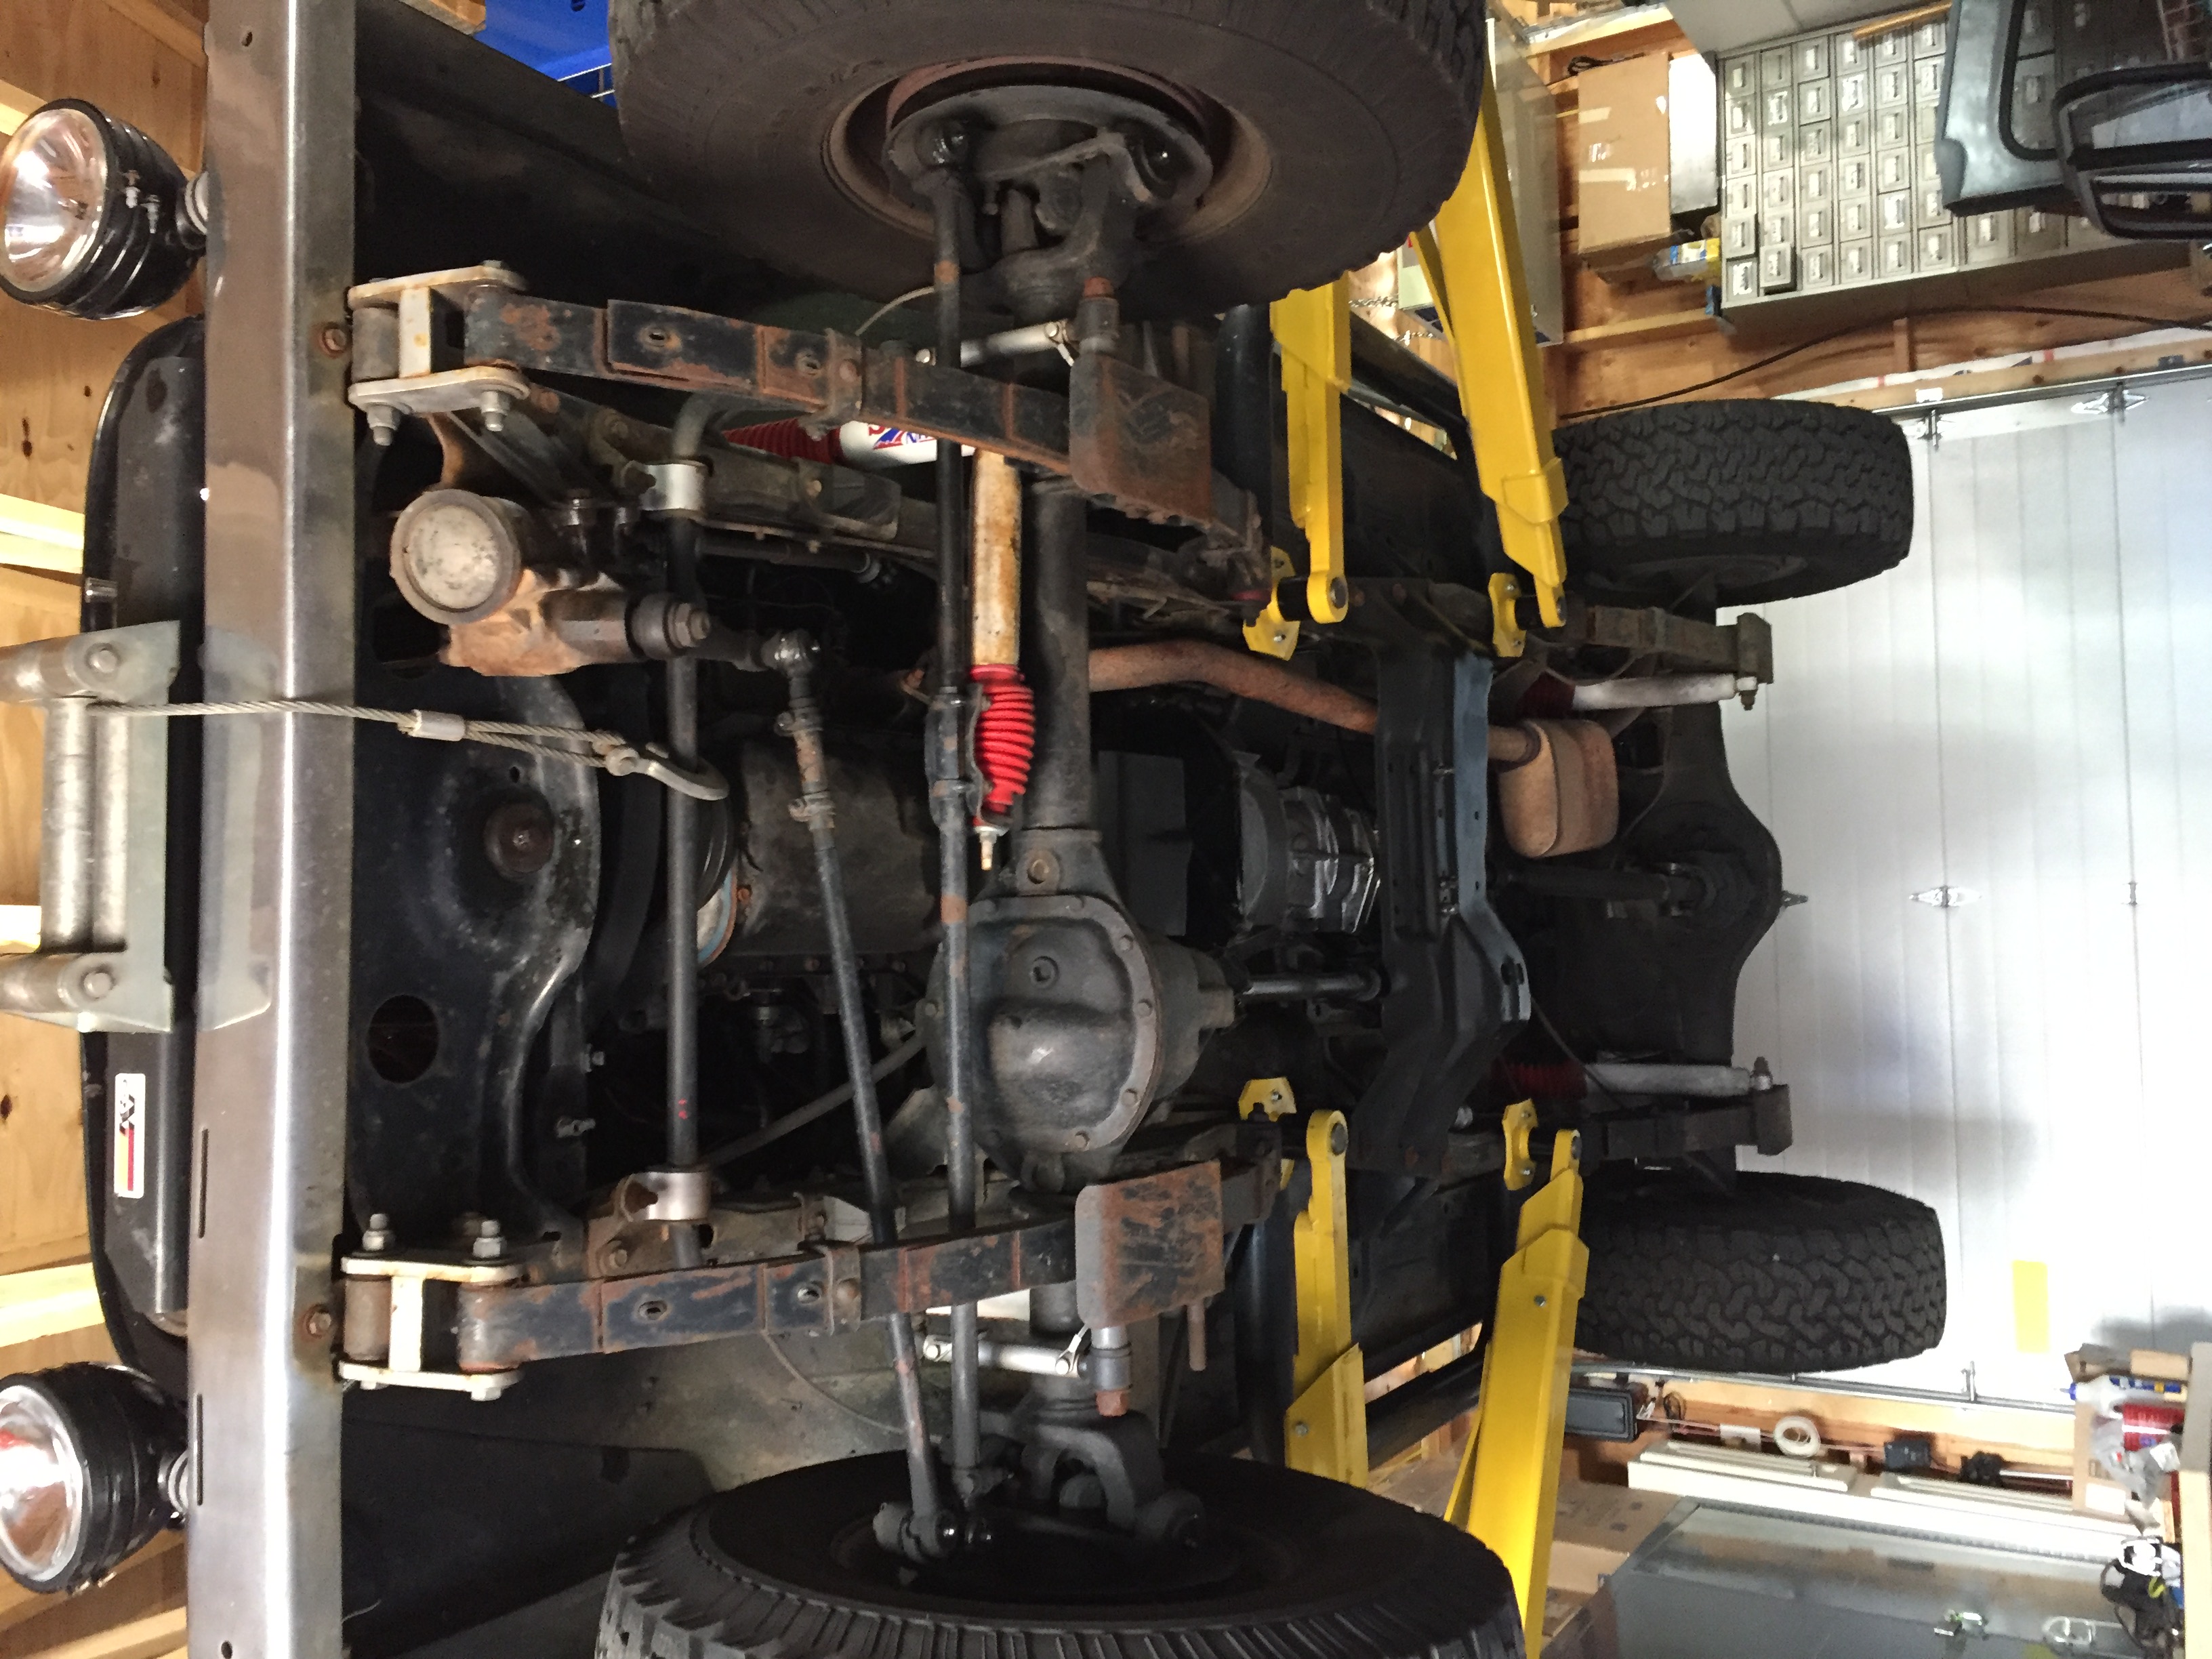
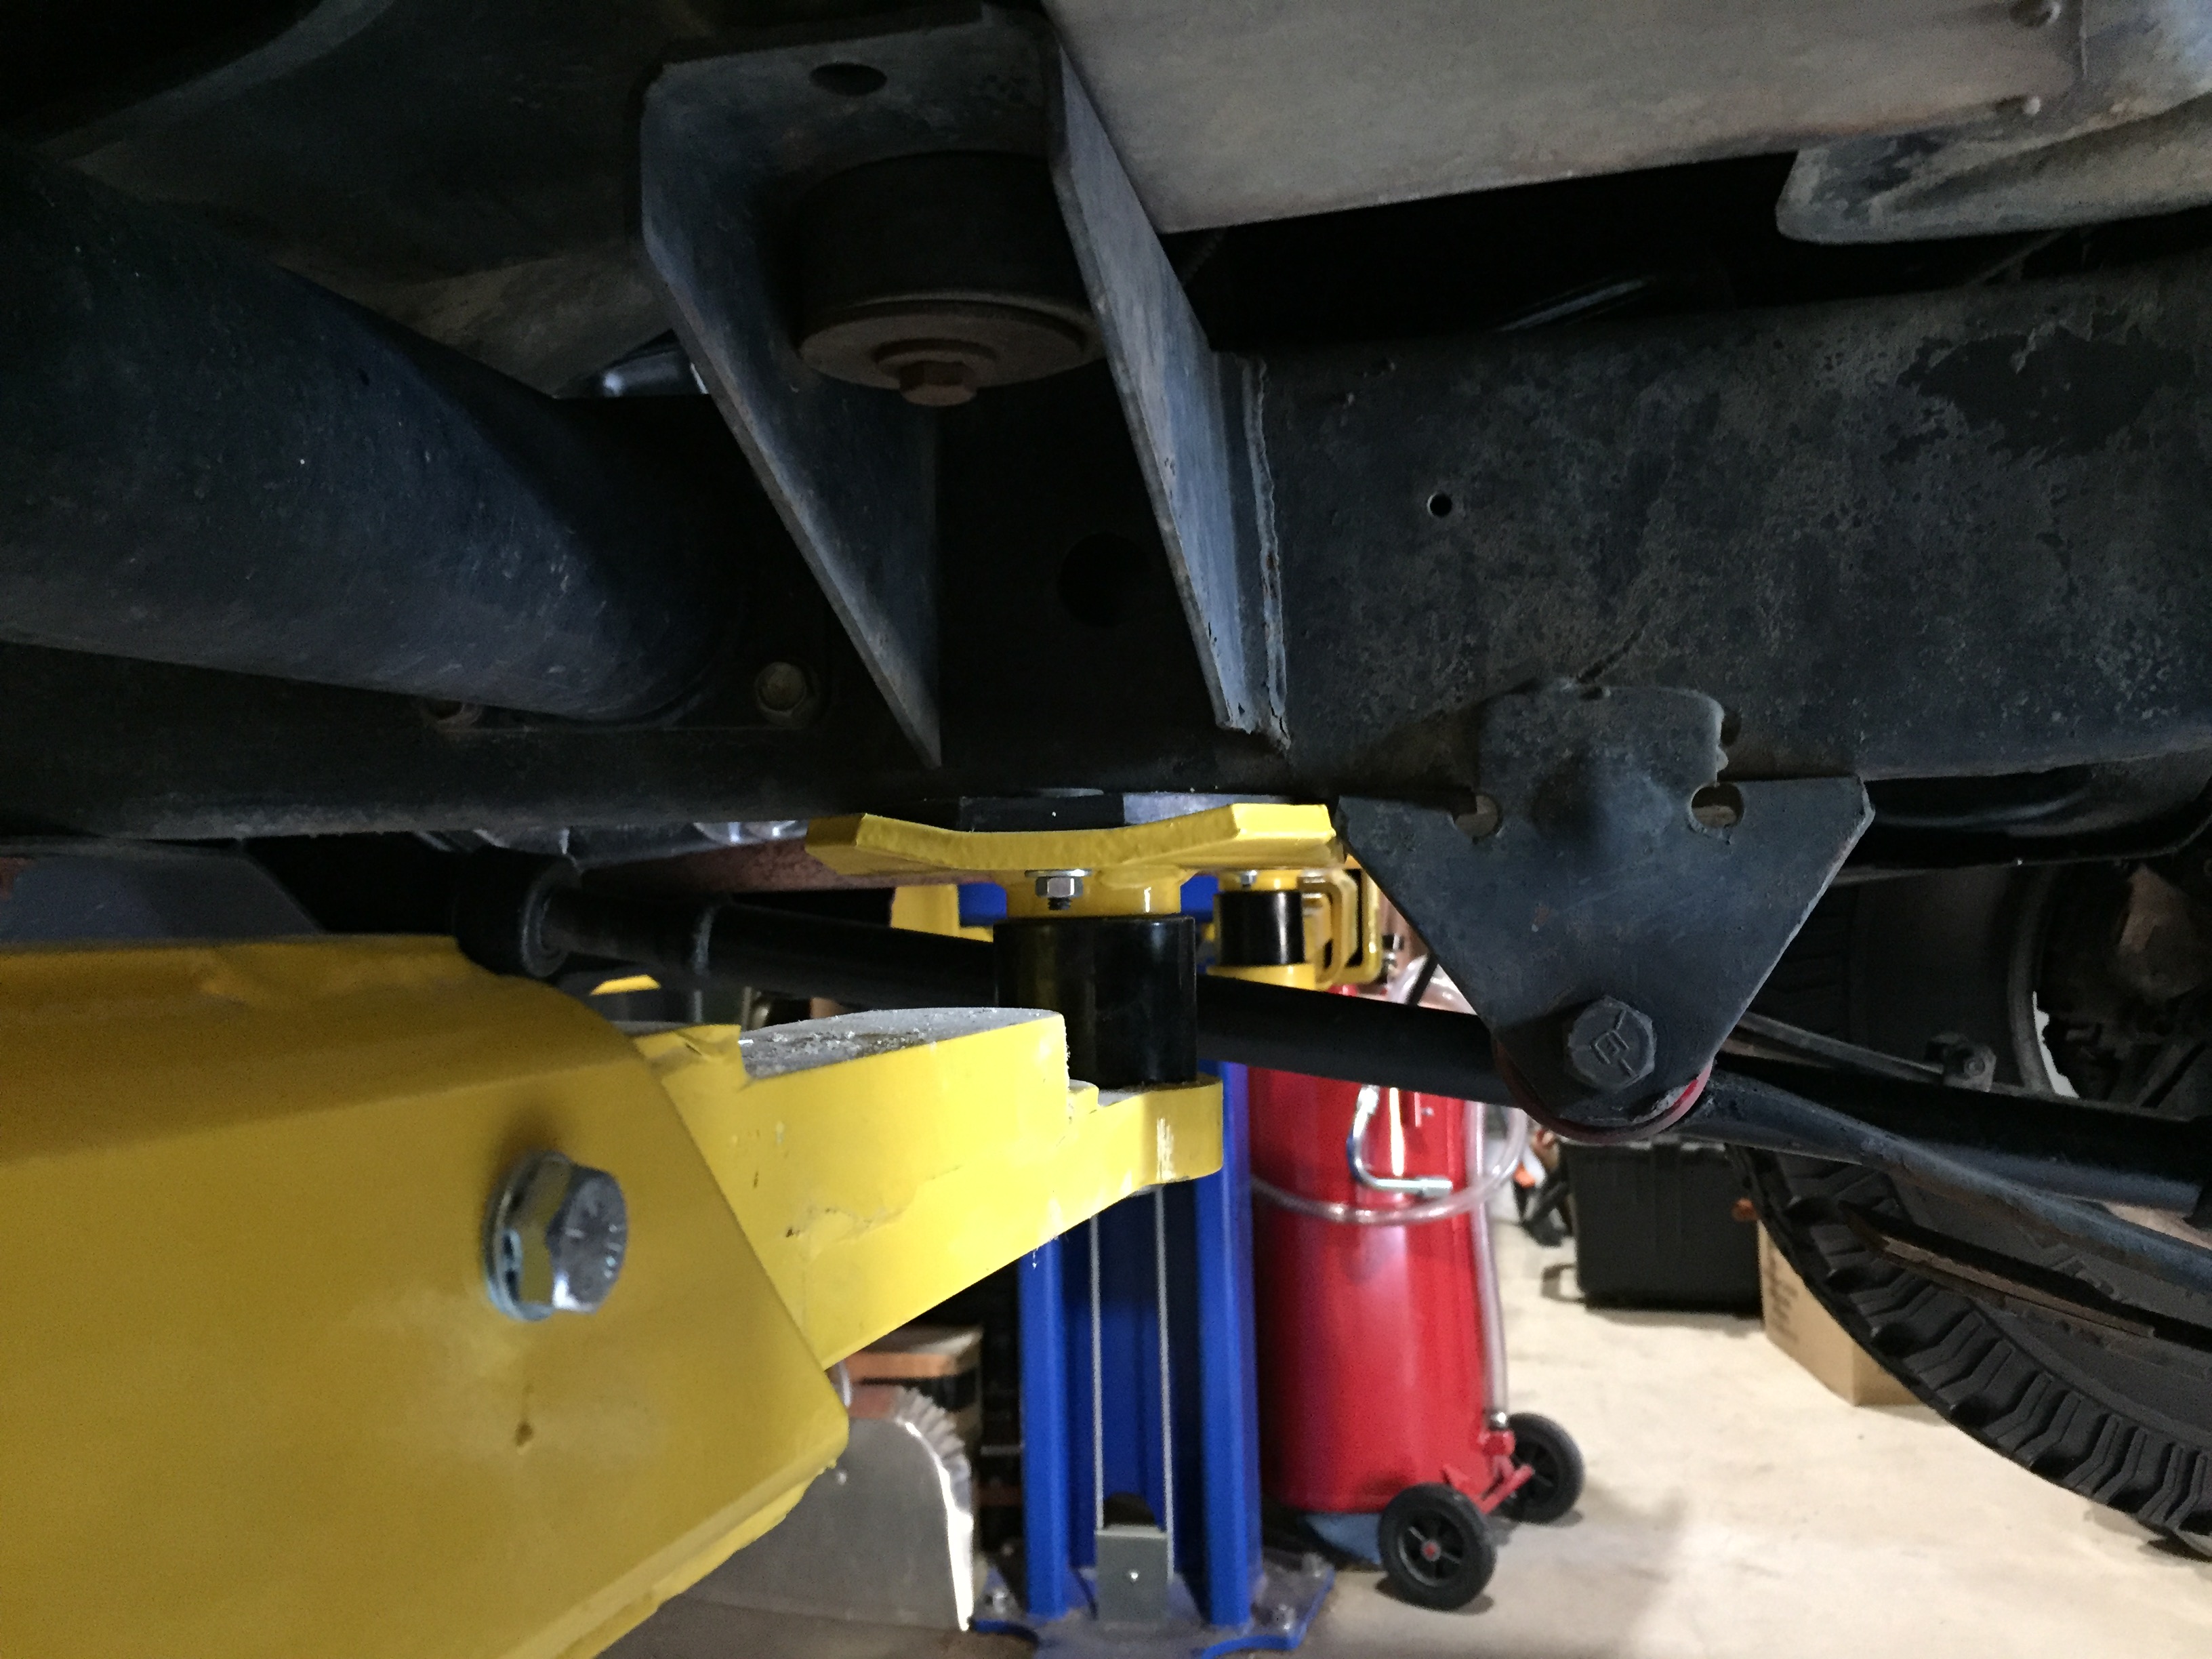
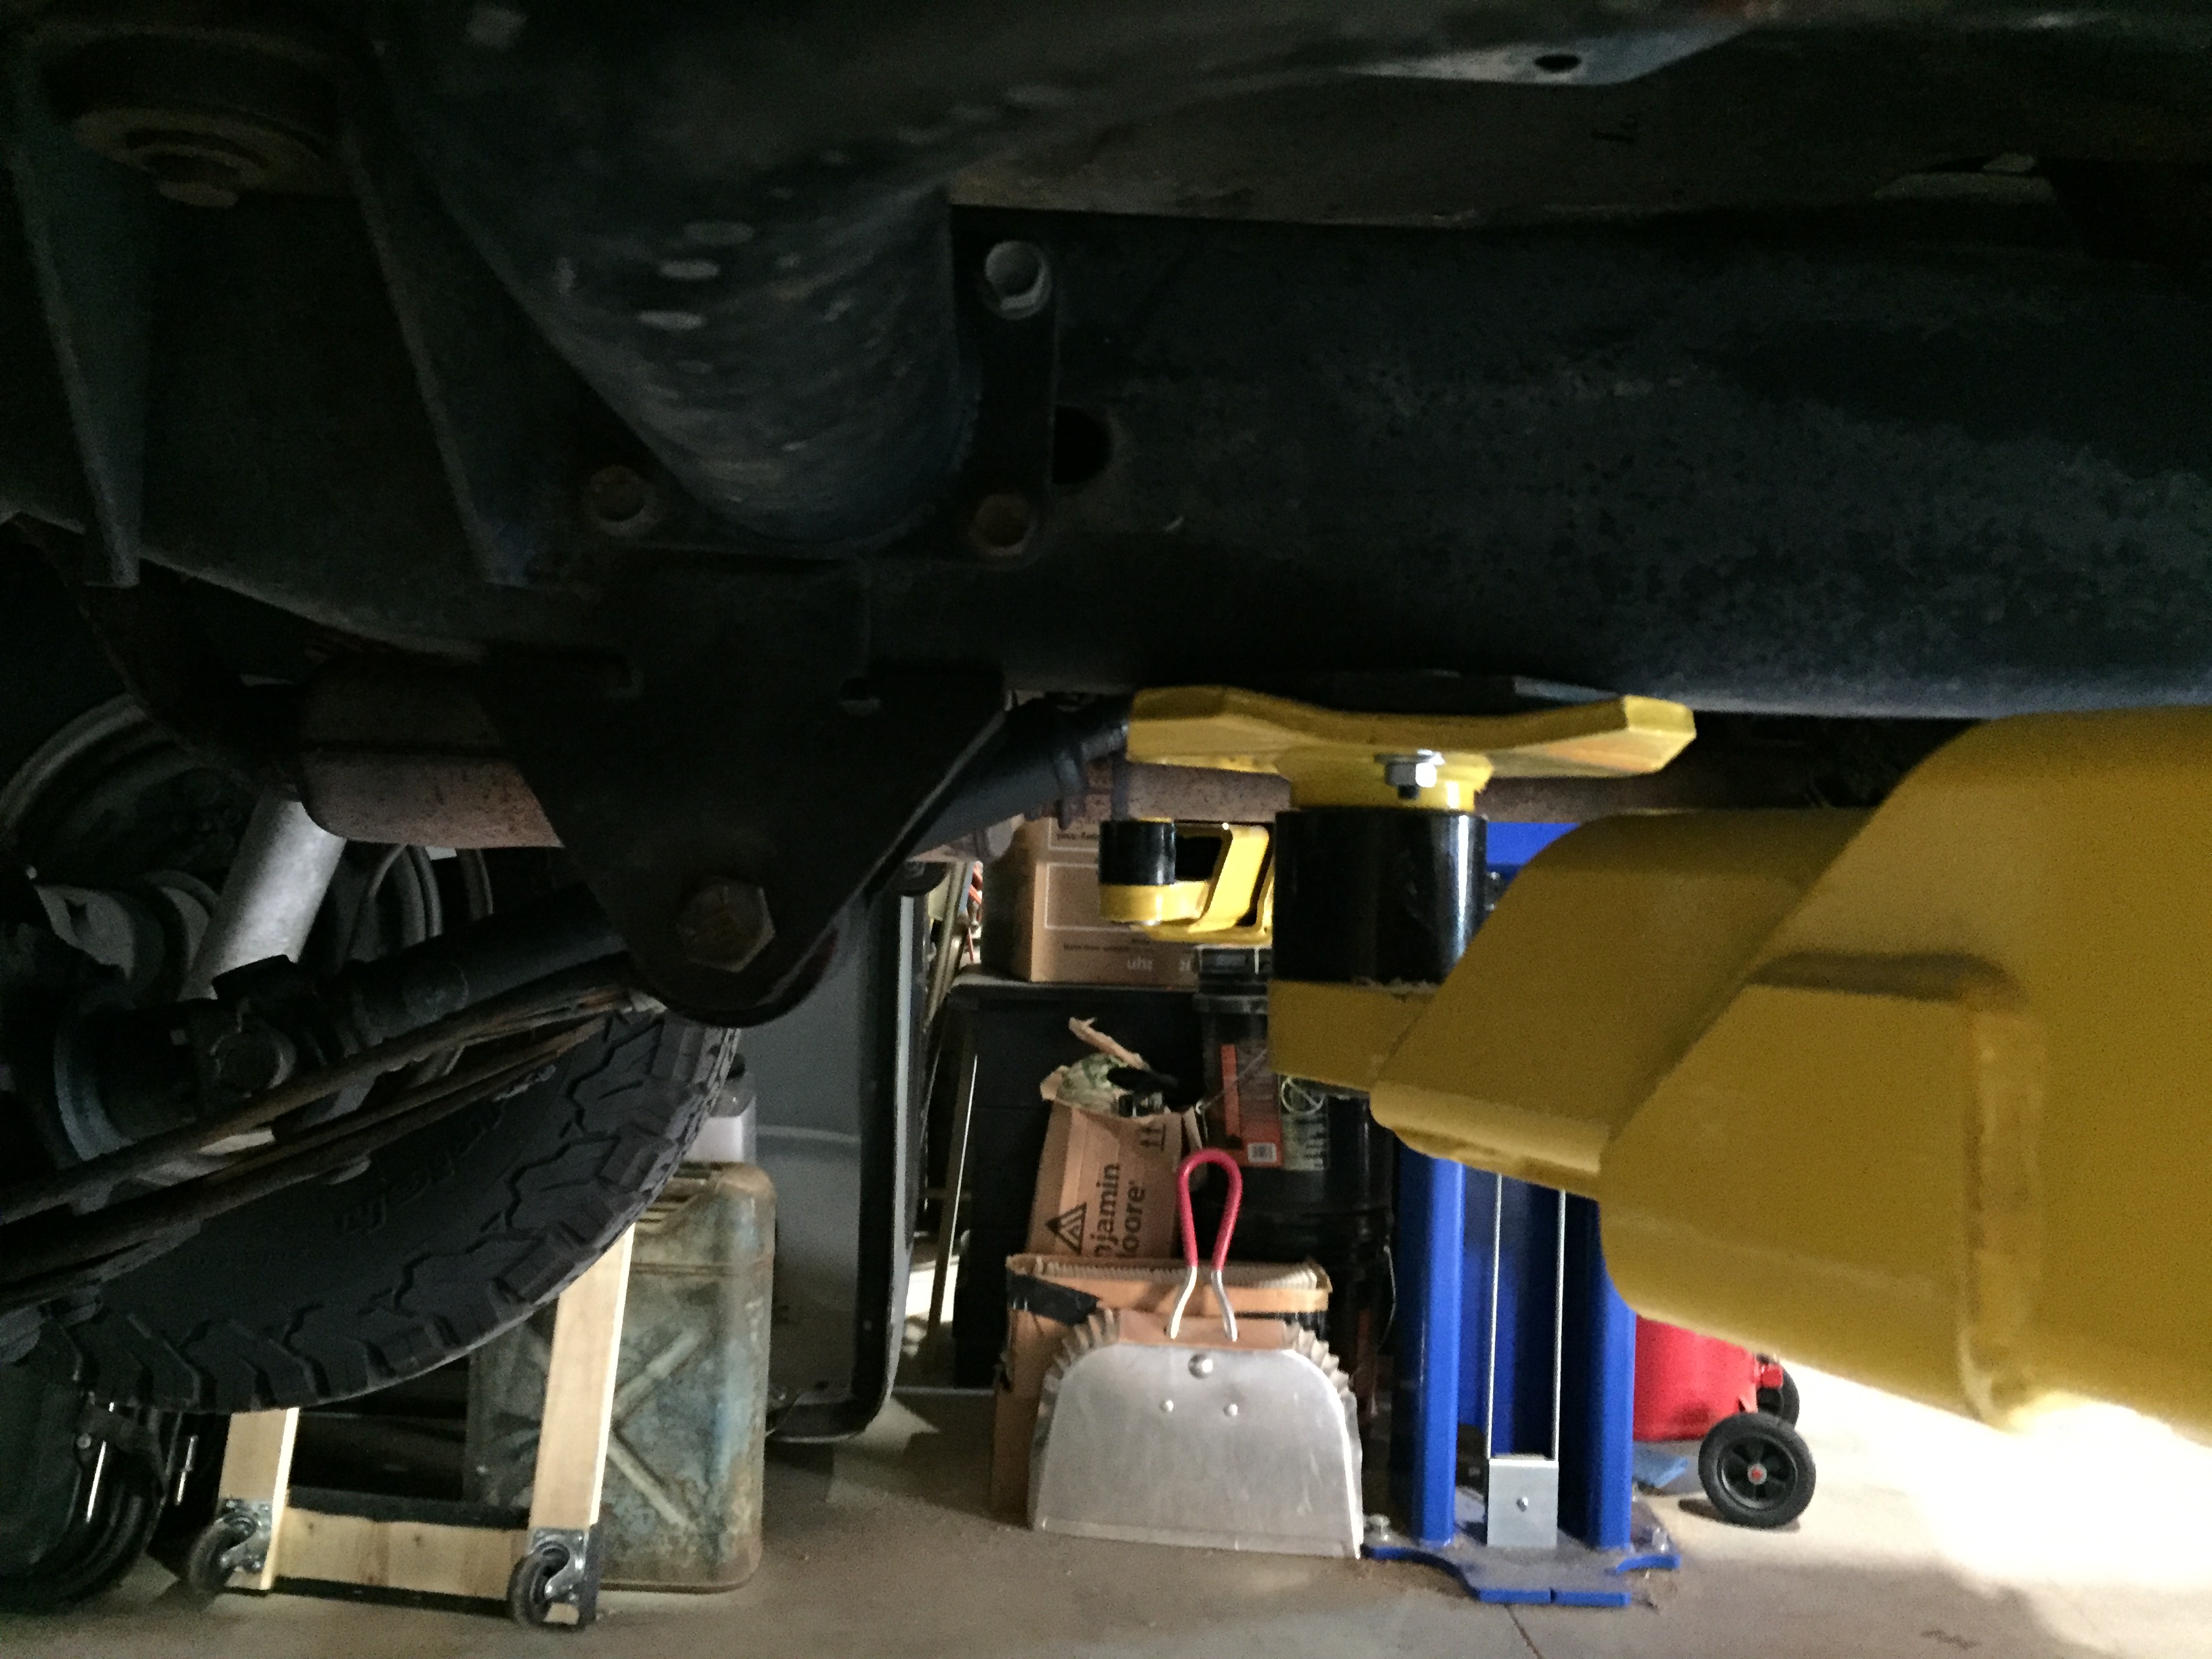
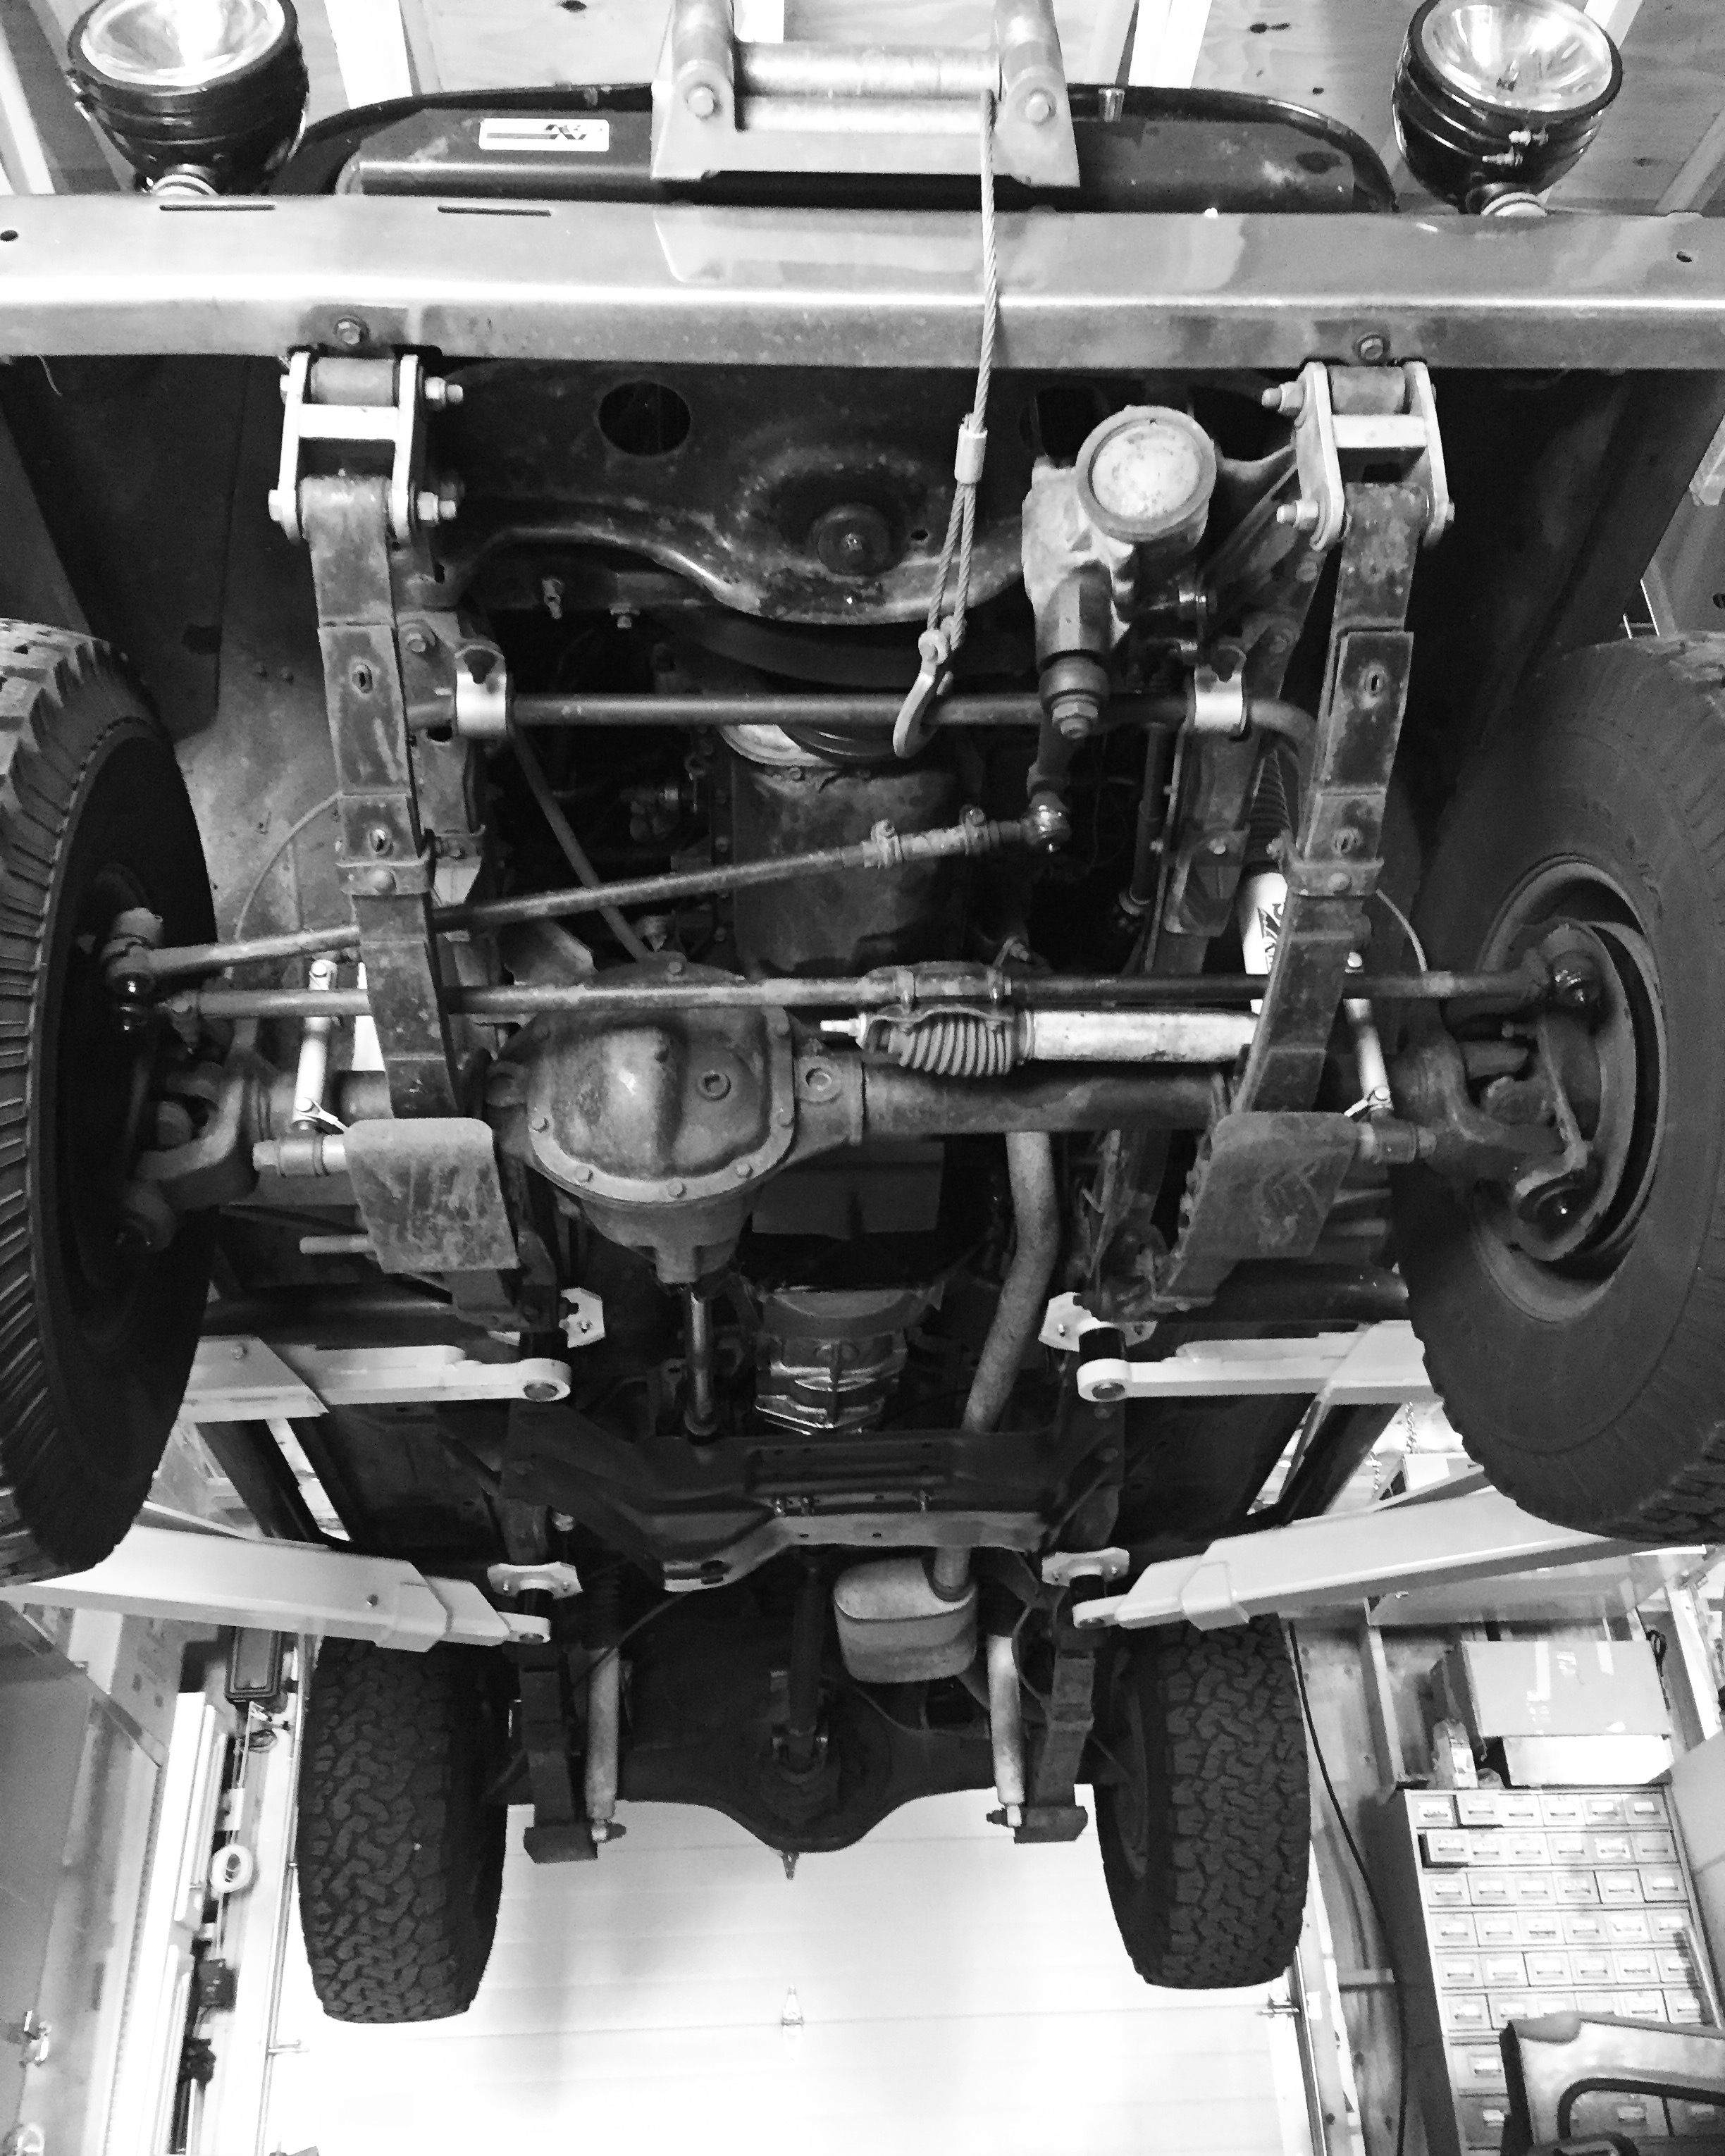
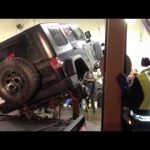
So, relying on Cunningham’s Law, I asked the internet via the JeepForum if anyone had some documentation on where to apply the lift arms/pads on a CJ-7 frame and where the balance point/center of gravity of the vehicle was to put in-line with the lift posts?  I got some helpful suggestions and a couple answers that were on the edge of trolling, but the general consensus from CJ owners and mechanics on the forum was to follow the guidelines for the 1991 Jeep Wrangler and their frames, suspension, and balance points are very similar: The lift pads are placed under the frame (centered on the pads), directly adjacent to spring hangers/shackles. Sounded reasonable and plausible, so I decided to go with that.  The balance point/CoG is between my dash and the bottom of the steering wheel and that point goes on center between the two posts of my symmetrical lift.

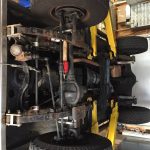
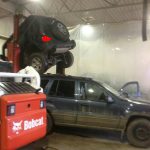
I went ahead a couple weekends ago and decided to put it up and do a little general maintenance.  After everything checked out – raising the Jeep 6″ off the ground and giving it a serious shake on all 4 corners, raising it up and down a few times, I spent 30 minute for full oil and filter change. I lubed all the zert points on the drive-line and chassis while I was there.  No squashing or falling Jeeps. 🙂
Matt Talley_Lift location_CJ7_Jeep_2017

Matt Talley CJ Lift points (1)

Matt Talley CJ Lift points (2)

Matt Talley CJ Lift points (3)

IMG_3759

Matt Talley Changing oil_07-2017 Jeep (2)

Weekend Activities

Seattle is in early summer full bloom. The sun is out and the temperature is perfect!  These conditions led to a really good weekend:

Slept had friends stay with us Friday night and Saturday morning
Big yummy breakfast
Picked three big bowls of ripe Lapin cherries
Ate a lot of cherries
Went over to my mother’s house
Took care of house projects for her
Had a yummy dinner
Nice bottle of red wine was opened and mostly consumed
Read American Gods aloud with Stamps-With-Foot before bed

Matt Talley Farmer's Market 07-2017 (2)

Matt Talley Farmer's Market 07-2017 (1)

Matt Talley_Cherry Crop_2017


Brunch with Friends
Went to the Sunday farmer’s market
Bought cheese and honey!
Went to the garden store
Bought a bunch of flowers for the yard
Walked the puppies
Planted flowers
Scattered weed&feed in the 1/3 of the back yard that is void of Ireland-green grass
scattered and raked grass seed.
Murdered dandelions
Picked up a mountain of puppy-made landmines 🙁
Mowed the yard
Installed new tire cover on Jeep spare
Put Jeep on the car lift – also now refereed to as “The Jeep Sex Swing”
Changed oil and filter
Only 42 more Oil Changes and the lift pays for itself!! 🙂
Lubed the chassis
Checked and topped off all the fluids
Made happy noises
Had a Coke and smile afterward while sitting in the shade
Printed out GAINT ’84-’86 Jeep Maintenance Manual
Let my internal OCD monster out to play
Custom labels and tabbed separators were made…
Added folders with Maintenance Manuals to shelf in the garage
Watered the garden, yard, and newly seeded dirt patch
More reading
Sleep

Matt Talley Changing oil_07-2017 Jeep (2)

IMG_3759

Matt Talley Changing oil_07-2017 Jeep (1)

Matt Talley Jeep_07-2017 (1)

Matt Talley Garden 2017

The F-Bomb Garage completion is getting closer!

I was out of town this past week on a work trip to merry ol’ England. I came home to a sweet surprise: I have a new 10,000lb two-post lift installed in the F-Bomb Garage. I got a decent deal on a . Went with the Rotary Revolution RPT10 because there is a local dealer, local support, I got a decent deal on the lift+install, and some experience that some friends and colleagues have had with this and other lifts.

We are getting closer to finally building some stuff inside/voiding warranties/modifying the jeep.  My contractor had a foreman out last week to deal with the framing punch-list items: a couple of anchor bolts, some trim, loose siding, a funky corner, and I had him re-install my three windows with the proper flashing tape – I could see light in all the corners.  A leaky window after I have stressed the importance of proper installation and showed them what I needed twice would throw me into fits.  He also swapped the door trim, but not everything on the list got done and now there is more stuff that needs attention.  I have the contractor stopping by to go over it all tonight.  Very frustrating to spend this sort of cash and to deal with all the little things over and over.

The electrician is 3 weeks out – everyone is building and remodeling in Seattle and contractors are super swamped, so I am going to concentrate on the outside in the mean time: Paint and gutters as soon as the siding issues are dealt with.

Matt Talley_Lift_2

Matt Talley_Garage_build_2016_78

Matt Talley_Garage_build_2016_77

Matt Talley_Garage_build_2016_75

Garage Build Update 5/10/16

My slab gets poured next Tuesday. All clear from the City for electric trench and slab forms. There were a few issues that I saw last week that needed to be adjusted: There was a rebar oops in the car lift footings that was a serious new-guy error, but instead of calling my contractor to bitch, if just fixed it. Sometimes you are only as good as your worst employee… I picked some rebar and a couple boxes of chairs, looped ties, and put a 12″OC grid down of 1/2′ rebar 3″ from the dirt in the footing hole on Friday evening after work.

I also lifted the existing rebar over the footing holes up with chairs so that it would all be the same level as the welded wire. Hanging it from the wire would force the wire down to the top of the visqueen, negating the use of the material in a large area. I took the extra chairs I had and added them to the welded wire field. I understand that it gets stomped down when they pour and walk the pour, but the trick for me is to limit the amount that stays down. It was $90.00 worth of material and a couple hours of my time and we can work it out as we move forward with the build. The minor details in the grand scheme.

Matt Talley_Garage Slab work_2016_2016_03 Matt Talley_Garage Slab work_2016_2016_02 Matt Talley_Garage Slab work_2016_2016_07 Matt Talley_Garage Slab work_2016_2016_06 Matt Talley_Garage Slab work_2016_2016_01