No Truck Required

When we left Seattle for Southern France, I sold my truck and it felt like I lost a hand. I toyed with the idea of bringing mine over, but it would have been impossible to park and the money that I would have had to spend for gas would have been astronomical. My very first vehicle was a truck and I have never not had a truck to drive. There have been other vehicles, but I have always had a pick-up.

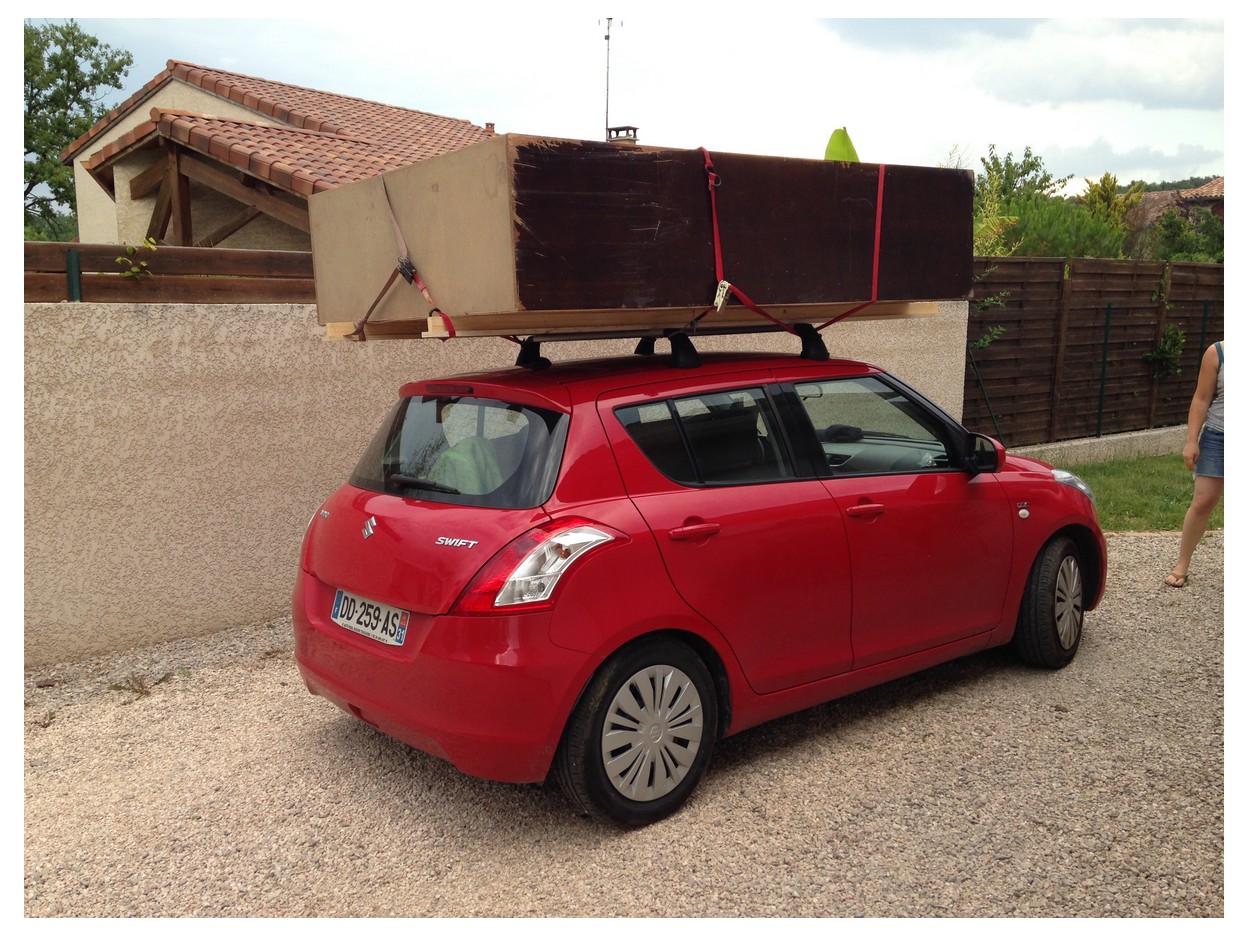
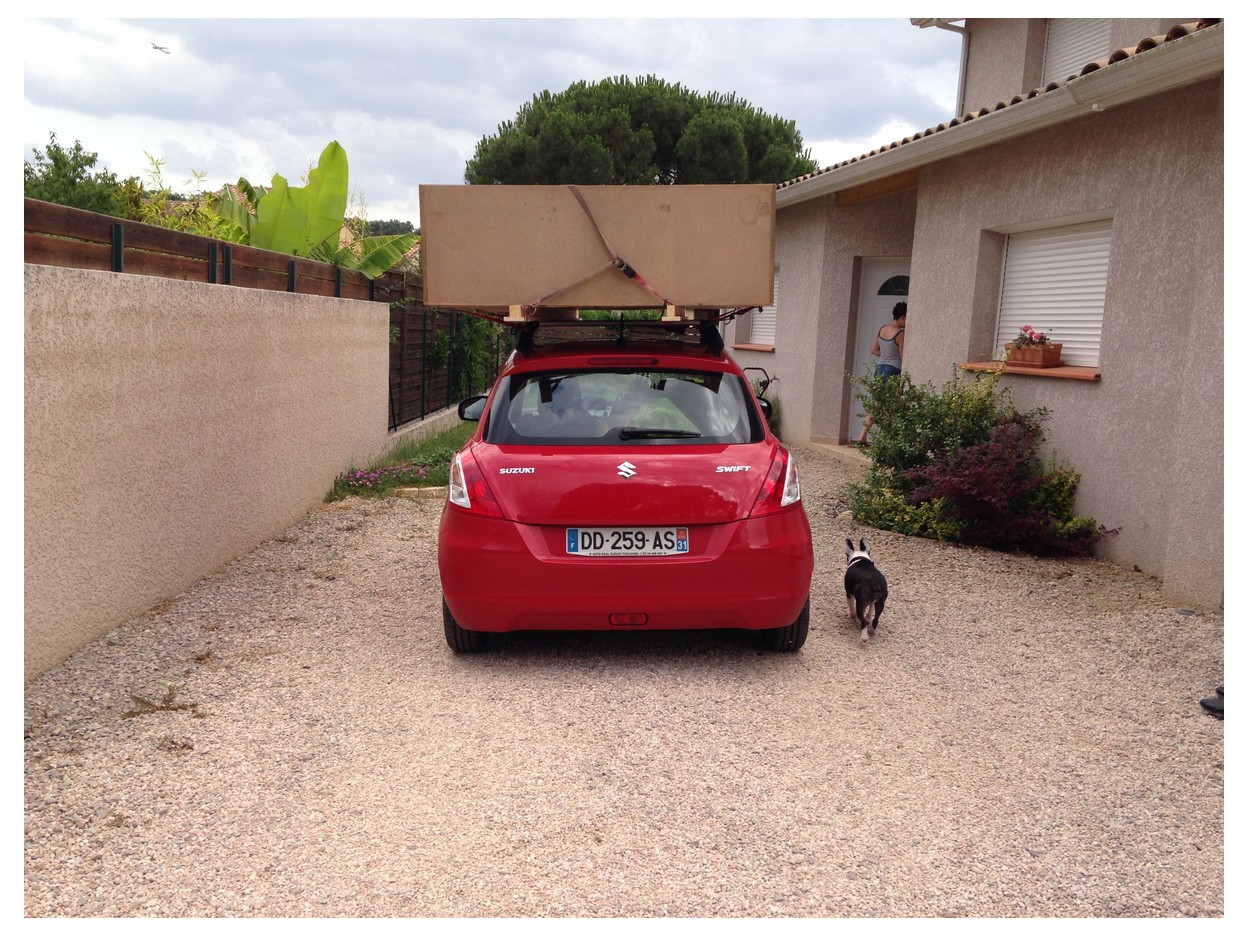
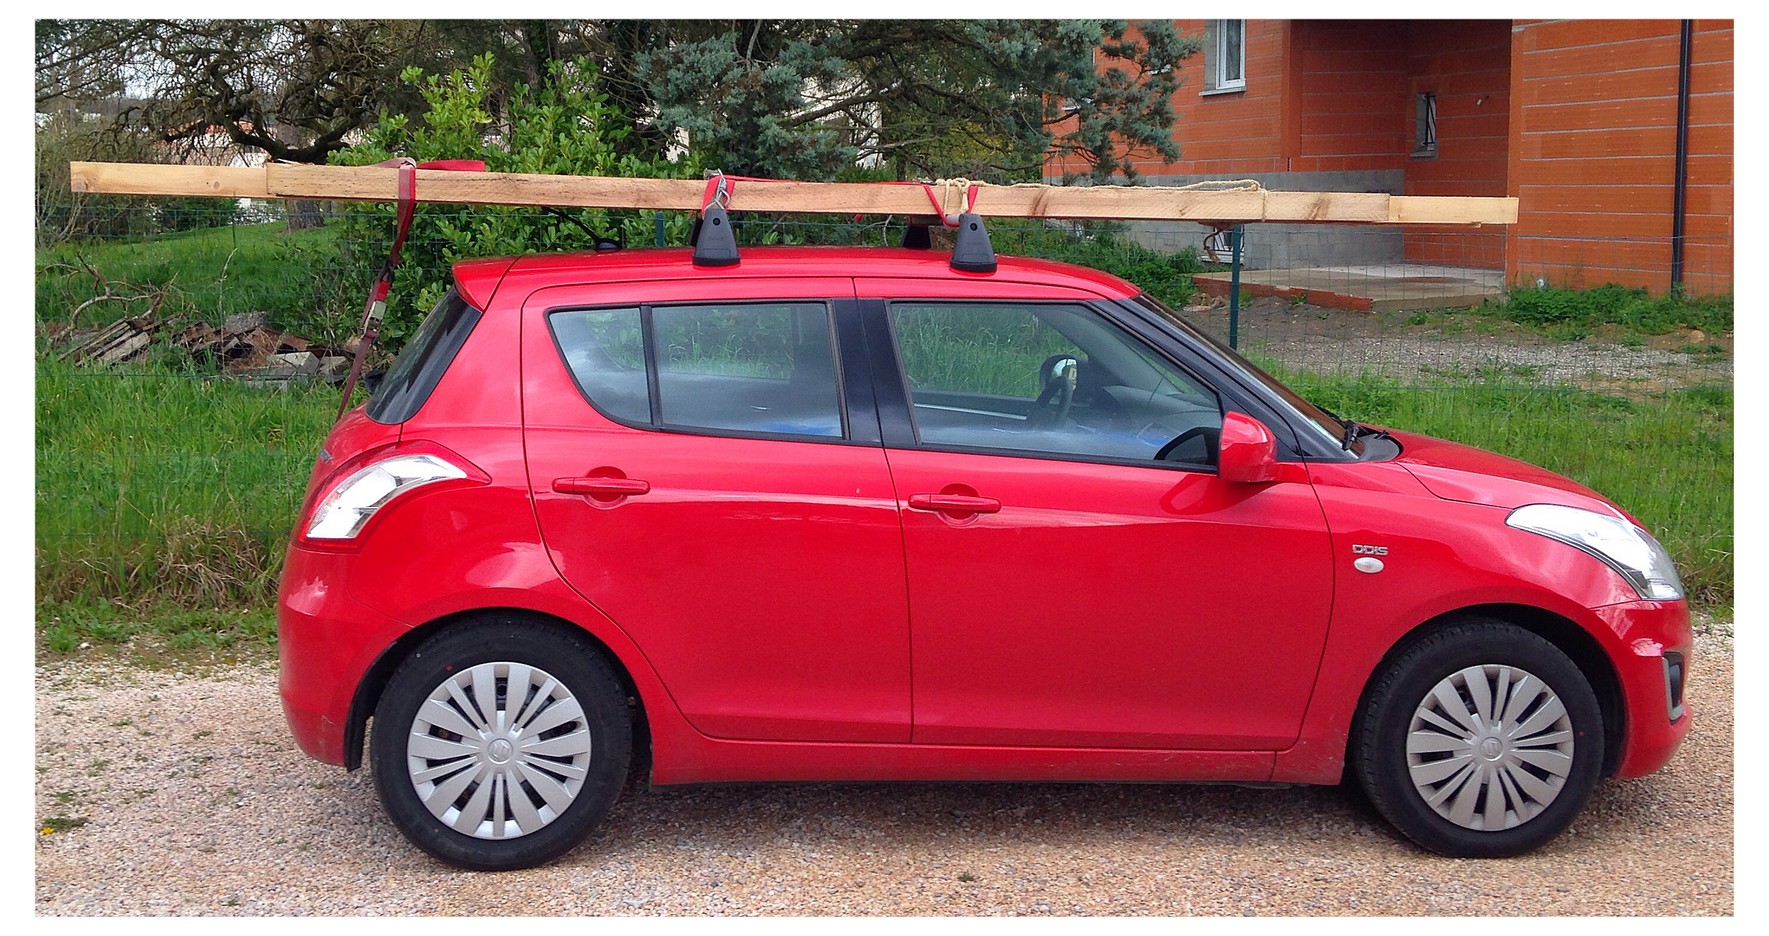
I didn’t really plan to do much heavy hauling during our time in Toulouse, so we got a 5-door diesel Suzuki Swift and I added a roof rack – just in case I needed to road trip with a bike or grab the odd 2X4 at the lumber yard… Reality is often brighter and more interesting than the initial plan. We have abused our little Suzuki. I have treated it like a farm hauler and overloaded it again and again. The rack has a 100 pound weight limit, yeah about that… In my own experience, 250 pounds has ridden just fine. I still miss my truck, but we are making due.

All the things I have hauled in or on the car that have been questionable:

400 pound wood lathe
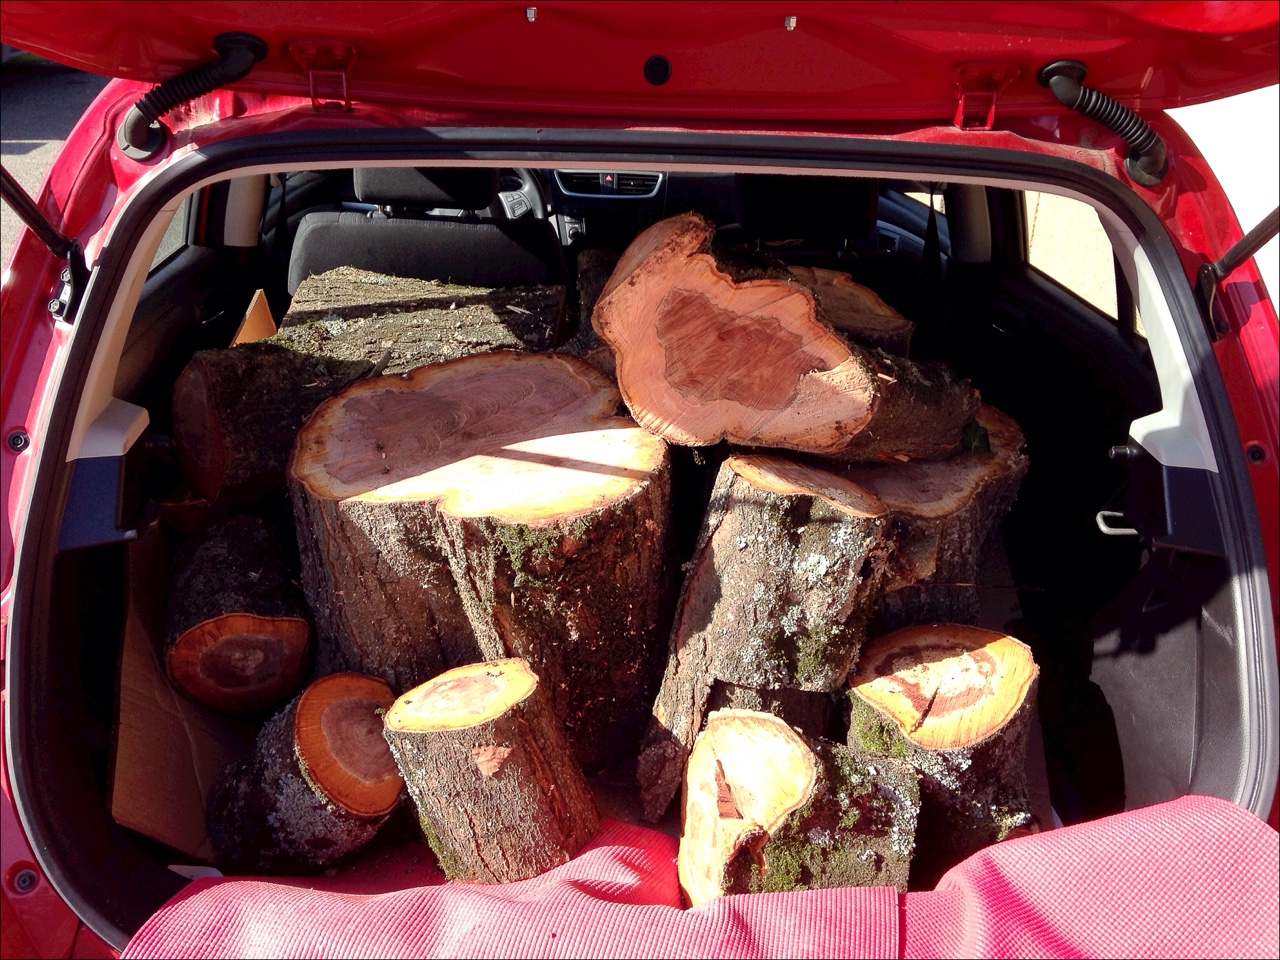
The cut rounds from 4 trees (to date)
A 200 pound 7′ X 6′ x 2′ Wardrobe
3 large work benches
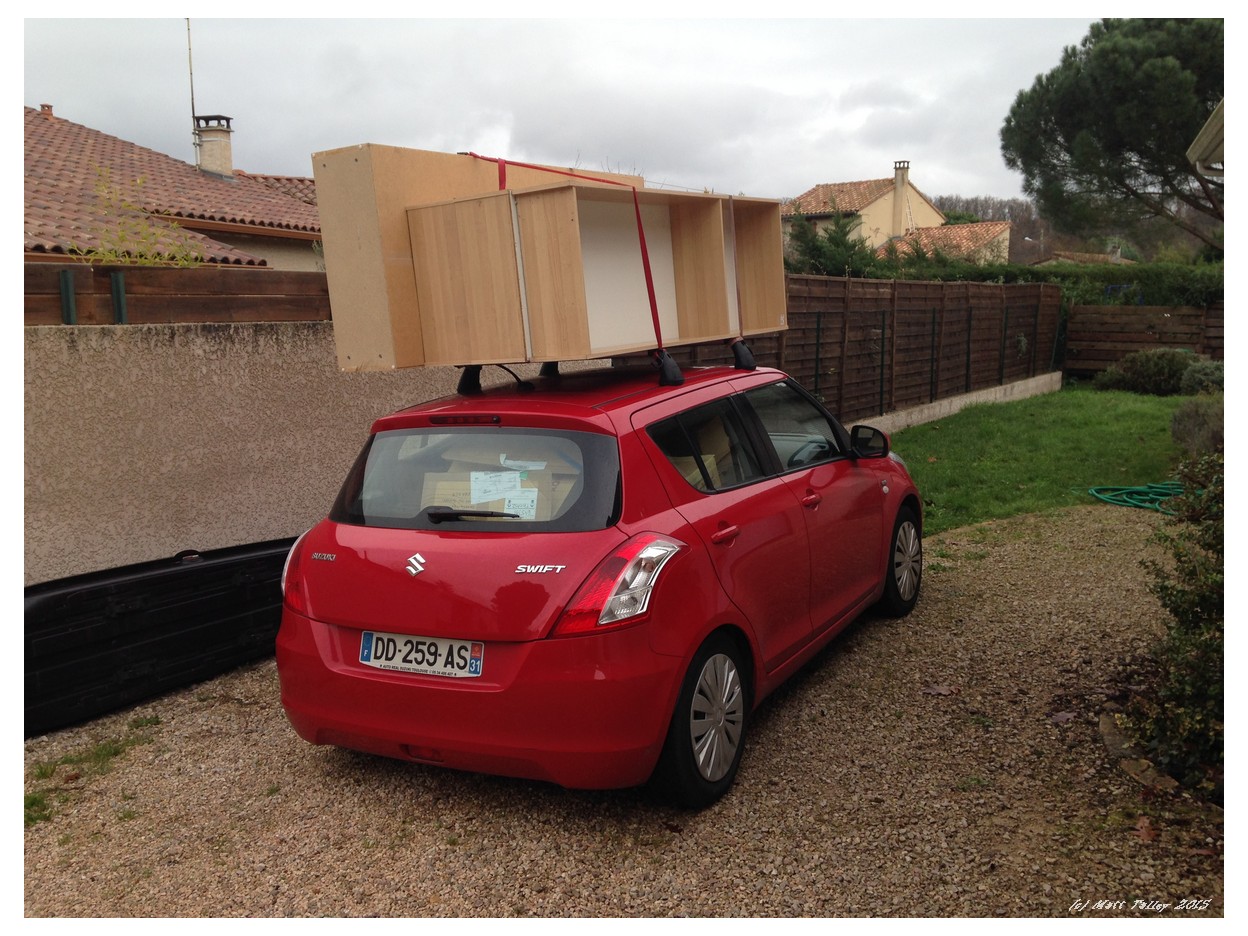
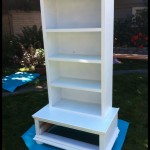
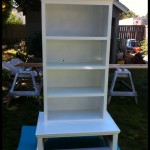
9 bookshelves
~1500 books in boxes
10+ sheets of plywood
Enough lumber to build a garden shed
2 beds
9 rolled carpets
A buffet hutch
A garden table, 2 side tables, 8 chairs, and a umbrella
250 pounds of gravel for lathe ballast
A huge antique armoire
300 pounds of wet lumber
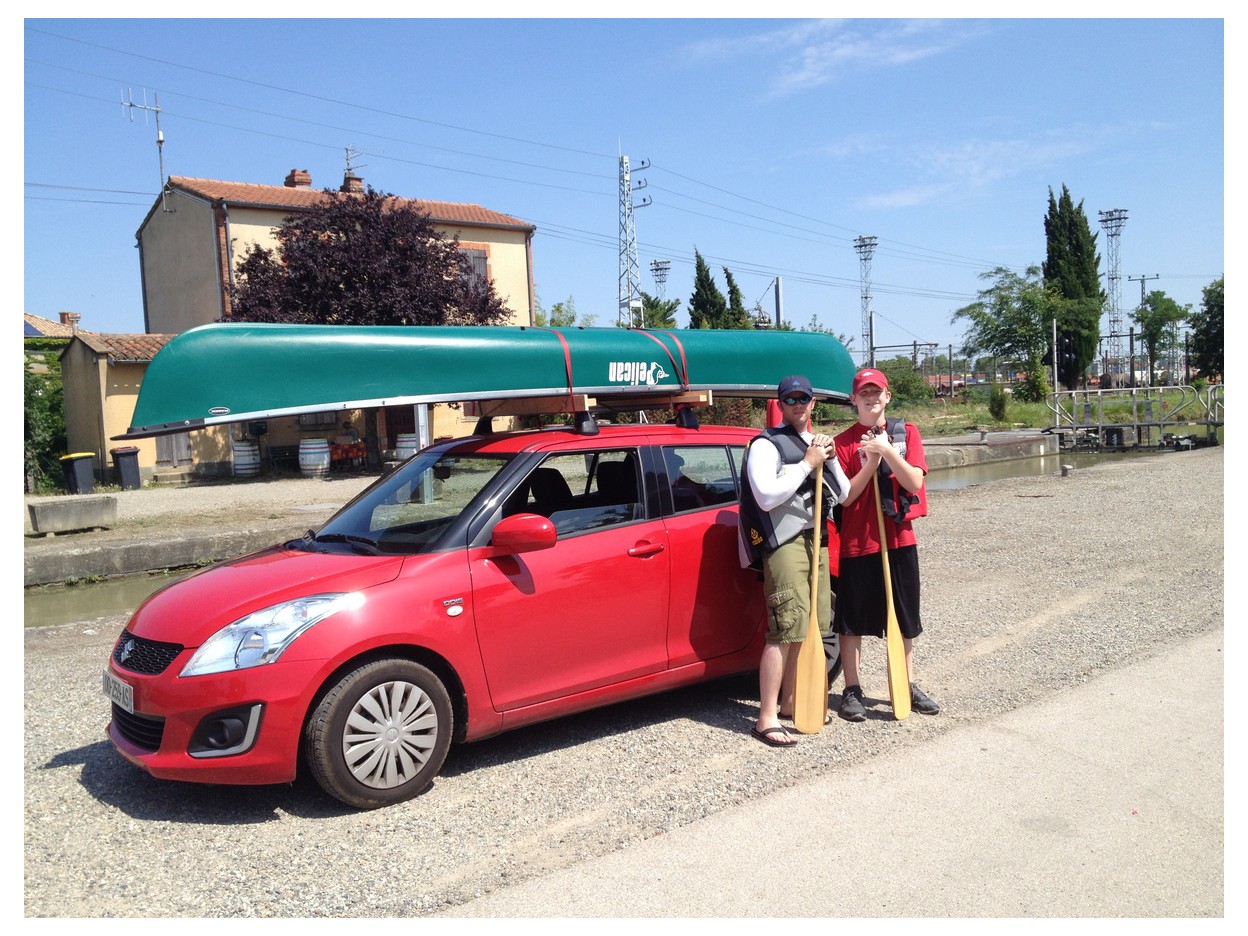
A Canoe that was wider than the roof
5 people and all their crap

Car hauling 2014 (2)

Car hauling 2014 (3)

IMG_4380

back of car 10-2014

Car haul 2014

Car hauling 2014 (1)

Tools I brought with me from the old country…

When planning our move to Toulouse, I came to the realization that I would not be able to take my entire shop with me. I didn’t relish the idea of replacing all my power tools and saws with 220vt/60Hz versions, only to have to sell them in a couple of years when we move back to Seattle. I decided that I would bring mostly my hand tools and and spend some quality time working small projects, cutting dovetails, tuning my planes, etc… There were three 24″X24″ boxes and one wooden chest full of edge moulding planes, Stanley Bench Planes, 4 rolls of chisels, mallets, Japanese saws, hand drills, dovetail tools, axes, draw knives, my half set (#2 – #18 even) of 1850ish Gleave hollows and rounds, squares, jigs, rasps, and assorted joinery paraphernalia.

My plan is to use the time here to do the detail work that I am usually in too much of a rush to even contemplate: carved scroll-work, mortised frames, insets, layered stain finishes, edging with the moulding planes, some light carving, maybe even cutting a few linen-fold panels. I have done a couple of little things already, but my first big task is to build a HEAVY work bench so that I will have a proper work space: I am going with a split top Neo-Roubo without a leg vise. I will be installing a cast iron Front Vise and a Screw Vise on the tail of the bench instead. No cabinets underneath so that I can store a shooting board and a Moxon vise. It WILL BE coming home to Seattle with us.

In the interest of full disclosure: I am not a neo-Luddite – I did buy an orbital sander right after we got here and I shipped my Ryobi 18vt tool set (circle saw, 2 drills, reciprocating saw, flashlight, & jig saw). The same sets are sold here and I got a 220vt charger that works with my existing batteries and picked up a couple of fresh new lithium-ion batteries in the process. Aside from the battery tools, I ordered a large wood lathe so that I can make furniture legs, tool handles, bowls, jar lids, platters, etc. I brought all my lathe chisels and chucks with me and I got a model that uses a DC motor that I can change over to one that runs on US current when we move back. It is much larger than my lathe in Seattle and will be a valuable addition to the shop there when we return.

Rebuilding Daddy’s Bookcase

In 1969 or 1970, my father helped my grandfather build a rental house that my grandparents saw income from for the next 24 years. He came home at the end of the project with a truck bed full of spare/cut lumber and building supplies. Lumber was not wasted in our house. We didn’t go and buy a new 2X4 for a project… We rummaged through the cut-off bin or wood storage shelves for a piece that was the right size or that could be cut, planed, or trimmed to work – Wood was not wasted or thrown away in the Talley house! It is a lesson that I have taken to heart and most of the things I build for my own home are made, at least partially, out of used or recycled materials.

Anyway, Daddy took some of the lumber and built a set of bookshelves that in the next nine years held everything from encyclopedias to technical manuals. Four 12-inch shelves sat on a box base that my father stained and varnished with whatever color he had left over from the rental kitchen cabinet build. It sat in our living room and in the shop. In 1980 we moved back to Houston and somehow my aunt and uncle ended up with the shelves. They put them in their living room, knocked the bottom shelf back, drilled a hole for a cable and sat their 19″ TV on the base. It remained in their home until 2010, when my uncle passed away. My mother asked to have the shelf unit back and brought it to me when she moved to Seattle. It is the only object that I own that my father built with his own hands and I feel so very lucky and proud to have it.

I decided immediately give it an update to make it an everyday part of our home: add a little something here and there to update it and make it that much more useful. Plans are one thing and actually doing the work is quite another – it sat relegated in my overcrowded shop for almost a year before I finally got a chance to work on it. I put the knocked out shelf back, glued all the joints, added reinforcement and screws to hold it all together, and built a base with turned wooden bun feet for it to stand on. The original base box was 12″ X 30″ and I wanted to both maximize the space and add my own signature to the piece. I carefully cut an 8″ X 24″ opening in the front and added rails for a drawer. It was amazing working on the piece. I found my father’s 42 year old pencil marks, a divot from a hammer, saw marks, and I found part of a fingerprint from when it was stained – just on the inside of the bottom. Finding and touching these this tangible proof of my late father brought me more joy than I have words to describe.

I also added a face frame, edge trip, and crown mounding. The piece was sanded down with 120 grit, then all the holes and gaps were filled, sanded with 120 again and then with 220 grip. I then primed with two coats and finished it with 3 coats of white Benjamin Moore ultra-tough cabinet paint.

I think it turned out really nice and I think my dad would be really proud of the work that I did to it. I am taking the original brass corner trim and a piece of original shelving and turning it into a picture frame to hold my favorite picture of my father. I think that he would approve of that as well…

The Never Ending Hutch

Right after we bought our place, I saw an add on Craig’s List for a huge hutch.  It piqued my interest and I went by to take a look at it.  A builder had pulled it out of a church school in Queen Anne, but it had been in the rectory library before that.  It was in really bad shape: paint splattered here and there, broken and missing trim, missing glass, dents, dings, scratches, etc…  Even with all that, I saw potential.  After some surprise haggling, I loaded it on my truck and brought it home.  This was right after I had shoulder surgery for the fourth time, so I would not be man-handling two 8 foot by 4 foot sections of furniture…  I picked up some laborers in the Home Depot parking lot by the house and had them load it into my basement where it sat taking up space for three months before I felt strong enough to tackle the job.  Below is the truncated build process in 67 easy steps:
  1. Looked at hutch for too long and decided to get it done.
  2. Started with bottom section – doors removed.
  3. Stripped off all old paint and varnish from outside with “environmentally friendly” orange stripper.
  4. Scraped and scraped stripper off.
  5. Cussed “environmentally friendly.”
  6. Put more stripper on.
  7. Scrubbed off again.
  8. Wife helped for 40 minutes, hated it and didn’t touch either section again.
  9. Shoved a 1″ splinter under one of my fingernails.
  10. Said the “F” word 5+ times, bled on base & floor and thought about cutting it all up for firewood.
  11. Washed whole thing with paint thinner to stop the stripper residue from working any more.
  12. Let dry and sanded whole case with 120 grit.
  13. Sanded with 220 grit.
  14. Sanded again with 220 grit.
  15. Stained with a crazy pricey, but color-matched mahogany tinted oil-based stain.
  16. Used wife’s special dish gloves.
  17. The old, old fir had issue with the stain and was a little splotchy in some really key spots.
  18. Was grumpy for two days.
  19. Second coat of stain used to blend some areas.
  20. Put on first coat of wipe-on poly acrylic semi-gloss finish.
  21. Wife found stain covered dish gloves and I got in trouble.
  22. Went to store and bought wife new gloves.
  23. 24 hours later, scuffed finish with white 3M pad and applied finish coat 7 more times.
  24. Spent HOURS on the final coat.
  25. Repeated all above steps with the four raised panel doors.
  26. Installed 100+ year old glass pull-knobs on doors.
  27. Whole process took two months.
  28. Moved base into finished side of basement for use as a media cabinet and LCD TV base.
  29. Went downtown to Chinese-owned granite shop on Seattle’s 1st Ave and haggled over granite for top.
  30. I am a poor negotiator in Chinese.
  31. Left and came back with Mandarin speaking co-worker.
  32. Got GREAT deal on custom top.  1/12th of the price that I was quoted at Home Depot – really!
  33. Built A-frame jig for back of truck to haul granite.
  34. Picked up top and hauled home.
  35. Bribed 4 neighbors to help move it into place.
  36. Neighbors won’t answer my call anymore…
  37. Four months from start to finish.
  38. Two weeks later I started the top section.
  39. Decided to make top section into a living room “built-in.”
  40. Built, painted and installed new 8″ base for the top section in our living room to match existing trim.
  41. Removed the doors, hardware, and hinges.
  42. Repeated steps above with the exception of splinter under nail and use of wife’s gloves: I learned my lesson the first time.
  43. Cut hole in back for outlet already on wall.
  44. Had other, unsuspecting neighbors help me move the top section up.
  45. New neighbors called me names after it was all done.
  46. Hole for outlet 1″ off to the left.
  47. Said hateful words.
  48. Grumpy again.
  49. Calmed down and used Dremel tool and coping saw to remove section from one side and glued it to other side.
  50. Trimmed out outlet hole.
  51. Stained and finished outlet trim.
  52. Had wedding and took 30 day break in the rebuild/refinish process.
  53. Started looking for matching trim and crown molding at reclaimed lumber yards.
  54. No Luck.
  55. Had crown custom milled at high cost by a shop in SODO that had 90 year old machines running on their floor (shop closed about a month after I was there last 🙁
  56. Started the process of refinishing the doors.
  57. Installed crown molding.
  58. Shot nail through molding and into palm on final piece of crown.
  59. Bled on top of hutch – no dirty words.
  60. Installed refinished doors.
  61. Built two interior shelves out of 80 year old fir floor boards.  Stained and finished – look original!
  62. Smacked the back of my head when installing shelves and almost knocked myself out.
  63. Sourced and purchased piece of wavy restoration glass to match original broken pane.
  64. Stained and finished the crown.
  65. Put final coat of trim paint on the new base.
  66. Installed the one missing glass pane.
  67. 5 months after base installed the top is done and looks like it has been in our place since 1928.
Never again.

Sawdust and paint fumes

It has been roughly eight months since my shop was robbed.  It is just now that I have found the will and desire to start building furniture again.  I have let projects and repairs pile up and let my garage shop digress into a sawdust filled junk-room.  There have been parts for Adirondack lawn chairs in my basement and shop since December.  I finally got around to gluing them up and screwing the pieces together when my son was here this summer.   That little project led me to start cleaning the shop and find all the stuff that has been waiting on me.  I dabbled with a couple of boxes, then started making pieces and organizing tools and supplies to tackle the larger stuff.  Below is a list of current projects that are in work:

  1. Painting the Adirondack chairs
  2. Re-build of my father’s 1971 bookshelves
  3. Kitchen cabinet doors
  4. Misc. Lathe tasks
  5. Kitchen cabinet pullouts
  6. Camp Kitchen box build and paint
  7. Campaign furniture for luxury car camping
  8. Hall mirror
  9. Copy of a 12th Century Abby oak door
  10. Fireplace surround and mantle
  11. New Kitchen cabinet pulls and knobs
  12. Garden tool shed
  13. Christmas gifts
  14. Garden table

The above are started and in-work.  I have plans to also build the below items soon:

  1. Small basement work bench (reloading and winter projects)
  2. Rebuild bookcase in master bedroom
  3. Murphy bed for my home office
  4. Box ceiling for master bedroom
  5. Home office bookshelves
  6. Chicken coop
  7. Ornamental planter box
  8. Cookbook shelf in kitchen
  9. Rebuild my standing desk
  10. Basement stairs rebuild