Lectern rebuild and re-thinking the plan

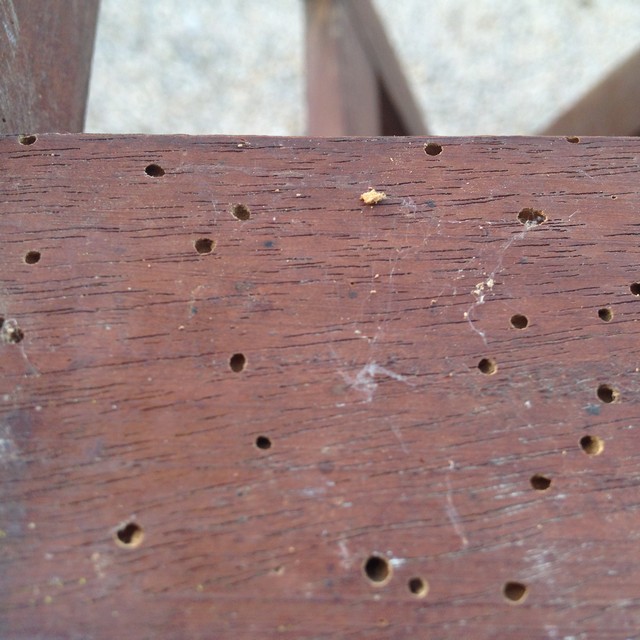
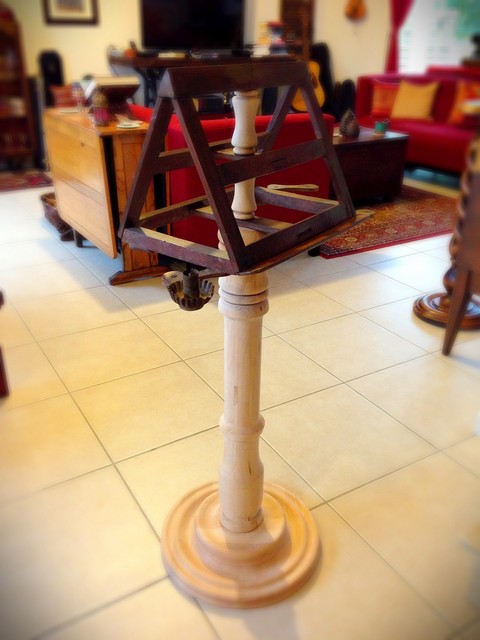
Early last year, I picked up an antique copyist’s lectern (the top part only) that originated in a French Abby.  The lectern was riddled with worm holes, a couple pieces were missing, and there was some damage to repair, but the first thing was to make it bug free so not to infect all our other furniture with wood worm.  The thing spent a couple of months in a plastic bag full of insecticide and chemicals that makes for square babies. According to the interwebs two months bathing in said concoction would make the piece safe to bring out see the light of day again, so after fumigation, it sat in our living-room as decoration for 12 months before I started the rebuild in earnest.

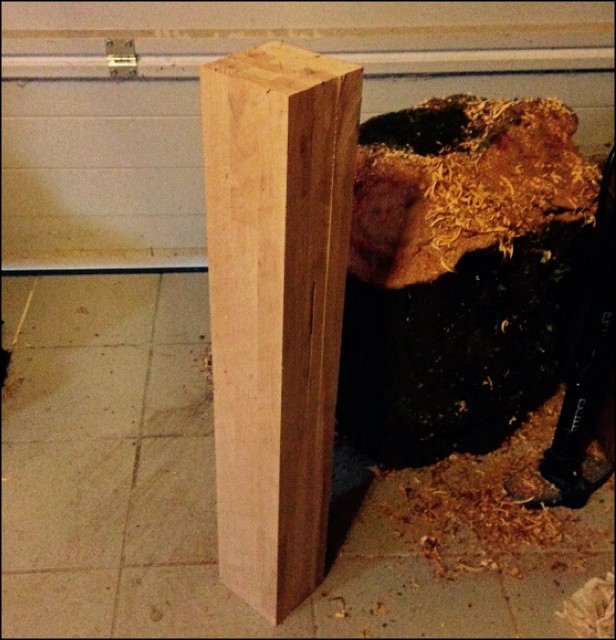
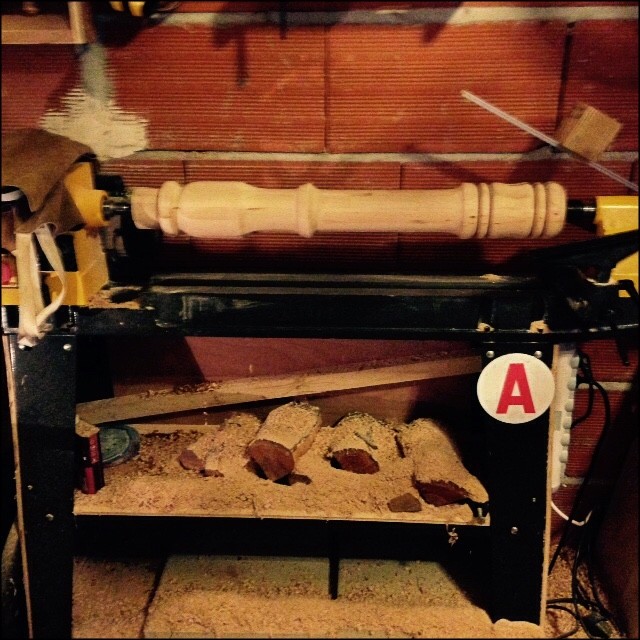
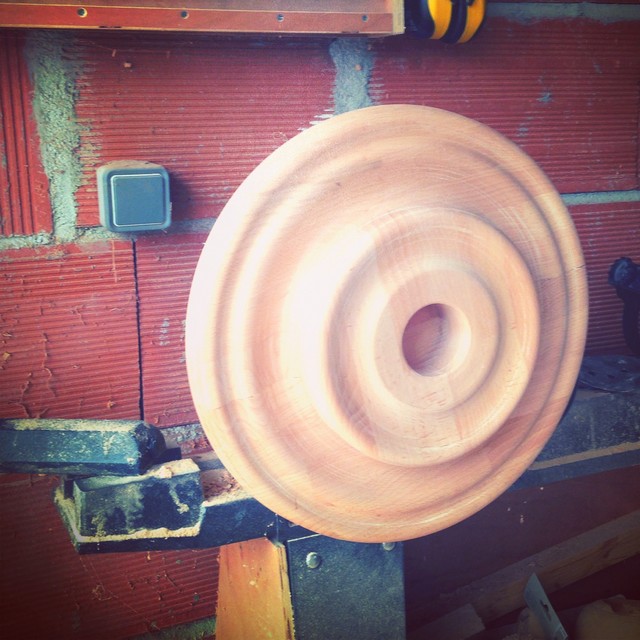
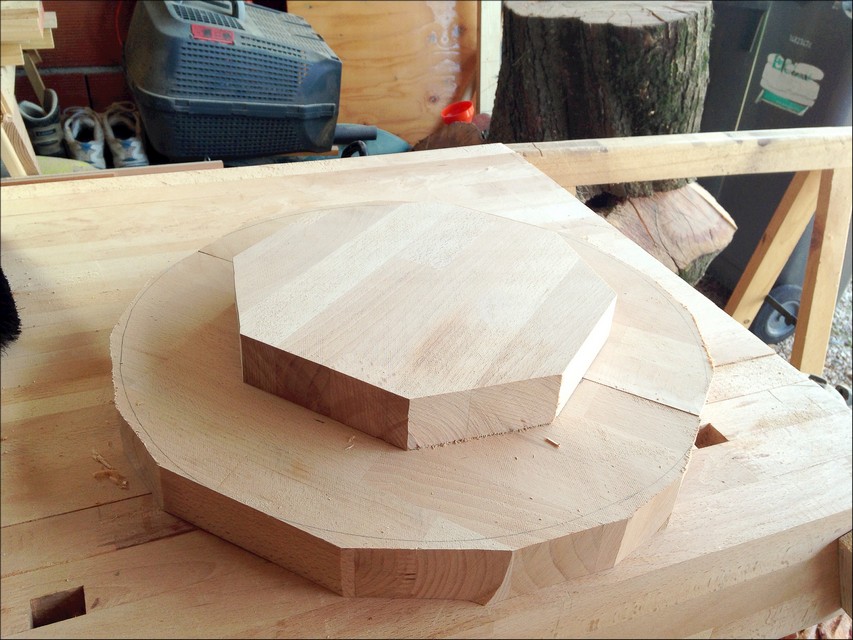
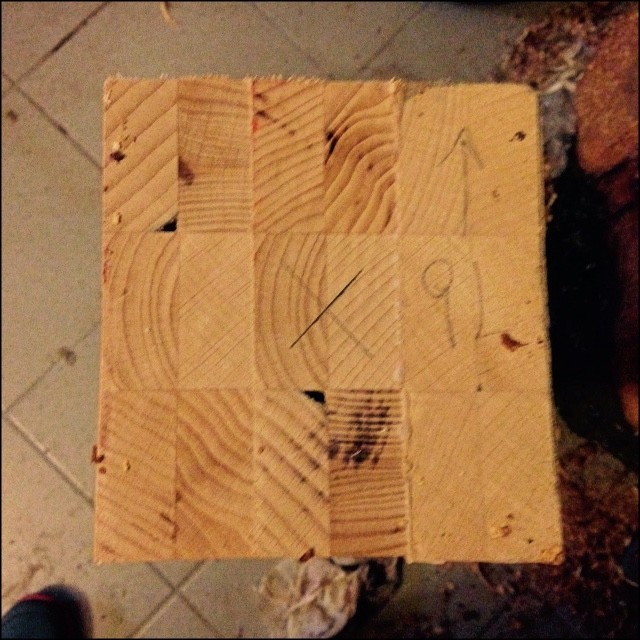
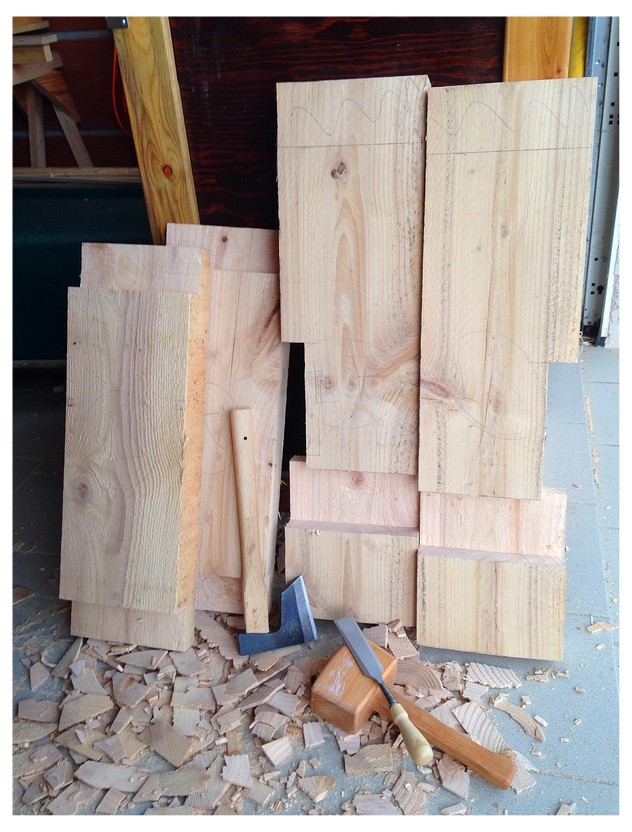
Initially, I sketched up a few column profiles in my ubiquitous little black notebook and settled on a somewhat simple design that matched the overall style and period of the piece.  Next, I spent a little time one Sunday turning a new pedestal out of beech scraps from my workbench build. I glued them all up into a single 5″ X 5″ x 32″ hunk of wood. I then measured and turned matching intermediate supports from a scrap oak rolling pin with curves to match the column.   A couple of weeks later, I used the last of the beech scrap and turned the pedestal base, which ended up 16″ in diameter and 3″ tall.

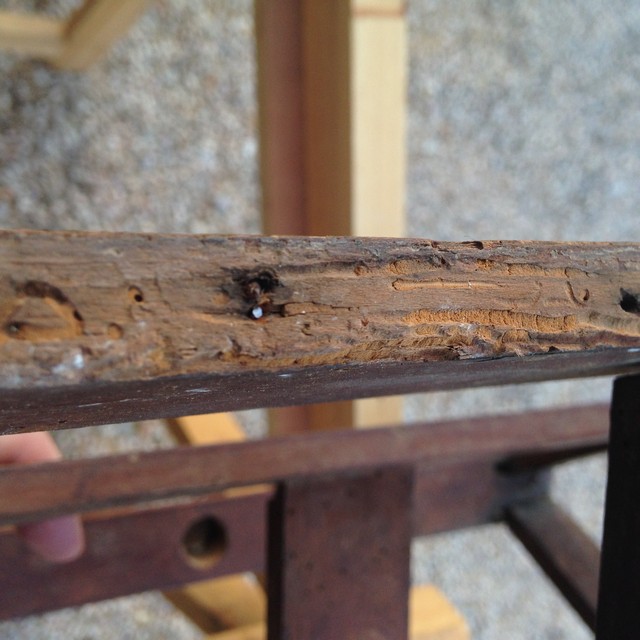
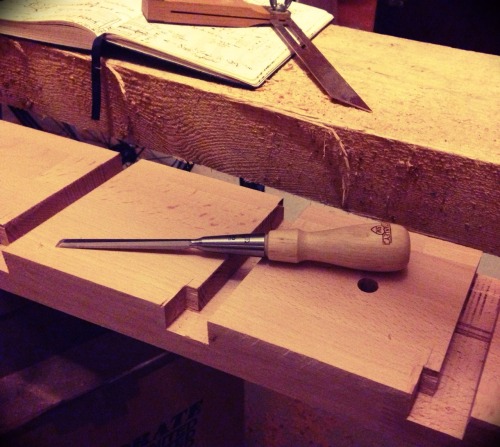
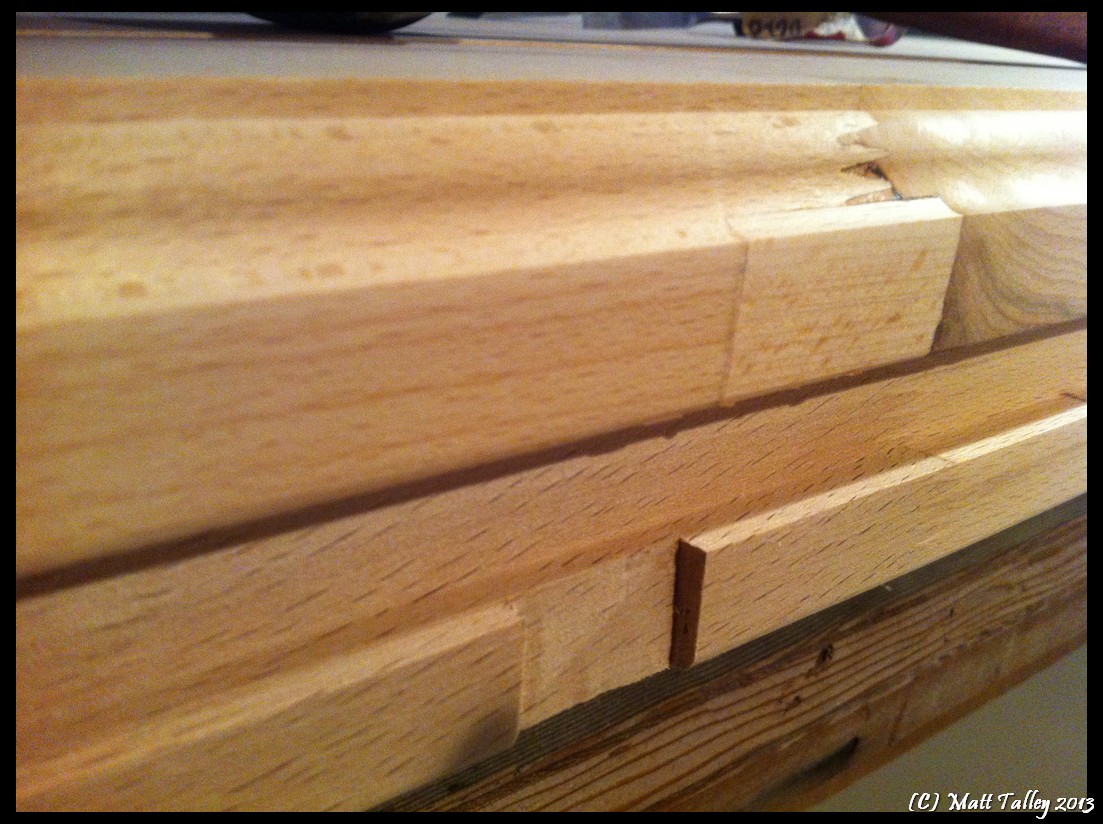
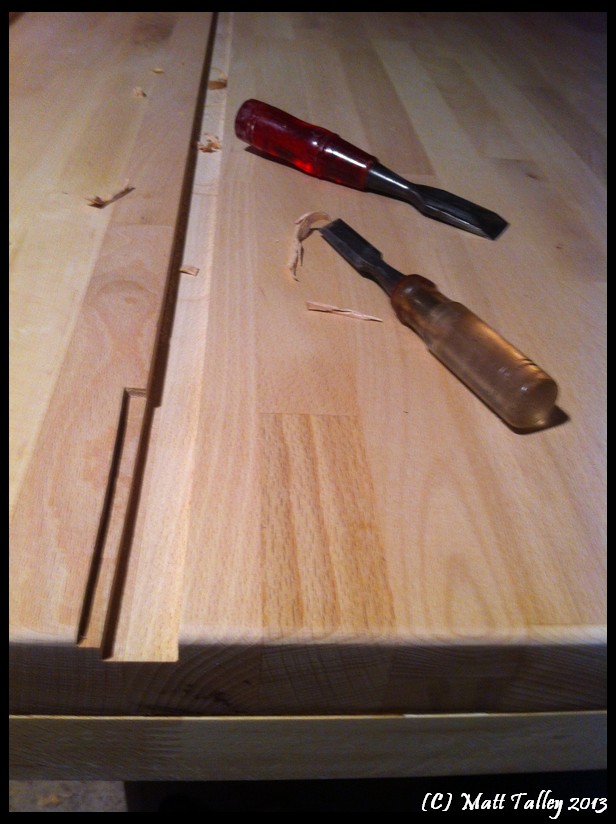
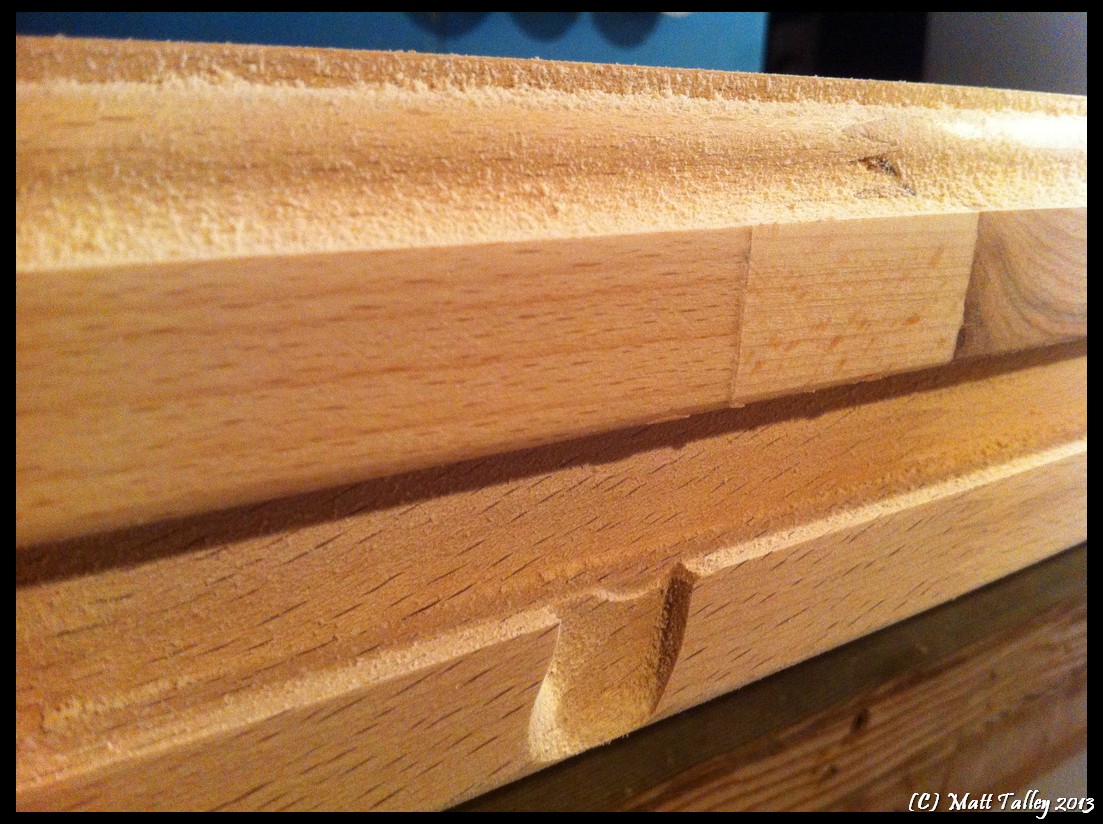
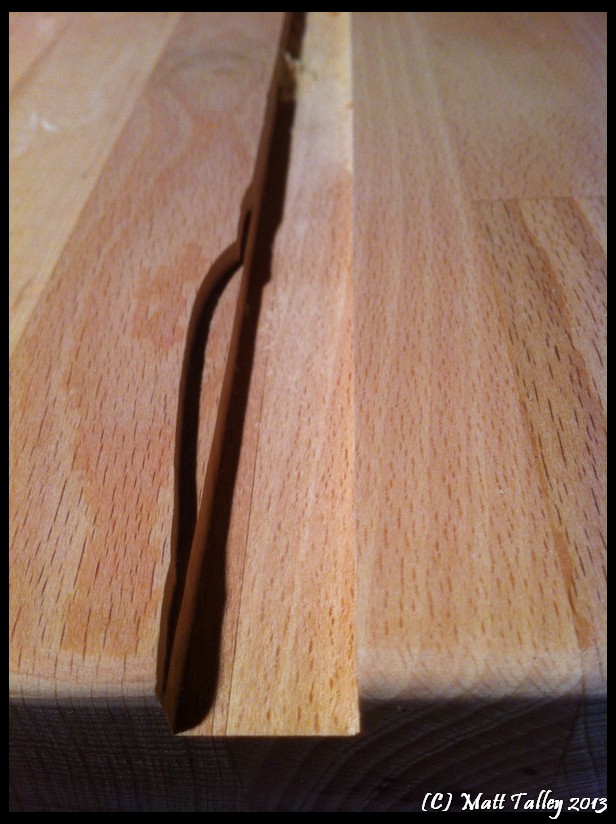
After gluing it all together, applying matching stain, and putting 4 coats of polyurethane on the base, it was time to start on the lectern top.  All was going to plan right up to the moment that I removed a damaged shelf and saw what looked to be fresh wood damage… In one of the joints there was a small white bug larvae…  Son of a bitch…  I immediately put plastic on my bench top and took apart another joint.  I found more LIVING wood worm. I started picking at the capped holes here and there and more worm…  Shit!!!  I wrapped it up in a trash bag and out to the street it went.  It would seem that my lethal chemical treatment wasn’t that lethal.  Just REALLY, REALLY happy that the hatch hadn’t started and that my house was no full of bugs that would lay word worm eggs all over our other furniture. I took pictures and measurements and I am now planning on building a copy of the top over the next month or so and I will post the finished product here when I am done and it is installed in the living room.

Matt Talley - Projects 2015_06

Matt Talley - Projects 2015_07

Matt Talley - Projects 2015_16

Matt Talley - Projects 2015_15

Matt Talley - Projects 2015_12

Matt Talley - Projects 2015_11

Matt Talley - Projects 2015_10

Matt Talley - Projects 2015_09

Matt Talley - Projects 2015_08

Matt Talley - Projects 2015_05

Workbench Progress

Progress on the Cornebarrieu Bench is coming along.  It has been slow going – I have been swamped with work, travel, lack of allowance (I spent it on Christmas and a classic fiddle/violin…), more work, etc…

Stamps-With-Foot gave me a gift card for our local Home Center/hardware big-box as a Christmas present that took care of the price for the last section of the top. I got a lot accomplished this last two weeks:

  1. The final sections of the top were glued up just before New Years eve- using every single clamp I brought to France and more than a little ingenuity.
  2. Installed (2 hours of cutting, drilling and chiseling) a pricey German-made cast iron end vice that I got on 65% sale – was missing two small metric bolts and the wood handle.
  3. Made final leg cuts: the tenons that go inside the bench top.
  4. Put 5/16 oak dowels in to the pieces that have cracked, even a little, to make sure that the cracks do not spread.
  5. Gave all the base parts an 80 grit sanding.
  6. Really like the sawmill marks on some of the pieces.  Am going to put clear poly on the base instead of milk paint to preserve the marks.
  7. The legs and stretchers shrunk and warped just a touch in the six months since I cut them even though I had it all clamped together.  It will be fine and could have been worse.
  8. Made the first dry-fit of the base to the top: Everything lined up , fit perfectly, and is as square as I could ask for.
  9. Drilled holes for connector bolts and lag screws.
  10. Installed base shelf cleats
  11. Cut the 12 sections of 5/8″ tongue & groove pine that will be the base shelf

Cornebarrieu Bench 08-2014 Cornebarrieu Bench 09-2014 Cornebarrieubench 12-2014 Cornebarrieu Bench 1-2015


Before I head to the US in a couple of weeks, I hope to have installed the end-vise block, given the base a 120 grit sanding, polyurethane the base &shelf, cut the hole for the leg vise screw and the rectangle cut for the vices’ parallel guide. I also want to install the leg vise nut in a pocket behind the leg while the bench is upside down.

Cornebarrieu Bench – Redesign & first cuts made

I did a full redesign of the Cornebarrieu bench… As per my normal modus operandi, I was over designing/building it. With all the tweaks and gadgets and new parts, it was going to take me 6 months to build, some serious math to layout the interlocking joint angles and cost $1900 in material – I may have priced solid 4” thick seasoned Eastern European beech and walnut for the top and legs…
Anyway, I came to my senses and decided on using the pine I had already purchased for the legs and stretchers, lap joints with bolts instead of compound dovetails, a liberal amount of hide glue here and there, and a top made from re-purposed IKEA counter tops and will install a leg vice salvaged from a junk shop near Limoux, France instead of the $300 Benchcraft scissor vise that I was eyeballin’. The top will be solid all the way across instead of the split-top design.

The pine slabs have been drying in my GROP for 5 months and were ready to be cut down into their rough size. I had a little time this last weekend and spent 4 hours making all the leg and stretcher joint cuts – hogging out the material with successive circle-saw cuts and then chiseling them out. I am waiting to cut the tenon that fits into the top on each leg until I have the top in-hand. I chiseled and planed all the joint cuts smooth and I really wished I would have had a timber framing slick. When I do another bench or some large furniture with this type of joint anytime again, I will pick one up as it will pay for itself with the labor saved, in comparison to a 1.5” bench chisel, on 4 lap joints. I did the rough math and I think that I will have made 1023 total handsaw and circle saw cuts by the time the bench is done. There will be 16 bolts, 6 sections of 7/16” all-thread, 12 large screws, one 2’ ACME thread rod, 2 large dowels, 4 lag screws, 32 nuts & washers, and some sweat, blood, and curse words that will all go into it by the end. The new dimensions of the bench will be 25.5” wide, 34” tall, and 8.2 feet long. I believe the finished weight will be around 320 pounds.

My next milestone is the dreaded IKEA run. It will be a couple of weeks before I have the enough spending money horded together from my allowance (I want to be debt free in two years and retire at 55 so yes, I have an allowance…) and get the top cut out and fitted. I will update as I go.

Cornebarrieu Bench update (2)

Cornebarrieu Bench update (1)

bench drawings 2014 (3)

bench drawings 2014 top detail

A giant sealed dome over our place would solve most of this….

There are some days where I want to just drop everything I am holding, turn off the lights, lock the door, and go on an extended vacation involving a sugar-sand beach and copious amounts of fruit laden alcohol.  This Saturday was one of those days.

I decided to work on the kitchen cabinet doors, cut some plywood sheets down, and tackle a bench top while the sun was shining.  I opened the shop, brought out a plastic truck-bed toolbox to cut on (my 4 sawhorses are currently being used elsewhere), pulled 3 full-sized sheets of ¾” and ½” plywood out of the lumber rack and drug it all out into the backyard.  After marking the first sheet, adjusting my saw blade depth, lining up my rip fence, and checking for clearance – I started my first cut and immediately ripped a 6” long kerf-cut into the top of the tool box that the sheet was sitting on.  Dammit! I cut the rest of the plywood up without incident, but grumbled thinking about the mistake (I will fill and patch it with molten P-Tex plastic at some later point).  After stacking all the assorted pieces of ply back into my cluttered shop, I man-handled the 170+ pound beech and maple in-work bench top from the basement and placed it on the now-damaged toolbox – trying very hard not to either herniate a disk in my bask or tear what is left of my shoulder.

My Shop/Garage is pilled deep and high with lumber, hardware, undone winter projects, wood shavings, tools, sawdust,  flotsam & jetsam, etc….  I spent an hour trying to set up my router and in all the clutter and mess I couldn’t find a ¼” collet for one router and the other does not have an integrated fence, so using my big monkey brain, I improvised a fence.  All I really wanted to do with the top was to route channels for t-track and thoroughly sand it down before taking the beast back into the bowels of the basement to apply stain and a tung oil finish.  All was going as planned and my first cut was perfect.  The second cut went just the same, but at the very end of the third cut my improvised fence failed and the router wobbled – gouging the top that I had spent a month building.  Jesus H. Christ I was pissed! – Mostly at myself, but there was some vitriol left over for the machine in my hands.  I said dirty, hateful, vile things while resetting the fence and making an adjusted cut.  I moved on to make my last cut in the very front lip of the bench and while the fence held, I stood up mid-way through the pass and the router wobbled, making the bit chew into a section of wood where I did not want it to go.  I gritted through the rest of the pass and finished the cut, but the second I was clear of the wood, I wanted to throw the still running router on the ground and beat the electric life out of it with the pruning shears that were leaning against the garage wall.  I had to walk away, hand over my mouth, and just breathed deeply with my back to the offending router, my own incompetence, and the damage they had both wrought.  My moment of reflection was short lived because just as I turned, I felt the first drop of rain fall from what was minutes ago a blue sky that had ominously darkened while I was focused on my router-rage (I swear it happened just like that – strait out of a hip urban dramedy…).  SHIT!!  I ran for something to cover the bench top.  The only thing I could find was a pink tent fly and a sheet of cardboard.  I covered everything and retreated into the shop, right eye twitching with disbelief/confusion/anger.  I spent the next hour drinking coffee laced with sawdust and moving piles of crap around in my shop.

When my sweet wife got home she MAY have found me in the shop muttering to myself, pacing, covered in saw dust, contemplating the logistics of building a giant sealed dome over our entire lot.  She talked me off the ledge, helped me put the top back into the basement, patted me a little, told me I was pretty and smart and a good boy, put me in some fresh, sawdust free clothes, and took me out to see a movie.

I got up the next morning and after a yummy breakfast of flaky croissants, bacon, eggs and two cups of coffee, I went downstairs and chiseled out the offending screw-ups, then cut and glued maple patches in.   After calming down some and after a good night’s sleep, I felt better about the whole thing, but me and that router are still not on speaking terms.