Tag: Craft
Inaugural Hand Tool Tuesday Post
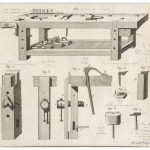
Being a child of the 1980’s, my early tool and joinery education from my own father was augmented by two TV craftsman – Norm and Roy. I have a foot in each of their worlds: My table saw, miter saw, and lathe get the lion’s share of work done in my shop, but I am giddy whenever I can whip out a chisel, Japanese saw, or molding plane. My lathe gets a lot of press as it is my only power tool here in France and I recently realized that I am not highlighting hand tools enough in my shop work posts. Additionally, I see a lot of very cool old tools here in France that need to be shared. I will be posting pictures, videos, details, openions, thoughts, etc… here.
For today, enjoy Roy and Norm
Disclosure Note: The choice of the Roy video was solely due to the heady mix of Jefferson and Roubo. In the future, I will include more videos of people actually using the tools 🙂
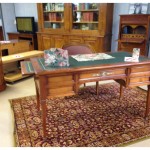
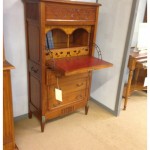
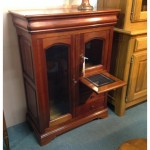
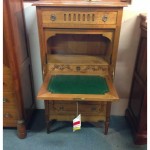
Desk Fetish – Revel, France
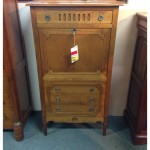
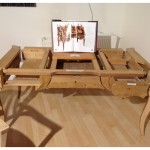
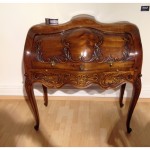
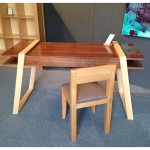
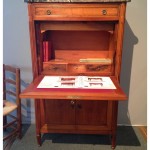
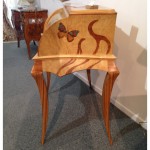
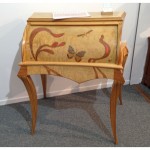
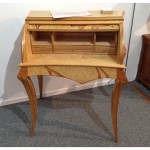
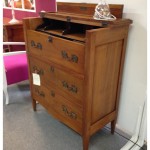
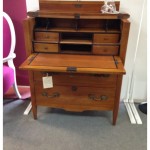
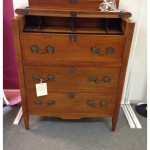
I may have mentioned before that I have a certain unnatural attraction to desks – a lust if you will. We have five desks in our house in France home, three in our Seattle house, and I still NEED more. I love me a Victorian Wooten, a Danish cabinet-desk will cause me to pant, fire screen panel desks start me to sweat, roll-tops make me smile, and the smooth curves of an Art Nouveau model will make me twitch.
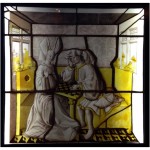
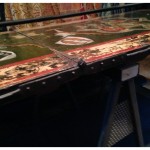
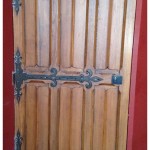
Whenever I travel or go to a museum or furniture shop, I have a wandering eye for desk-like furniture – I almost feel like I am cheating on my desks at home. It happened again recently, when I went to Revel, France on a road trip with my son and Father-in-law. When we got home and started looking at the pictures, I realized that more then half were of desks, desk drawers, the corner joint of a desk, image after image of drop leafs… I with we had more rooms…
Here are a few pictures from that trip:
Film Friday Double Feature – Instrument Making
Reusing/remaking old tools
I love me some old tools. I love looking at them, touching their surfaces, using them… Most of my hand planes, some of my chisels, and all of my molding planes are older them my grandfather. I will push people down in a junk/antique shoppe to get to a wooden plane or socket chisel peeping out from behind a Paint-By-Numbers masterpiece.
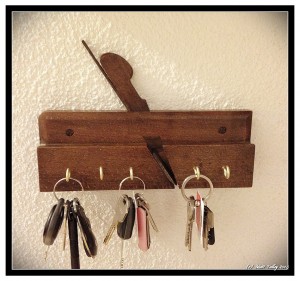
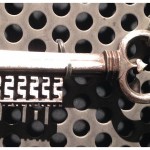
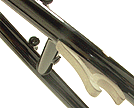
Occasionally, I find a beautiful tool that is beyond repair and cannot be brought back to life. I lament its loss. There have been a couple of pieces lately that I just couldn’t let go into the burn pile or let sit to languish as food for wood-worms. The molding plane pictured below was/is a 1860s-ish Gleave #8 round and was split and has warped at the split to the point that there was no bringing it back from the dead. So I cleaned it up, applied a little walnut oil, and added a VERY pitted iron to make a key holder for our living room. It subtly tells first-time visitors that a carpenter/Ébéniste lives here.
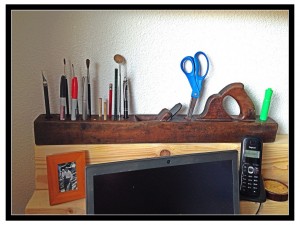
The 23″ walnut joiner plane, also below, was the property of a C. Wanger, and used just outside the village of Cornebarrieu, France. It bears the marks of his hand on the foreend and his thumb and index fingers have left deep indentions on the tote. It has been repaired a couple of times, the wedge has been cut off and worms got to it years ago. The poor thing is now held together with hope, spit, and a little epoxy. I loved the size and color, so I turned it into a desk organizer for my office.
Before you all start collecting scrap so you can roast me alive for desecrating beautiful tools, know that I rescued them from a fiery fate and have given these tools a useful and meaningful after-life.
Need a trash can lid? Make it on the Lathe
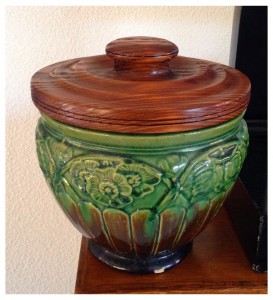
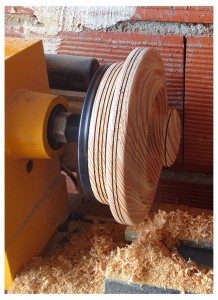
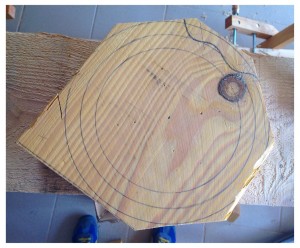
We have a Art Deco flower pot in the guest bathroom that is used as a trash can. is about 9″ high and 8″ in diameter, so it doesn’t hold a lot. However, our new puppy is VERY interested in the contents of that vessel. To stem any possible and eventual messes, I took some pine scrap, chucked it up in the lathe and made a heavy wooden lid. I stained and finished to match the pot. Simple fast jobs like this make it so I can buy new tools without my sweet wife flipping out.
Film Friday – Merrill Guitars
Making stuff with My Son
It is one of my duties in this life to make sure that my children can do for themselves. Having to call a plumber for a clogged drain or an electrician to replace a switch just is not the Talley way. We are fixers, tinkers, builders, and warranty voiders by practice and nature. I cannot have it on my conscience that such a path would end with me, so part of the summertime ritual is to fix and build stuff.
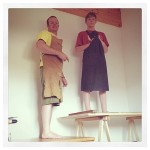
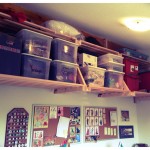
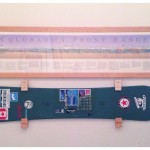
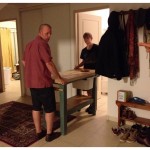
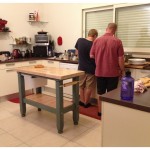
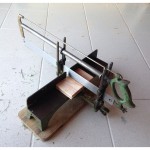
This year was no different. The Ruminator work on the lathe a bit, helped me build a kitchen island, and helped design and construct a hanging shelf system for my wife’s sewing room. We hung a storage rack in the garage, built a snowboard rack for his room, hung stuff up in the living room, applied a little spray paint and finish, learned about milk paint, refurbished a miter-box saw, cut up some andirons, went over tool identification, sunk a bunch of screws, put some all-thread to use, made sparks with the grinder, and that sort of thing.
Just little bits at a time… Next year we will do a little metal work and wood carving. The year after, we might build a deck and do a little welding. At some point he will learn to sew and mend a little – not to be a seamstress, but enough to make simple stuff and put a button back on a coat. If he wants to be a carpenter or a cobbler or a tailor or a machinist or a welder fine, then I am equipping him with early skills to build from. But if he wants to be an architect, teacher, engineer, lawyer, doctor, or whatever – I still want him to have the knowledge base of how things work, how they are put together, and how they should be fixed.
UPDATE: Shortly after my son left to go back home, I was cleaning up the GROP and I found this message below written in saw dust. It made me both humble and very proud.
Everyone needs a circus tent stake maul…
I have a good number of wooden stakes to drive into the ground – garden project, long story. In the early stages of planning, I realized that I didn’t have a proper maul and did nor relish driving any of them with a claw hammer. Hummm….
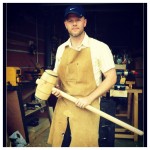
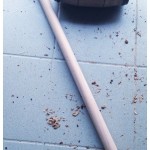
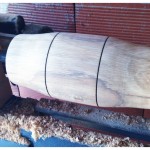
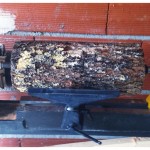
To remedy that tool deficit, I finished turning one from a piece of oak firewood after work the other day – instead of mowing the yard… The steel bands are cut from a 5″ iron pipe and they are held on by 15 or so long brass nails. It seemed like a good use of my time and was a nice end to a very stressful day.
Film Friday – Ellis Mandolins
Art in Paris – July 2014
Regardless of what your personal belief structure might look like, it is hard to see some things that were created by the hands of men and women and not wonder if there is something greater than ourselves out there. The Musee d’Orsay is full of those objects: from sculpture to paintings to carvings to furniture. It is not just the Orsay though – it is the entire city of Paris. Buildings, museums, subway stations, churches, stained glass, public art, gravestones in Père Lachaise, even the trash cans on the street corners.
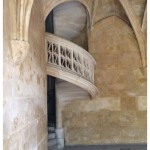
Below are pictures from a recent visit to The Orsay, The Cluny (see previouse Carving post), St. Eustice Church, and Notre Dame, with shots from various walks through the city.
Wood Carvings at the Cluny in Paris
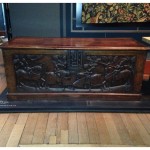
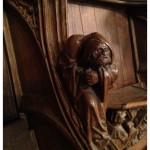
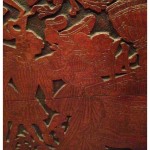
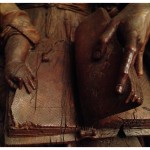
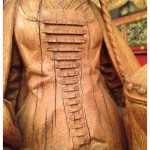
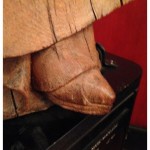
We spent 3 hours at Musée de Cluny (Musée national du Moyen Âge) in Paris on a recent trip. I highly recommend the little museum and the adjacent garden. While I enjoyed the tapestry and armor and paintings, it was the wood carvings that really stood out. The detail… Braids, carved folds in the dresses, miniature figures and scenes in a triptych that were beyond belief, fingernails, pages of a book… All carved in 400+ year old oak. Astonishing.
Side note: the plums in The Unicorn Forest (forêt de la Licorne) section on the garden were ripe and falling. I tried one ant it was delicious – upper sweet and deep blood red. They will make terrific jam. I may have brought 10-15 plums home with me and extracted the seeds. I plan to plant a few in a local forest and I have a sneaking suspicion that a very similar tree will grow in our yard in Seattle and in a friend of ours yard in Portland…
Cornebarrieu Bench – Redesign & first cuts made
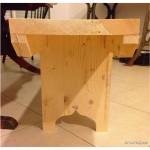
I did a full redesign of the Cornebarrieu bench… As per my normal modus operandi, I was over designing/building it. With all the tweaks and gadgets and new parts, it was going to take me 6 months to build, some serious math to layout the interlocking joint angles and cost $1900 in material – I may have priced solid 4” thick seasoned Eastern European beech and walnut for the top and legs…
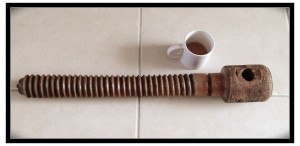
Anyway, I came to my senses and decided on using the pine I had already purchased for the legs and stretchers, lap joints with bolts instead of compound dovetails, a liberal amount of hide glue here and there, and a top made from re-purposed IKEA counter tops and will install a leg vice salvaged from a junk shop near Limoux, France instead of the $300 Benchcraft scissor vise that I was eyeballin’. The top will be solid all the way across instead of the split-top design.
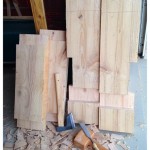
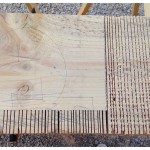
The pine slabs have been drying in my GROP for 5 months and were ready to be cut down into their rough size. I had a little time this last weekend and spent 4 hours making all the leg and stretcher joint cuts – hogging out the material with successive circle-saw cuts and then chiseling them out. I am waiting to cut the tenon that fits into the top on each leg until I have the top in-hand. I chiseled and planed all the joint cuts smooth and I really wished I would have had a timber framing slick. When I do another bench or some large furniture with this type of joint anytime again, I will pick one up as it will pay for itself with the labor saved, in comparison to a 1.5” bench chisel, on 4 lap joints. I did the rough math and I think that I will have made 1023 total handsaw and circle saw cuts by the time the bench is done. There will be 16 bolts, 6 sections of 7/16” all-thread, 12 large screws, one 2’ ACME thread rod, 2 large dowels, 4 lag screws, 32 nuts & washers, and some sweat, blood, and curse words that will all go into it by the end. The new dimensions of the bench will be 25.5” wide, 34” tall, and 8.2 feet long. I believe the finished weight will be around 320 pounds.
My next milestone is the dreaded IKEA run. It will be a couple of weeks before I have the enough spending money horded together from my allowance (I want to be debt free in two years and retire at 55 so yes, I have an allowance…) and get the top cut out and fitted. I will update as I go.
Film Friday – Romero Banjos
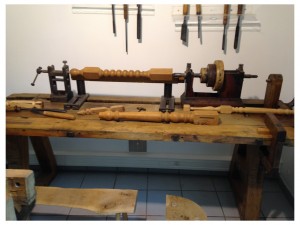
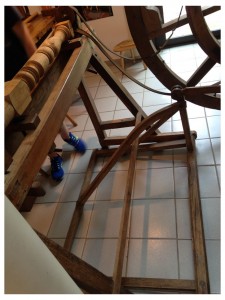
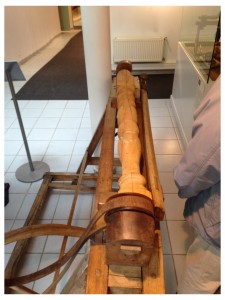
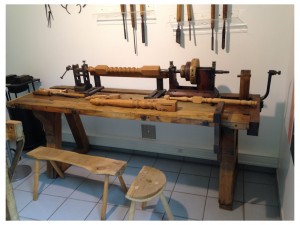
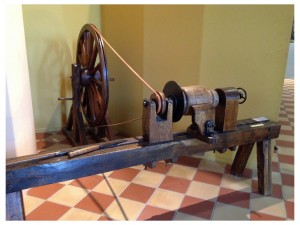
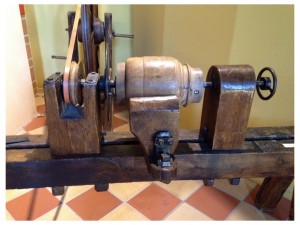
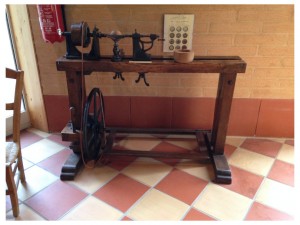
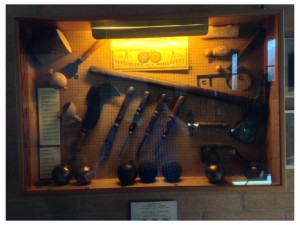
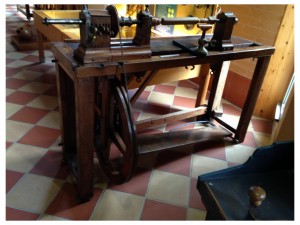
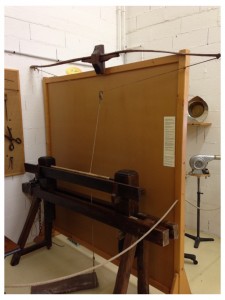
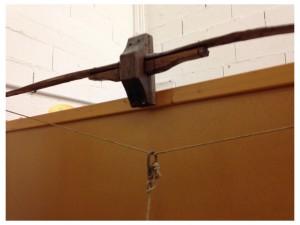
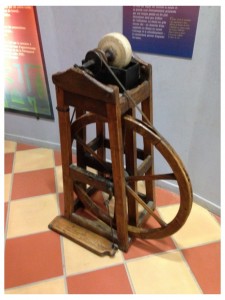
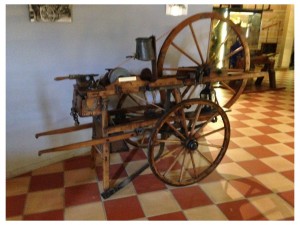
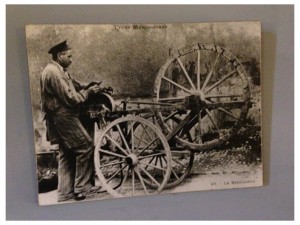
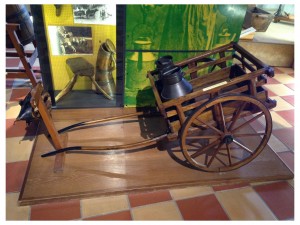
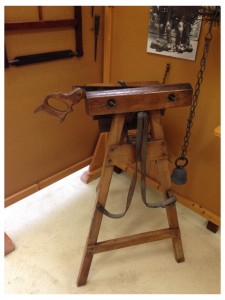
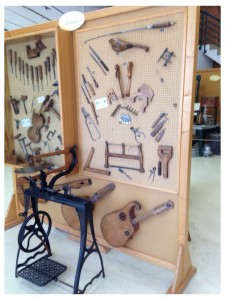
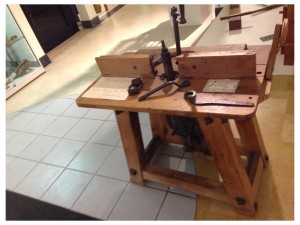
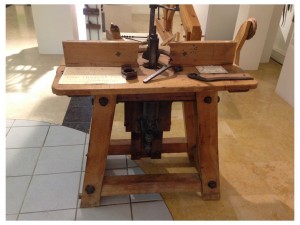
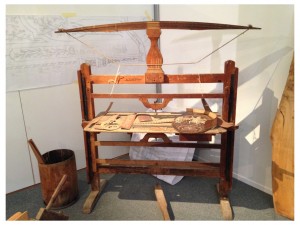
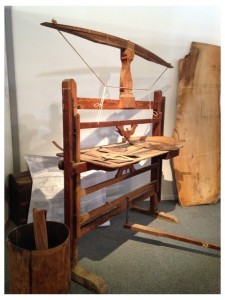
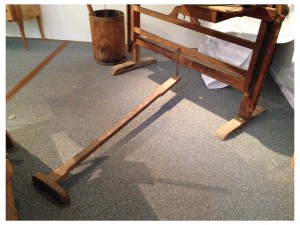
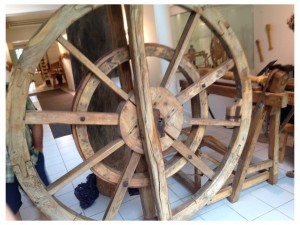
Before Electricity – French machine tools that were/are human powered
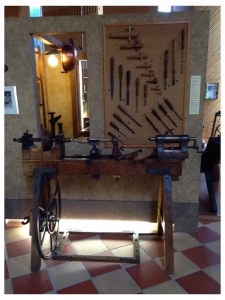
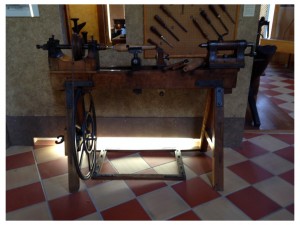
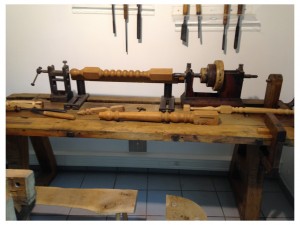
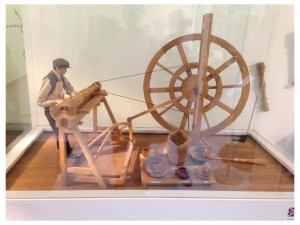
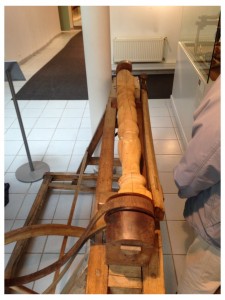
As we have traveled a bit here in France, I have drug my wife, son, in-laws, and friends to dusty museums and shops to see some amazing examples of traditional French woodworking tools and machines. These bits of pre-electric woodworking gems have been covered in beasage, wabi-sabi and love. Some were almost pristine, looking like there were used the day before and a few are shadows of their former-selves, but beautiful none the less. There are lathes, marqueterie saws, Saw-tooth sets, sharpening stones, carts, presses, saws, etc…
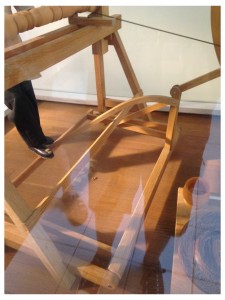
One of the most prominent things I noticed were all the different mechanisms for making the different lathes go ’round: peddles, treadles, hand operated flywheels, waterwheels, and bows.
Enjoy
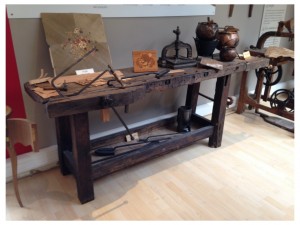
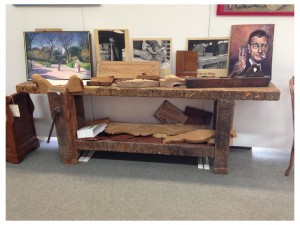
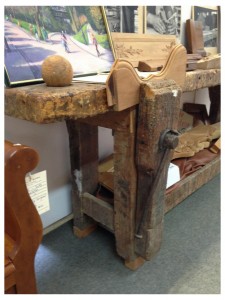
Historic French Work Benches
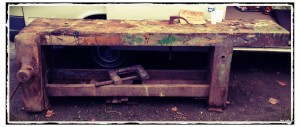
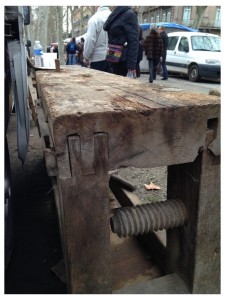
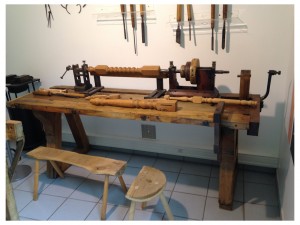
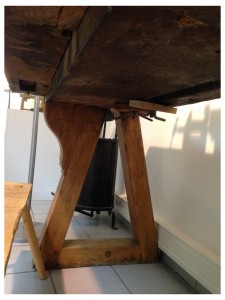
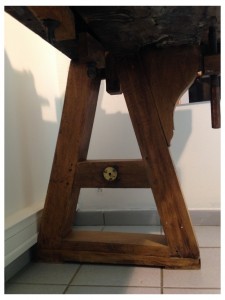
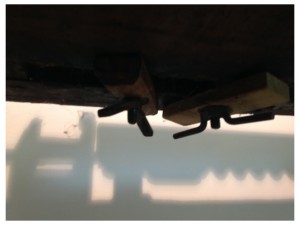
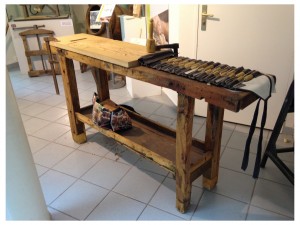
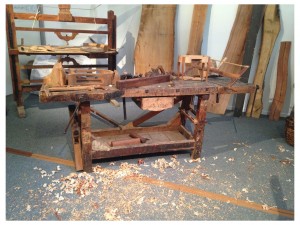
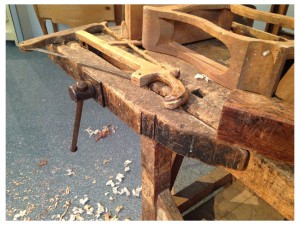
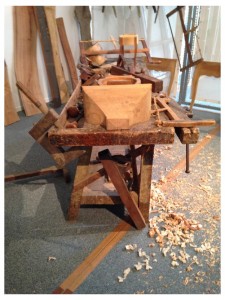
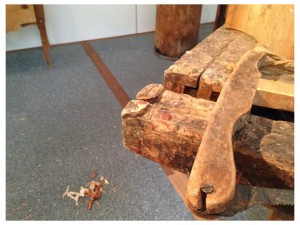
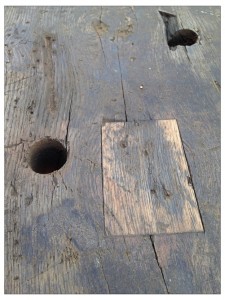
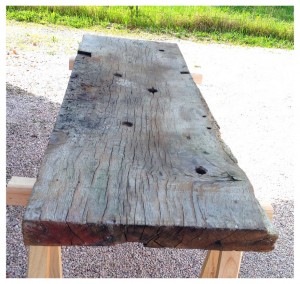
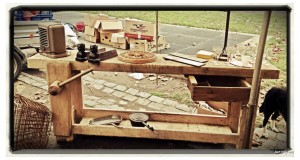
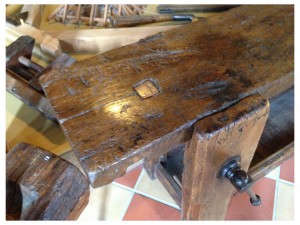
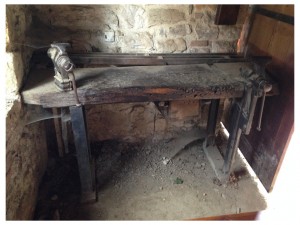
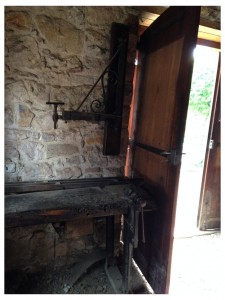
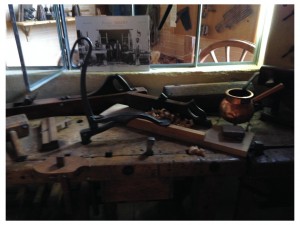
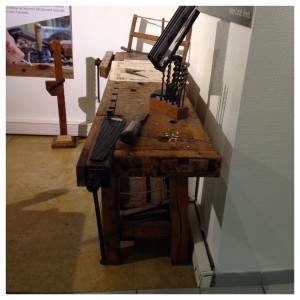
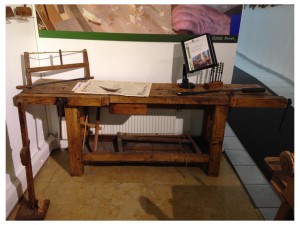
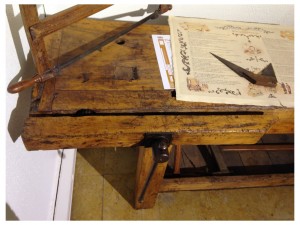
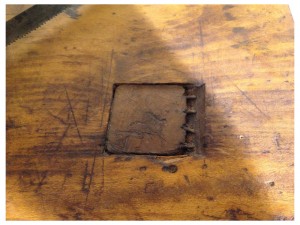
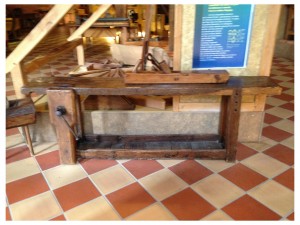
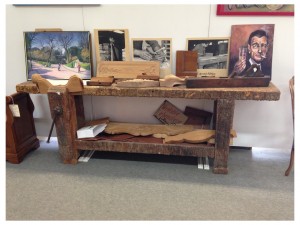
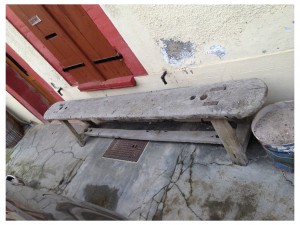
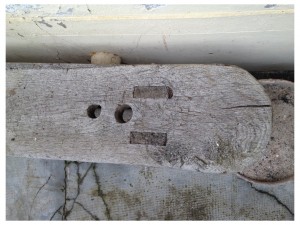
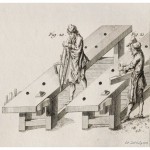
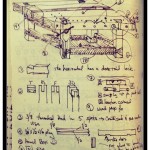
In the 7 months I have lived in France, I have seen some amazing examples of traditional French carpenters’ work benches. They are full of tool marks, tool trays, attachments, vices, dog-holes, studded plane stops, nicks gouges patches, etc… Some are almost pristine, some covered in 100+ years of marqueterie glue, and some rotted – full of worm holes. One some you will see the standard “French” leg vice and others have a parallel top vise – also don’t know what to call it – is a southern French/Basque sort of thing. I asked a local “old guy” here and he said was a “thing” here. That is the direct translation 🙂
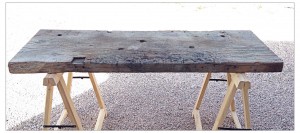
Almost all the benches I see here are slab benches and a number are slab benched with a thick dadoed plank bolted to the front edge to provide square dog holes.
As a man who appreciates such things, as a joiner in the process of building my own bench, and as a tourist in a foreign land I have been busy with my camera. 🙂 Below is a data-dump of some of the better benches and details that I have seen so far. I will update as I see more in the “wild.”
Side note: I bought a couple and am having the gassed (wood worms are serious here!) and will be bringing them back to the US when we rotate back in a couple of years – one for the house and one for the shop (tall oak slab for dovetail cutting) and IF there is any room in the container I may bring back a couple more – just because my wife hasn’t said no :-).
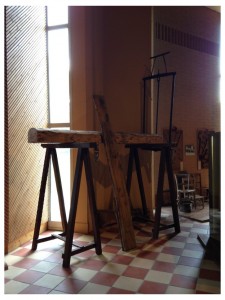
a couple of saw benches for the shop
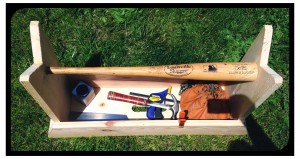
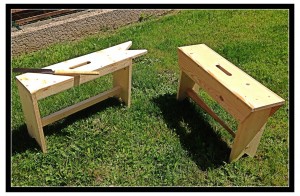
I needed a couple of saw benches for my GROP, so I put a together two of different designs. They are both simple, plain and sturdy – no nails or screws, just glue, dado joints, and oak dowels. One is an old V-notch pattern that I have seen 1000 times and the other is combination bench/tool tote of my own design. I made the tote handle of the second one from a baseball bat that was cracked. I turned down the ends on the lathe to make 1-1/2″ round tenons and captured the tenons with wedges and 2 dowels – placed at 6:00 and 12:00 as keys. This permanently locks the bat and will keep it from twisting loose. the Louisville brand is facing up when carried – It adds a little flair to something that would normally be utilitarian and is big enough to carry everything I need to do a household fix/honey-do.
GROP update – French Cleats
Since I live in France, it only makes sense for me to have a shop organization wall that using French Cleats. I have wanted to do it for years, but just never found the time between house and furniture projects when we were in Seattle.
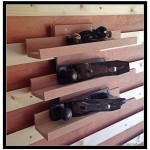
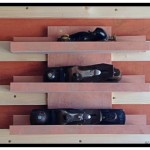
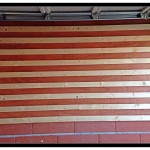
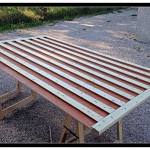
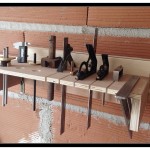
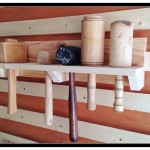
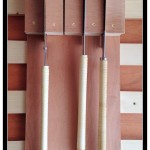
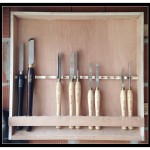
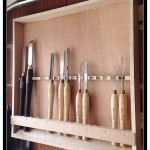
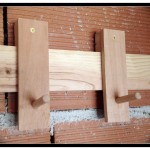
I ripped down some pine sub-flooring that came from the local French Big Box (Leroy Merlin), cut the edges at a 45, ripped the board in half, and glued/screwed them to a section of 1/2-ish (13mm) plywood. Exterior water-based poly was added to both the back and front before it went up on my clay-block garage shop wall with 8 large anchors. For my first French Cleat accessory: I had three small cut-off sections left from a picture shelf wall I did in my home office that I tacked to section of scrap ply to hold my #5 1/4 Jack, #4 smoother, and a couple of block planes. I keep the rest of my planes in a chest, but I use these constantly and wanted to have them in reach. I was so happy with how it all tuned out that I started building all sort of other holders and organizers: ones for squares, chisel rolls, Mallets, cords, apron hooks, saw horses, clamps, Japanese saws, etc… I ringed the garage with a single cleat about 6′ up for all sorts of diabolical organization plans, then hung two more above the lathe so that I would have a place to suspend my lathe chisel rack that is currently in progress and for a spot light that shines down on projects as they are turning.
I will update and post as I add new stuff.
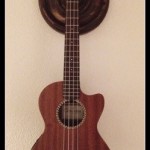
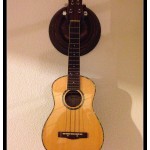
Ukulele holder for my office
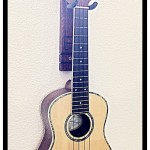
I have the most of the instruments hanging downstairs, but I spend the lion’s share of my day (sometimes night too 🙁 ) in my home-office upstairs. I decided that I needed a little diversion from my computer every now and then and brought a ukulele up to strum and pick when thinking hard or if the J-O-B gets me down – no one can be unhappy while playing the uke, it is physically and psychologically impossible!
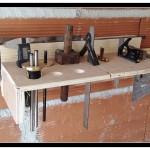
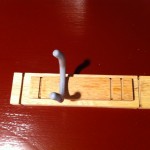
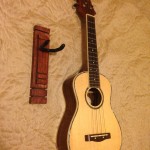
I already had the perfect piece for the task: Last year in Seattle I was playing with some scrap oak flooring on the table saw and I made a modern-ish mount for some tool in my shop that I didn’t end up using. Somehow, it got lumped in with the stuff sent to France and I found it while unpacking some hand-planes. I touched it up a little, added a hanger, and mounted it on the wall under my office window – well within reach while I am sitting at either of my desks (drafting & computer). It looks great and matches my office decor AND I have found my self already absently-mindedly finger-picking while thinking on a problem or figuring out why something isn’t working right.
A Bench Building Machine
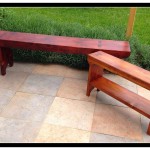
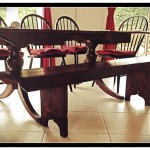
In addition to the 5-board bench by our front door, I have built a large bench for our dining table and one for our entry-way with shoe storage, per my sweet wife’s request. I have a couple of saw benches for the GROP and 2 narrow ones for my office all cut out as well, but not put together. These benches are traditionally “furniture of necessity” and not meant to be fine furnishings, but I think that there is still beauty in their simplicity and usefulness (useful and helpful are the highest Talley-family compliments). Additionally, they are simple, cheap to build, and lend themselves to hand-tool only construction. Not a single screw or nail is used: I used through-tenons, oak wedges, and dowels. With almost instant tangible results, the whole process in building these is therapeutic. When and if I have a super-crappy day at my J-O-B, I can go into the Garage/Shop/GROP after dinner and make some wood shavings and improve the bejesus out of my mood. Cheaper than counseling and less bloody than a rampage 🙂
7/3/14 Update:
So… The bench built for the dining table had ends that extended a little too far from the legs. It made the bench tippy if someone either sat on just the end or got up with someone also sitting on the other end. There were a couple of incidents where a butt almost hit the ground. I removed 7″ from either side and changed the stretcher detail a bit as the plain 45 degree cut didn’t really match the curl detail on the feet.
Film Friday – The Potter’s Wheel – 4/25/2014
Guitar and Ukulele wall mounts
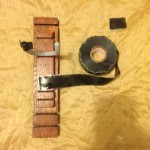
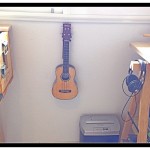
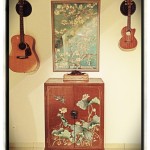
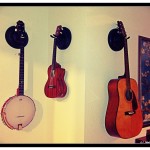
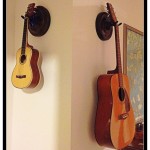
One of the last things to deal with at our place in France was all the stringed instruments propped in corners or laying precariously on top of furniture. I wanted them out in view so they would be played instead of put in a closet somewhere, forgotten about. We want a home that is filled with music and if there is a loaner guitar or uke (LOVE the ukulele – have two) about, someone is going to pick one of them up and strum a few cords. There is nothing like a cool evening, sitting outside after a BBQ with someone softly playing a tune or two. I looked at a couple of commercial wall mounts that were pricey and didn’t really go with our decor and decided to make my own. I am sure they would look great in a studio and there was one model that would have been killer in my 15-year-old self’s poster-filled bedroom, but nothing I looked at screamed “hand-crafted” or “classy.” I went through a couple of ideas in my head that wouldn’t have really worked out for various reasons before having a light bulb moment while on a work trip in China: scrap wood + my lathe + U-hooks and some silicone tape = sweet instrument hangers that both blend with our home AND that no one else has.
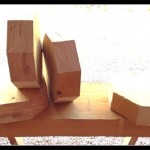
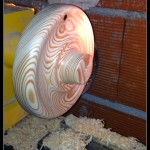
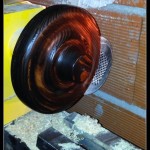
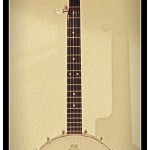
This past weekend (Easter holiday), I cut five octagon blocks out of some left-over 5 inch thick pine timber and rounded the first one on the lathe. It was meant to be a prototype so I free-handed the curves without really having a design in mind before I started. It looked so great after the stain and wax went on that I took it right in and mounted it to the wall. I turned the others all with different patterns and hung them in a living-room hallway that has an awkward corner. They look great there – if my opinion counts for anything. Now there is room for 2 ukuleles, an acoustic guitar, an electric cigar-box blues machine, and a resonator banjo.
I am working on a Uke hanger for my home office as well. I spend 10+ hours on my computer or on the phone and find that it helps if I can take a little break or strum while thinking about a technical problem that is pissing me off. I wouldn’t be able to do that in a cube.
Another Cherry Bowl
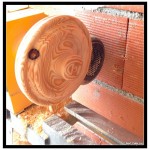
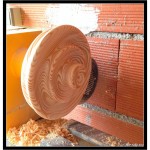
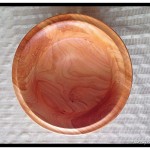
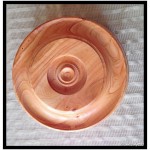
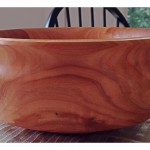
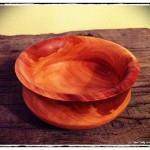
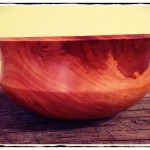
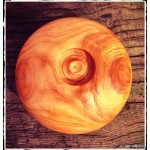
I started it out thinking it was going to be a different shape, but due to some spongy fruit-wood, it became more of a vertically sided bowl with a deep finger groove on the bottom. Like the last bowl (and most of my bowls and lids), I turned a little detail in the bottom of the bowl because I think that curiosity should be rewarded. The bowl is again finished off with my own mix of beeswax and walnut oil. I am going to let it dry for a few months and reapply.
]
Film Friday – Paddle Triple Feature – 4/18/2014
Canoe Paddle Maker
Hand Crafted from Jam Jar Films on Vimeo.
A Cherry Paddle
My Paddle – Luke Gibson from Luke Gibson on Vimeo.
Hawaiian Paddle Maker
A Fine French Work Bench
My GROP (garage and shop combo) in Seattle was too small for a proper joiner’s bench. I made due with a slim, high, wall-mounted work counter, a bolted on machinist-vise, Quick Clamps, and the top of my table saw. It worked – mostly – but was a pain in the ass a good bit of the time: I never once planed a board on a stable, solid surface. My GROP here in France is roughly the same size as the one in Seattle, but is absent the huge cast iron machines and saws. I have some room to move and finally have the space for a big, heavy, proper work bench. This shit is about to get real…
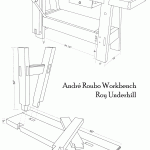
As I live in France, I am building a 2m long, 85cm wide split top Roubo-style bohemyth, that will have a 12cm, 4-part slab top (6.5′ X 33.46″ X 4.72″) and it will be 36″ high as that is MY optimal bench height. Wooden leg vise, dog holes, a cast iron tail vise – all the bells and whistles! I am planning for it to take a mule to move this thing as I will do some serious planing on this baby. It is an amalgamation of benches by M. Roubo, Roy Underhill, Chris Schwartz, and Bill Schenher. I am calling it the “Cornebarrieu Bench” after the small village in southern France where we live, where the lumber has been sourced, and where the bench will be made and first used.
I picked up some of the lumber at a yard near the house (still need the top – thinking of Beech!), strapped it to the top of my tiny car and carried it home, giggling manically. The wood is now in the GROP drying out a little and waiting for me to attack the timber and fashion it into one fine, sweet hunk of usefulness. It makes my black heart more than a little happy to think about the look on movers’ faces when they see this thing when they come to pack us out for our eventual move back to Seattle. Mwahahaha…
Film Friday – Shoes – March 21, 2014
Bespoke Boots:
George’s Boots from farmrun on Vimeo.
A Family shoe business:
E Vogel {Custom Boots and Shoes} from Davide Luciano on Vimeo.
Danner Boots:
Crafting Higher Standards Trailer from Haven Anderson on Vimeo.
Resoling:
Recrafting: Crafting Higher Standards from Haven Anderson on Vimeo.
What I want Thursday – A Someday Custom Bike build
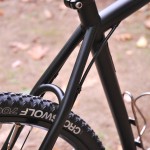
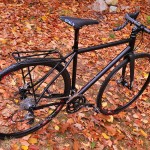
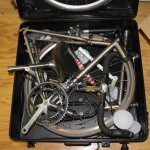
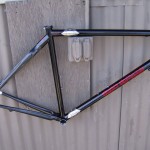
Someday, I will have a bespoke bike built – custom fit to my goofy measurements and with all the bells a whistles that I want/need/lust after. A bike that is equally suited for using as a city single-speed, a gravel road shredder, light single track, and a 9-speed road rider and tourer.
I want:
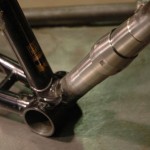
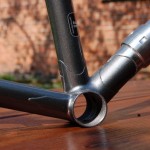
A lugged steel frame
S&S couplers so I can fly with it
Disc breaks
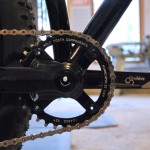
Single front 32T or 44T chain ring
18T freewheel (I have an Ultegra 9-speed group and Deraulier in a box…)
Clearance for 33X700 tires
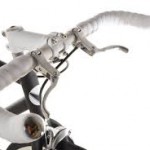
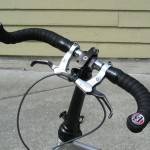
Bull horn bars
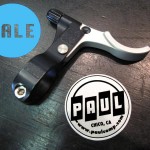
Paul 2-finger levers
Flipping Rear dropouts (44 Bike)
Duel bottle cage
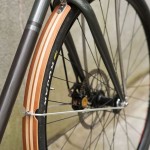
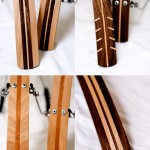
Rack and fender mounts (I have a set of wood FastBoy fenders that need a good home)
Brazed on bottle opener (A’la Rodriguez Cycles)
Brooks Swallow Tail saddle.
I really dig what Kristofer Henry in New Hampshire has going with 44 Bikes. If I could talk him into a lugged Huntsman, then we could do some serious business.
From tree to bowl with a LOT of sweat in between
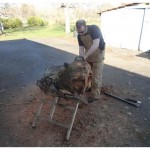
I have a colleague that was making over a large section of his property out in the French country-side and he needed a dying cherry tree taken down. It was a big old tree with what looked like lots of good hard wood in the trunk base, so I gave him a hand. I thought I could tun the wood into some nice bowels, mallet heads, honey dippers, etc… and he agreed to let me have some of the wood that was destined for his fire place. Holy Crap it was work – not at all helped by his tiny electric chainsaw. It made me long for my 30″ bar, 2-stroke beast back in my Seattle garage shop.
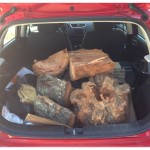
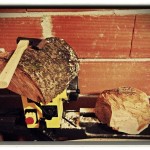
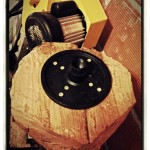
After cutting 2 good rounds and trimming up the root ball, I split the rounds in two, then put 200 pounds of wood in the back of my tiny Suzuki Swift and hauled it home. Into the garage it went and the wife and I were off to the Saturday Market. I came back to one of the rounds on the next night and decided to prep it for turning. With my Japanese hatchet and hand saw, I worked it into an octagon-ish shape. There was a lot of rot in the outer rings and the sections did not make as large of bowls as I had hopped, but the root ball will make an AMAZING centerpiece on the table for holding bread or fruit at parties. I am getting ahead of my self a little…
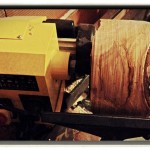
Anyway, the first section was a beast! It took me 3 hours to go from the half-round to the round bowl-blank. I almost threw the hunk down and took it over to my neighbors wood pile while just roughing it into shape with the axe. The wood was SO FREAKING HARD! It got worse when I started spinning the thing! My roughing gouge was super sharp when I started and I had to sharpen it twice again during the initial turn. There was a break in the turning where I built a jig for my turning chisels so that the sharpening angle was perfect every time, but that is a different tale…
I have never gone from tree to bowl before and I wanted to see if I could do it well. Usually, I either glue up hardwood scraps or buy a rough elm or maple blank from my hardwood dealer in Seattle (With the coin I drop at his place, he is most assuredly a DEALER! His crack just has figured grain and tight growth rings…) Anyway, I might should have picked a tree with softer wood for my first time, but how many turners back in the US can say that they cut down a old cherry tree in France and made cool stuff with it?!
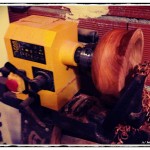
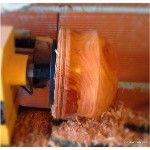
I finished up the bowl four nights after I started turning the rough shape. I had to work around some rot and cracks, but the final shape turned out really nice. When someone handles the bowl and flips it over, they will find my makers mark and I turned a little detail in the bottom of the bowl because I think that curiosity should be rewarded. The bowl is finished off with my own mix of beeswax and walnut oil. After two coats, it colored up beautifully. There are a couple of spots where it may split along the rim, but that is just the nature of the wood and that specific piece – it will add character to the bowl. This one was done for the guy who gave me the wood and I will turn a couple later for our house.
I was really proud of how it all turned out and the final product made all the sweat and cussing worth it.
Film Friday – Wine Double Feature +1 – March 14, 2014
California:
“Under The Vine” from Stephen DaVega on Vimeo.
France:
A VERY PRIVATE VISIT AT CHATEAU LATOUR from jf julian on Vimeo.
+1 – Old School way of making a Wine Barrel:
Making of a wine barrel – Francesco Loi from Francesco Loi on Vimeo.
How to make a Chinese wood lathe work “right out of the box”
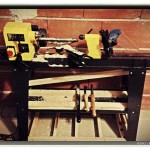
I have mentioned that when planning our move to Toulouse, I realized that I would have to leave my big electrical shop machines in Seattle. It hurt a little as I have become dependent on a table saw and compound miter saw for even the simplest tasks. I am looking forward to spending some quality time with my hand tools, but I have to have a lathe to complete 75% of the projects that I tackle. There is no way in Blue Blazes that I am was going to build a pole lathe or a foot-powered flywheel lathe – there I draw the line. I needed a fairly large machine to turn the posts, trenchers, stools, bowls, table legs, spindles, scoops, etc… that are on my “to-do in France” list.
Machine tools in France are CRAZY expensive. Look at the US price, change the Dollar sign to a Euro sign and add 30% to the final price. I looked at a large Jet lathe and it cost more than my first truck. Even the small midi version was the equivalent of $600. I just can’t spent that kind of cash on something that doesn’t either feed me or take me to work. After some research, I found a bare bones, no accessories, Chinese made model that some of the local turners were buying for their second or third lathe. It was 1/3 the cost of a well appointed model with the same bed length and power. Sold. I brought all my chucks and jigs and accessories with me, so I thought “Perfect!”
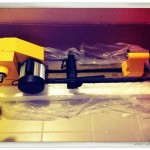
There wasn’t one available in a 400 mile radius, so I had to order it at the home center in the next village over. 11 days later it showed up and I brought my new 400 pound beauty queen home in a Suzuki swift. I am sure the douche-bag that stood 10′ from me watched as I man-handled it into the rear hatch of my tiny car using old tires and 2X4s has already posted the video.
Now, it was advertised at “Ready to turn out of the box!” For that to be true you need the following tools:
- Rubber Mallet
- 1/2″ combination wrench
- Set of standard Allen wrenches
- Flat-head screwdriver
- #2 Phillips screwdriver
- 3/8″ drive ratchet
- 1/2 socket
- Long socket extension: >6″
- Standard Tap and Die set
- A large vocabulary of cuss words
- Drill
- Metal Drill-bit Set
- Large Bastard File
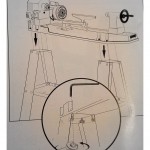
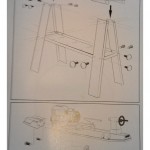
You will also need the following additional parts as the bolts and washers provided were likely scooped from a bin without counting and dropped in a bag. There are only two small pages of instructions and they do not list all the parts, the number of each that will be required, or the order in which they are installed. Take examples of the bits and pieces provided and get duplicates in the same size:
- Washers
- lock-washers
- pan head bolts
- Machine bolts
You will also need:
- four 8′ long 2X4s
- Wood Glue
- Sandpaper
- Pan-head wood screws or deck screws
- 4 sacks of concrete
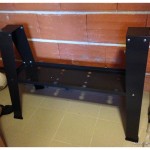
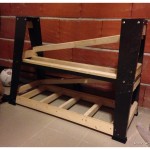
I found out about the hardware issue right away and drove back to the home center in the next village for spares, but I had all of the other supplies on hand – I did not pack light for our move here 🙂 The base was my first obstacle. It was flimsy sheet metal and some of the holes were out of alignment. I drilled and fitted, whacked with a mallet and said lots of dirty words, before I finally got the lathe on. A quick tug showed that the base needed some serious beefing up. If I put an unbalanced piece in it, it would shake apart. I ended up building a crossed braced wooden skeleton for the whole thing – my Jr. High Wood Shop teacher would beam with pride. The reinforcing process took me 4 hours that first night, but that was mostly because I don’t have a miter box saw and was making compound angle cuts with a sliding-T bevel and a Japanese pull saw. I ended up having to chase the threads in the cast iron lathe bed and on the head stock (really) with a couple of different taps and used Loctite on all the bolts.
All the handles and knobs had to be put on and tested and the tail stock and head stock had to be adjusted, tweaked, and tweaked a little more to get them in alignment. The cast iron tool rest was really rough, so I used a file here and there on it and sanded the tool bearing surface and finger groove with progressively finer sandpaper, from 80 to 400 grit. This all took another 3 hours the next night.
After all was said and done, I clamped up a small hunk of 2X4 that was a cut-off from building the base and with just my skew chisel, turned it down and into a bunch of tiny beads. The lathe turns great and has plenty of power. I couldn’t be happier. I saved 800-1000 Euros in exchange for 7-8 hours of me time.
