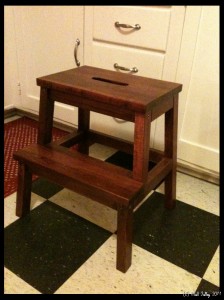
Blanket Chest Rebuild

Early last year, Stamps-With-Foot and I bought a few pieces of furniture from an English couple moving out of France.  One of the pieces was a pine drawer-front blanket chest that someone in the UK had built in their garage out of decking material.  It was constructed with dovetails, screws, and lots of glue, so it was a stout little piece and for $50, I couldn’t pass it up.  The finish was originally 1980’s fabulous stain and it was semi-sloppily finished with a brushed on polyurethane topcoat, but all and all not so bad as to ruin the chest.  Just right for a little refinishing.

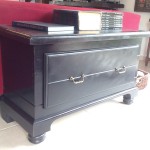
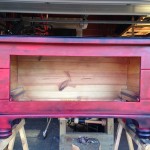
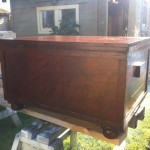
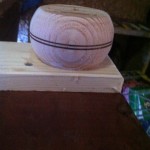
It sat in the house for a year or so, covered with a runner, before I dragged it into the GROP and tore into it.  I cut the funky curved feature off the base, added some corner reinforcement, re-worked the drawer slides, removed the fat awkward drawer knobs, turned and added bun feet to the front, and installed square feet on the rear (going for the 17th century Furniture of Necessity look).  I sanded the whole thing down to remove some of the gloppy poly and painted it with an undercoat of red and an overcoat of flat black – also period appropriate.  When the top coat gets a ding, the red shows through.  I have a number of chairs and other chests done in the same manner.  I added brushed antiqued solid brass handles and called it done.

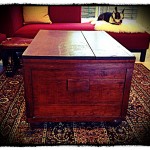
The chest now sits behind the couch, near the door for the back garden and holds a couple blankets for TV watching comfort and two cotton hammocks for lounging the yard.

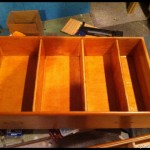
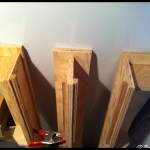
Drawer Chest Rebuild 2015_2

Drawer Chest Rebuild 2015_7

Drawer Chest Rebuild 2015_1

Drawer Chest Rebuild 2015_5

Drawer Chest Rebuild 2015_4

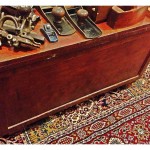
Found Trunk

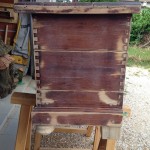
Last spring (2013), I was at the West Seattle Fruit Market and asked if I could snag an oak pallet that was sticking out of their dumpster. “No worries. Sure. Take whatever.” When I pulled out the pallet, I found an old trunk/chest under it that had the top ripped off and was in sad shape. I almost left it where it was, but then decided it would be good for tool storage in the shop as the top was under the box and all the pieces were there. I drug it all home and after I cleaned some old lettuce and a rotten beet out, stuck the thing under a wing of the table saw where it promptly started collecting sawdust.

While working on my own version of the Anarchist’s Tool Chest a few months later, I decided to fix the found trunk up as well. It took maybe a total of 2 hours was strait forward:

Vacuum job
Removal of the old bent and broken hardware
old hinges from some other scavenged project installed
Top refitted and put on
a little glue was applied to some trim
1″X4″ slats to reinforce the bottom…
A few well-placed screws
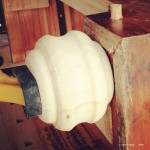
From the pieces of left-over pallet wood found on the same day, I glued up some 5″ blocks and turned them down to make bun feet.
Installation of the new feet
a quick light all-over sanding
Two coats of Teak tinted tung oil.
….and done…

Stamps-With-Foot saw it up on saw horses in the yard and claimed it for the house. Apparently, it was too “rustic & French & crafty” to be vanquished to warrens of my dark little shop to be abused with tools, dirt, dust, grease and boyness. When I first started putting it back together, I found stained receipt from a outdoor store (no date) and a cub scout pin wedged in the bottom. I surmised that this was a young man’s camping/scouting trunk that he or his dad or both built it together. From the construction and the materials used, it looks like it was put made in the late ’40’s or early 1950’s. It now sits in our living room in the south of France and serves as a coffee table and blanket/hammock storage chest.

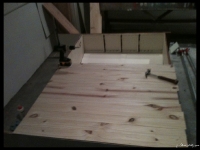
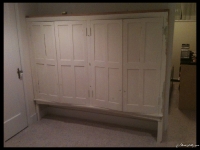
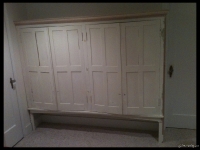
From Trash to Basement Built-in

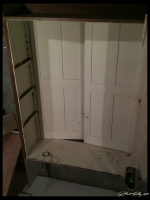
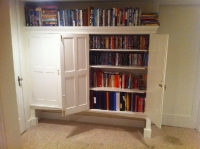
I was at one of the architectural salvage places in the SODO area of Seattle one fine summer day 3 years ago and as I was leaving with whatever small treasure I had found (picture Sméagol with his Precious…), I spied a bit of white cabinetry and what looked like a paneled cabinet door in their free/meant-for-the-dumpster pile so I went over and looked to see if I could salvage a bit of whatever it was.  The hope was for a door that I could re-purpose or some cool hardware left intact, but I struck gold!  Some idiot used a pry-bar and a Sawzall to rip a built-in painted hutch out of a house’s wall during a remodel.  It was taken to the salvage shop without a back, one side missing, no top, zero trim left, and with rough recent tool/pry marks all over it.  All the shelves were there and the door that I had seen was one of four heavily painted paneled oak doors.  I saw some promise and had an exact spot for it, so I piled the wreckage in the back of my truck, roped it down, and sped away before someone could tell me no.

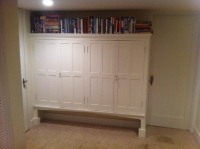
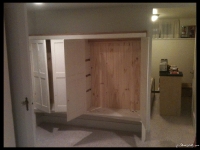
It languished in the basement for part of a year before I tightened the joints, squared it all up, made a back from pine bead-board, built a matching side panel, reinforced the structure and installed it on one of our basement den walls.  What used to be the open counter-top space between the original built-in base and top, became storage for boots or snowboards or books (which is what is there now).

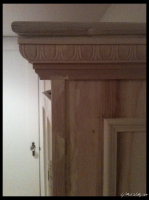
I wanted to include Stamp-With-Foot in the project, so I took her with me to pick out some trim.  She found a section of fancy scalloped-cut chair rail/case molding that she REALLY liked and I went home and used it in a custom buildup: adding a section of ripped down base molding and a length of popular wood that I ran over with two different router bits to make the top trim.

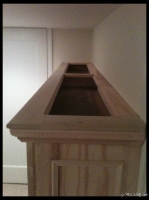
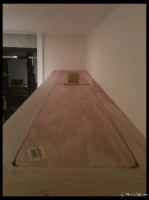
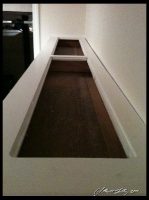
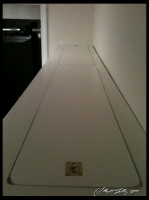
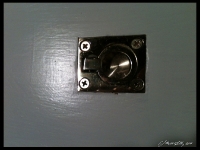
After getting the piece installed, I realized that I would have a 5″ gap of dead space between the inside top of the cabinet and the finished top, so I rabbited in two shelf lips and built matching hatch covers to provide storage for long or seldom used items in the top of the cabinet.  The hatches were finished with brass ring pulls from a local boat supply hardware shop.  After some light sanding, Stamps-With-Foot and I put two coats of white cabinet paint on it and I had The Ruminator help me install antiques glass pulls and keyed latches while he was visiting for Christmas.   The piece looks like it was built with the house, the top is already filled with mountaineering books, and is a fantastic addition to our basement and home.

Roller Derby, St. Paddy, Dresser Building and an Anniversary Weekend

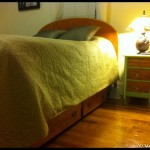
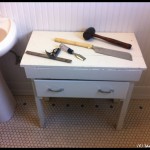
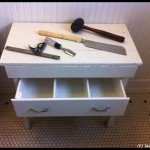
This weekend was busy with friends, a dinner out, St. Paddy’s Day activities, an outing to the Roller Derby (?!), and the 9th anniversary of the day that my sweet wife and I met was on Sunday. Even with all that, we still got bunches done around the house: Our under-bed dresser finished, bathroom table drawer installed (a little work on that left), wine crate storage boxes made, basement lighting installed, and the basement work bench is moving along.

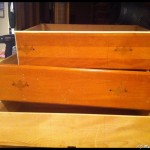
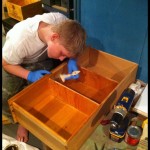
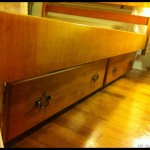
The drawers for the under-bed dresser and the one for the bathroom all came from a wooden donor-dresser that my father-in-law drug home from a garage sale last summer. He paid $4 for it and it was in pretty bad shape, but it was solid wood and had potential. It was mistakenly left in the weather (plastic cover leaked) for a month before I salvaged the drawers, cut out off the top and used the sides for kitchen cabinet door panels. I re-squared the drawers, added dividers in the fall, and over the Christmas break sealed the insides (The Ruminator helped). After lots of filling and sanding and more sanding, I stained the fronts to match our bedroom furniture, then built ¾” plywood beams to hang the drawers from bed frame and used some scrap oak flooring as drawer guides/runners. The final product really looks good and is super functional. While some husbands bug their wives by filling the house with brought-home junk – I give my wife more and more and more storage and organization space.

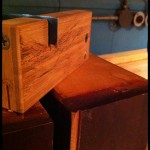
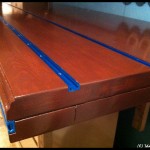
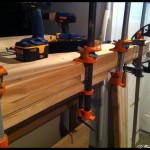
On Sunday, I put the final coat of finish on the basement workbench top, let it dry, and then installed the three runs of aluminum t-track. Stamps-With-Foot bucked up and helped me wrestle its 200 pound beech and maple mass onto the steel base. I secured it with screws and covered the top with carpet squares while I finish the upper shelf/cabinet. I installed a outlet power strip under the main body of the topper and removed the old drawer dividers. I will soon add a plywood back with a mirror, a light under, a dedicated air supply line, install the desk drawers under the bench and mount 4 reclaimed letterpress drawers directly under the top as well. Happy with the progress so far.

Cast Iron Camping Cookware Box

In my on-going project to build the finest glamping/campaign furniture kit in the Pacific Northwest, I have added a custom box for holding all of our cast iron and campfire cooking gear.  It all started out with a wooden box I picked up at a garage sale that was full of a cast iron camp set that had been used once.  We have added a square fry pan, pot lifters, trivets, stand-off, roasting sticks, a grill, bacon press, a 12″ lid, and corn-shaped bread pan.  I had thought about including all of it in my camp kitchen, but it would have made the unit so heavy that I would have needed a winch to get it off and on to my truck bed.

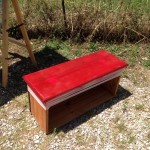
The box that it came with was just a roughly tacked together crate, but it had potential.  I spent a couple of hours adding trim, remaking the lid, adding reinforcement, and painting it a deep red.  To Finish it off I added brass pipe handles and brass closures.  It is still not light, but one person can carry and move it.  The “new” box holds all the aforementioned gear, looks snazzy, and doubles as a seat for around the campfire.
Basement Bench and Winter Workshop

I have found that my workshop productivity goes way down in the winter/the six months of Seattle rainy season.  My garage shop is small and quickly fills with material, lumber, tools, and projects.  To add to the handicap of the small size, the lack of heat means that I can’t do any finish-work because of wood humidity, shrinkage/swell, and moisture.  I have made do in the unfinished side of our basement for the past three winters, but I am done my wife is done with the mess and clutter and my bitching about an inadequate work area when the weather turns crappy.  I need a little bit of dedicated space that I can work on the small stuff year round that doesn’t require power tools and a little bit of assembly/finish  space where I can glue and clamp some projects up, a solder station, a spot to reload ammo, work on my bikes, and  a clean/dry/warm space to apply stain or a hand-laid finish coat.  Add to this my current want of a small metal lathe and mill and I will have the makings of a nice little hobby shop from which to launch my plans for world domination …er, I mean a spot where I can make small parts, solder, or tinker.

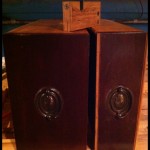
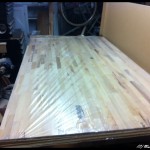
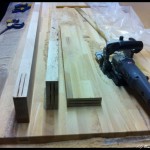
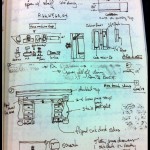
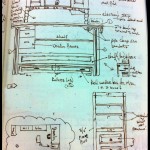
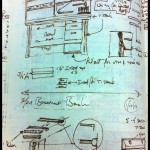
Anyway, instead of buying a crazy expensive cabinet bench or making do with a thin metal and partial board Home Depot bench, I have decided to build the sturdiest all-around hobby bench that I can with the funds and material I have available (~$130.00), add some really nice features (aluminum t-track, lots of drawers, removable vises, power, lights, etc…) and make it into a finished piece of furniture that I will be proud to sit at and show off to friends for the next 30+ years.  To start the process off, I found a cheap older thick steel framed 6′ workbench at Second Use that I felt would make a bombproof, rock solid base.  I sourced a used IKEA cutting-board counter top that I cut down to the appropriate size and then used the trimmed pieces to add thickness and rigidity (I am still going to add some angle iron).  I thought about and sketched 3-9 different ways to add some shelving and some organization to the top and was still tossing around options in my head when a realized that an old buffet that my mom had just might work.  I took some measurements and looked into reinforcing here and there and realized that not only would it work, but that its style would set the tone and color for the entire bench build.

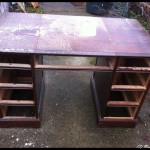
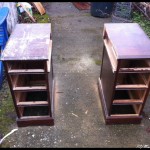
I decided that the drawers to be added under the bench top needed to be narrow and at least partially match the newly planned top section, so I looked for an older desk or vanity that I could cut apart.  I struck out at Goodwill, the Salvation Army, and Craig’s List, but Second Use came through again and hooked me up with exactly what I needed at a decently fair price, well decent after I haggled a bit…

The current state of the build is that the bench top is 2/3 done, the desk is cut apart, the steel legs are up and in place and I am 1/4 of the way done with reinforcing the buffet/top shelving unit.  I will update the build as it is completed and share some more pictures.